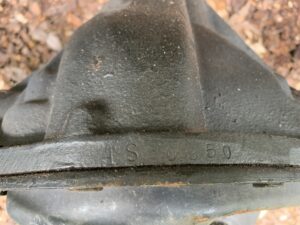
Annika came with three rear axles, TS50950, which appears to match the commission number (usually within a couple thousand), TS69397 is a 4.1 ratio differential off a later TR3A, and TS14135 is an early (~9/1956) TR3 axle. Unfortunately TS69397 had at some time filled with mud leaving the ring and pinion gears so pitted as to be unusable. TS50950 looked to be the better and so I went with that one.
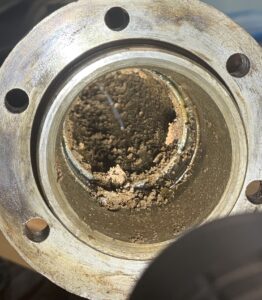
As they say, everything is relative, so compared to TS69397, Annika’s differential was a beauty and there was only a little bit of mud in it.
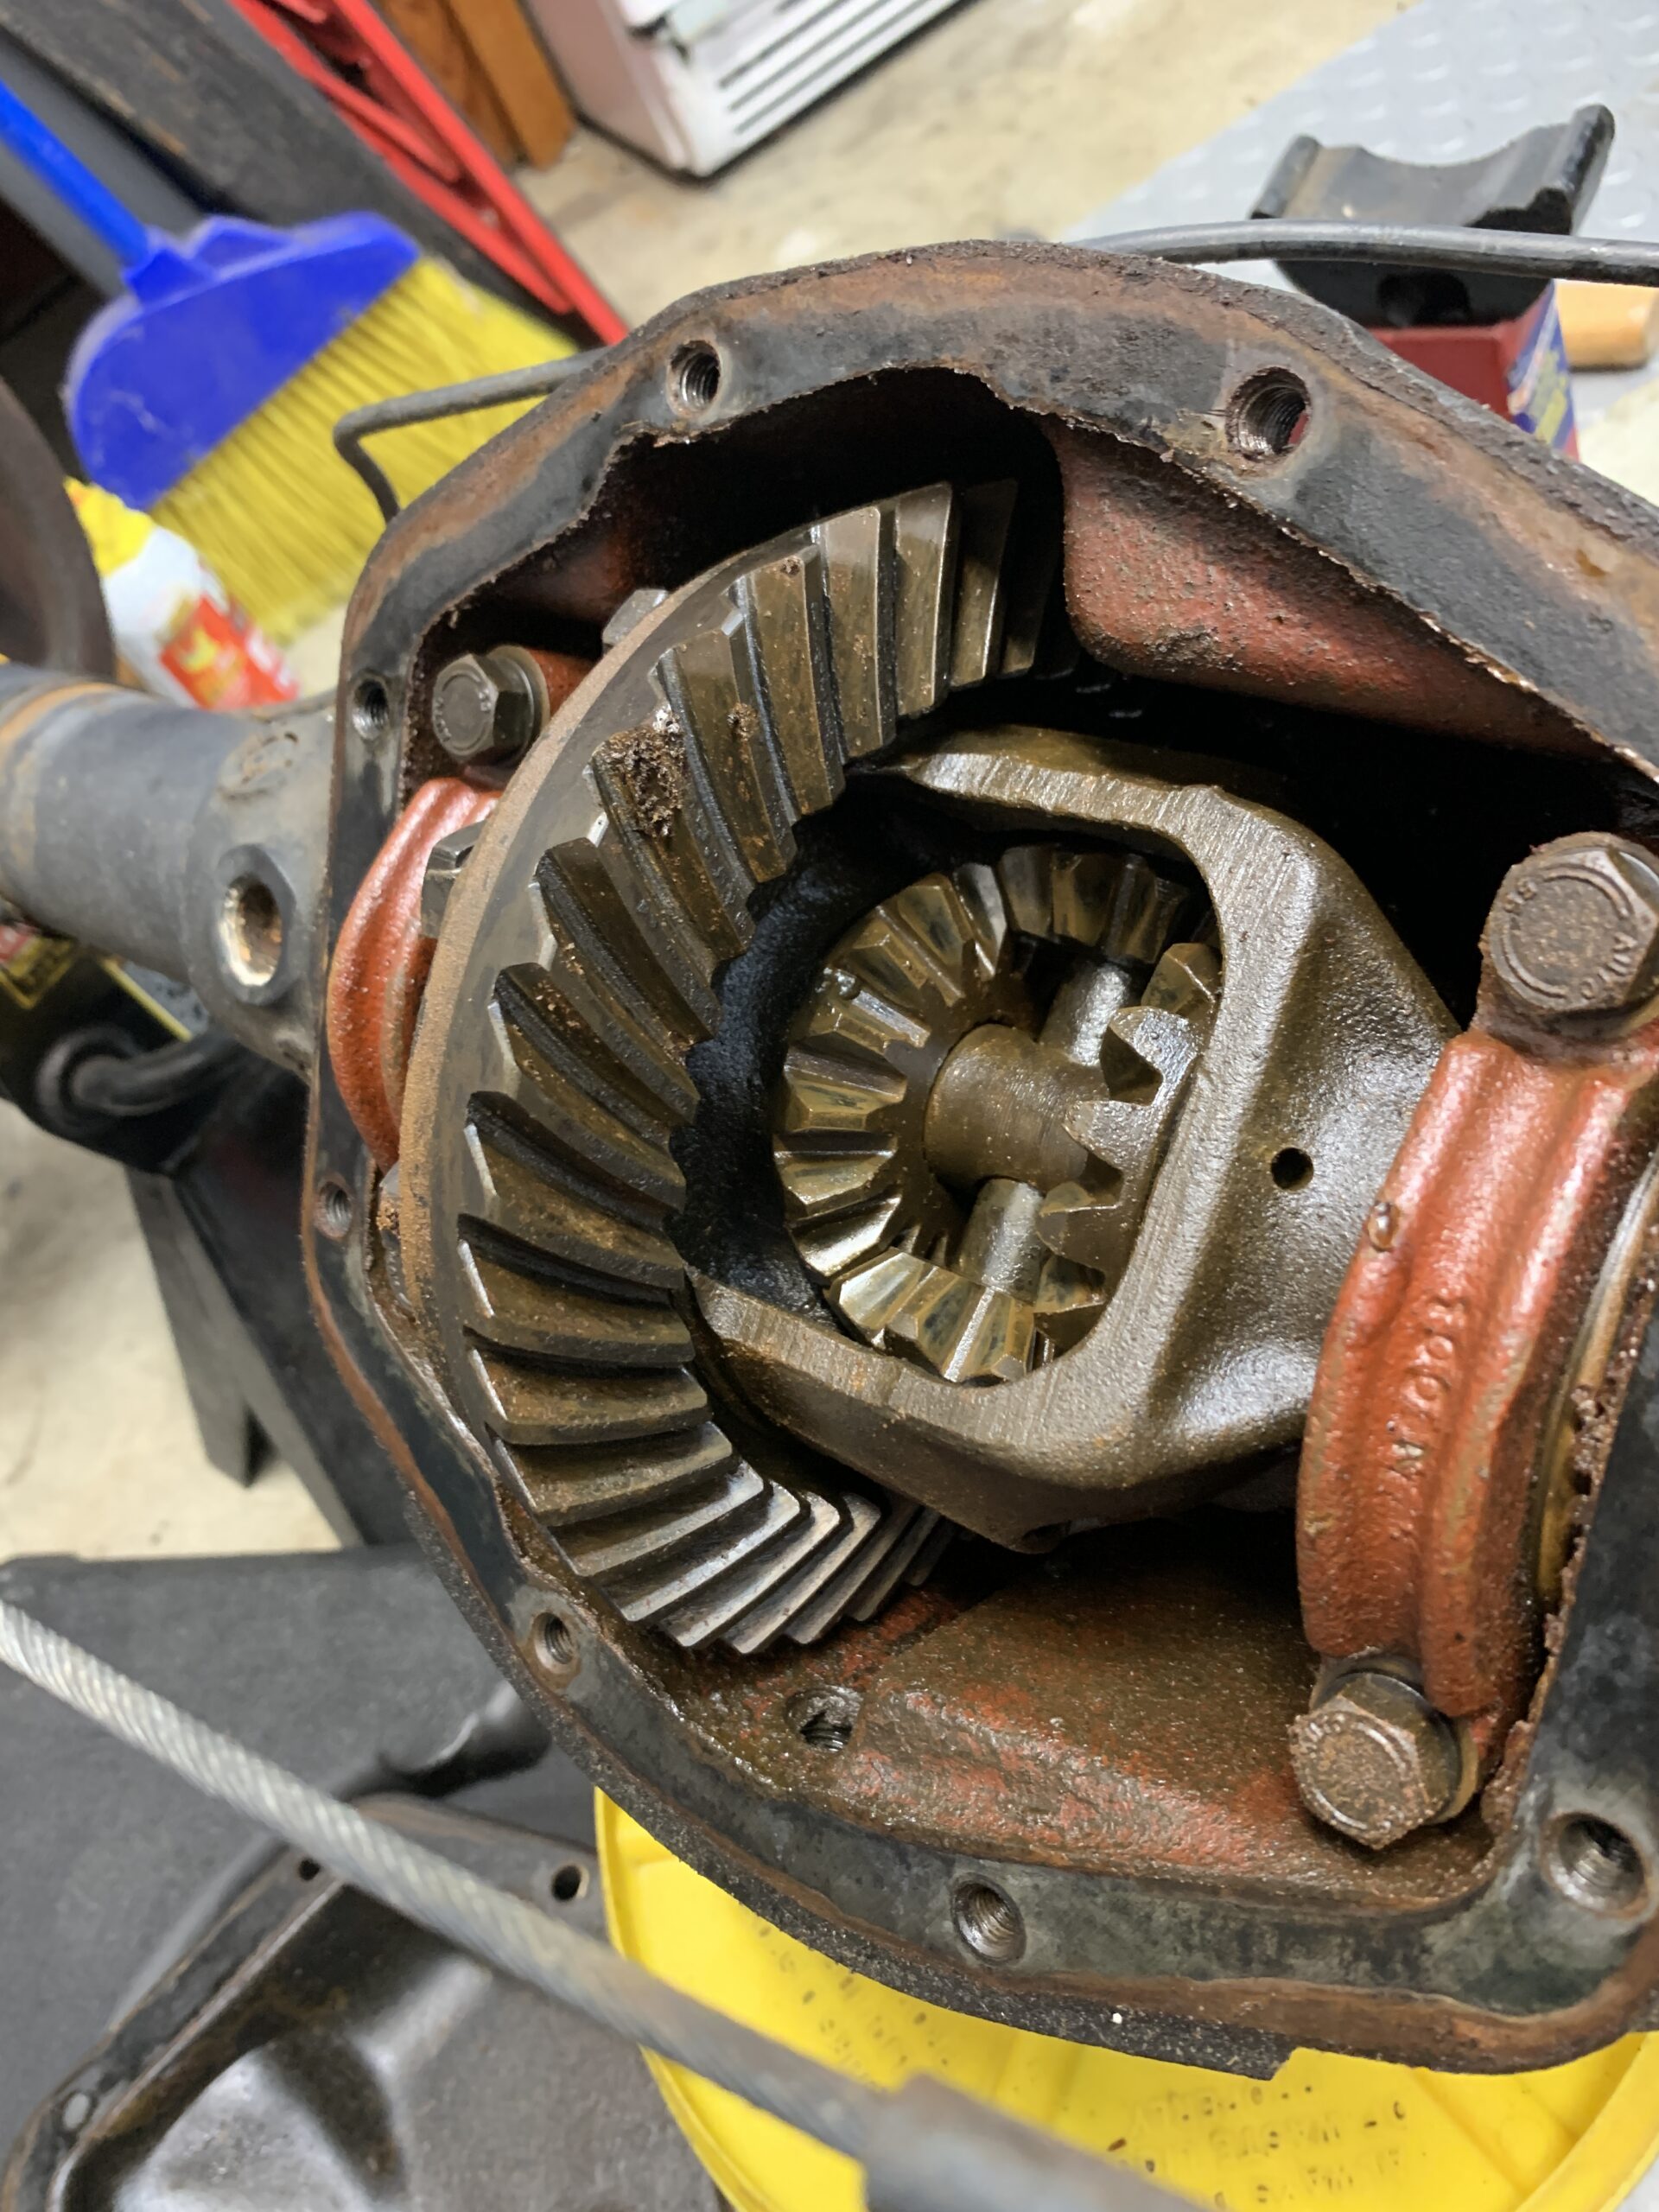
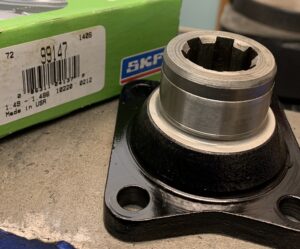
The gears and bearings were washed with kerosene until they ran clear then the procedure was repeated with the pumpkin overfilled with gear oil and spun with a drill at the pinion. After flushing with several pints of gear oil, this led to a smooth running easy turning differential. Removing the pinion nut revealed a corroded oil seal surface so this surface was protected with tape, the remainder cleaned up in the blast cabinet and painted. A speedie-sleeve was installed to resurface the oil seal surface and the pinion flange was ready to go.
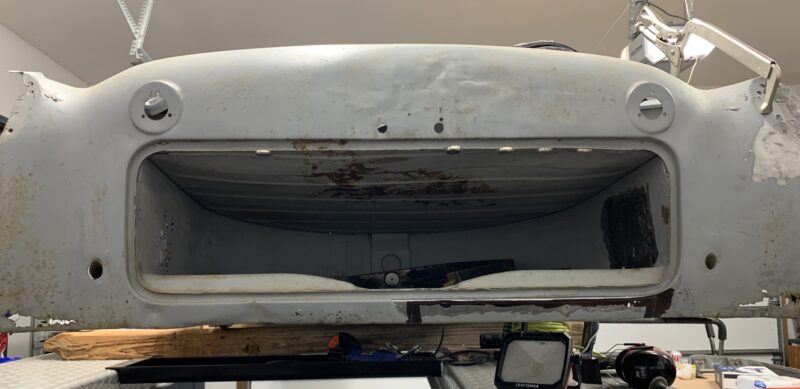
Before working on the exterior of the rear axle, I cleaned the interior of the axle tubes… sheesh was this put on a Jeep at some time? Look at that mud! Kerosene, rags and a long rod to the rescue.
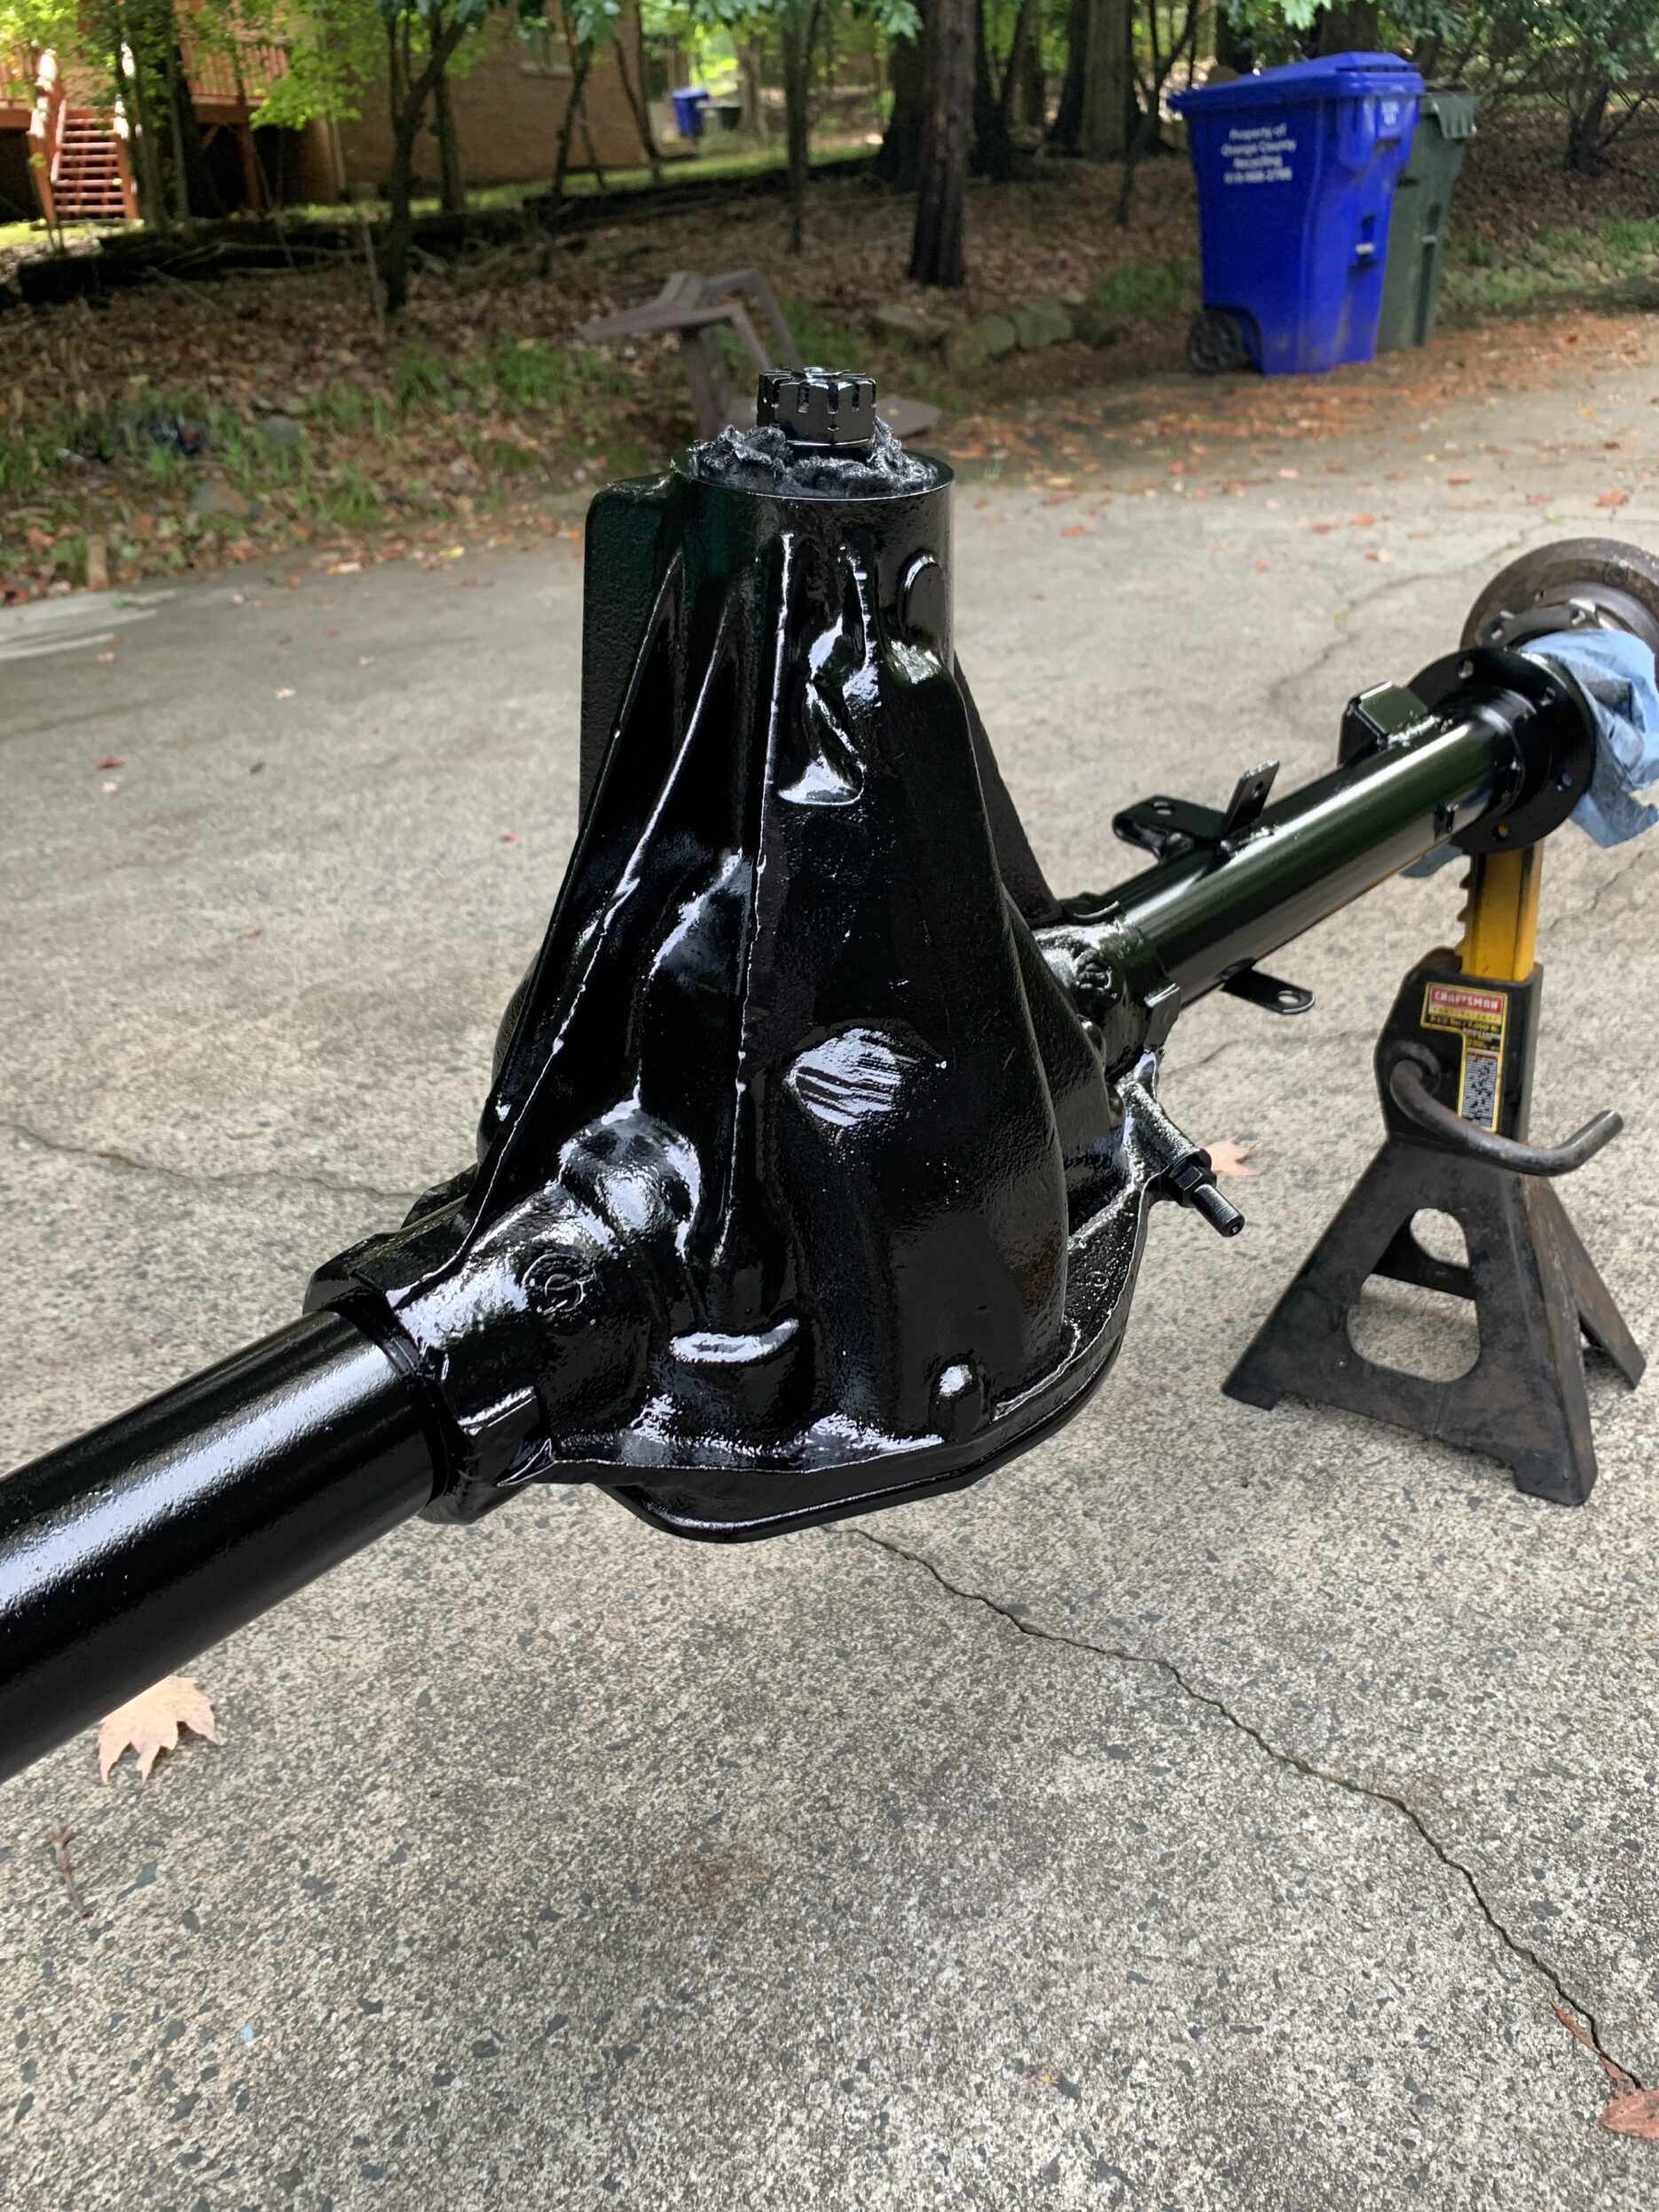
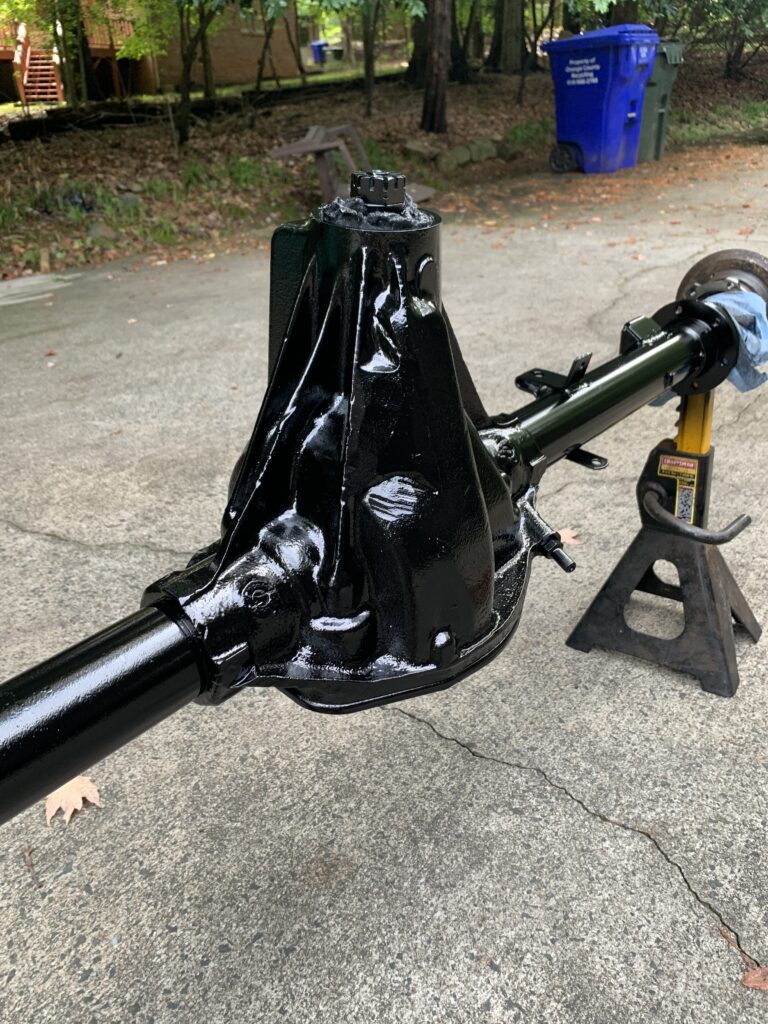
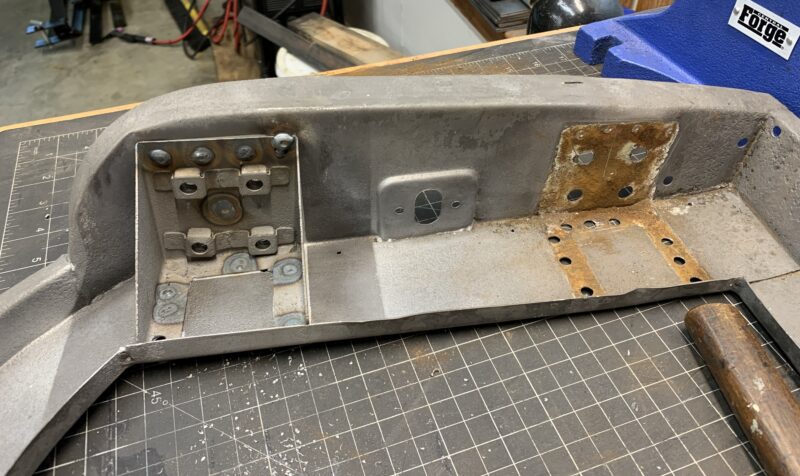
The entire unit was stripped, and extensively wire wheeled. along with Ospho (phosphoric acid… no not from my lab) to convert the rust (to Fe-PO4) prior to wire wheeling again to metal. The Ospho treatment allows one to remove rust from heavy pitting for a more thorough de-rusting. It is so clean after wire wheeling (and surface iron phosphate removal) that it is prone to flash rusting, especially in August. Working fast led to a nice finished product in Eastwood Chassis Black. Two coats of primer and two coats of Satin aught to protect it for as long as I can see.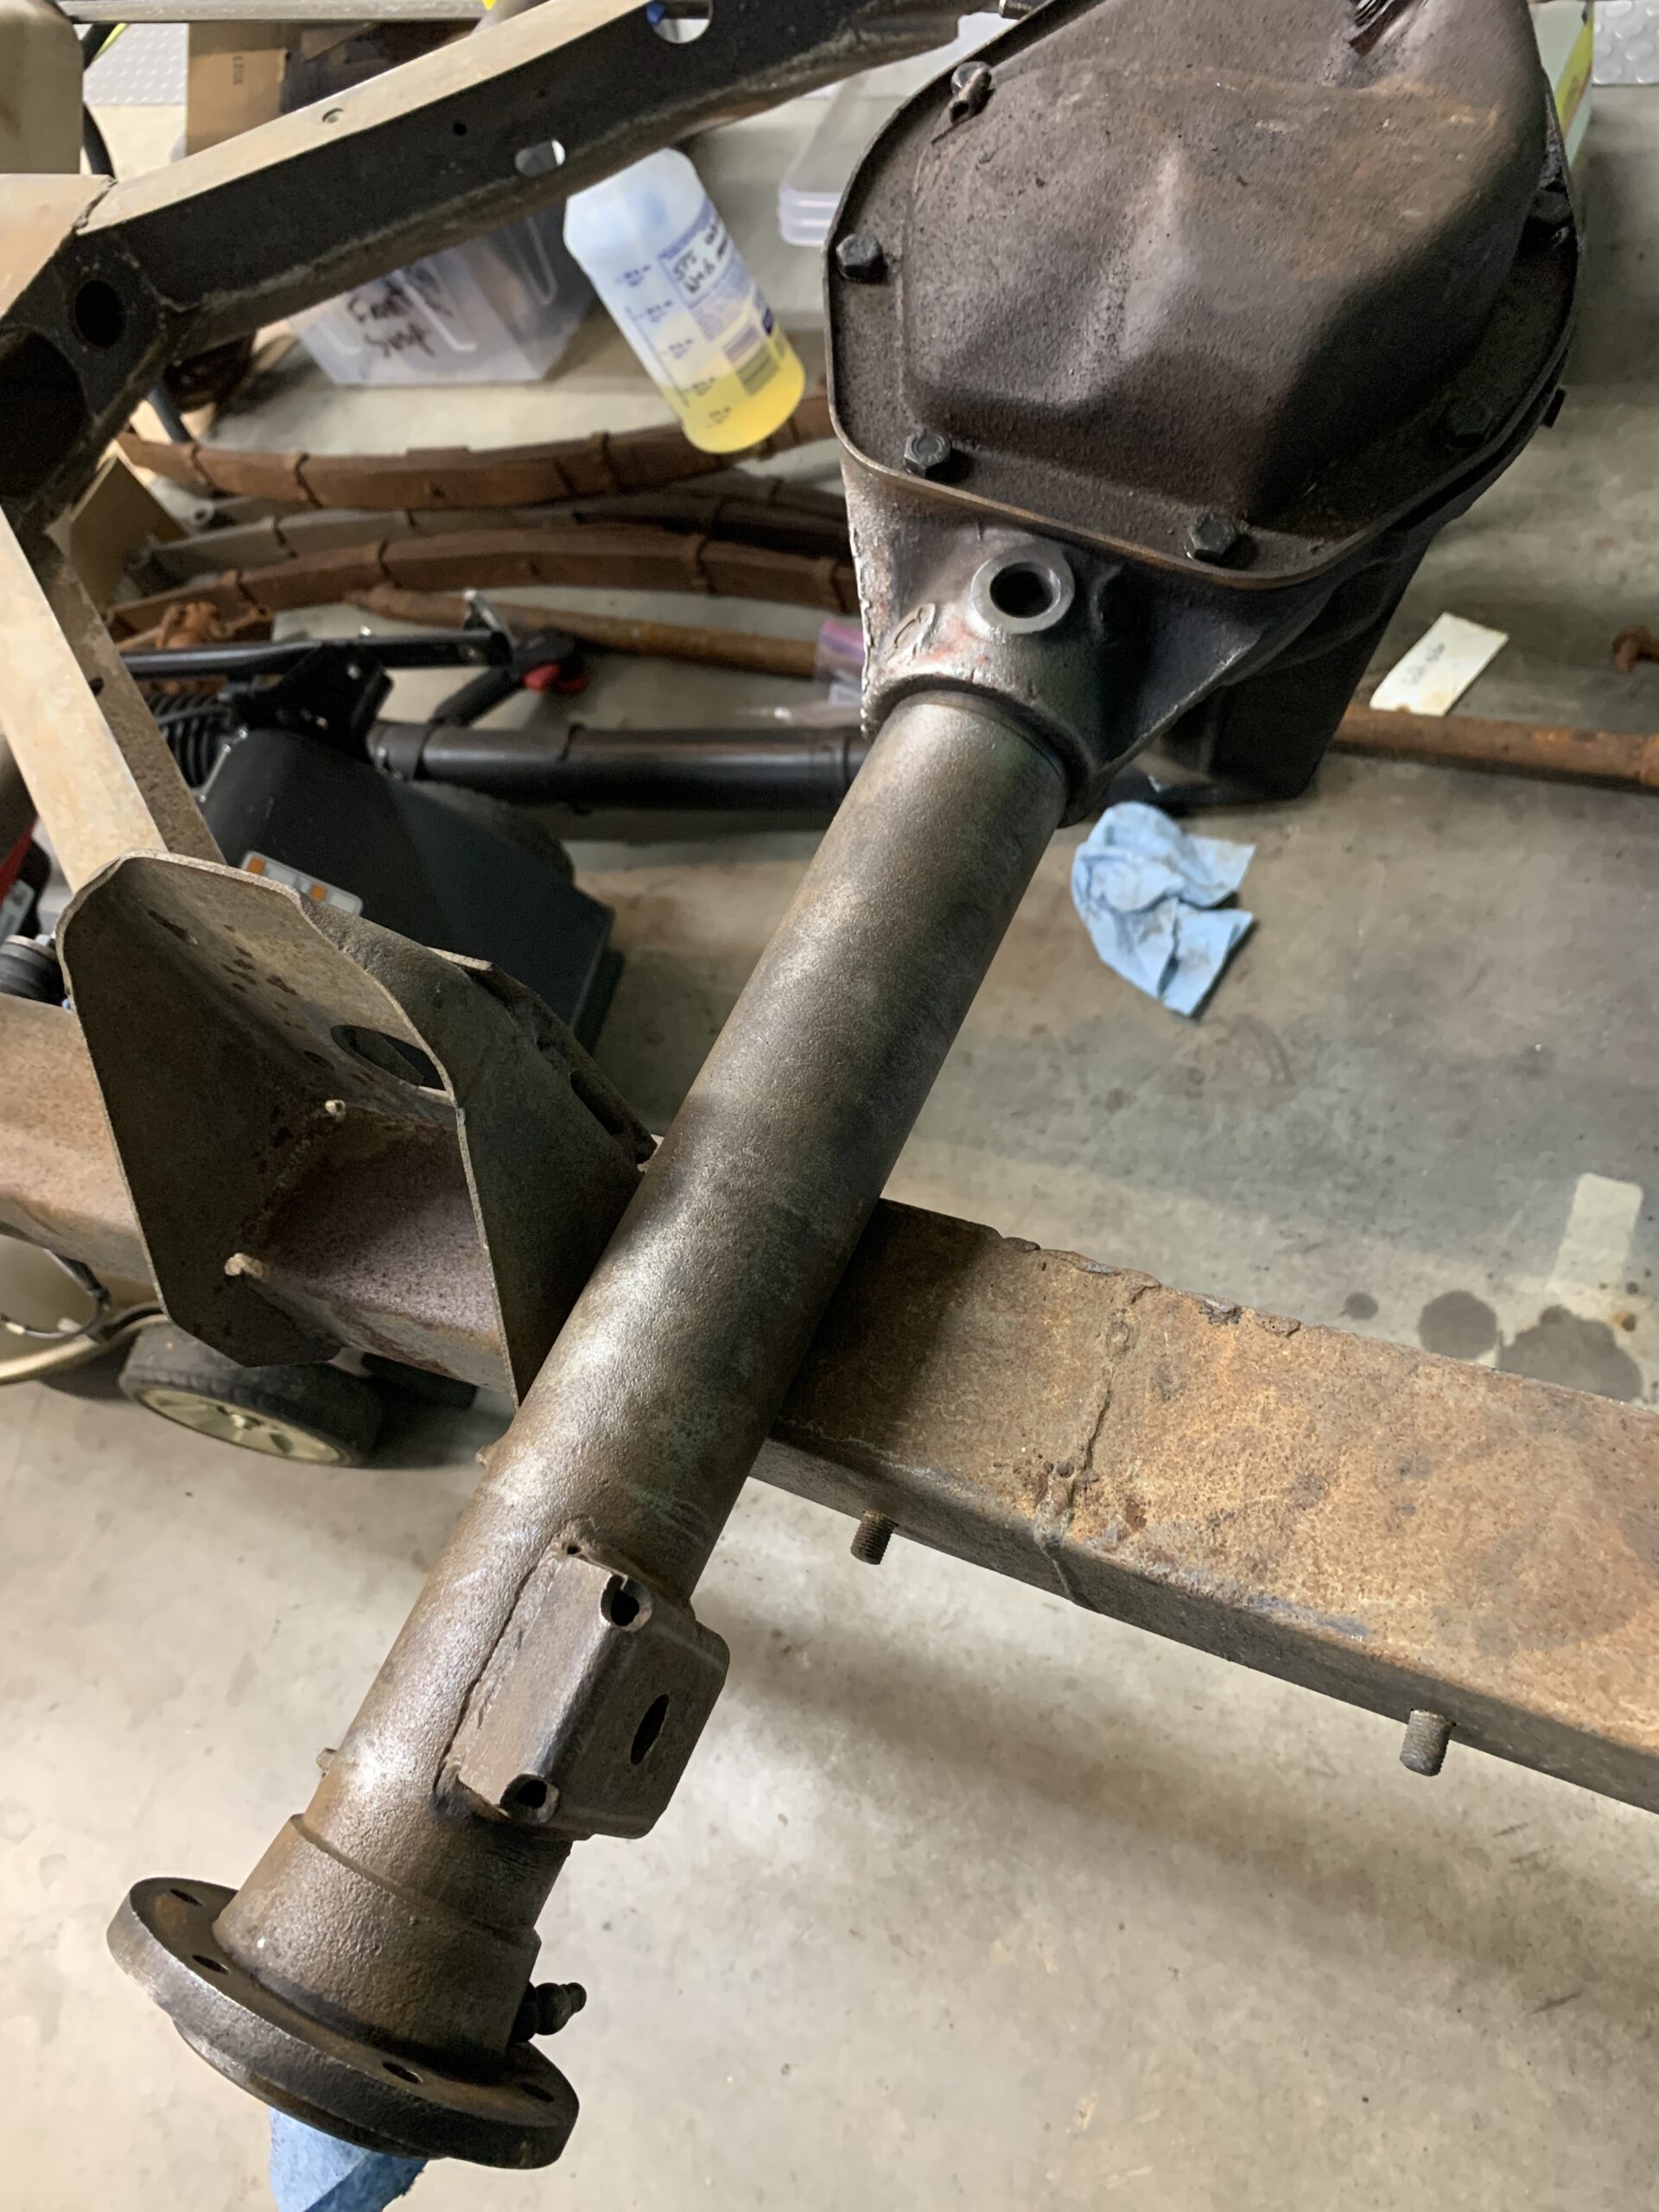
Under the pinion nut and flange you just see poking out of the rags in the above photo is a big washer, followed by a conical bearing, a bunch of shims, and a spacer.
![]()
The idea is that the shims set the bearing pre-load once the pinion nut is at torque (125 ft lbs). So with the oil seal uninstalled, and the pinion nut clamped down to torque… how do you torque to 125 you ask? Well you build yourself a fulcrum, and you borrow a big-ass torque wrench from your colleague Gary (cameo appearance bottom right). I had big ass son hold the fulcrum down while I put my all into the wrench to make sure it doesn’t let go and brain me.
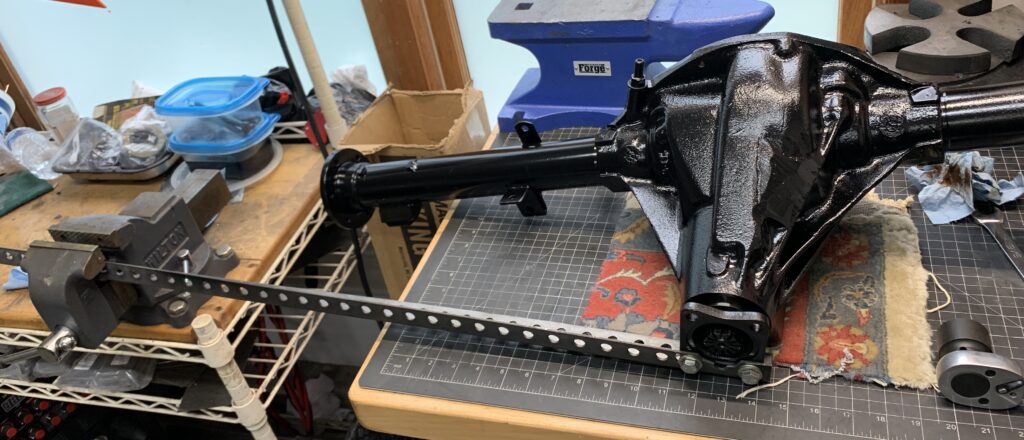
With the nut torqued down, you get yourself a teeny tiny torque wrench that measure torque in inch pounds. Lather, rinse, and repeat until you get about 15-18 in. lbs., per the manual, by adjusting the number of shims added between the bearing and the spacer. I found getting the unit turning at those low torque ranges cumbersome, but once moving the torque values were close enough. Once set, the pinion is removed (again), the oil seal is installed, and the nut reinstalled and torqued.
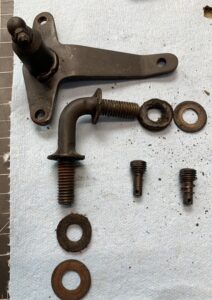
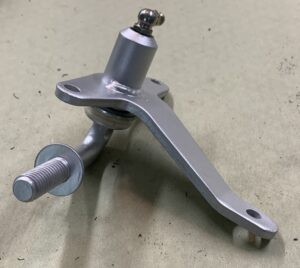
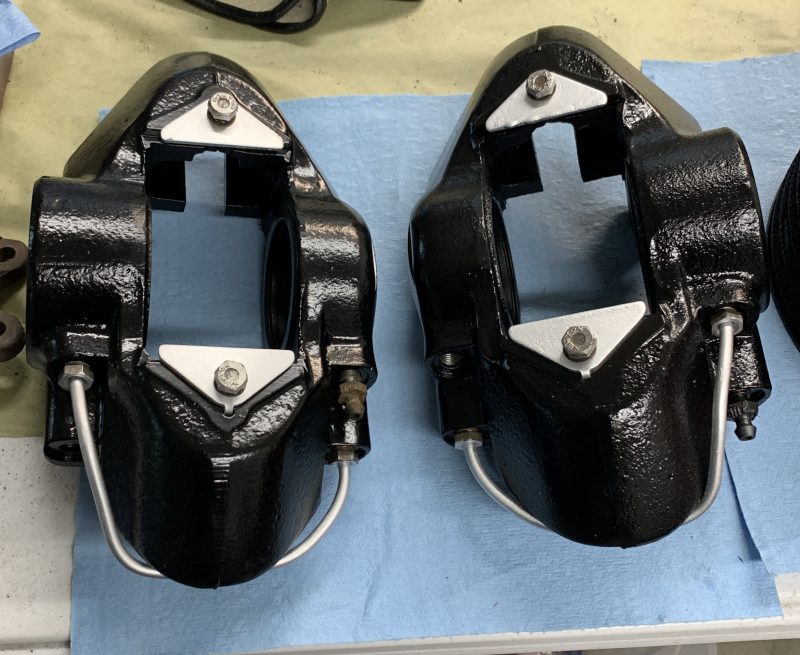
Along the way the parking brake swivel was cleaned up and painted.
Recent Comments