
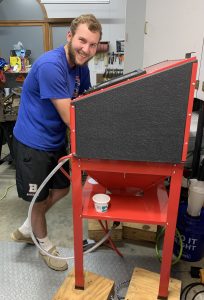
The tact I plan to follow for this restoration, is to first go through all of the major sub-systems and restore then as needed, but to minimally clean, media blast, and paint. With a generous gift from Dad, Evan (home from College for the summer) and I pulled together a Media Blasting Cabinet from Harbor Freight, which must have no less than a thousand nuts and bolts, and upgraded it to enhance its utility. I chose to use Garnet as the blast media as its hardness put it somewhere below alumina and above glass beads. I needed to put the cabinet up on blocks so the giant could use it.
Our first stop was the front suspension bits. I pulled together all of the parts I had from the boxes and mocked up one on the frame to make sure I understood how it all went together. Once that was done, I picked out all of the best bits and started the cleaning painting process. I decided to go with Eastwood Chassis Satin Black, which contains some epoxy for strength and durability.
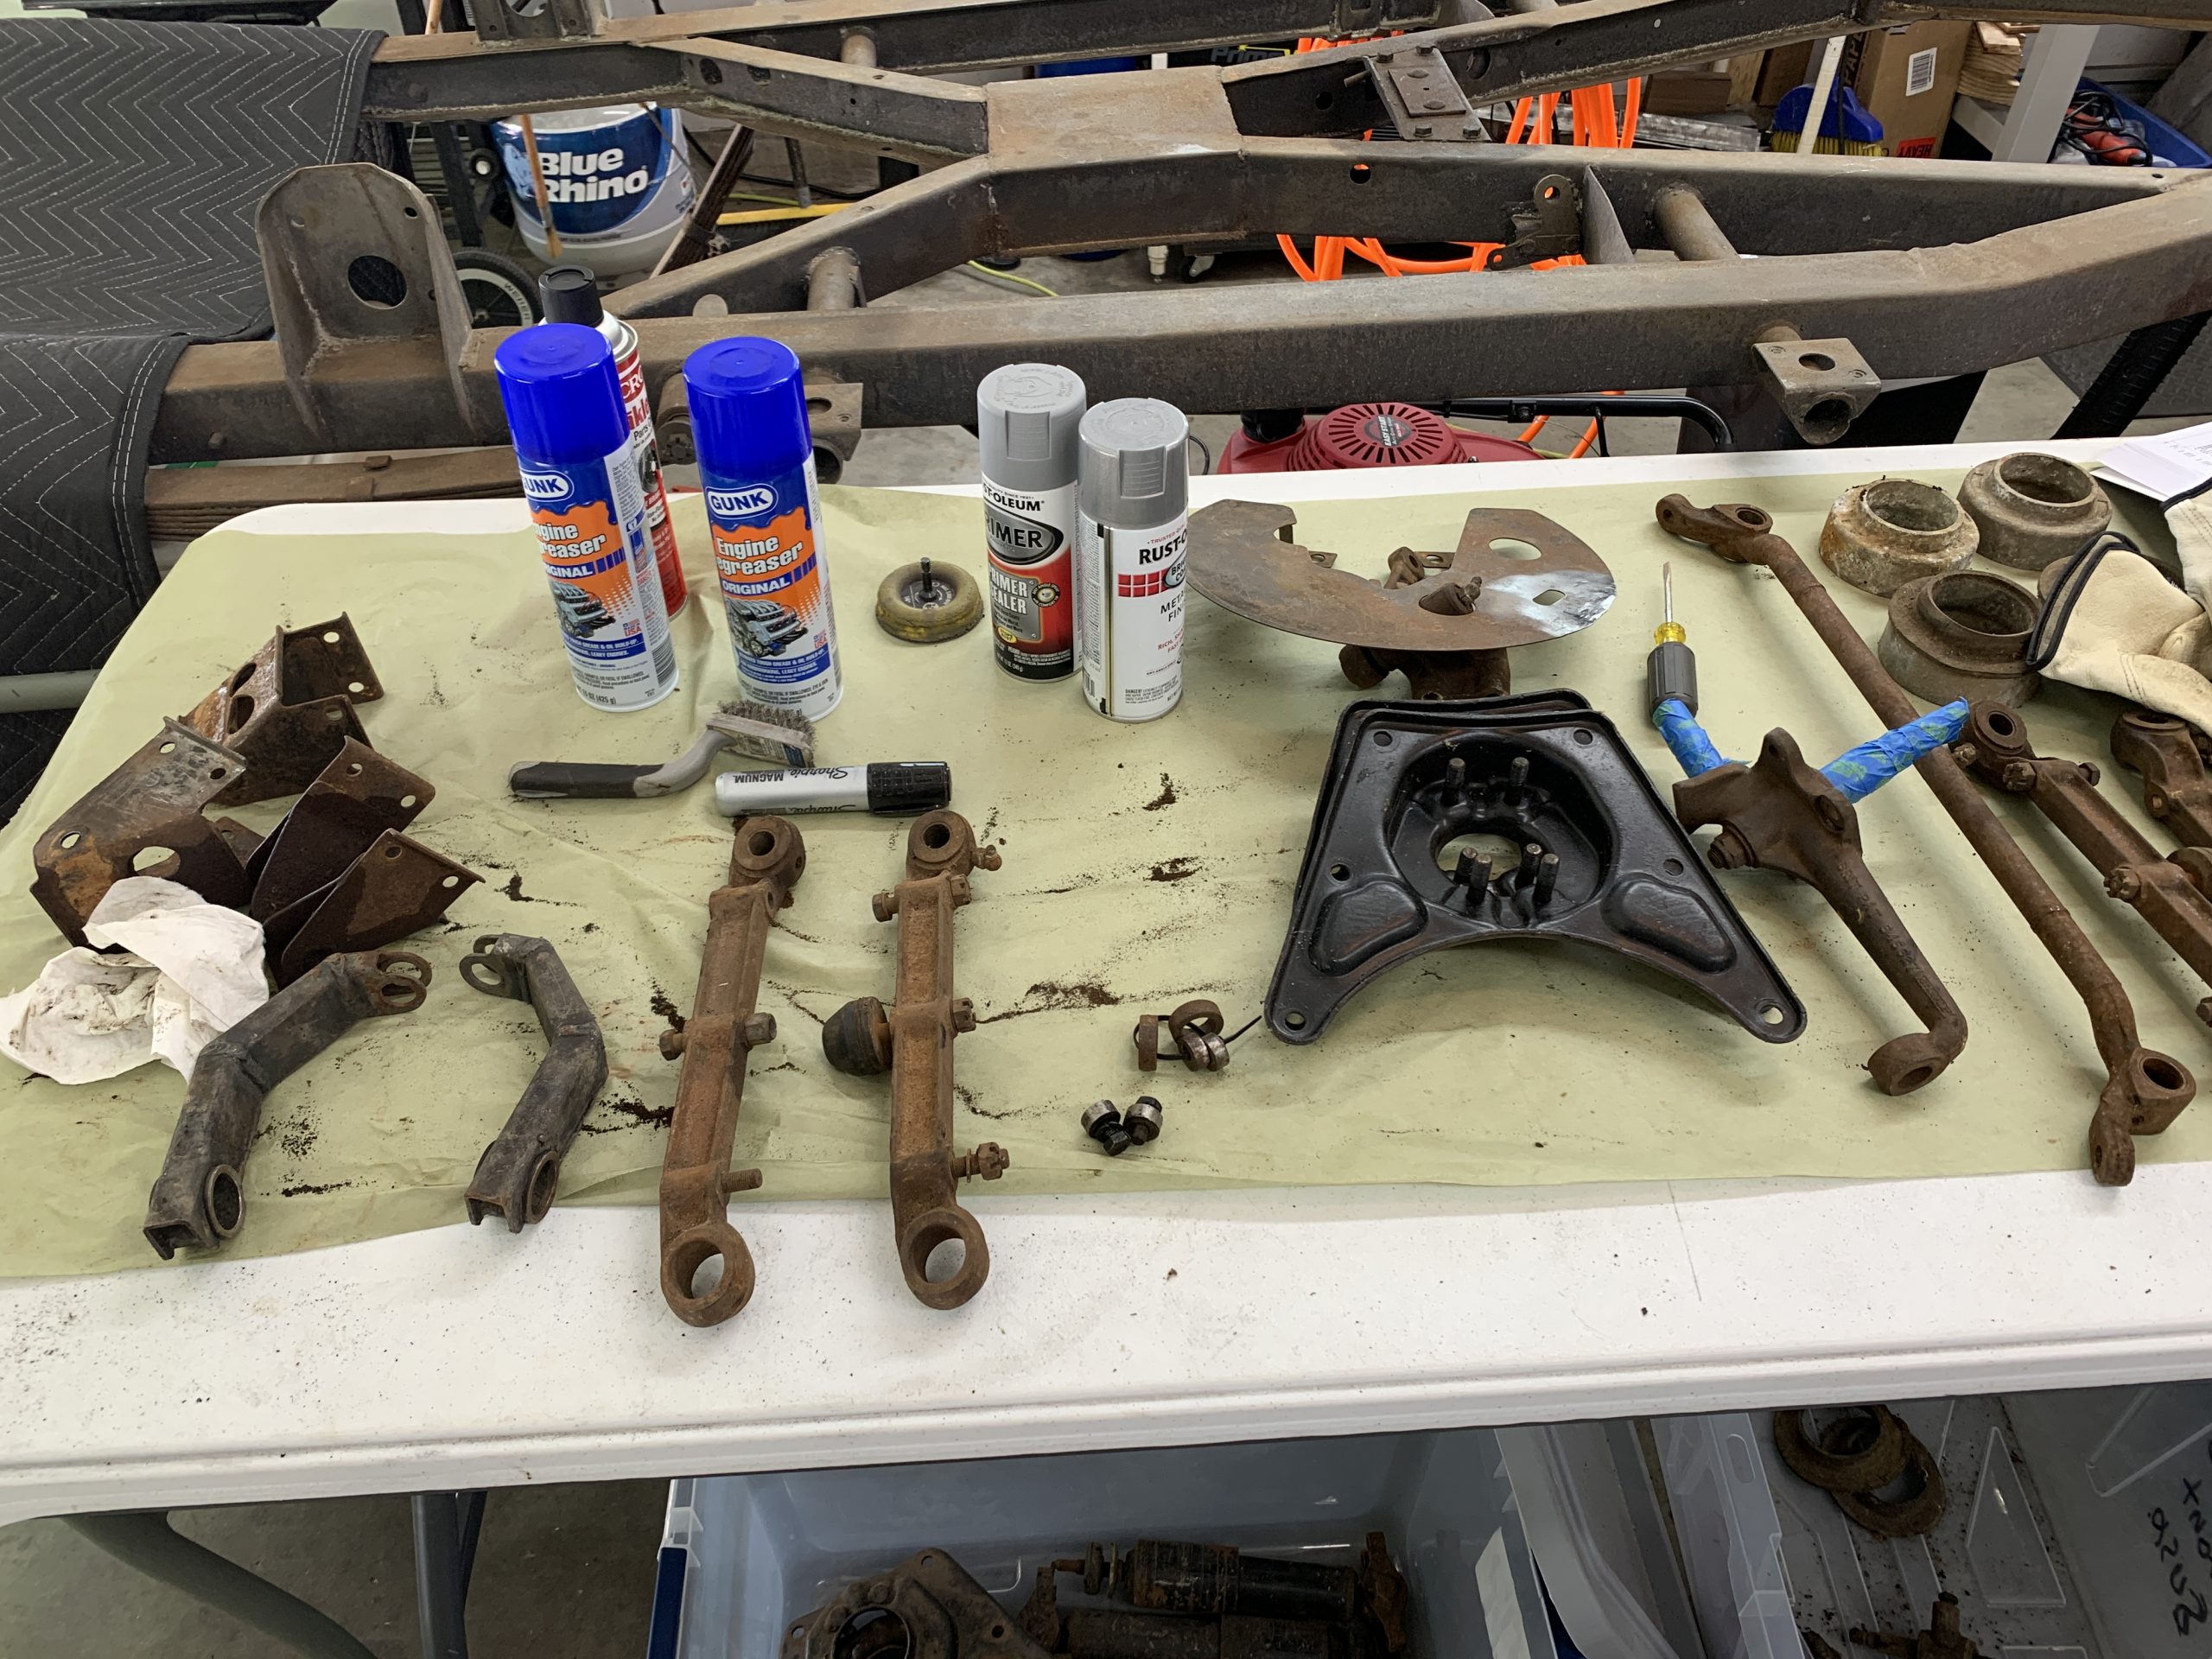
This process left me with a box of wishbones, linkages, pans and springs ready to install once the frame was ready for them. I purchased a pre-sorted front suspension kit from The Roadster Factory complete with urethane bushings, thrust washers, trunnions and other assorted British-isms.
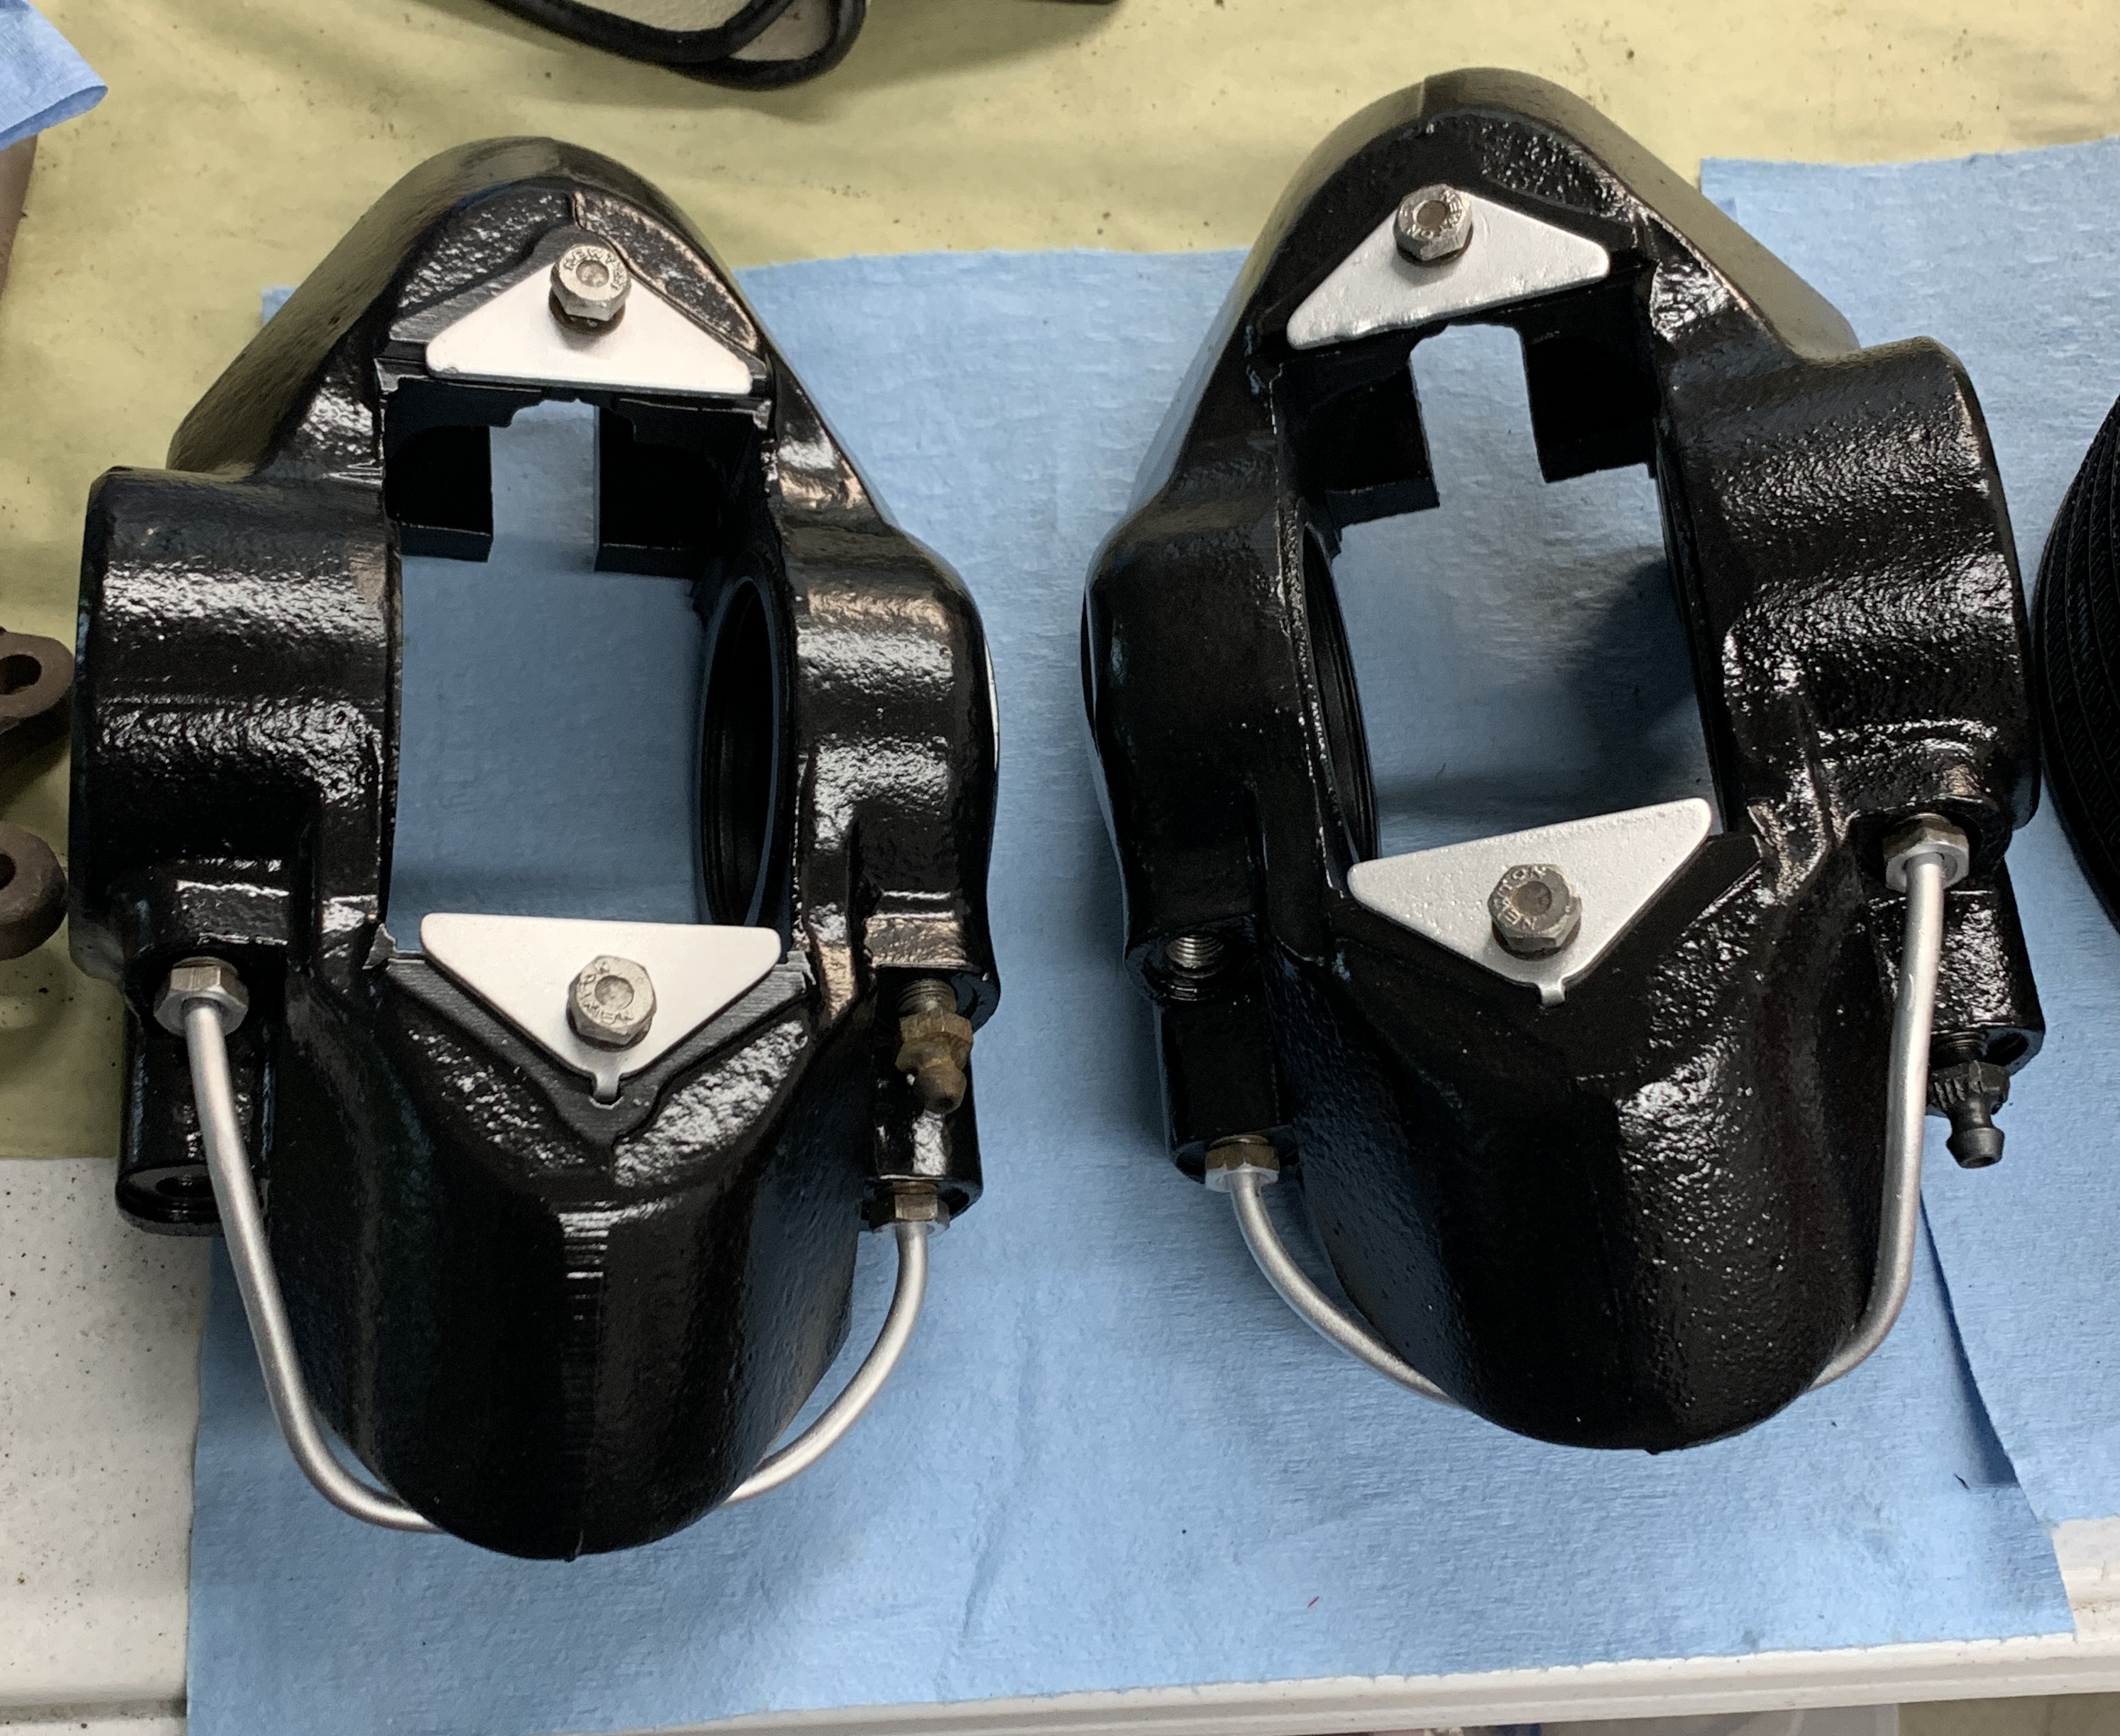
The front brake calipers were also rebuilt. These Girling brakes had to have the pistons pushed out with a grease gun, but besides making a mess this worked safely and well. The alternative is to use air pressure, and I did try that, but they were too rusted and wouldn’t move with 150 psi of air. These were degreased multiple times, blasted, and painted. They await Stainless Steel calipers and rubber seals. I’ll wait to pull out the seals from the plastic bag until they are ready to go on. No sense letting them dry out in the next years while the rest of the work gets done.
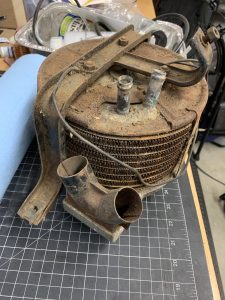
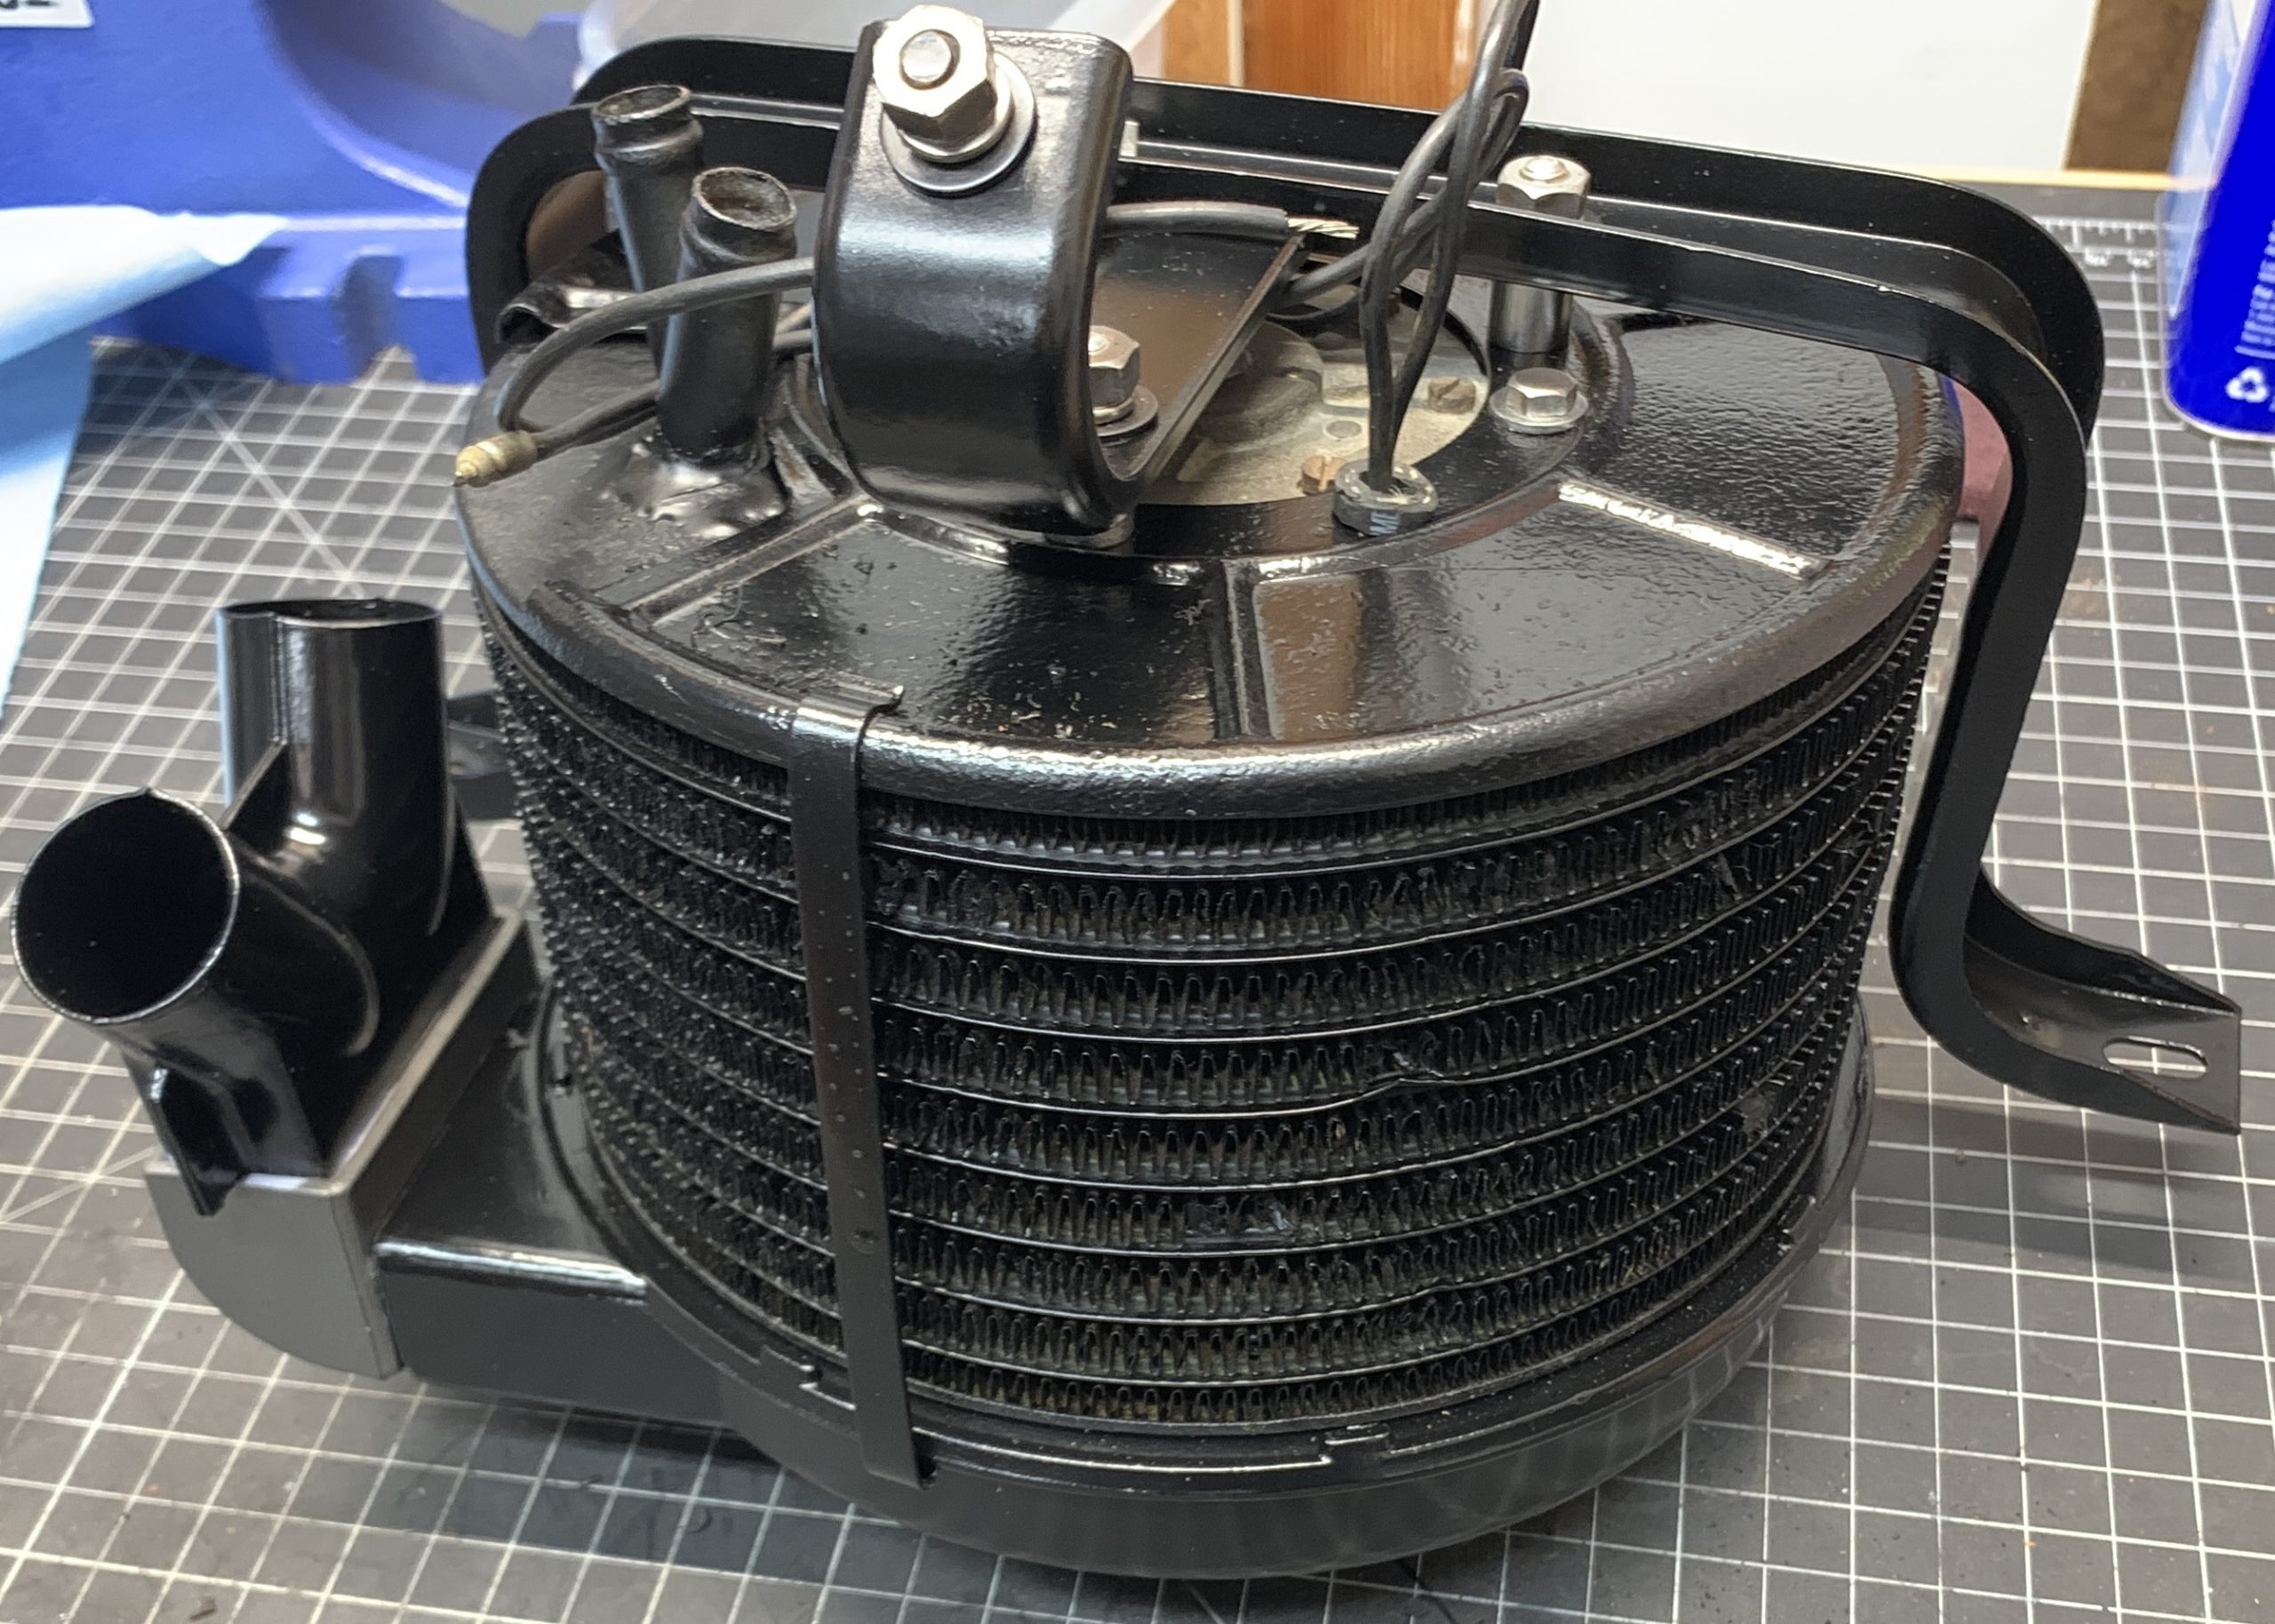
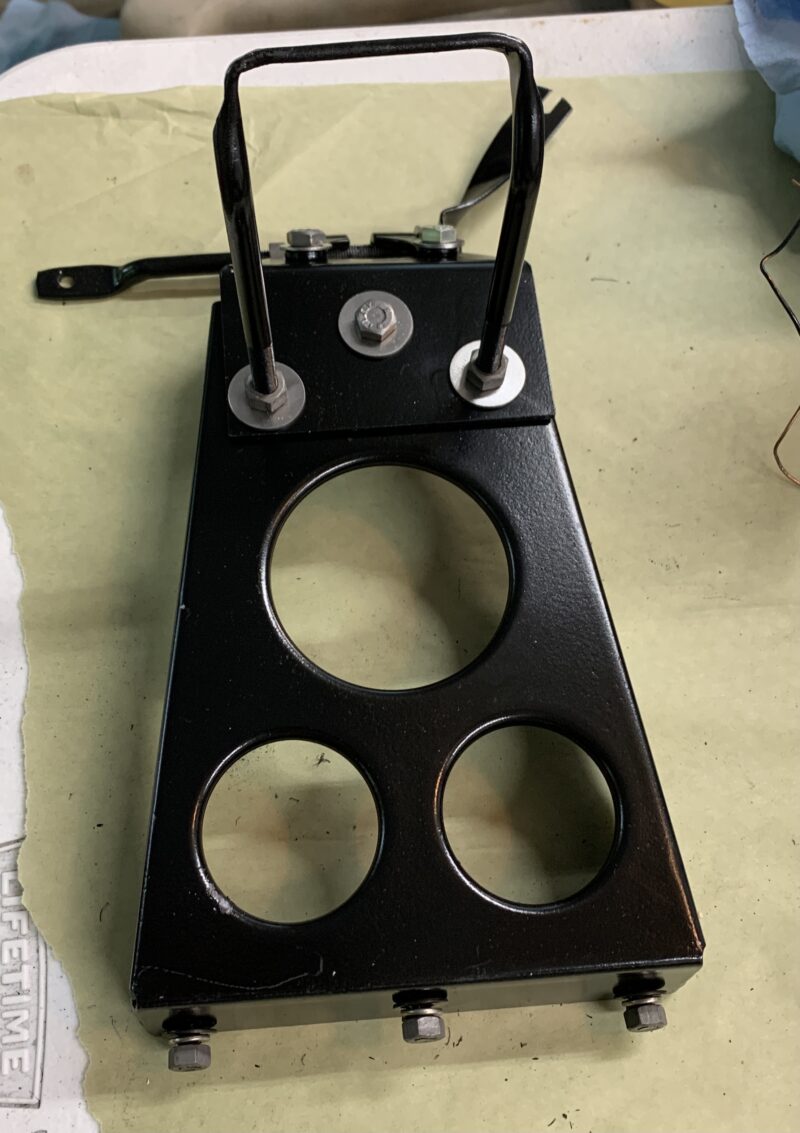
The heater unit, which mounts under the dash was also a mess. I disassembled it, and then soaked the heat exchanger in a rust chelator solution (evaporust) to remove most of the rust. This left the solution spent, but drastically improved the radiator without any physical abrasion. The unit was painted with a thin radiator black paint, and reassembled. One thing I learned while researching this unit is that one must properly install it in the plates when pressure testing, otherwise it expands like an accordion… and that ain’t music to my ears.

Recent Comments