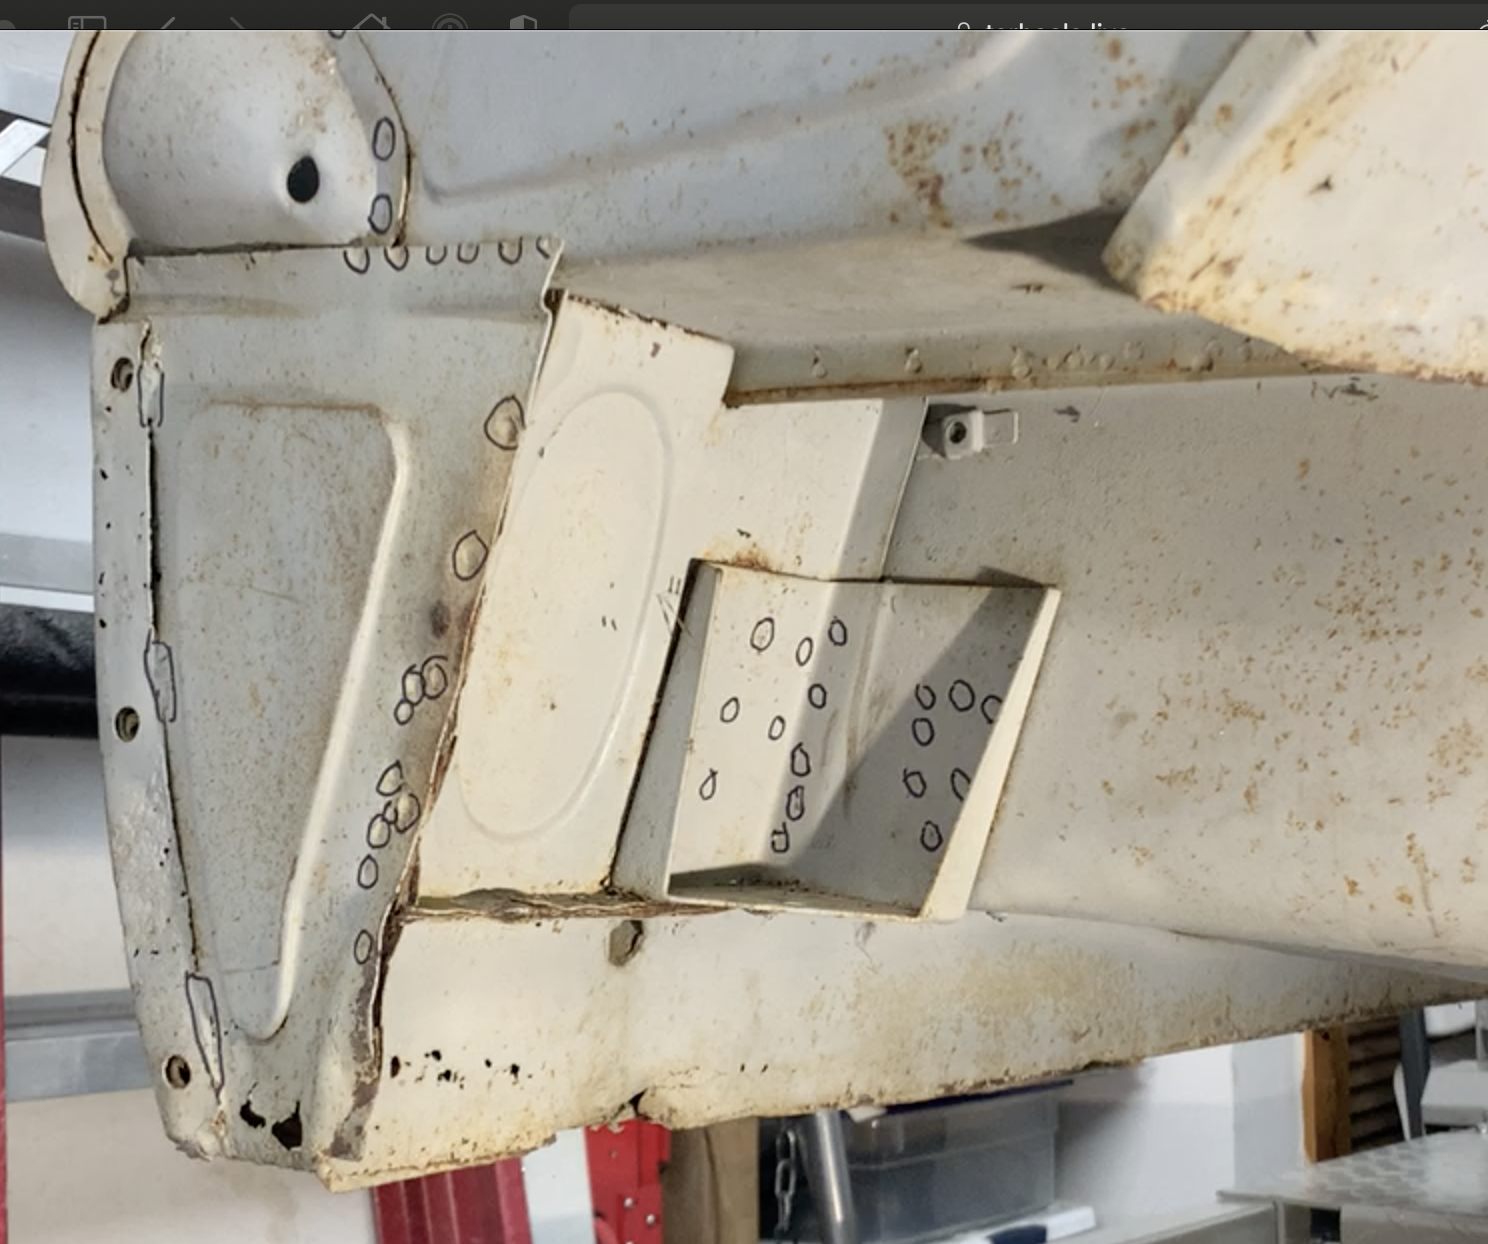
As promised, my first entry into the body work was at the rear corner, passenger side. I started by drilling out the spot welds for the outermost stiffener piece. There is a tube that goes through the rear valence and the cavity to mount the rear bumperettes. I’ve never actually seen how they mount, I just know they go through there to the chassis. Figuring this area would likely get disrupted during the repairs I measured the angle. The body is sort of flat and is supported by the floors, so a reasonable measure.
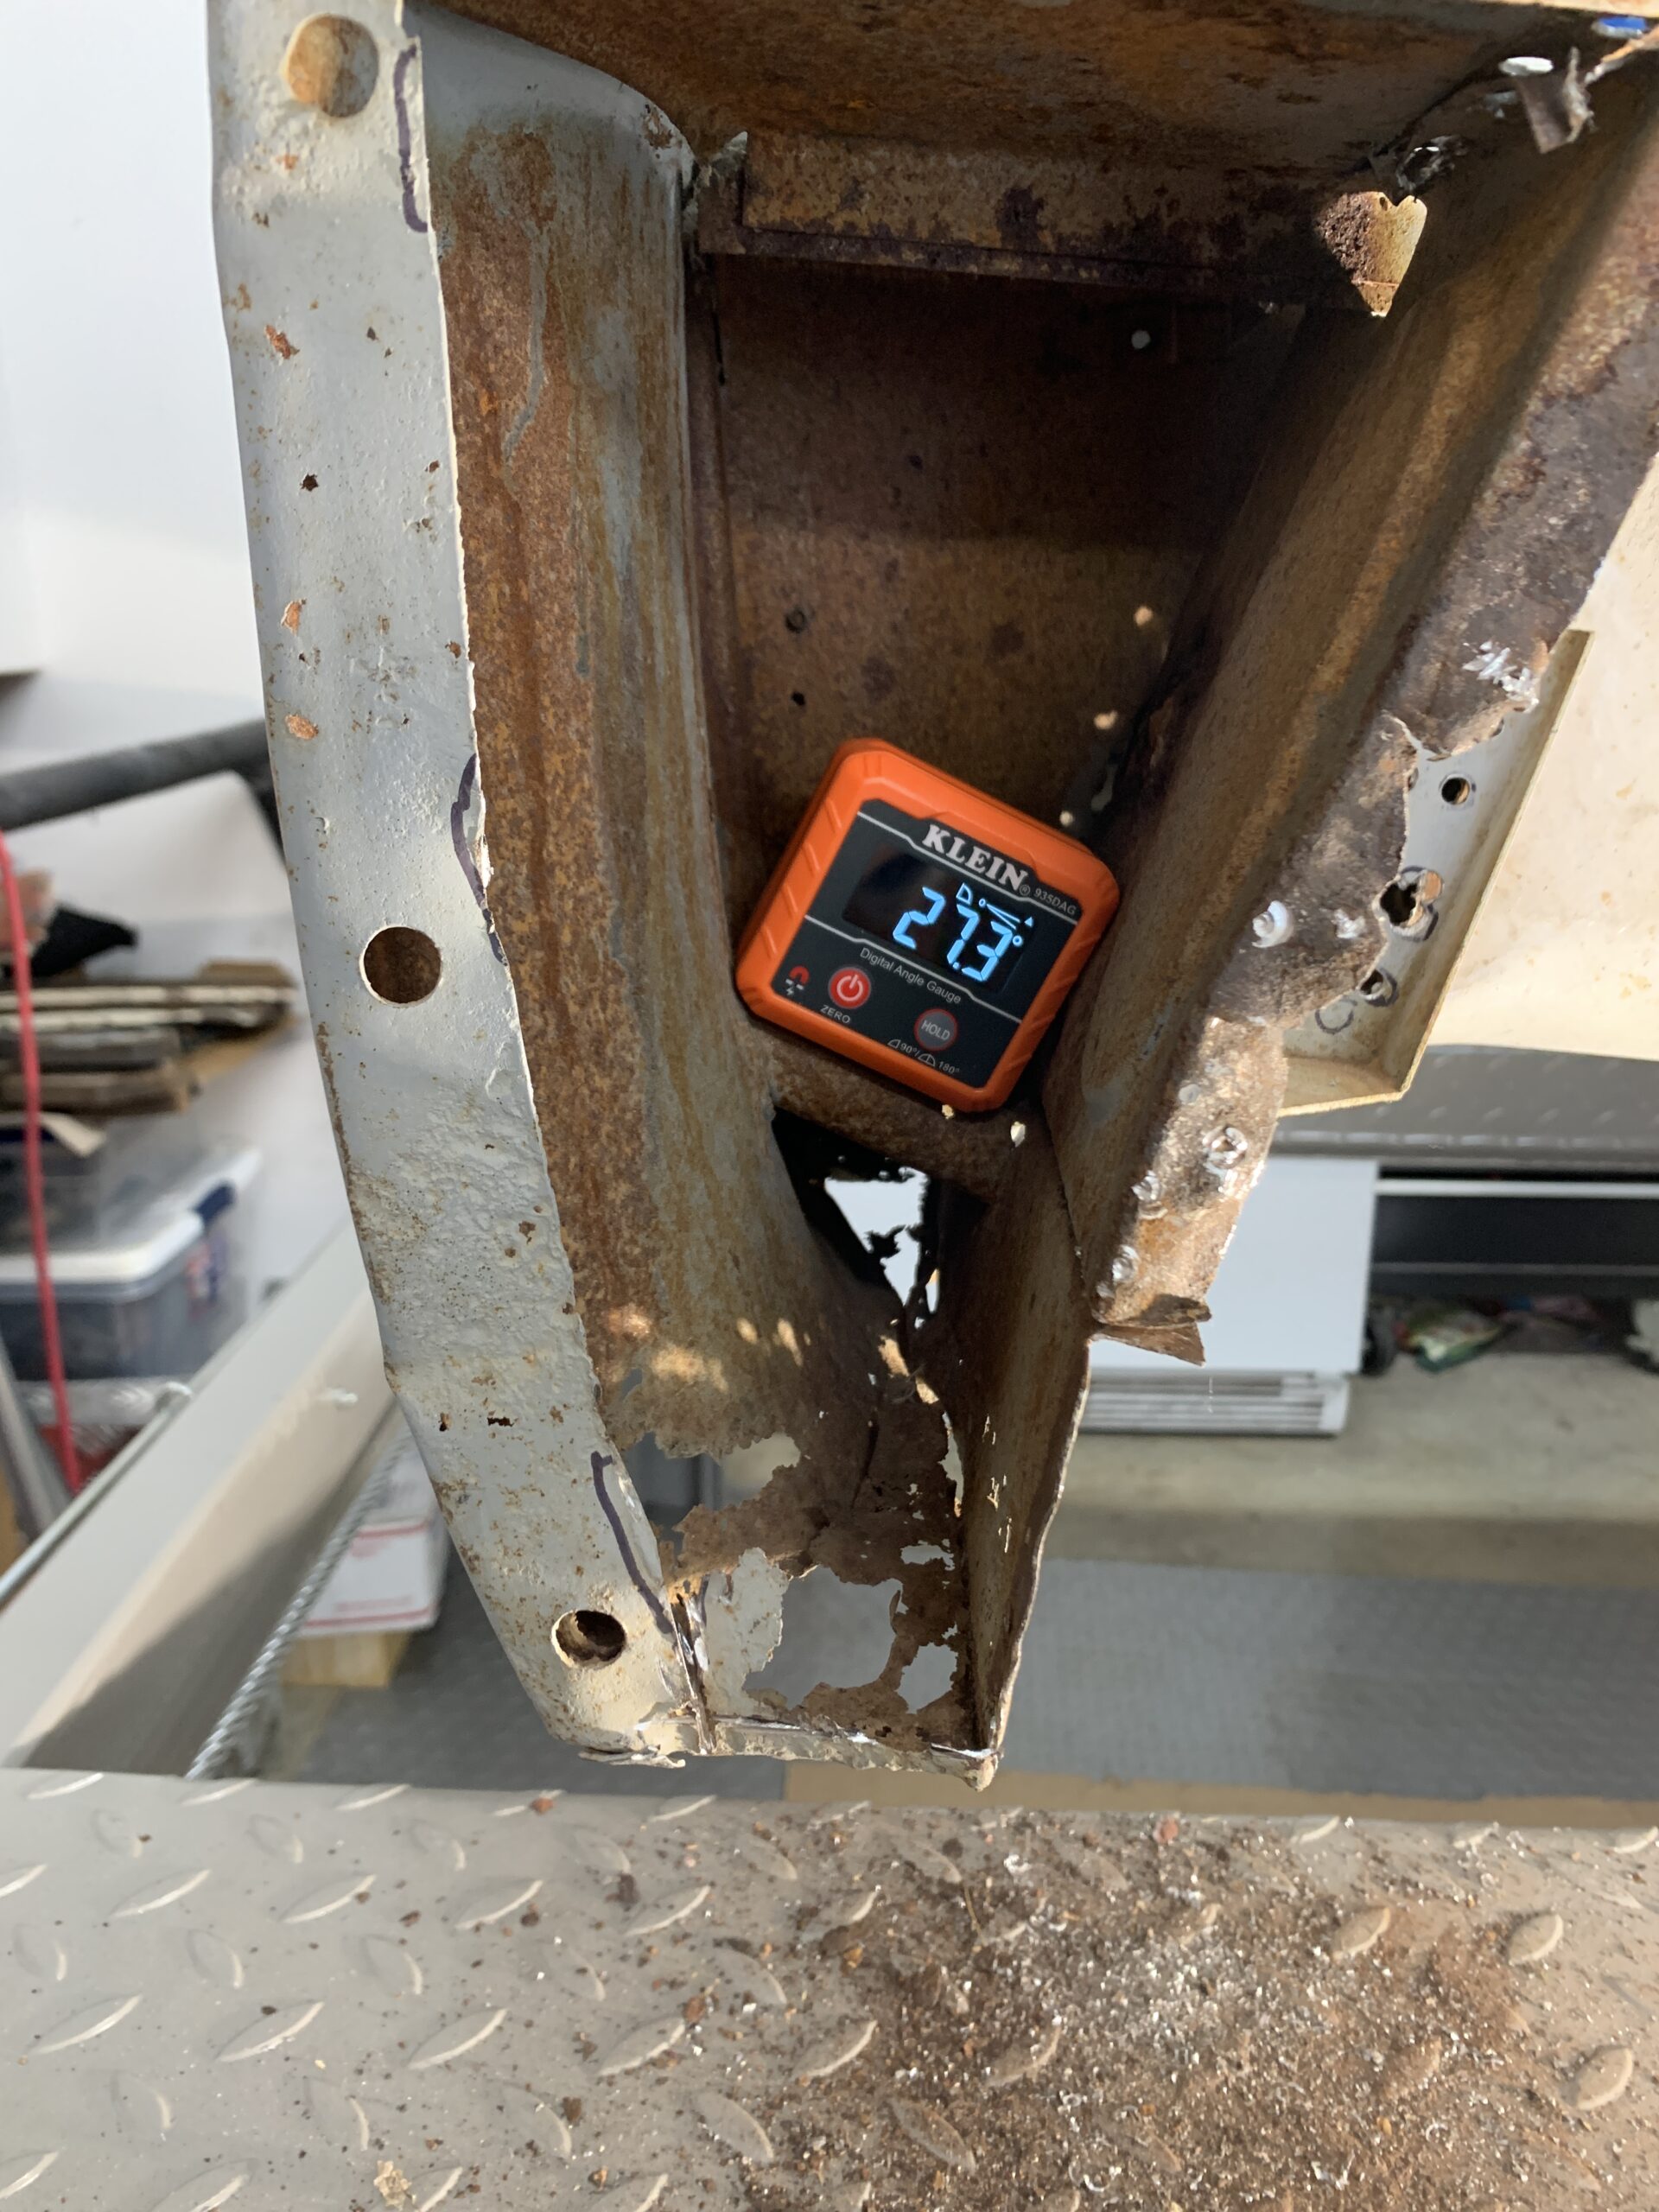
The closing panel is dented right there so looks to be about 2 1/4″ from the bottom.
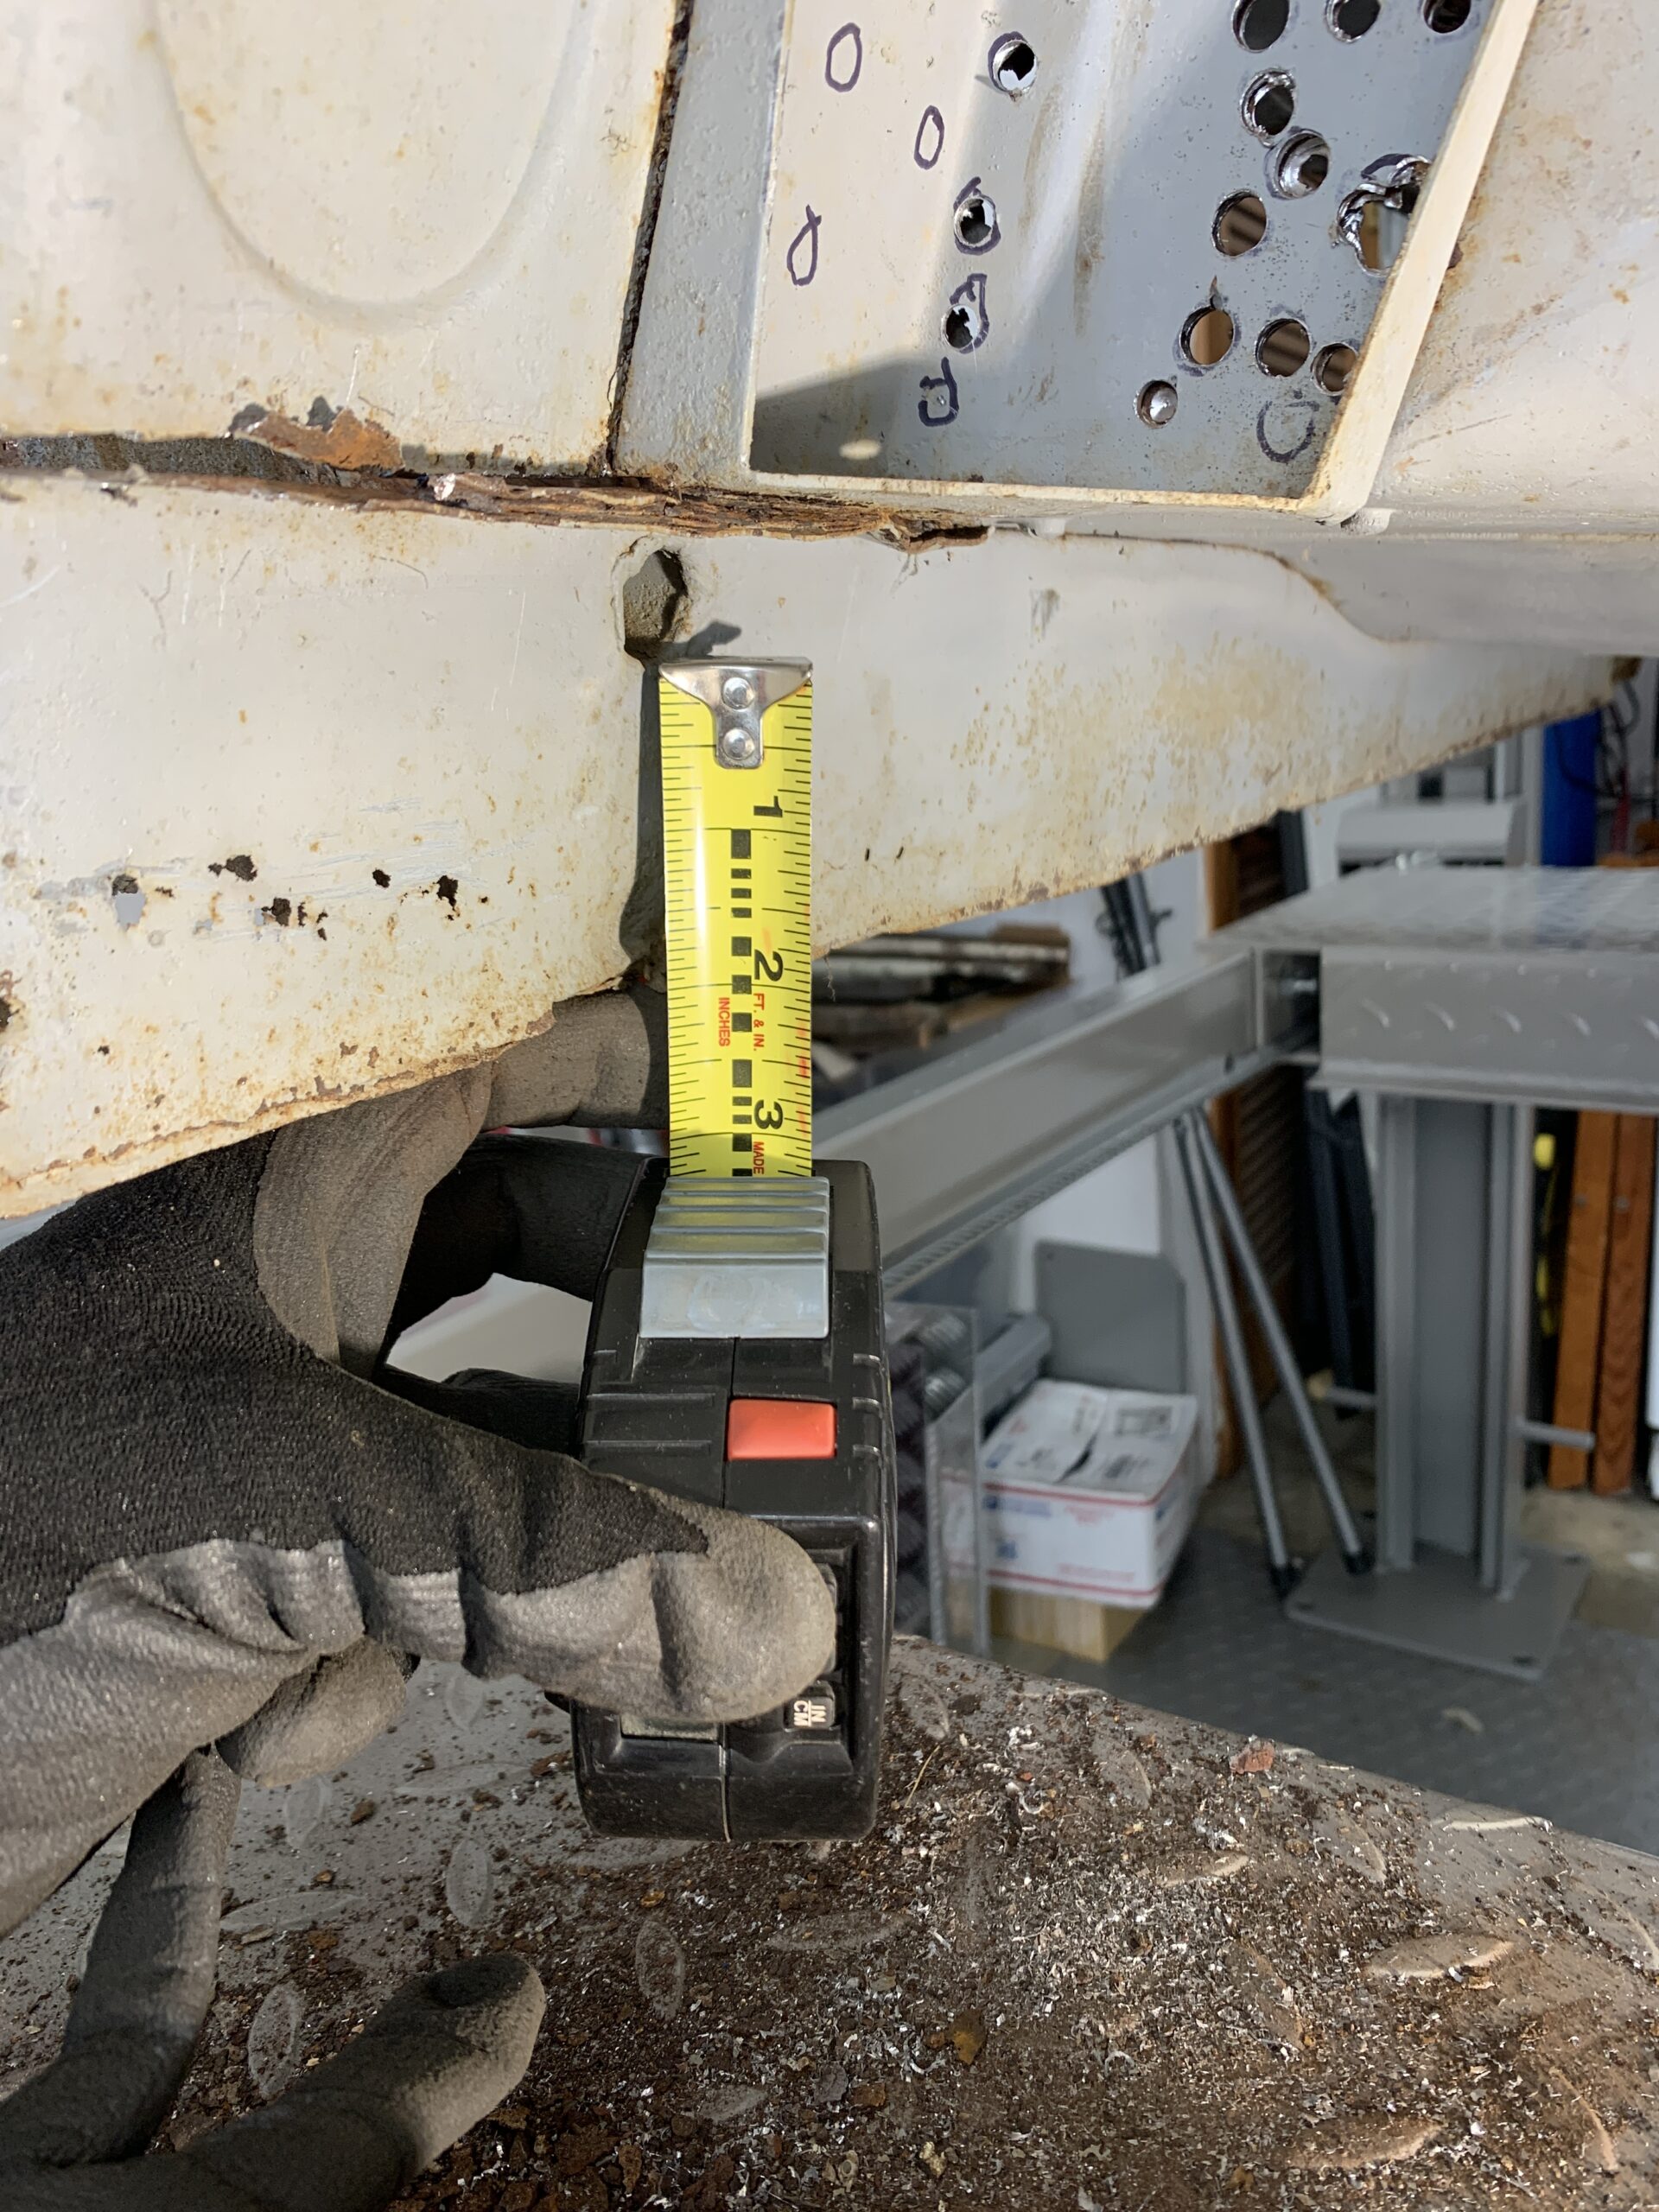
One thing worth noting is the thick sandwich between the flanges immediately below the support bracket. It is heavily corroded so I can’t actually tell what is between the flanges of the vertical closing panel and the Rear Apron Rail. Must be something added to strengthen this load bearing area. I’ll make some inquiries… (EDIT: inspection of DS showed it to be caked in mud… go figure)
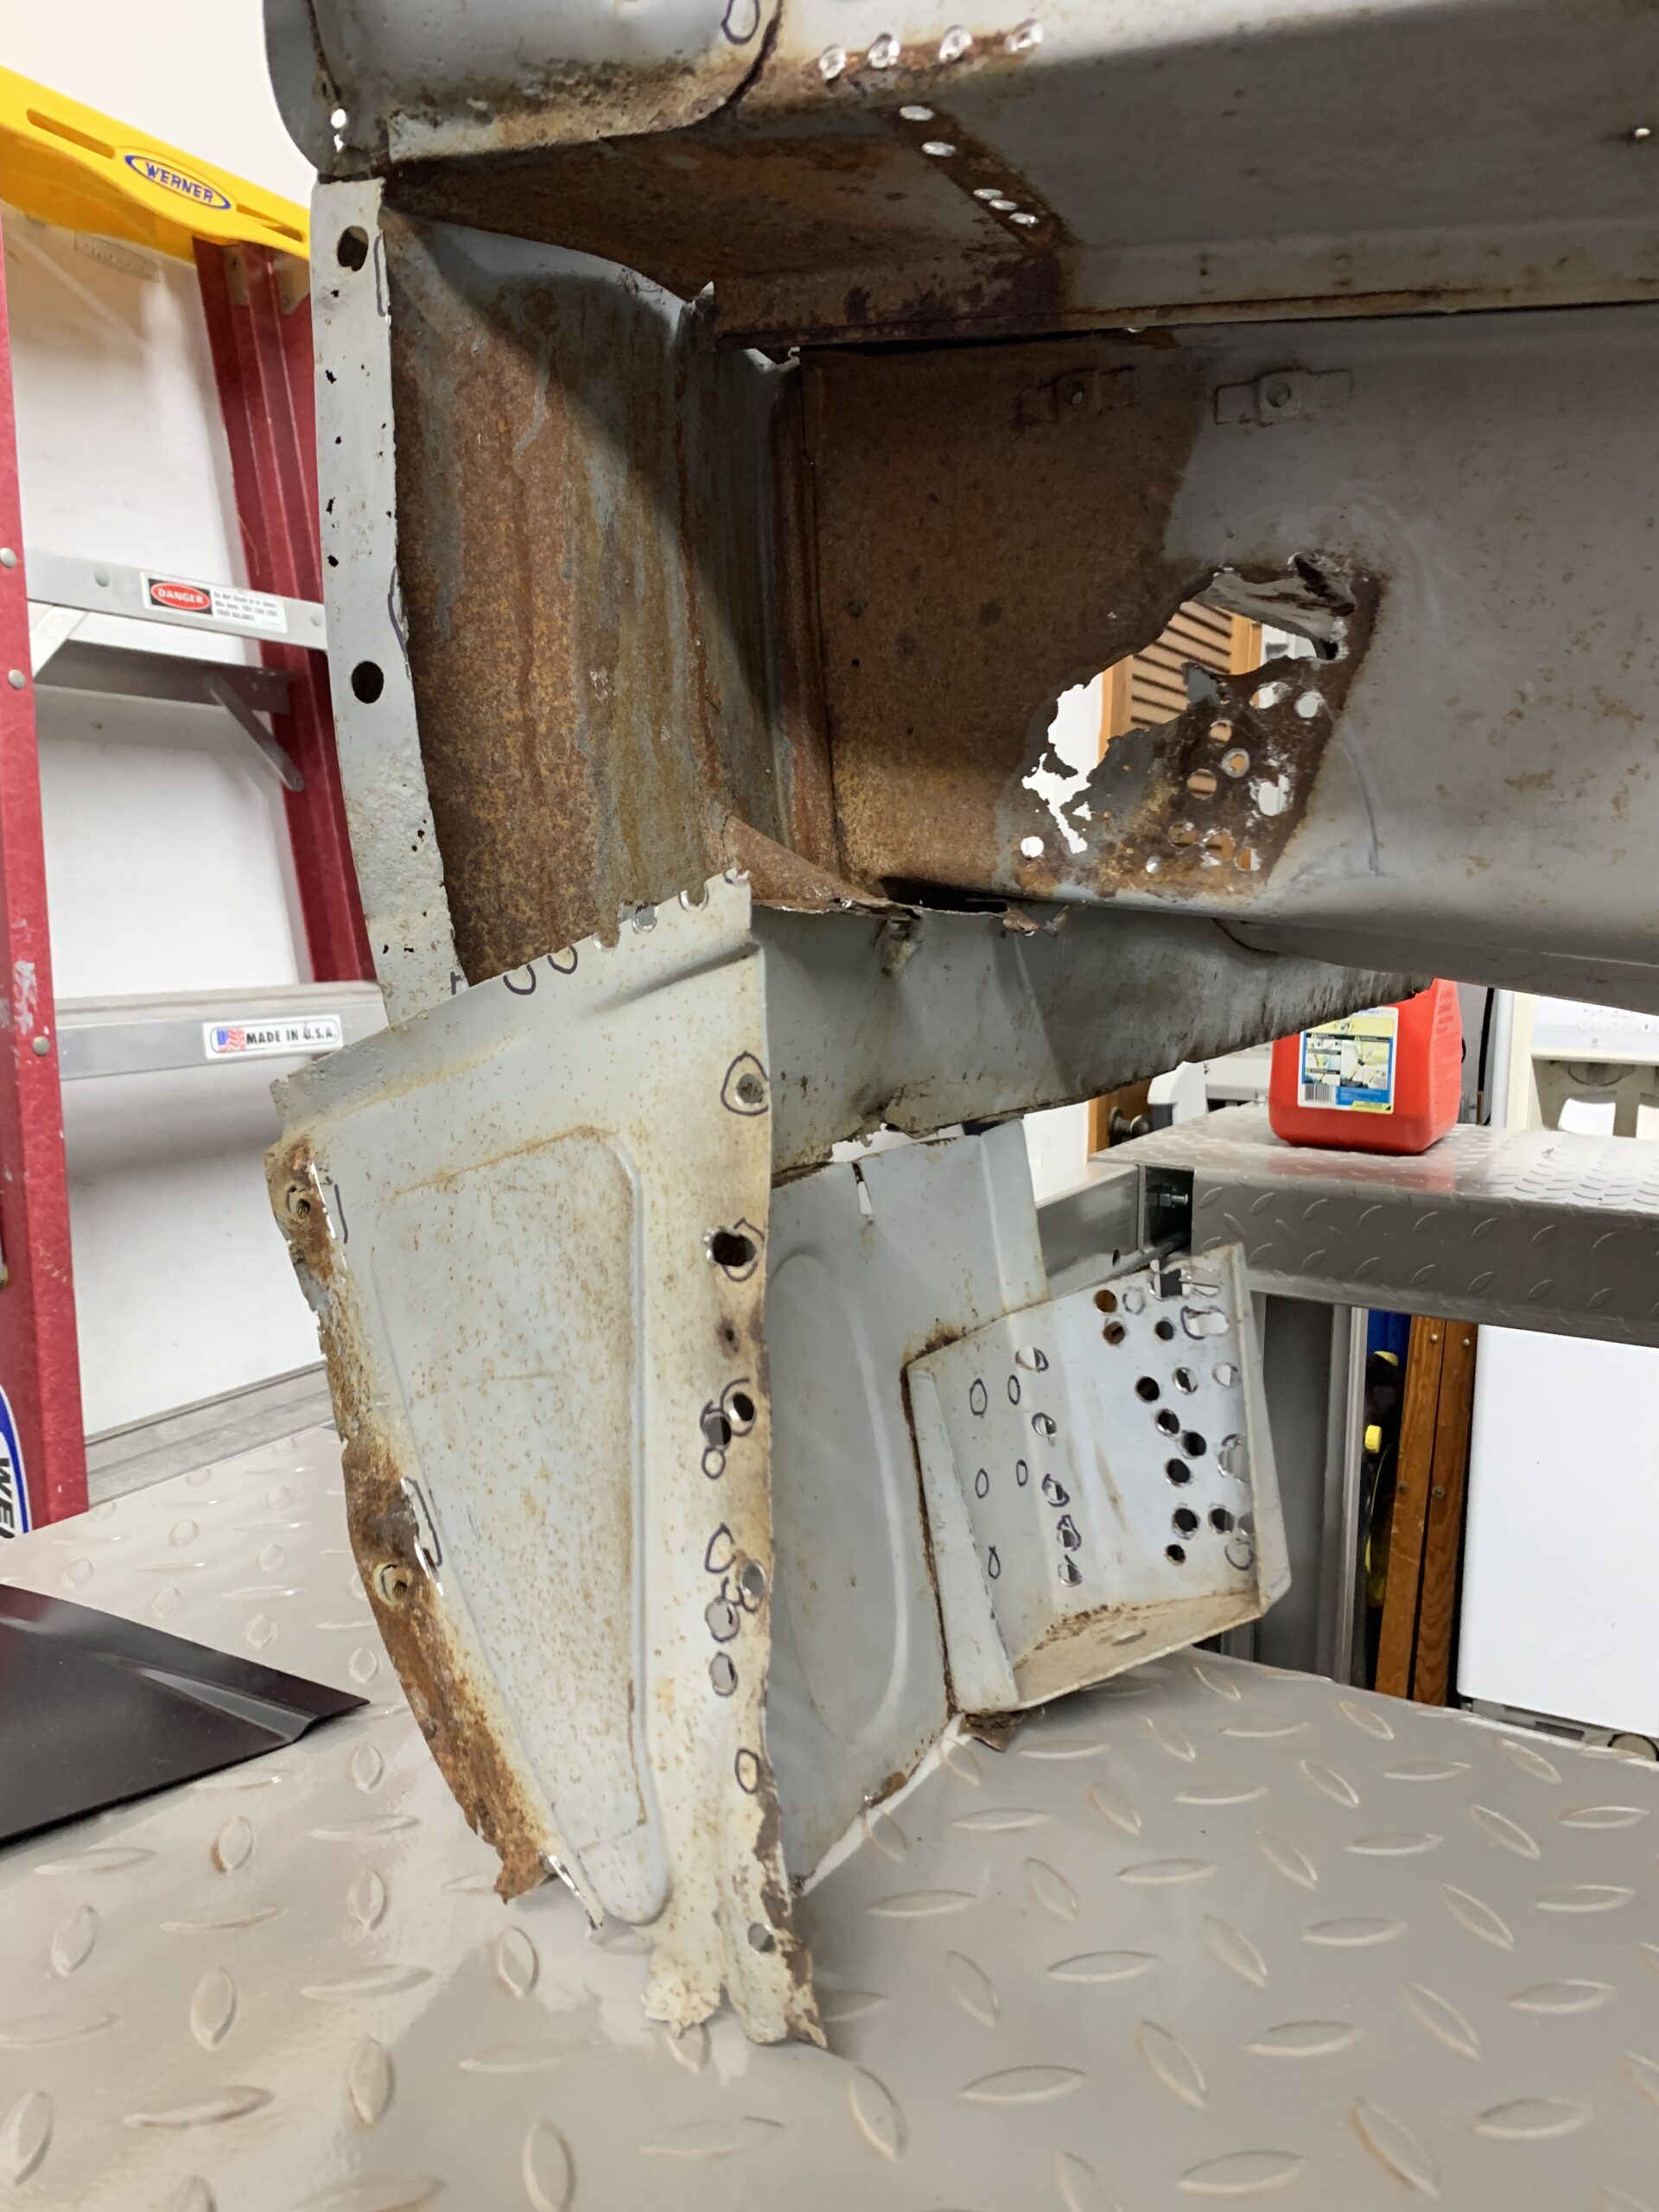
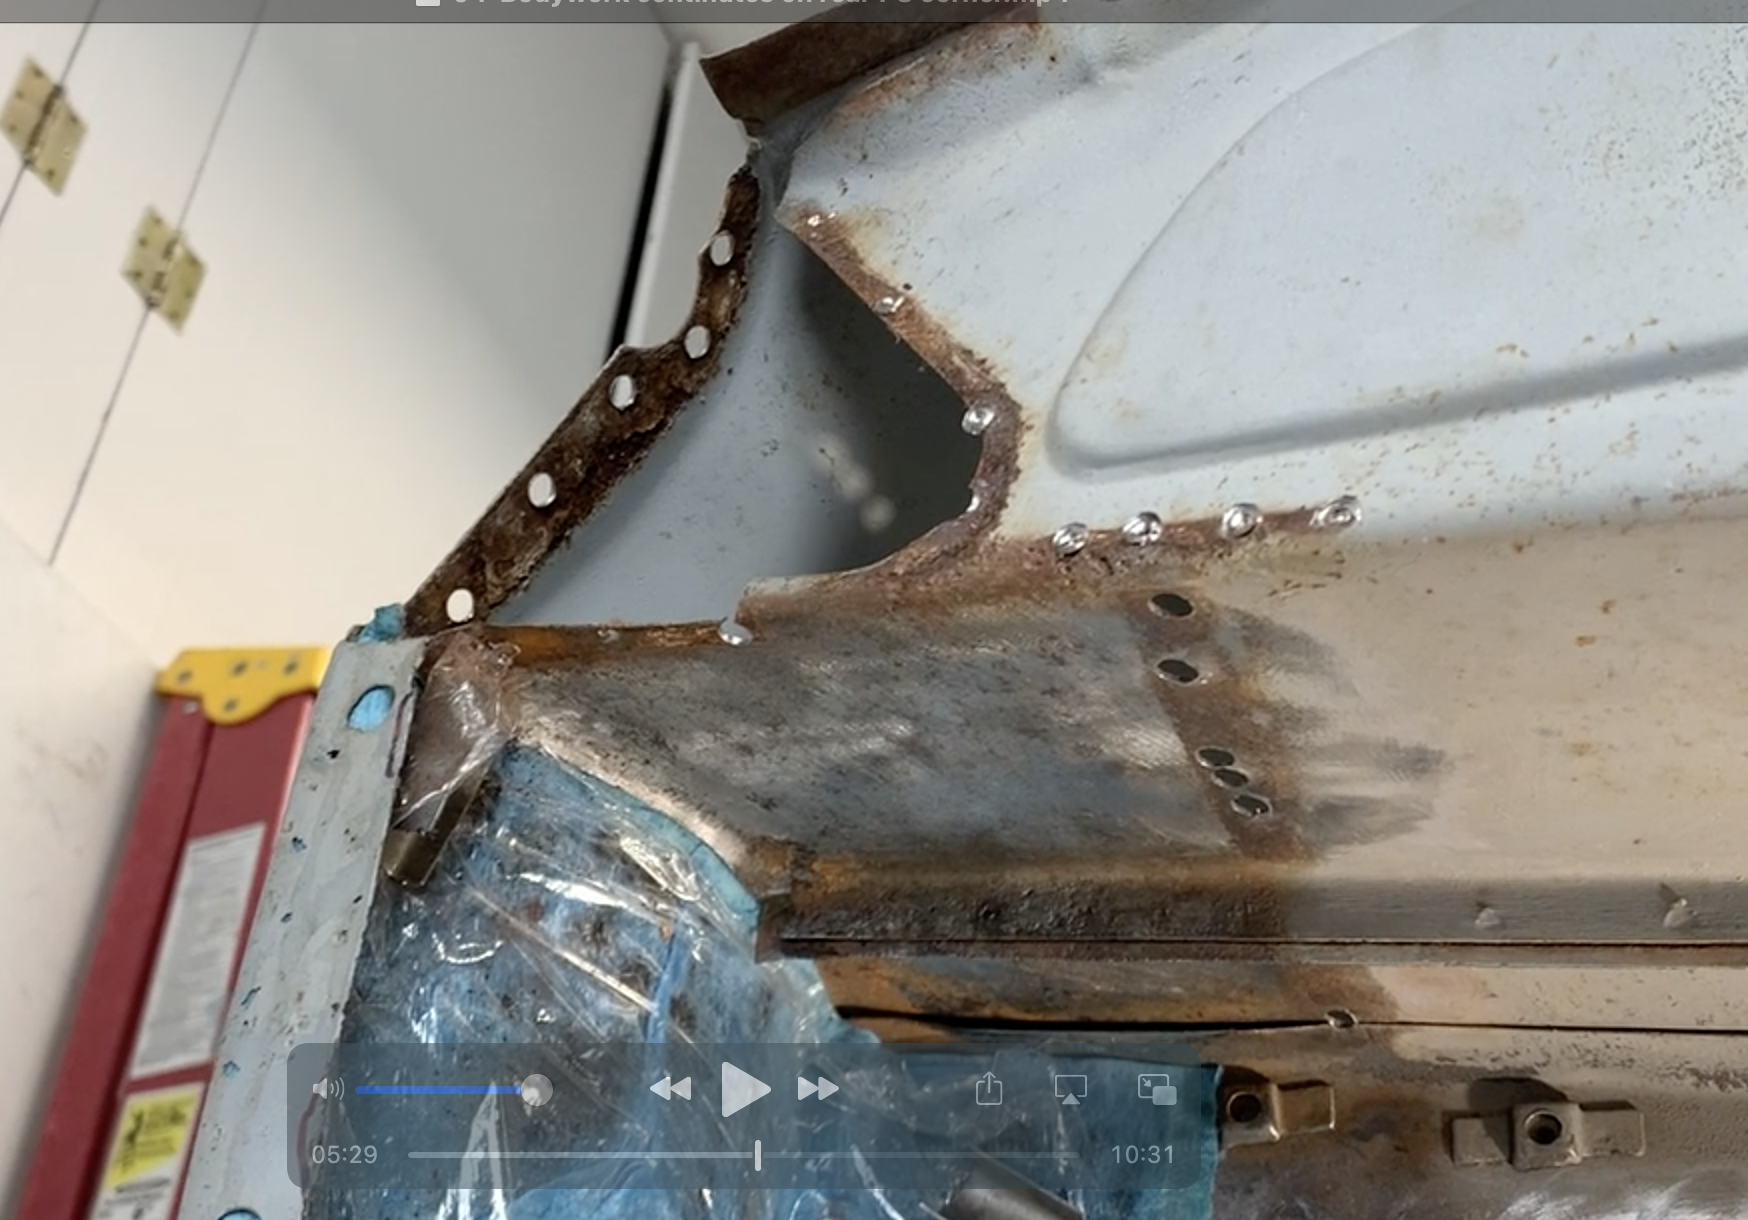
With stiffener removed, the hidden rust is revealed, and while the low sections are trashed, the higher areas are not horrible.
Next was the forward enclosing panel and bracket. The panels behind the bracket are completely corroded so these panels need replacing. I left the bracket attached since both will be replaced. The rot in the spare tire area will require a patch prior to reinstalling the new panels.
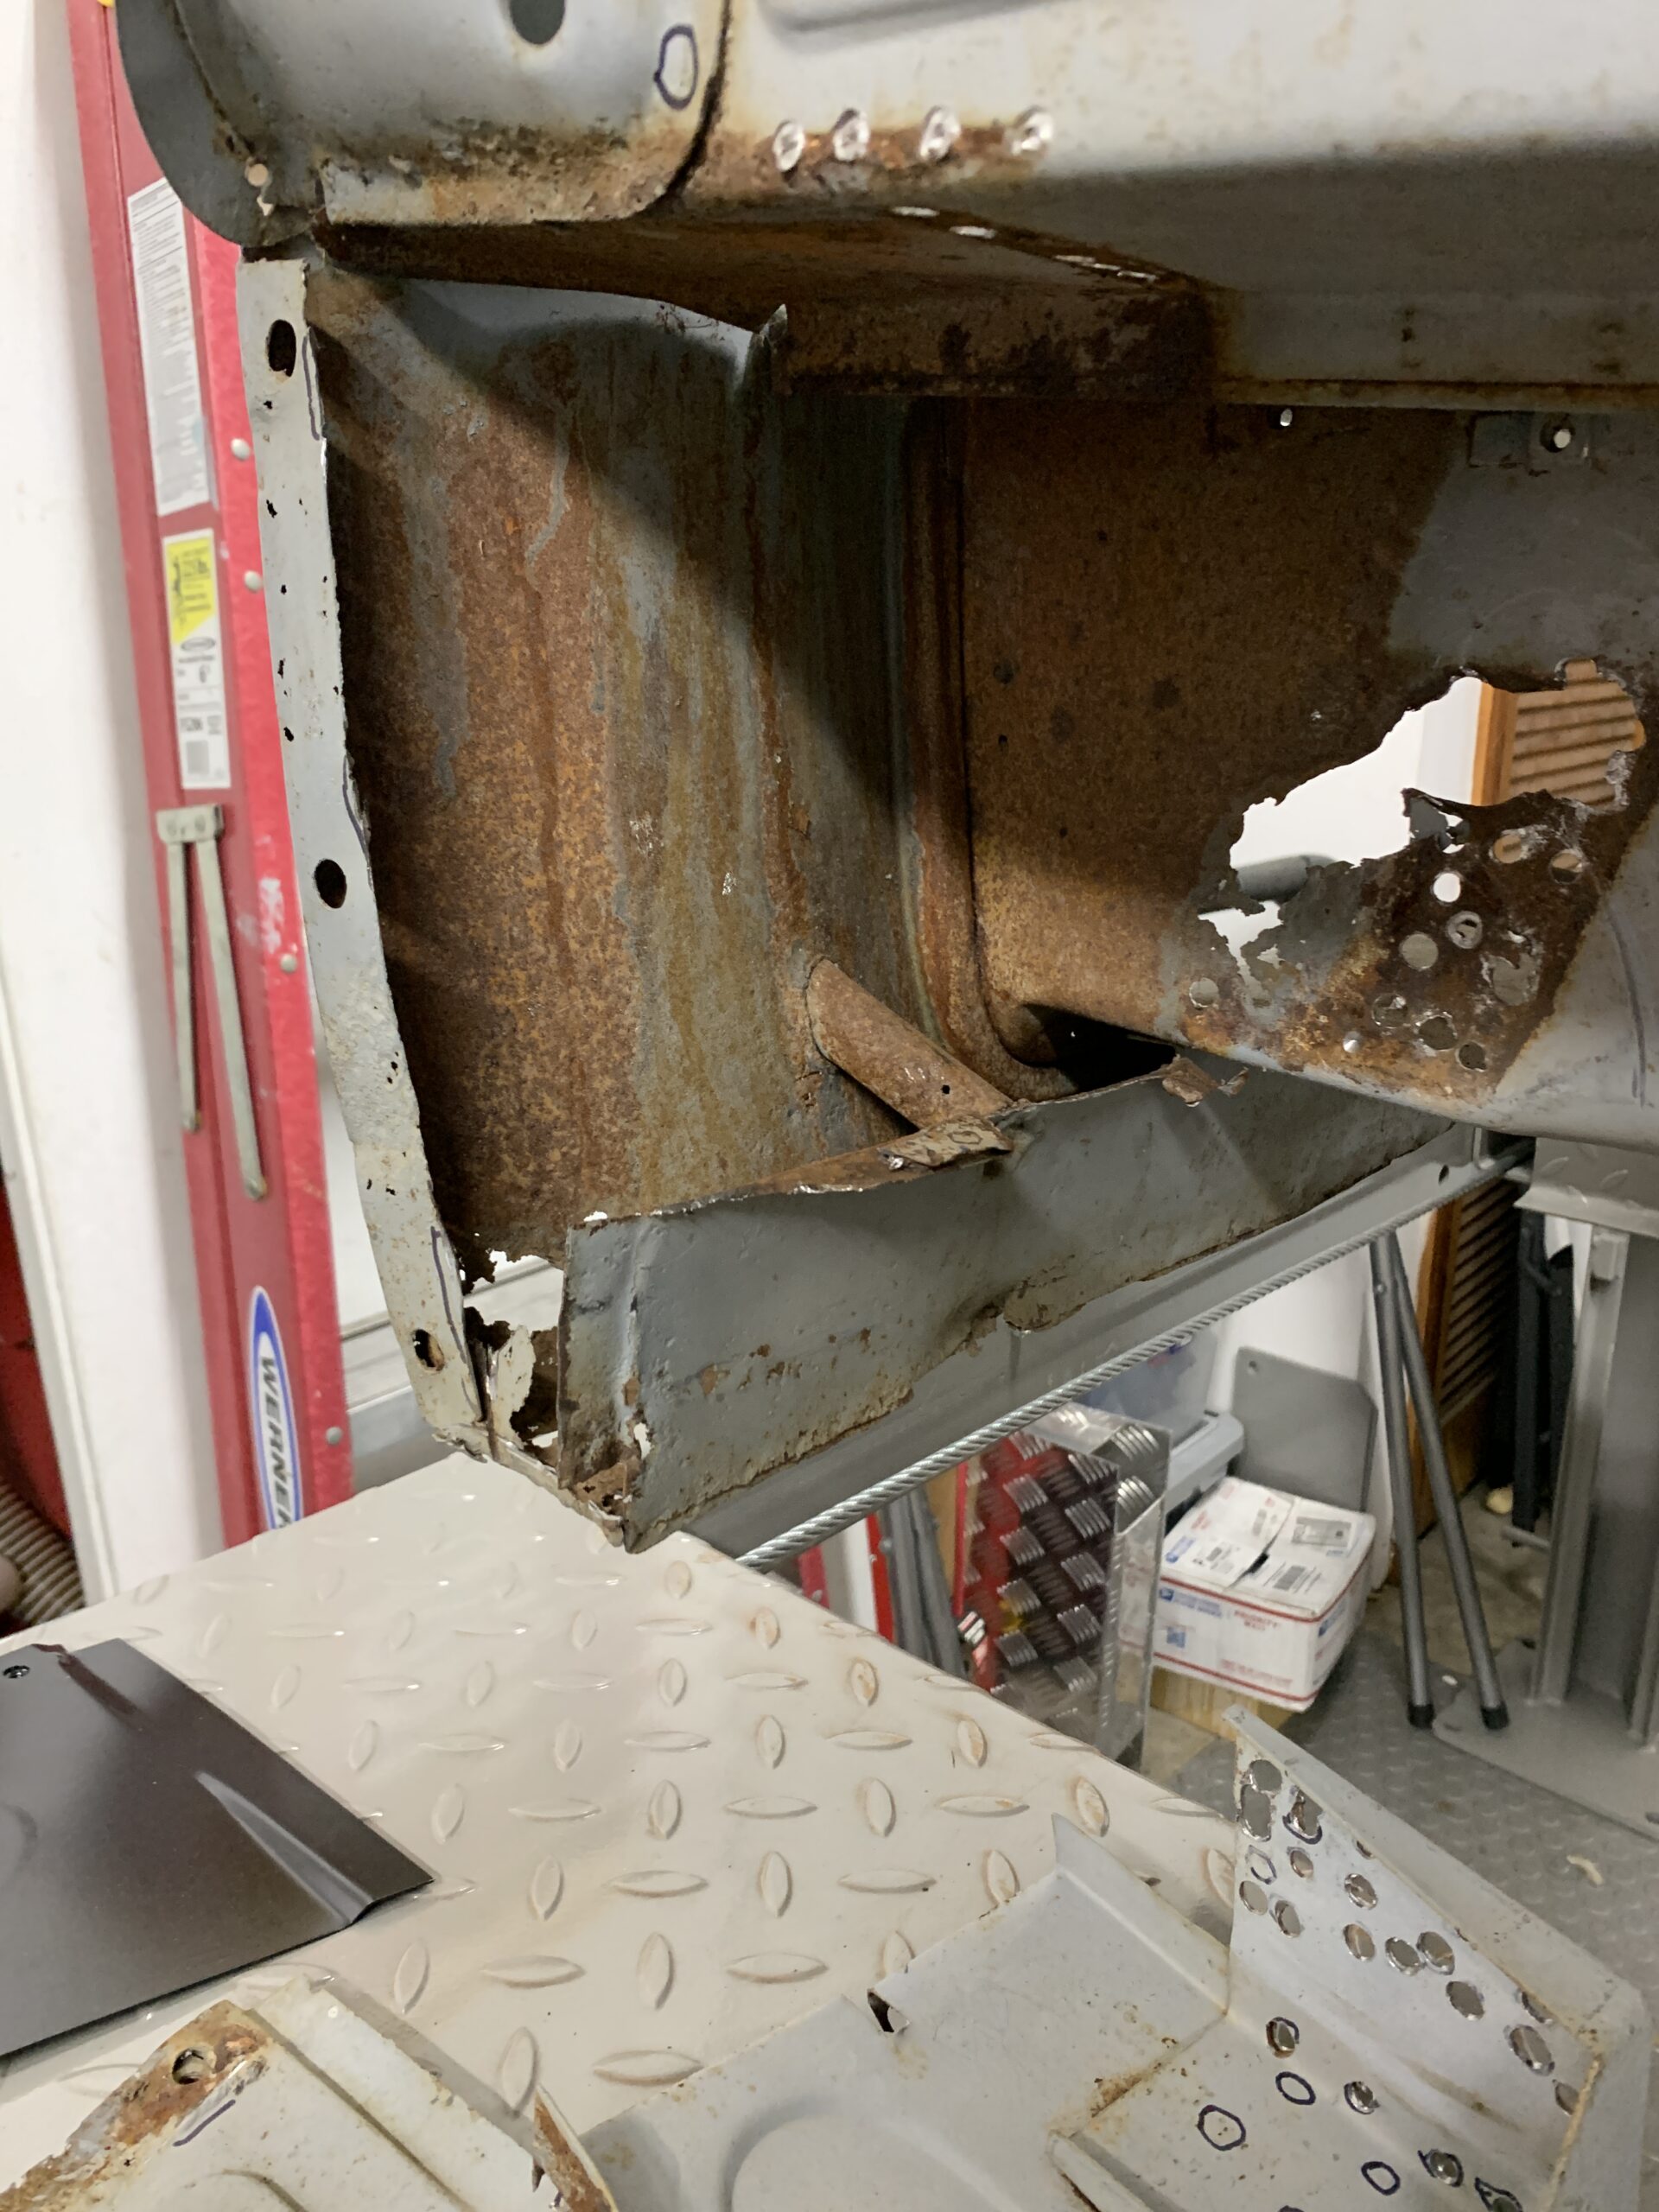
This is it for this weekend. I also took a video of the work, which is here:
https://www.youtube.com/watch?v=8K0DO_NQNcQ
In the video I also examined the integrity of the body width vertical (Rear Apron Rail) and horizontal Rear Apron closing panels. Both need replacing as a mouse nest caused extensive perforation.
11/10/2021
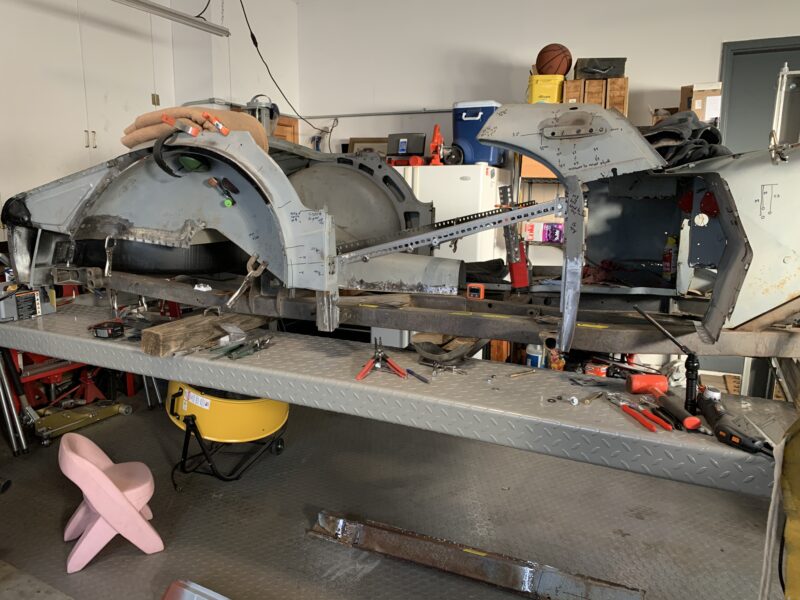
Since opening up the corner, I have concentrated on removing the rest of the rear panels. The horizontal closing panel, which was a perforated mess, and a vertical “rail” valence. The horizontal piece was total Swiss cheese and could almost be ripped out with pliers there was so much corrosion. One this was removed though, the internal flange holding the vertical piece on was revealed.
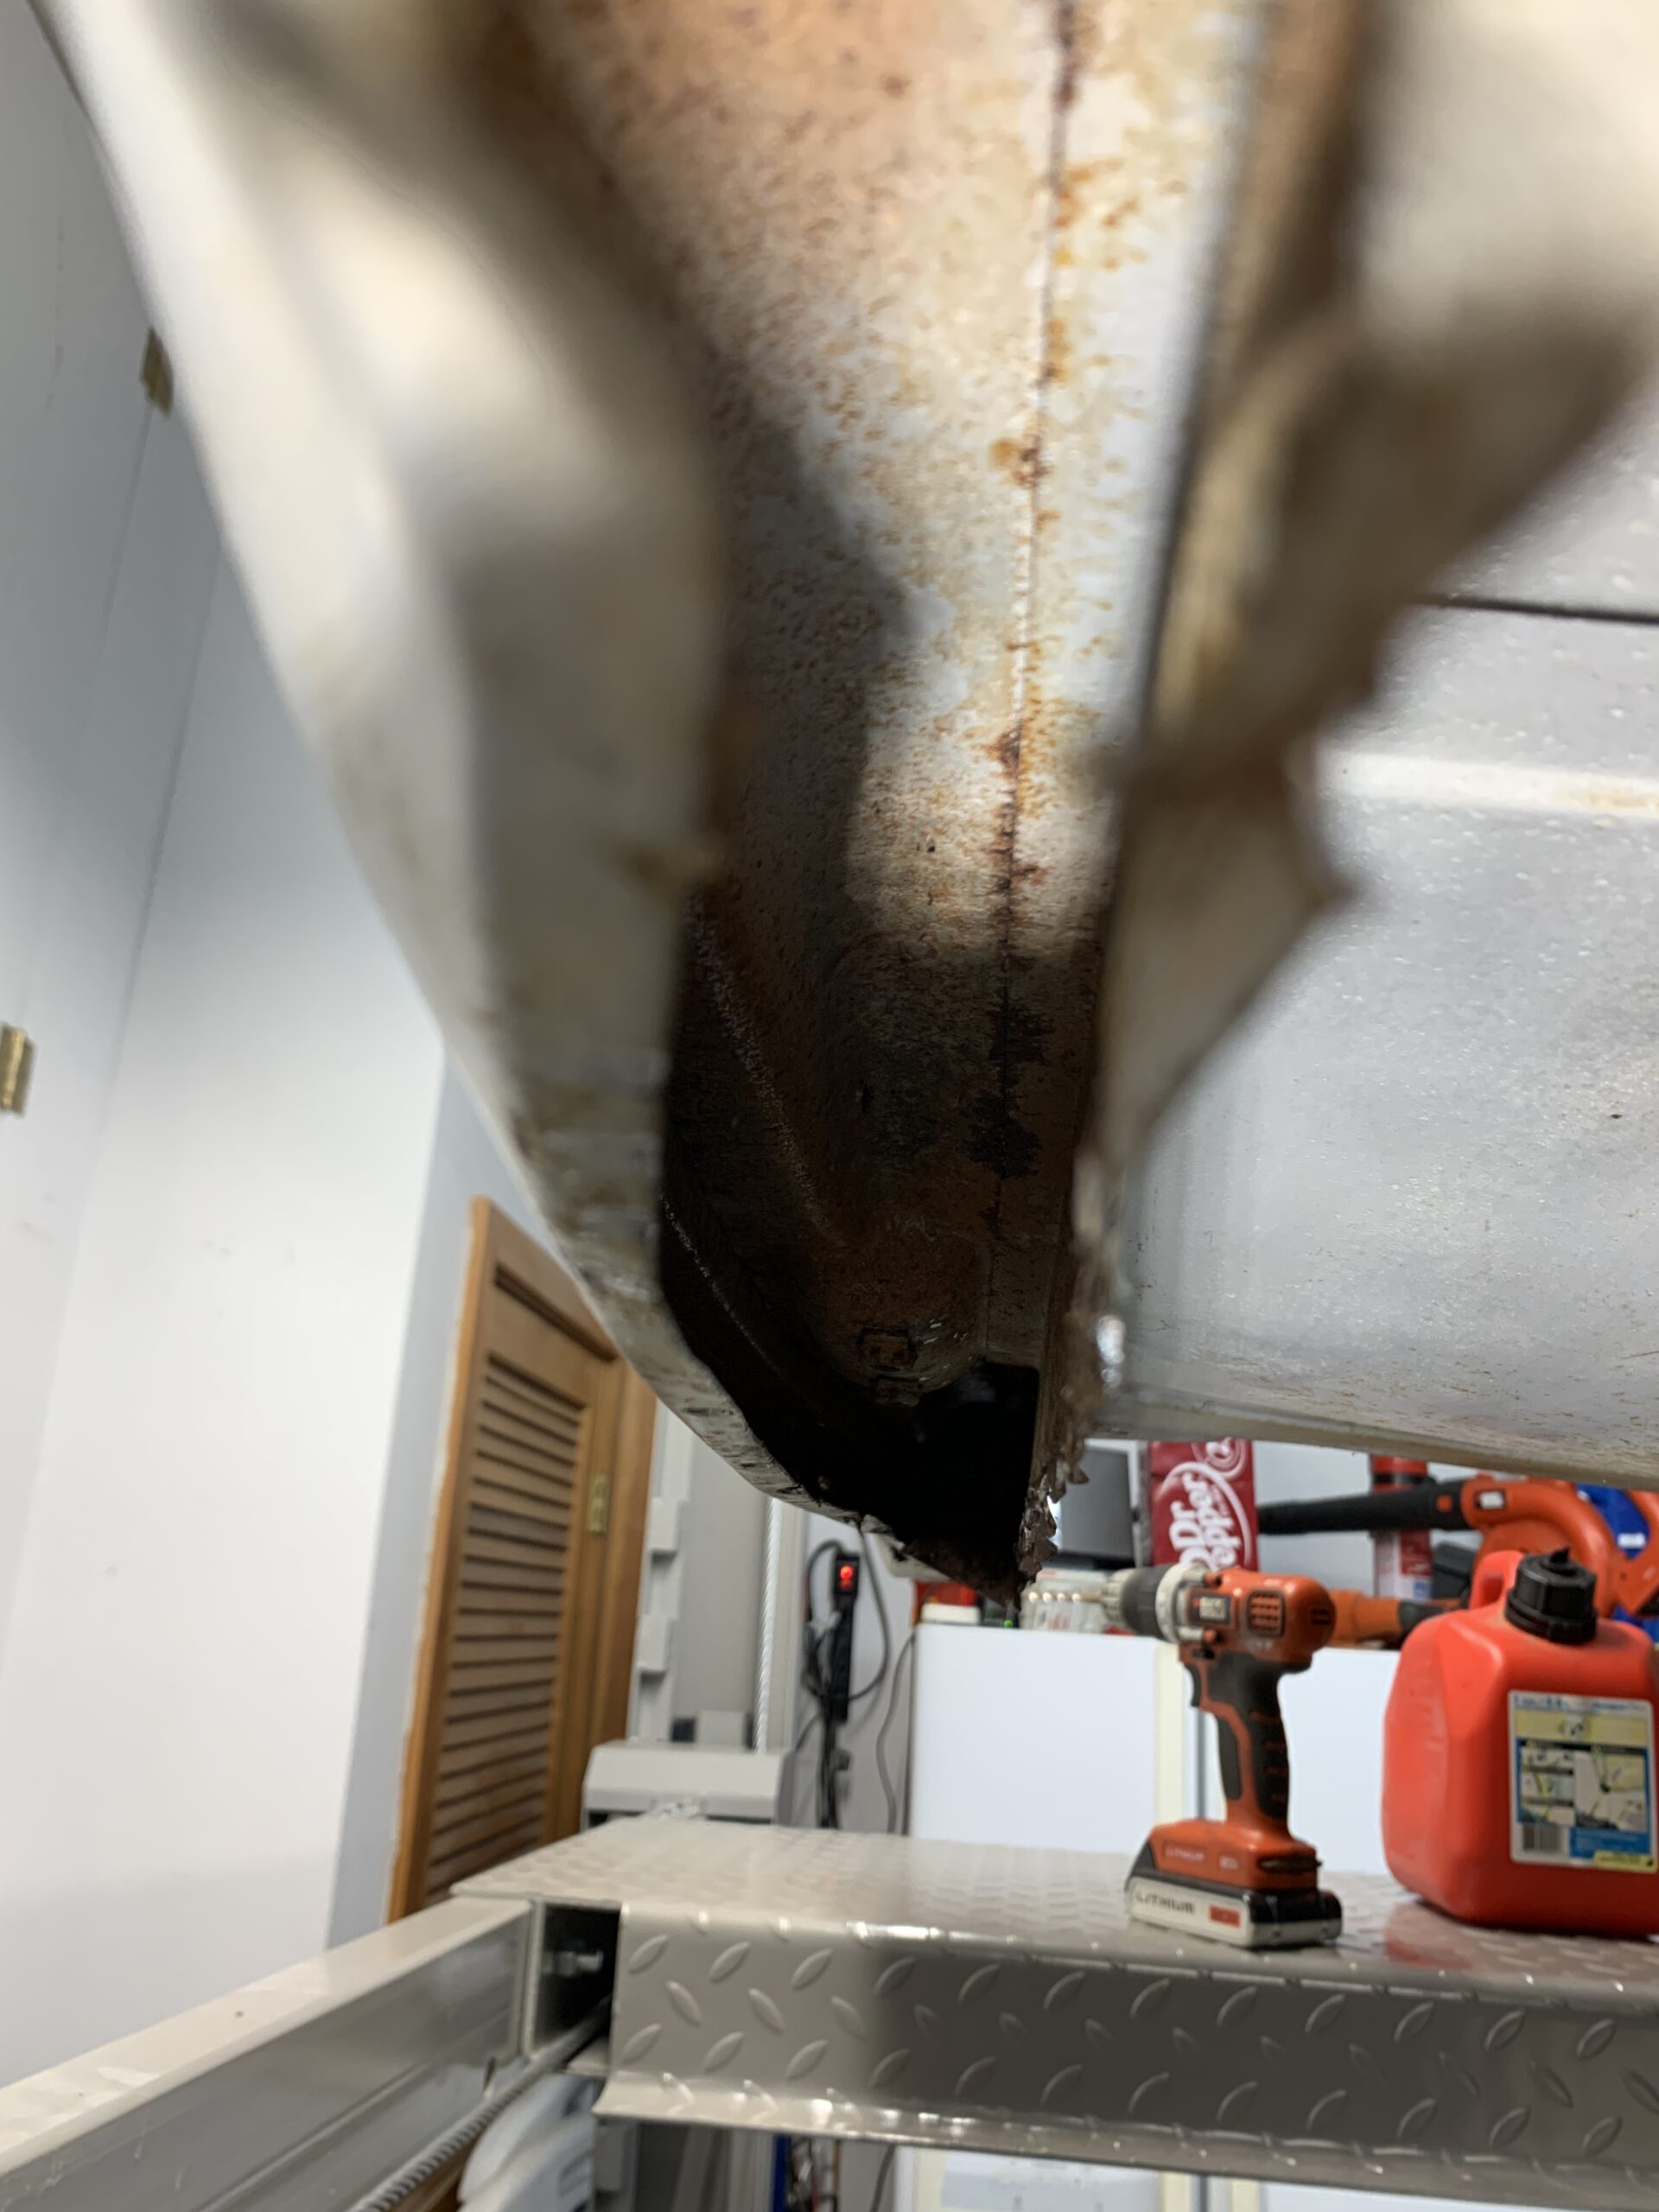
More spot weld removal, this time drilling into the underside of the spare tire (tyre) compartment eventually freed this panel. It was hole-y at the ends and more solid in the middle. Once it came out though, it revealed another set of critters that had set up shop in this section… Mud Daubers.
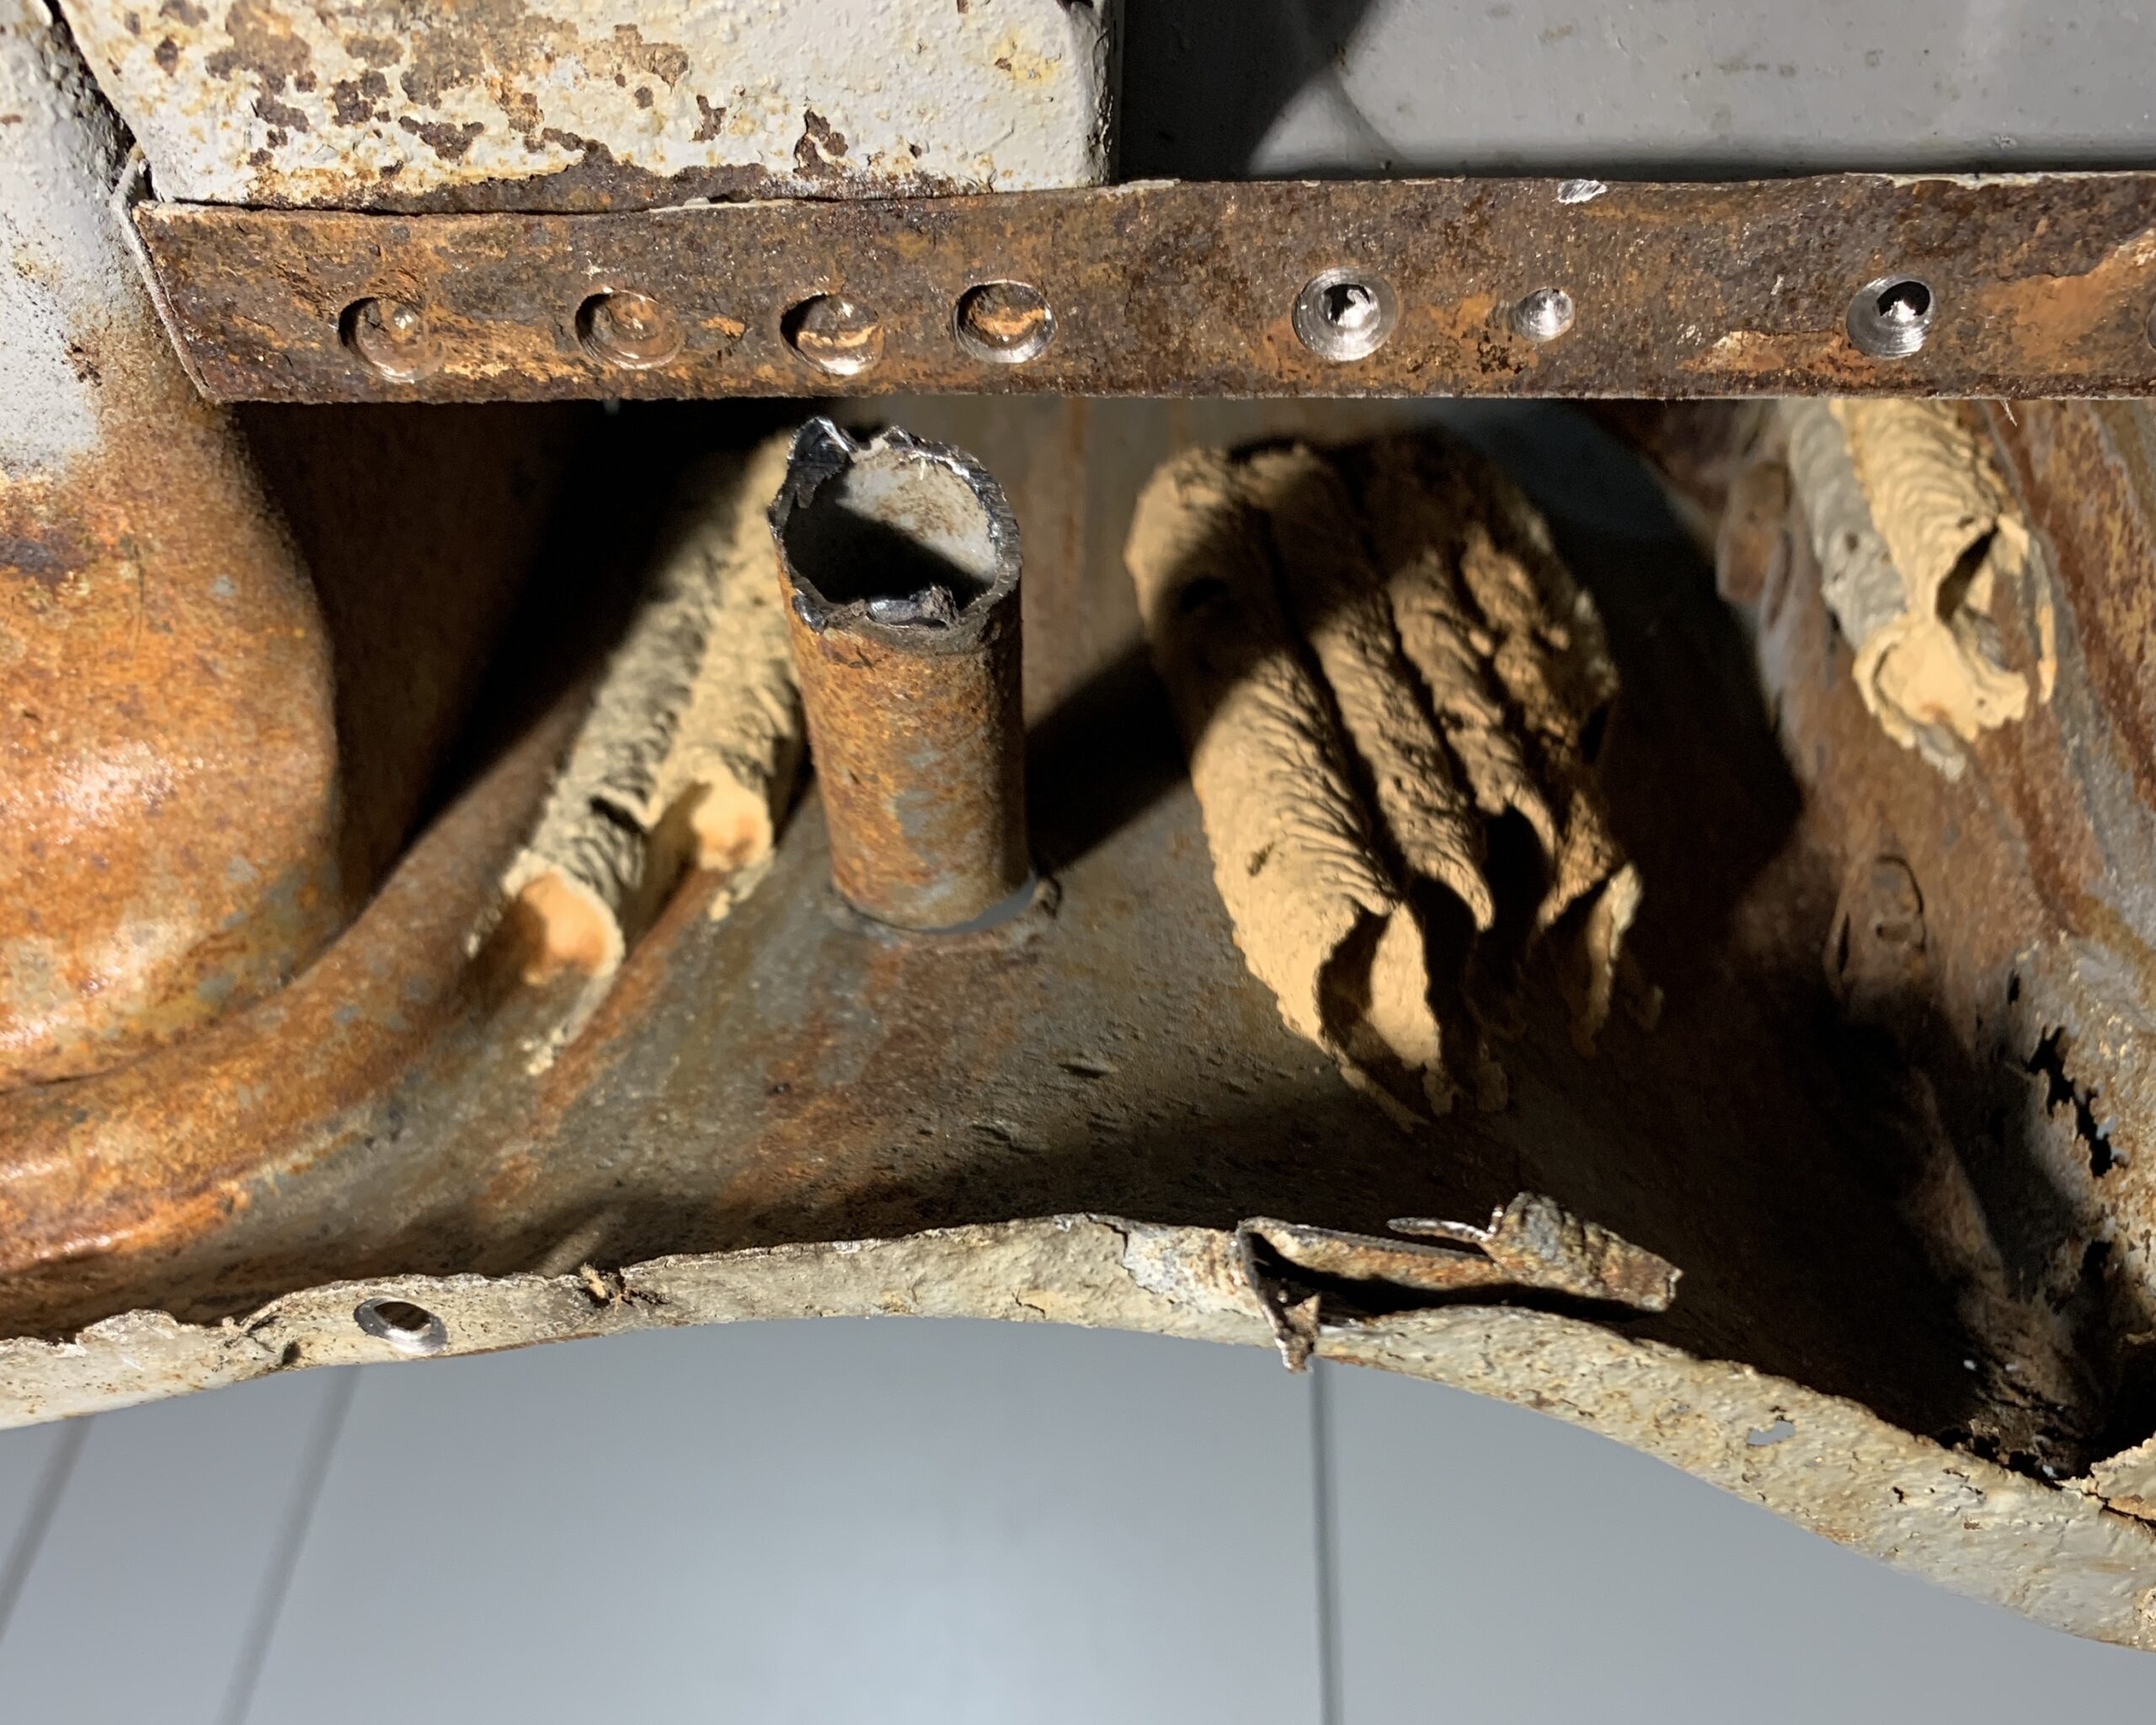
Mice and wasps, what a combination…
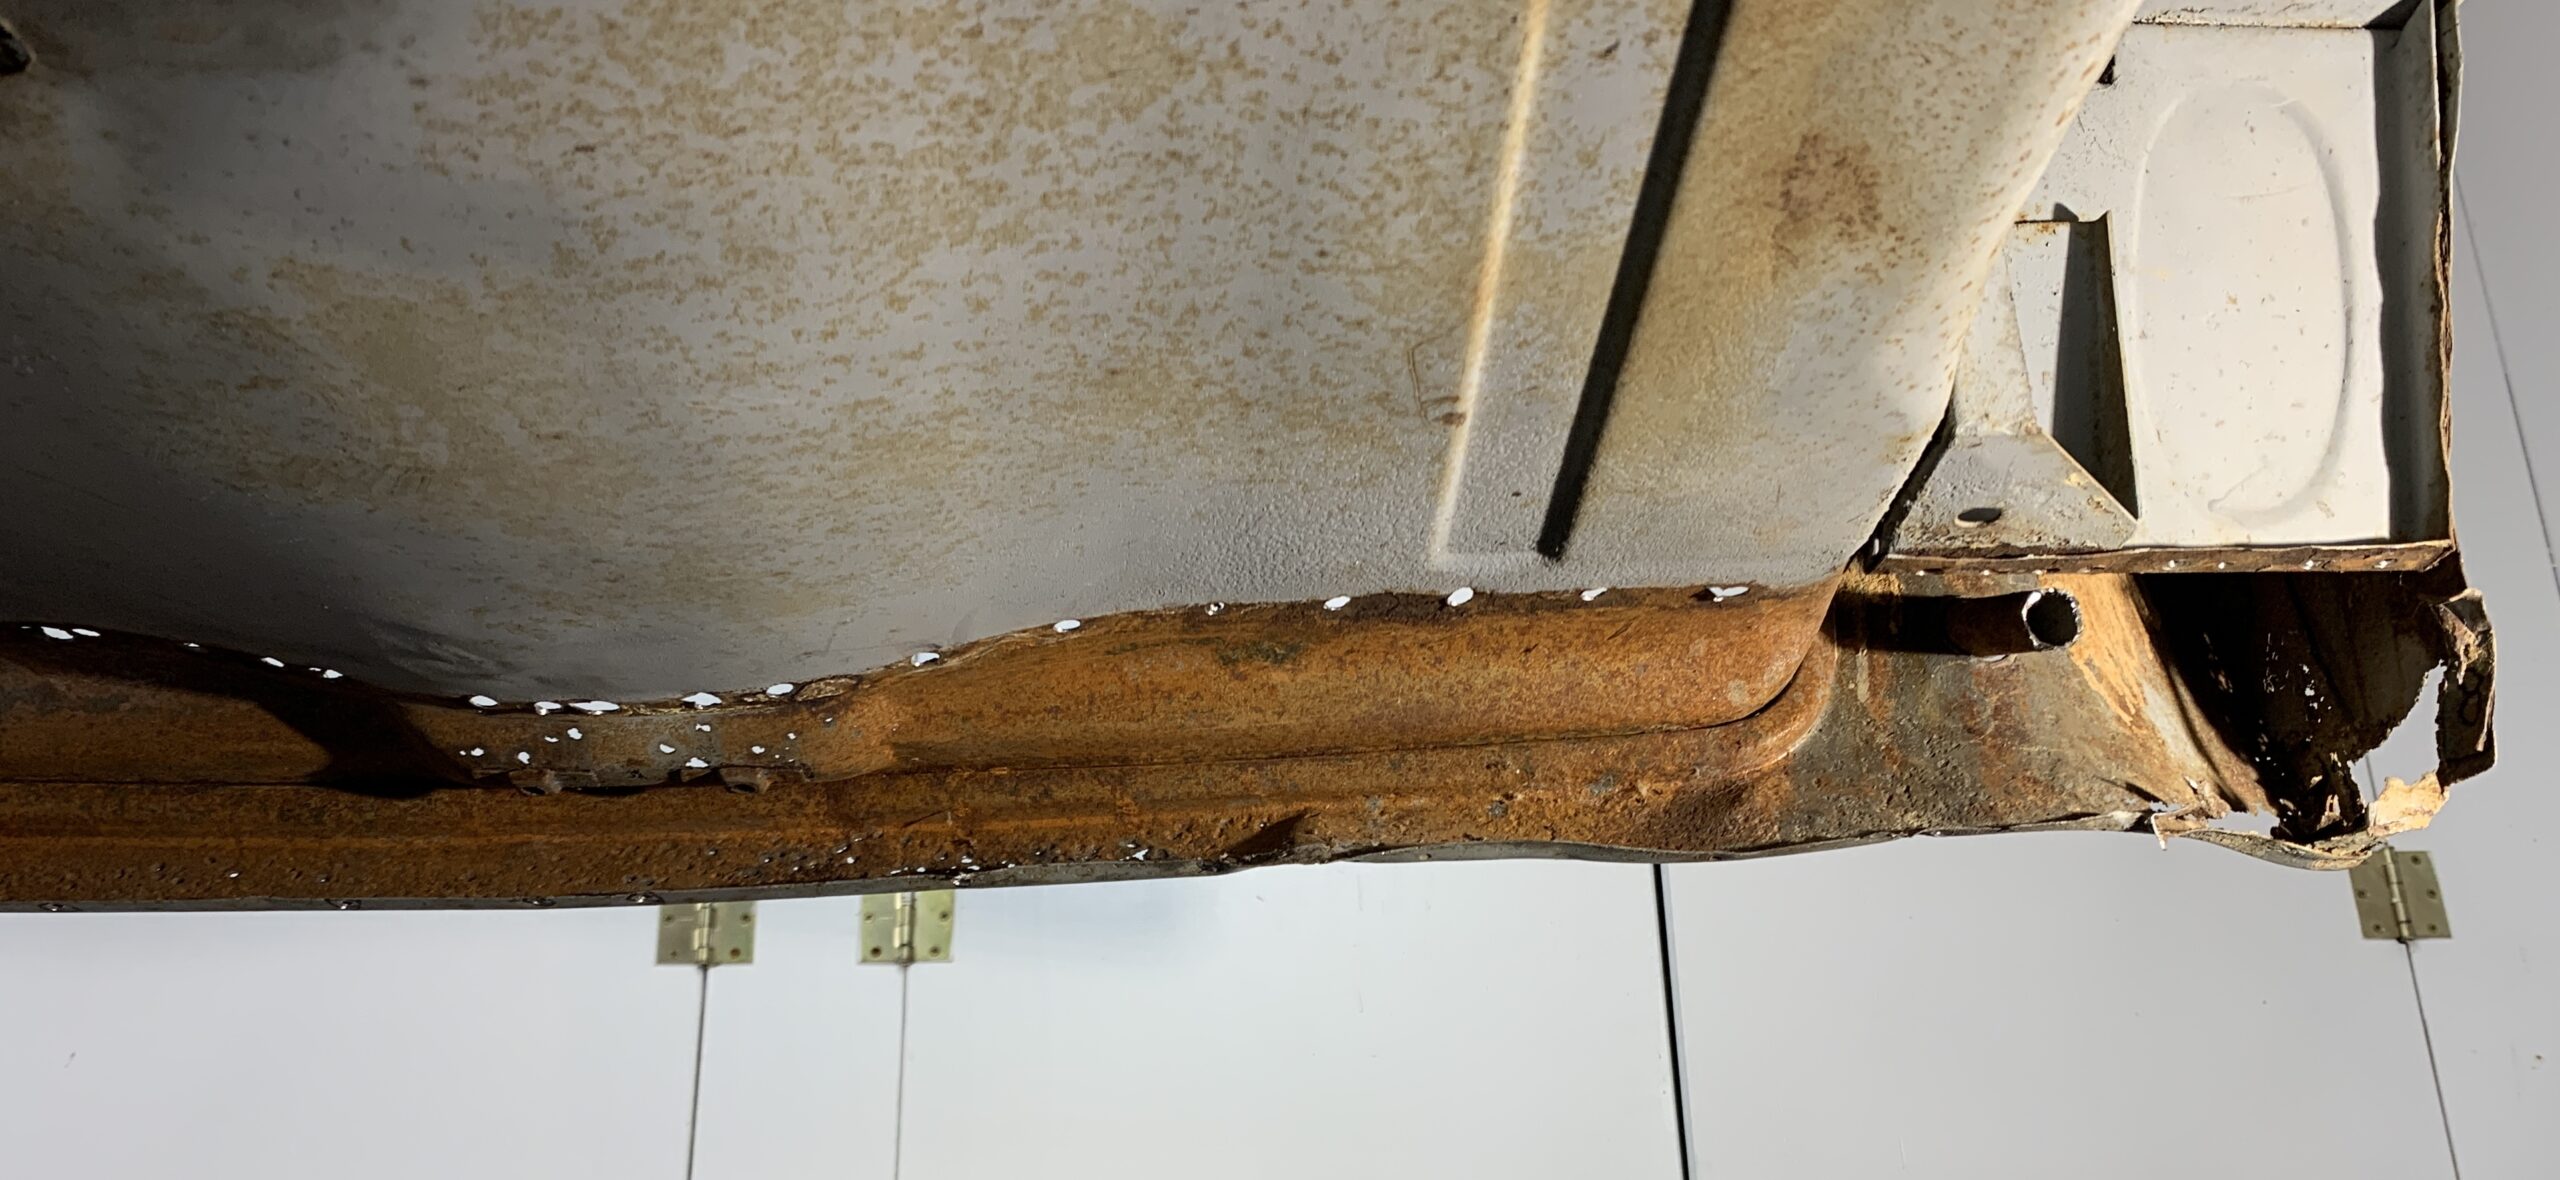
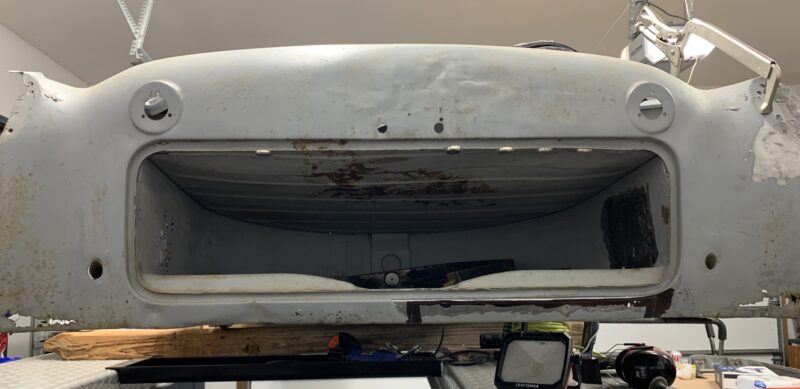
With this last piece out, the entire rear valence cavity was open to allow for repair work. Lots of pinholes here so plenty of repairs needed.
Video: https://www.youtube.com/watch?v=9NVioRuEuOE&t=2s
The rear light pod, called a nascel it seems, was only loosely attached with sandwich rust so it was easy to remove for cleaning and improvement.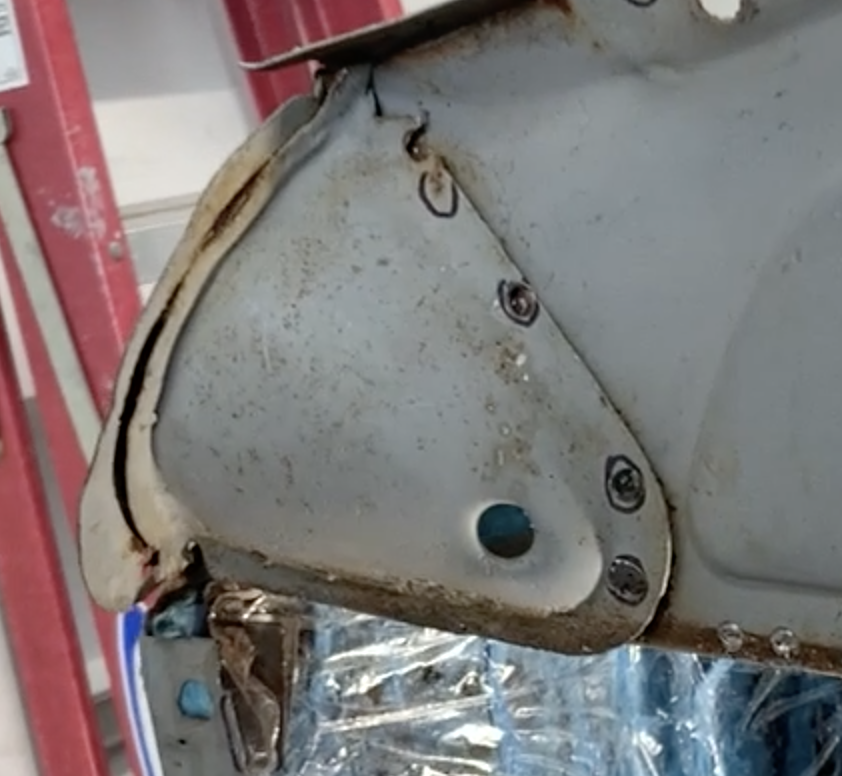
Here it is after removal.
https://www.youtube.com/watch?v=EvOXjjTUKhk&t=35s
Next up: Repairs and rust removal
Recent Comments