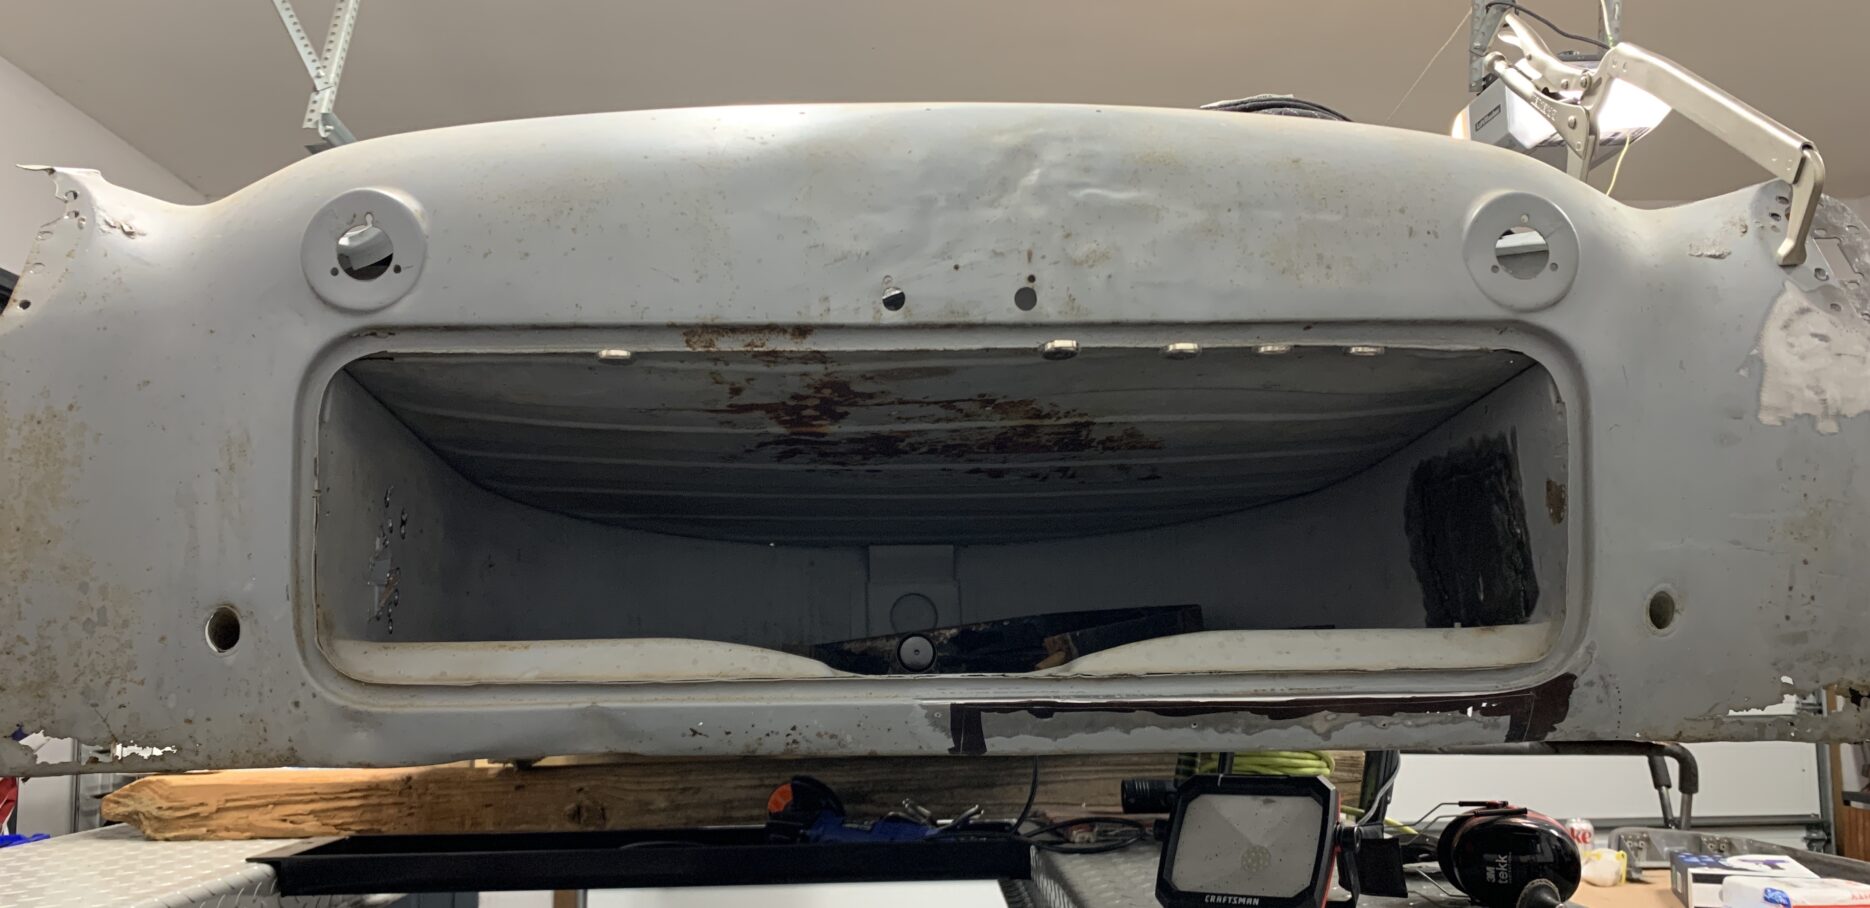
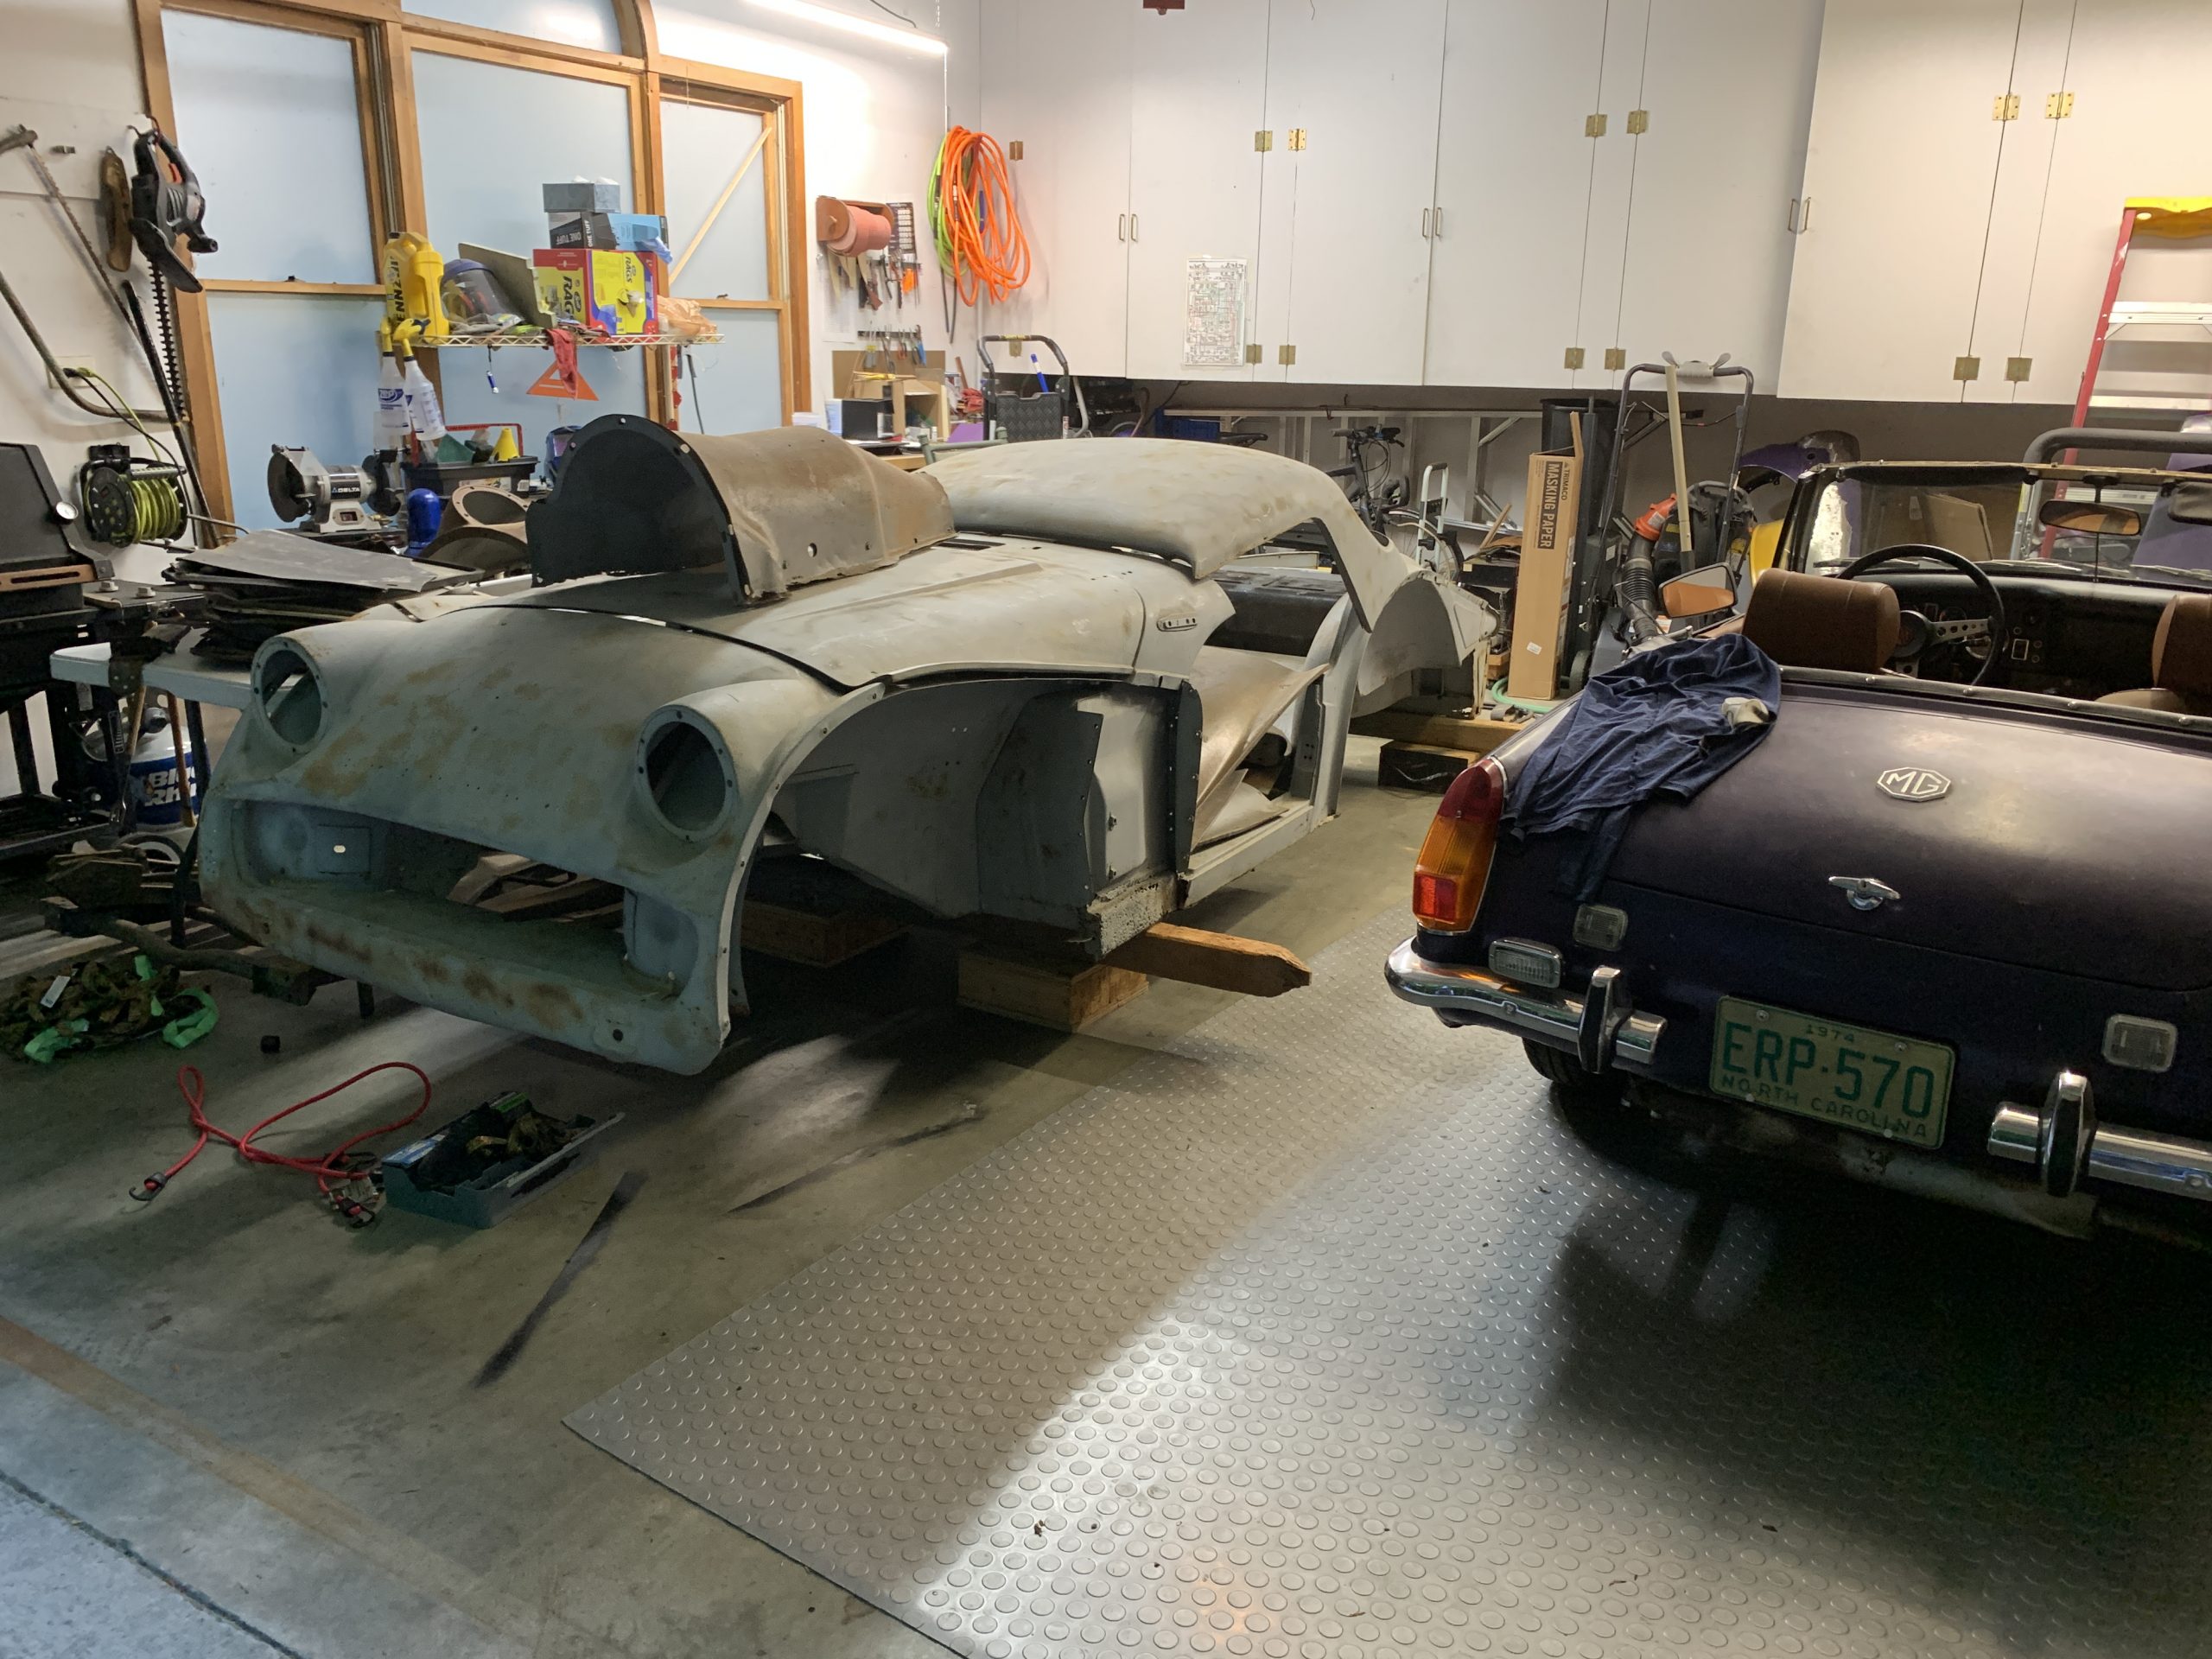
It is finally time to start repair work on the rear valence, starting with the section below the spare tire opening. Recall this used to be the home of a family of now evicted mice. The replacement piece has a few subtle curves and a lower flange, but the shrinker and stretcher made shaping this section pretty easy. Here is the start of the fitting process. I elected to make the cut on the left just when the wheel opening flange started making a rise up.
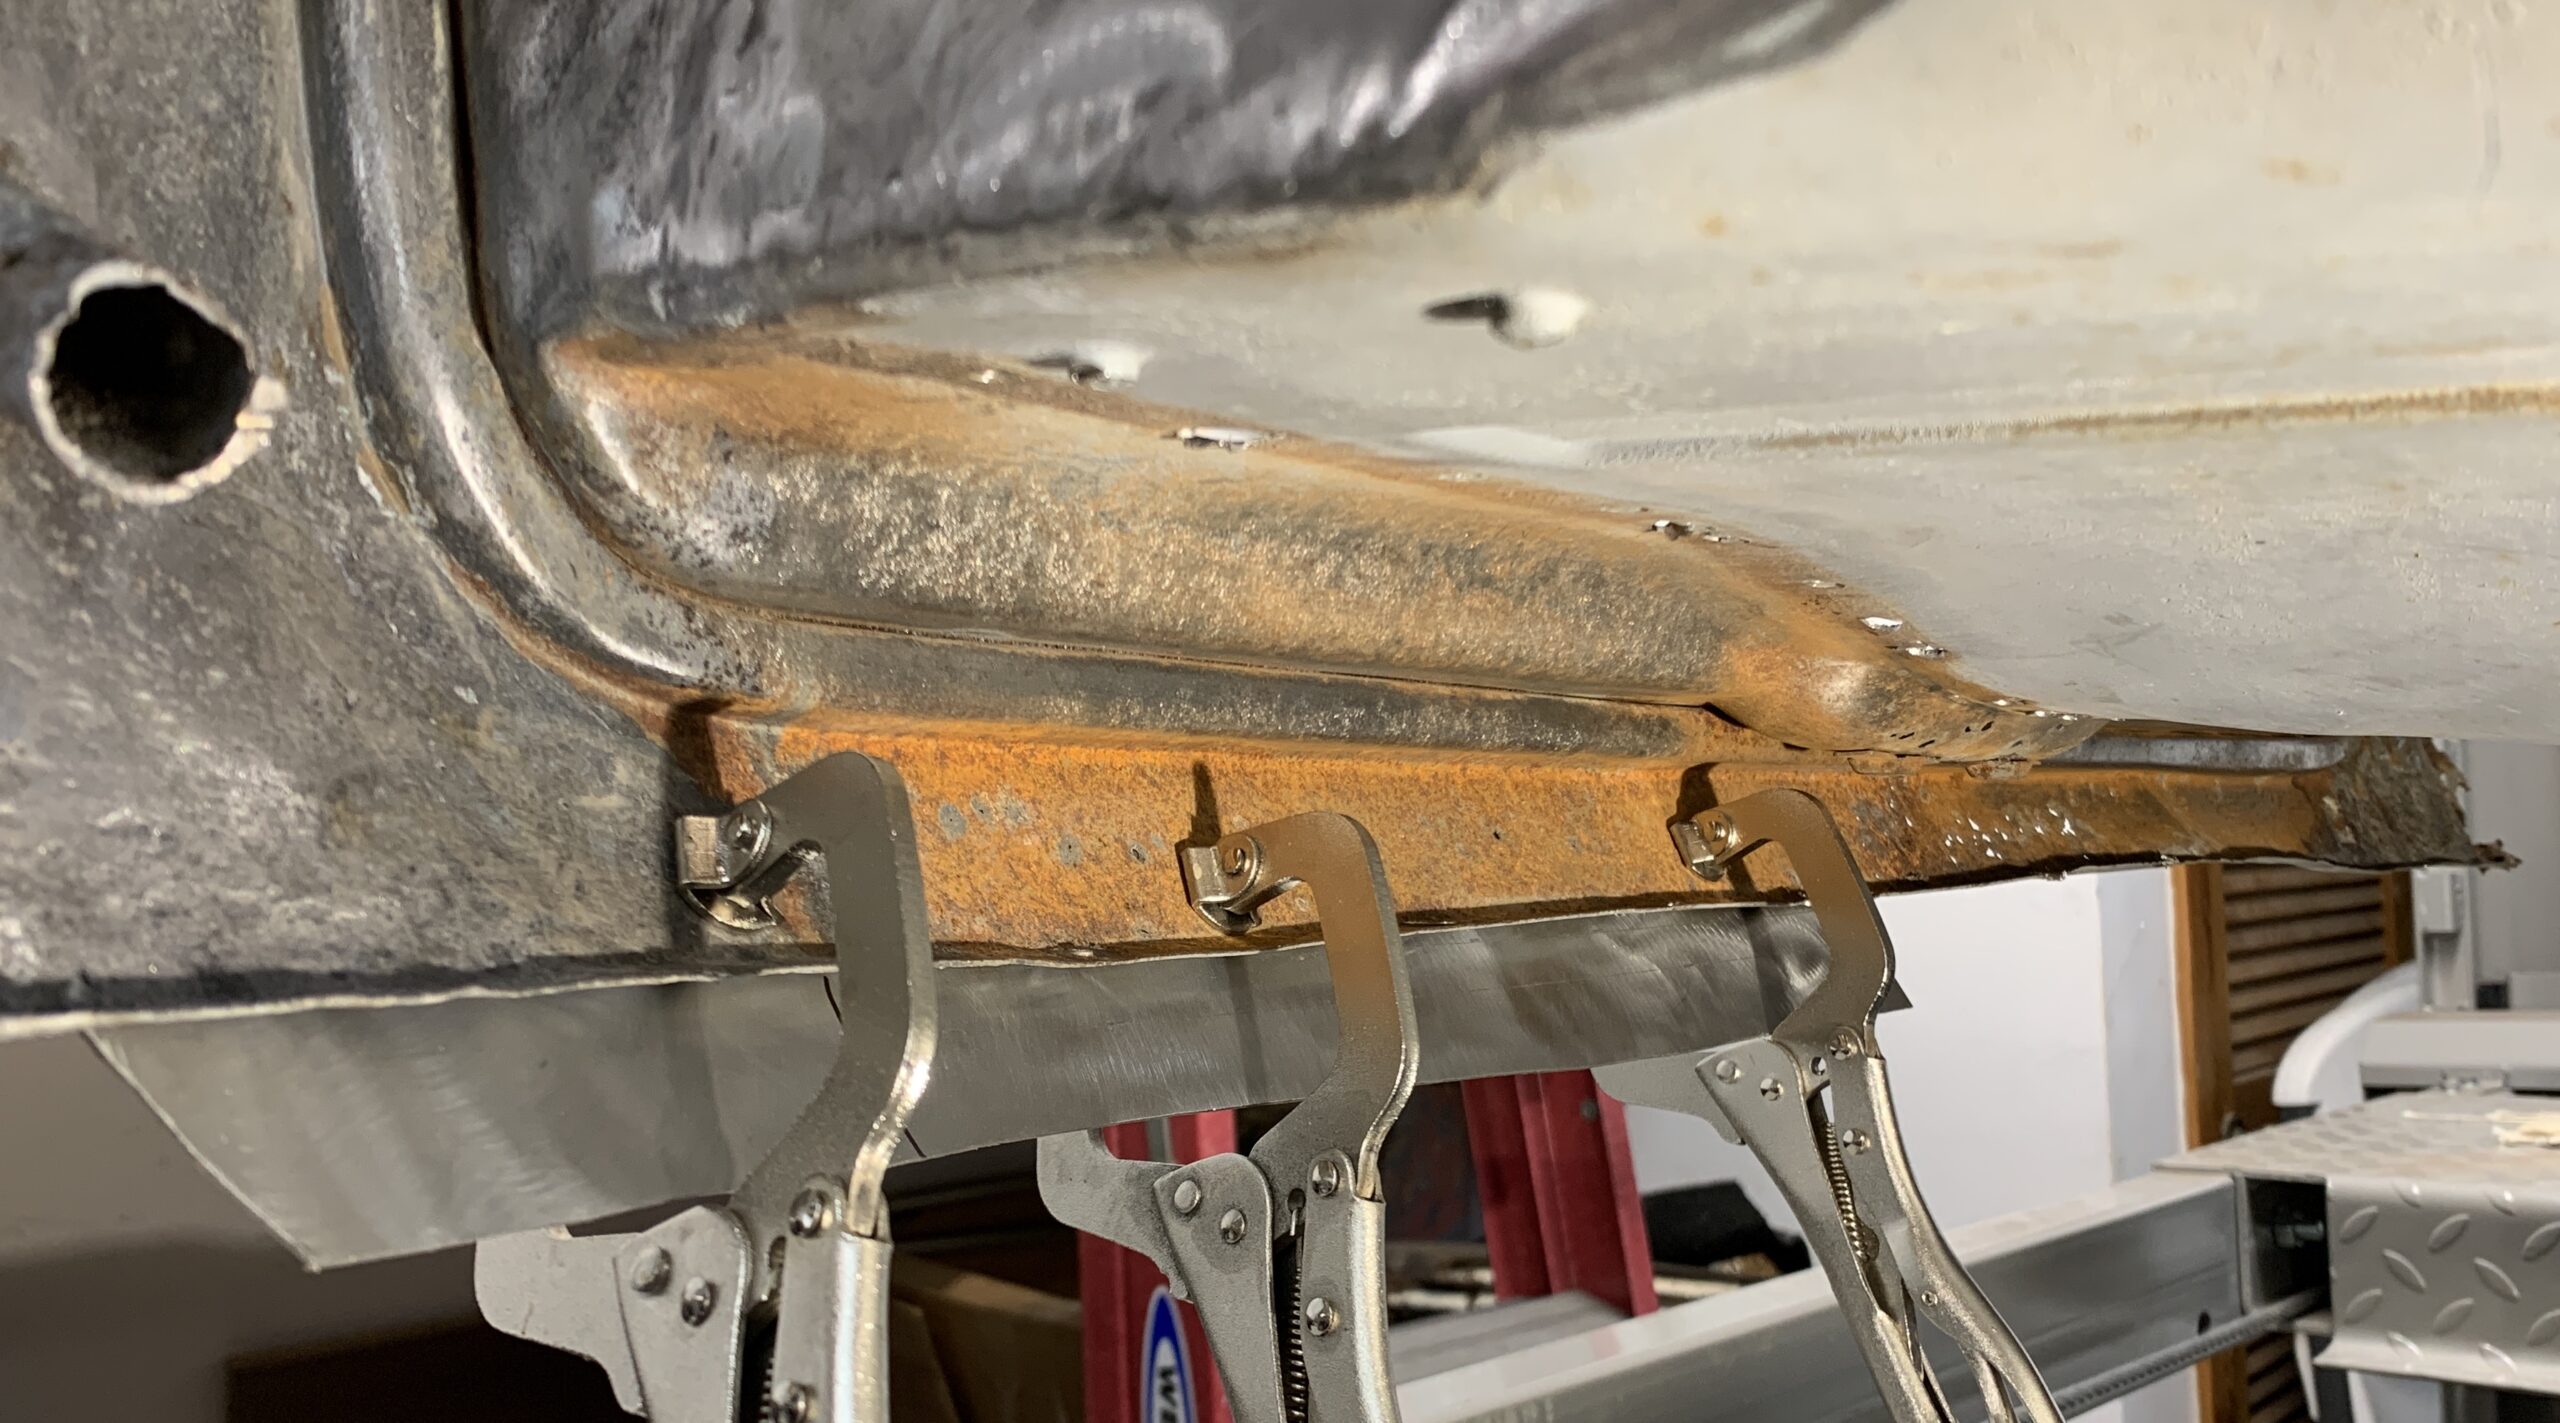
The rest was gentle hammer and dolly work to get the shape right. My plan was to shape it with the new flange hanging below the old one and then trace the cut line. I used black marker on the panel so the score mark is better highlighted and my old eyes can see where to cut. Once cut, my plan was to trim the top of the patch panel an amount equal to the width of the sheet metal since the flange hung over the old one while scoring. I’ll sleep on this to see if I can come up with a better way to do this…
My biggest worry with this patch panel is the welding. The top line is just below the lip defining the mounting flange for the spare tire closing panel. I’ve double checked that I can get the skinny end of a comma dolly in the back to planish the TIG weld, but there isn’t much extra room. I can’t really cut much lower as I start running into holy metal. We’ll see tomorrow how this goes 😉
11/24/2021
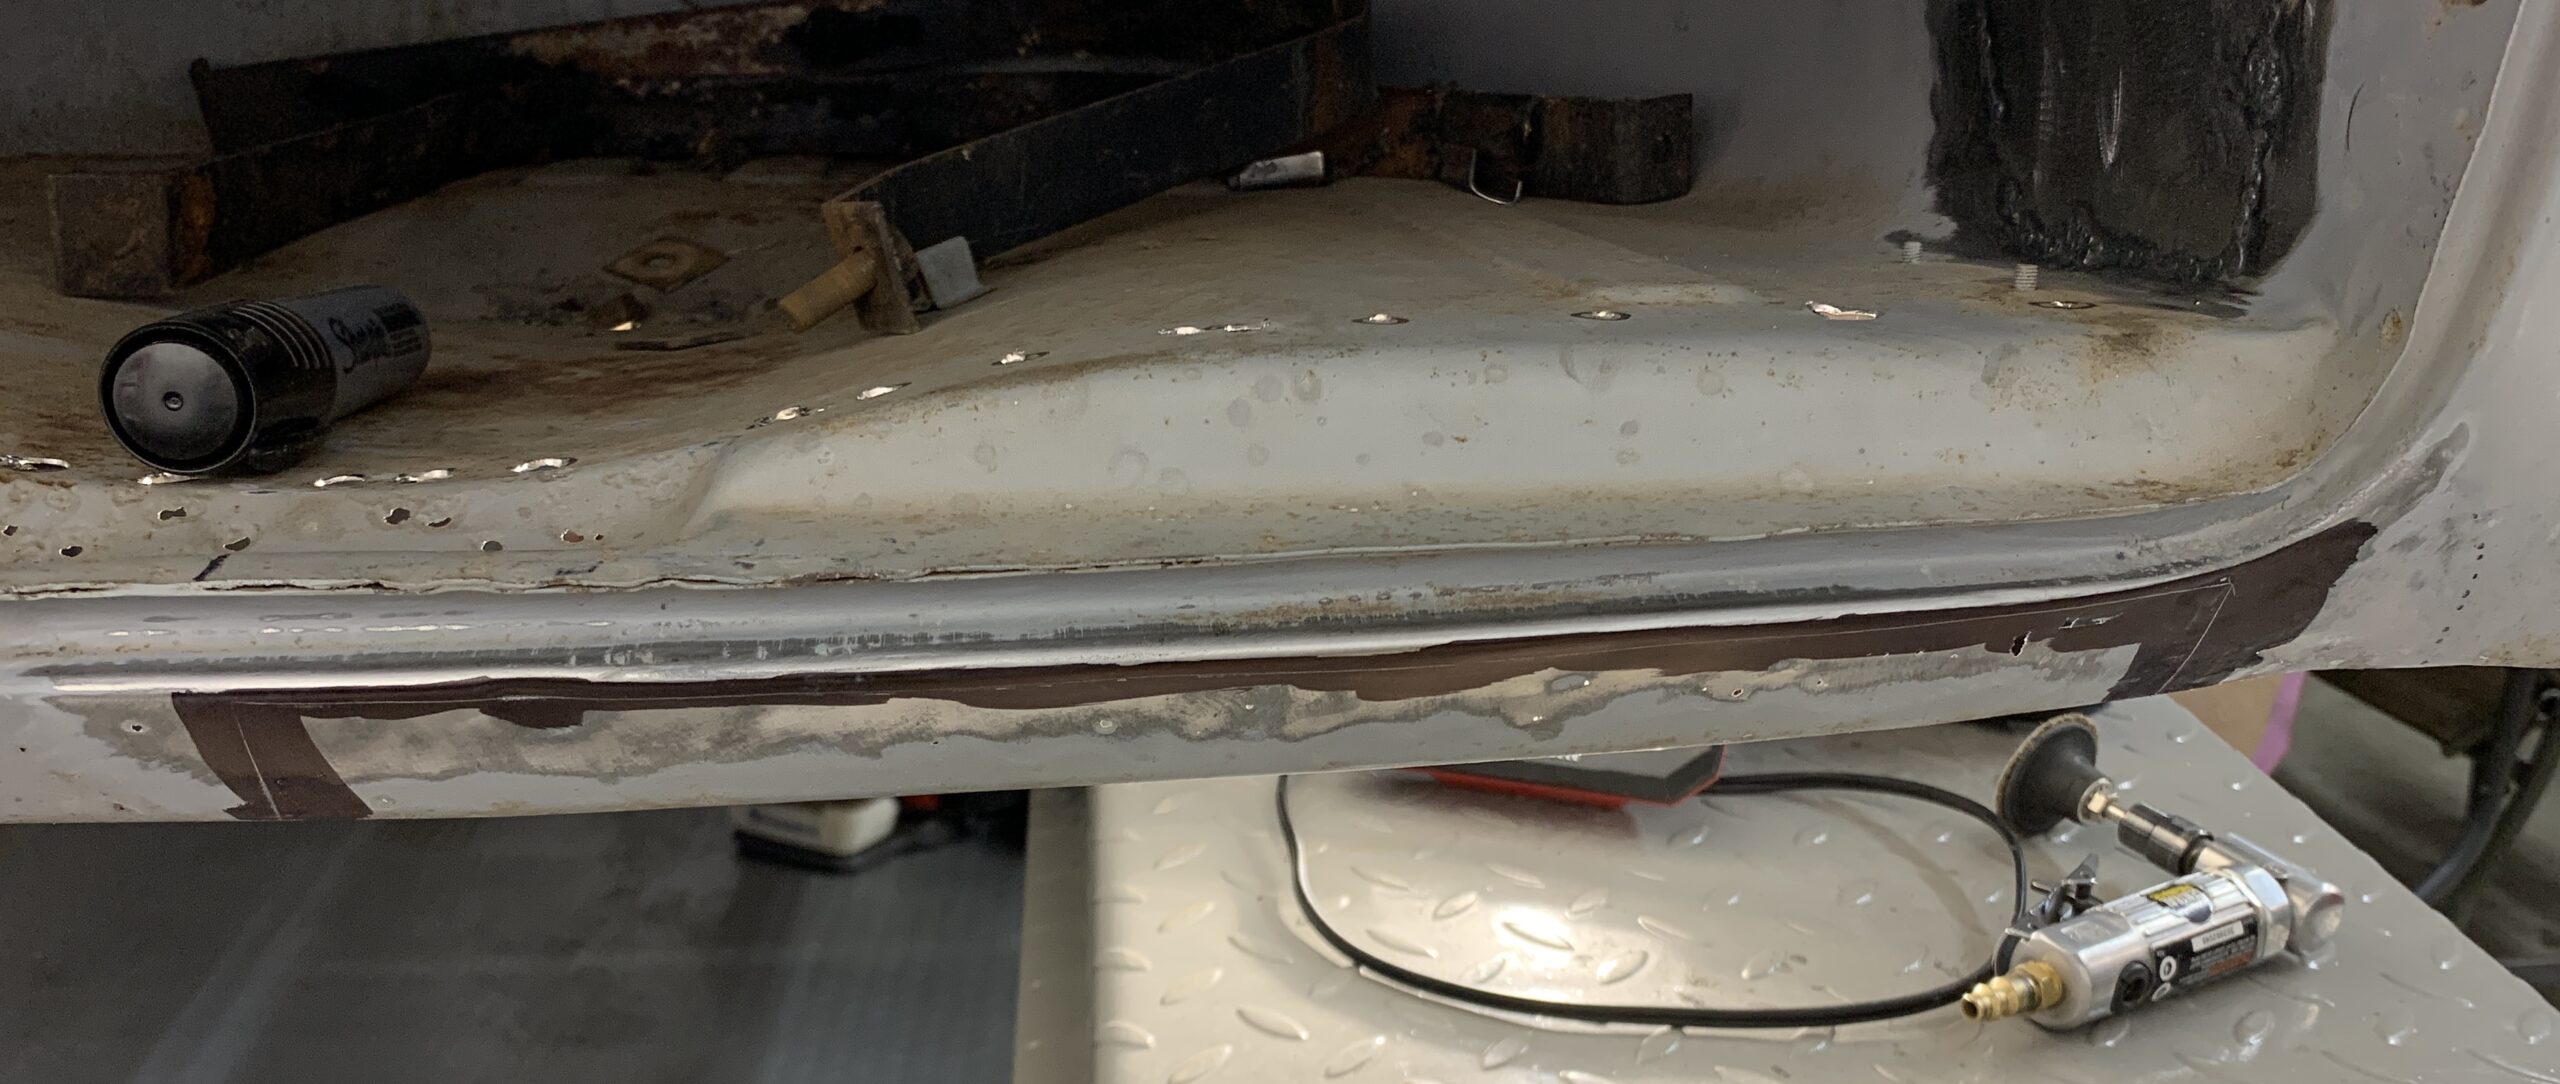
Well no time like the present. That lower piece of the valence isn’t going to sort itself out by itself. I used an air body saw to make the cut. Once cut the patch didn’t fit vertically since it had been fit with overlap on the bottom flange. I scored a cut mark and trimmed it with snips. After additional massaging with a file and a mini belt sander I had what I thought was a pretty good fit. The little bits of gap could be easily handled by a competent tig welder… now to find one of those. Before starting welding I dug out most of the surface rust on the back side. I’ll do a final treatment with phosphoric acid before this section gets primered.
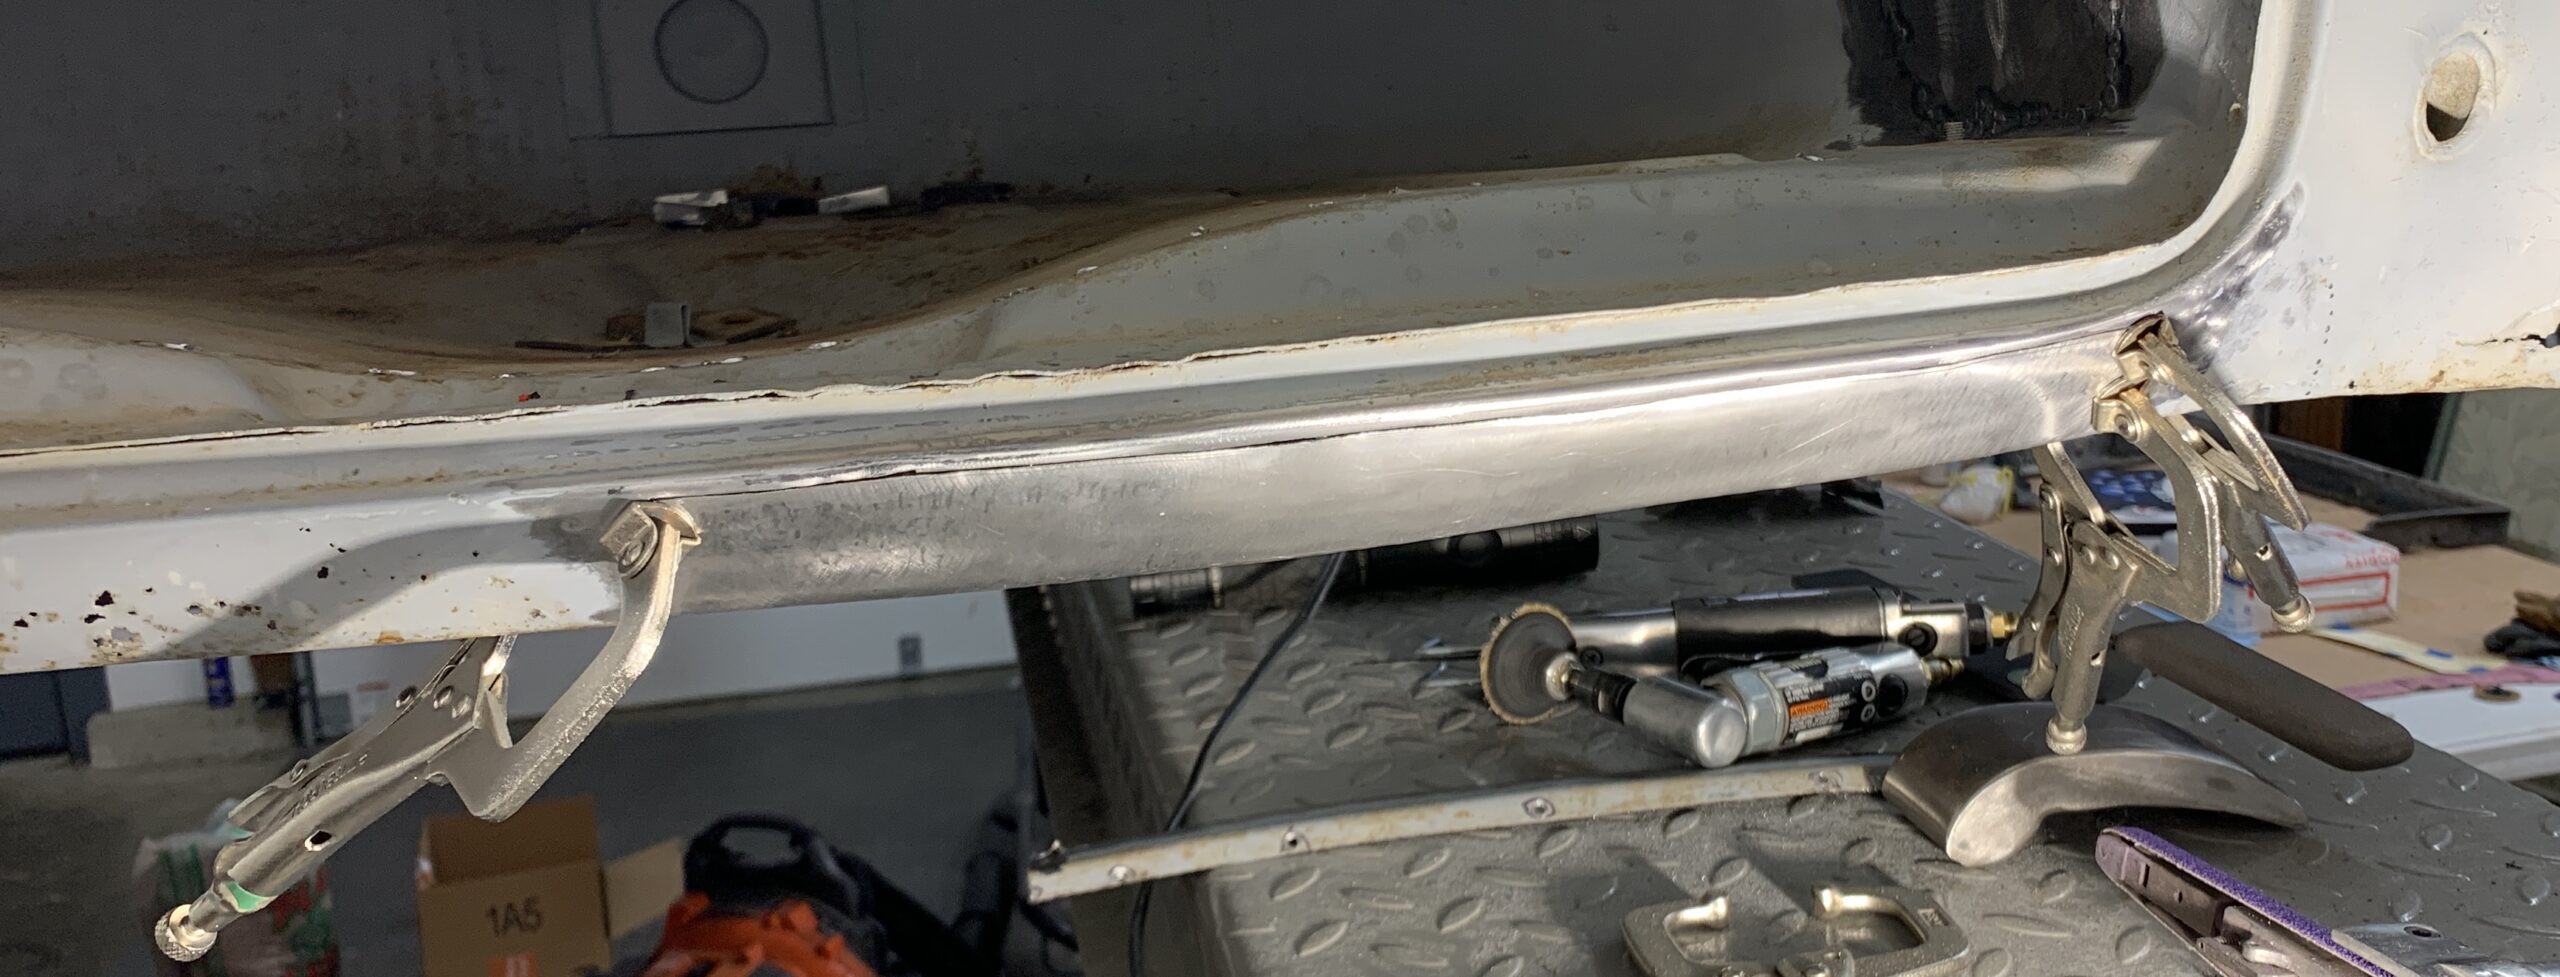
Once the panel was fit and clamped I started tack welding it into place, concentrating on spots where the butt joint had metal-metal contact (no gap). I must have still gotten some uncontrolled shrinkage because the outboard side built up an 1/8th inch gap. This was a PITA as this part of the metal was quite thin so blow through was a problem. I had to resort to clamping a piece of flattened copper piping on the backside to help manage heat. In the end I got it looking decent tonight, will return tomorrow to fill in the big gap and do the final finishing for this section.
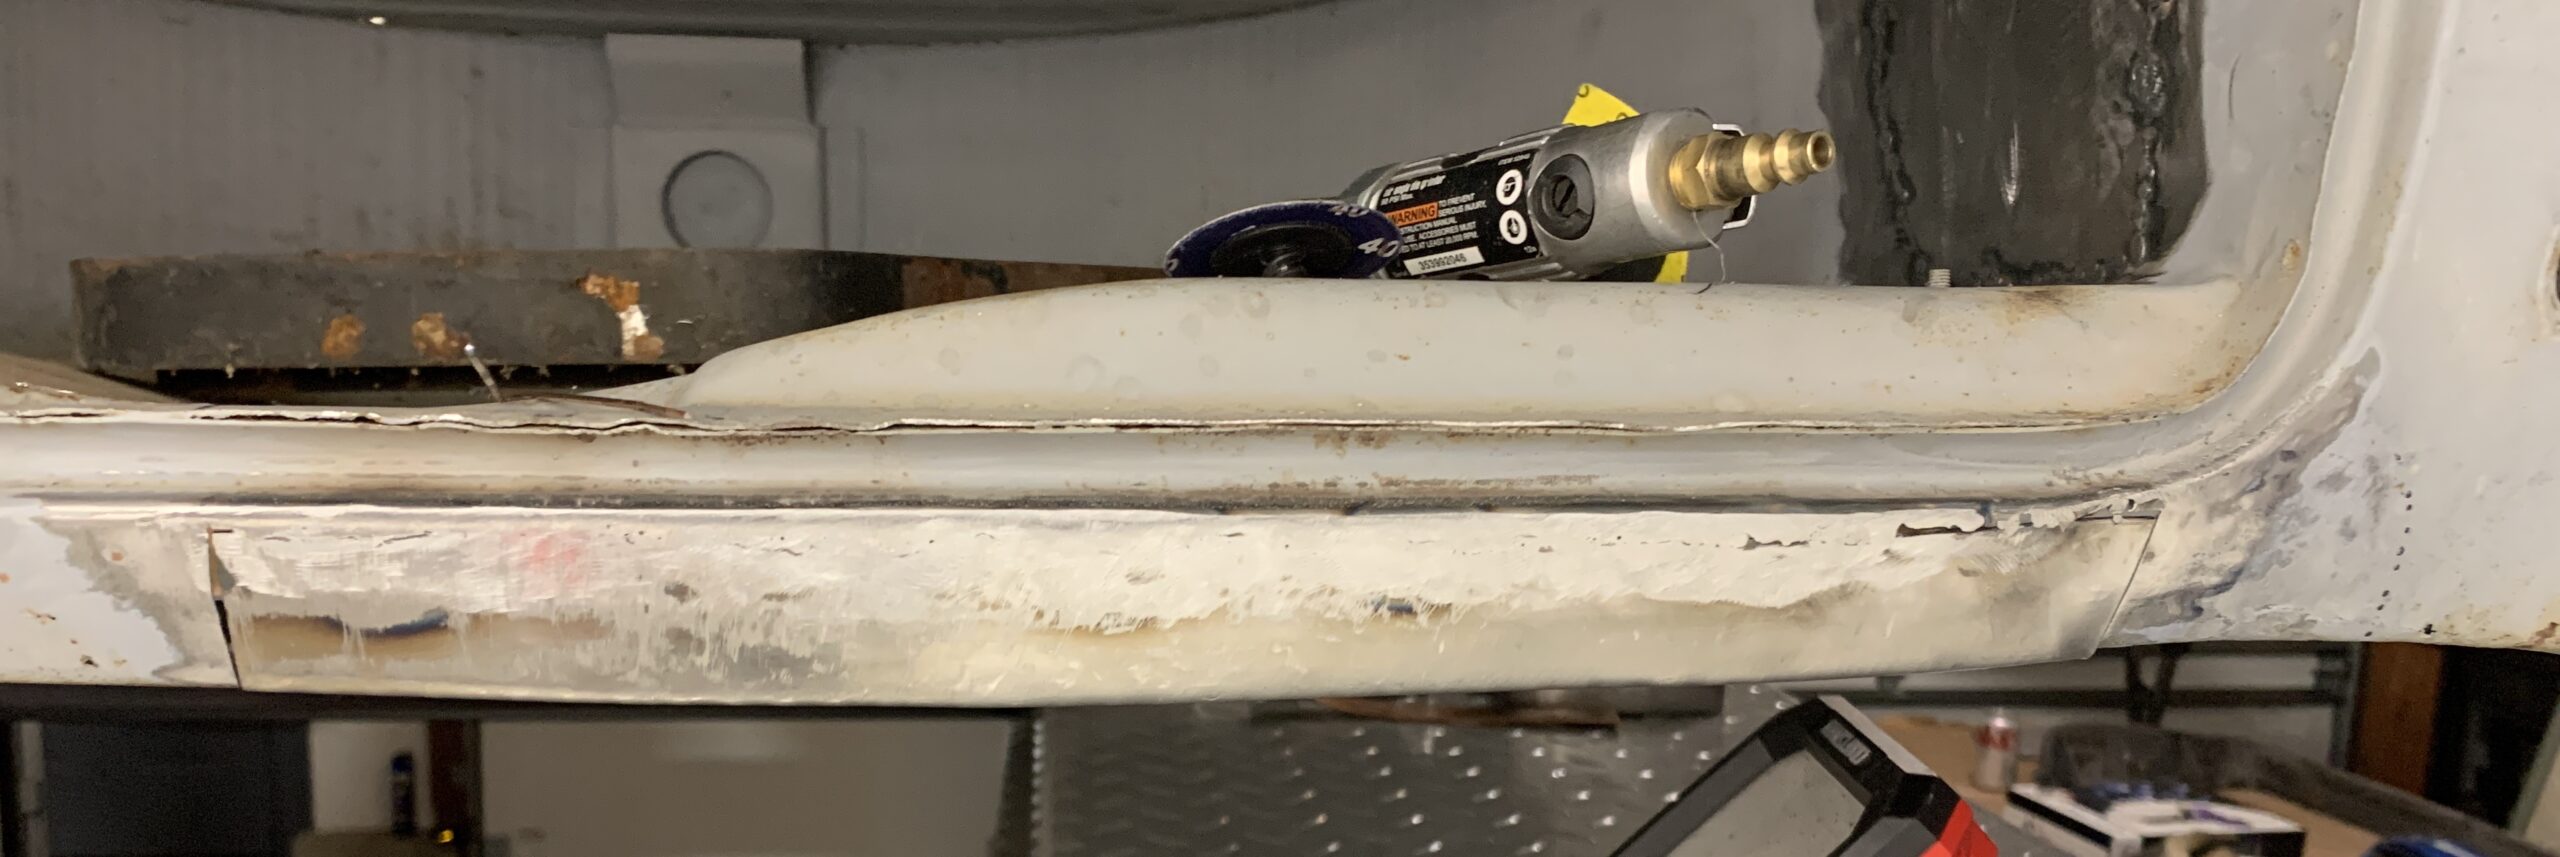
I’m OK with the final product… with my skill level, the quality of the final weld is so dependent on how comfortable I can get as without this I have a hard time controlling the torch and seeing my pool.
Recent Comments