To get started, all you need is your Onyen and an idea! If you’re new to WordPress, you may want to check out WordPress.org to become familiar with the most commonly used terms.
The Design Lab in the Media Resource Center of UNC University Libraries provides a Website Planning Worksheet that is a good initial exercise to undertake before starting work on any website.
To get started, simply head over to TarHeels.live/create-a-site, sign in with your Onyen and register.
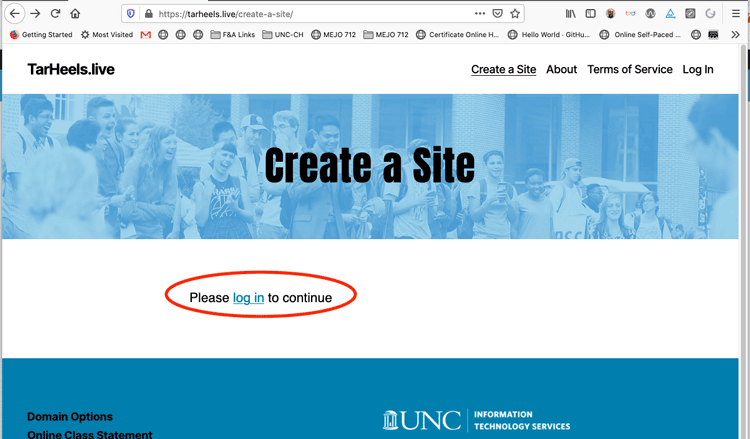
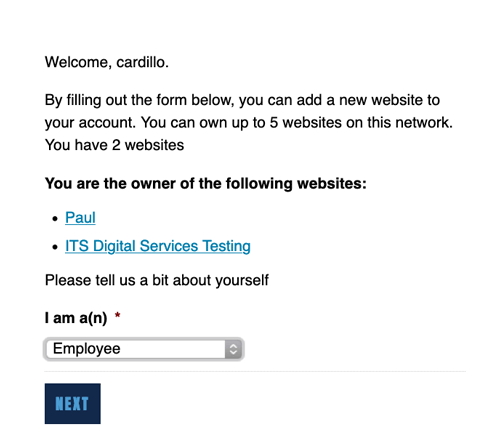
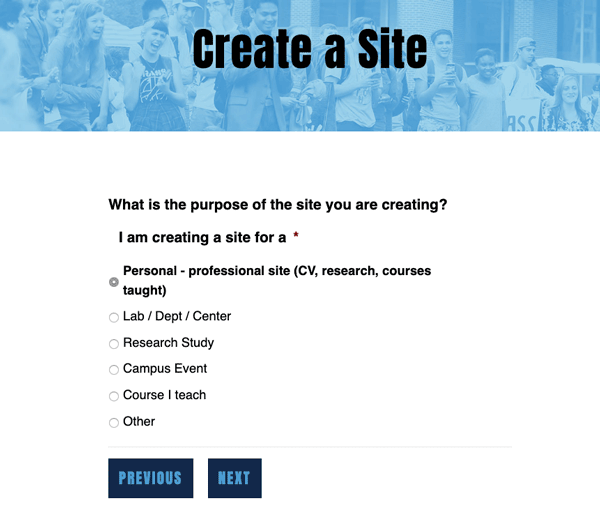
Once you are logged in you’ll need to follow the prompts as shown in the following screenshots and select a site address (TarHeels.live/yourdomain) that isn’t already in use.
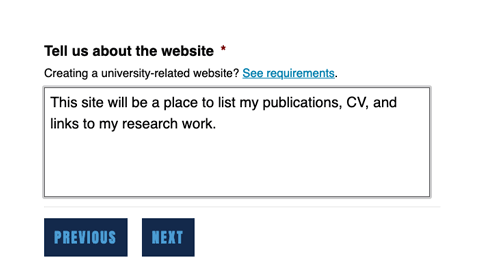
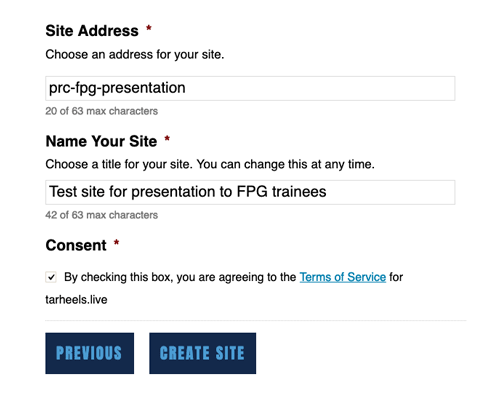
From there, you will receive an email notifying you of your recent site creation. You can click from your email or from the confirmation page to go to your site and begin editing!
Once your site is created, you can visit the dashboard for your site by going to
TarHeels.live/yourdomain/wp-admin/
The Dashboard is basically your control center for your site where you can add, edit, and configure the content and the design of your site as well as control settings related to adding users, allowing comments, setting the time zone, etc.
Change Tagline and Timezone
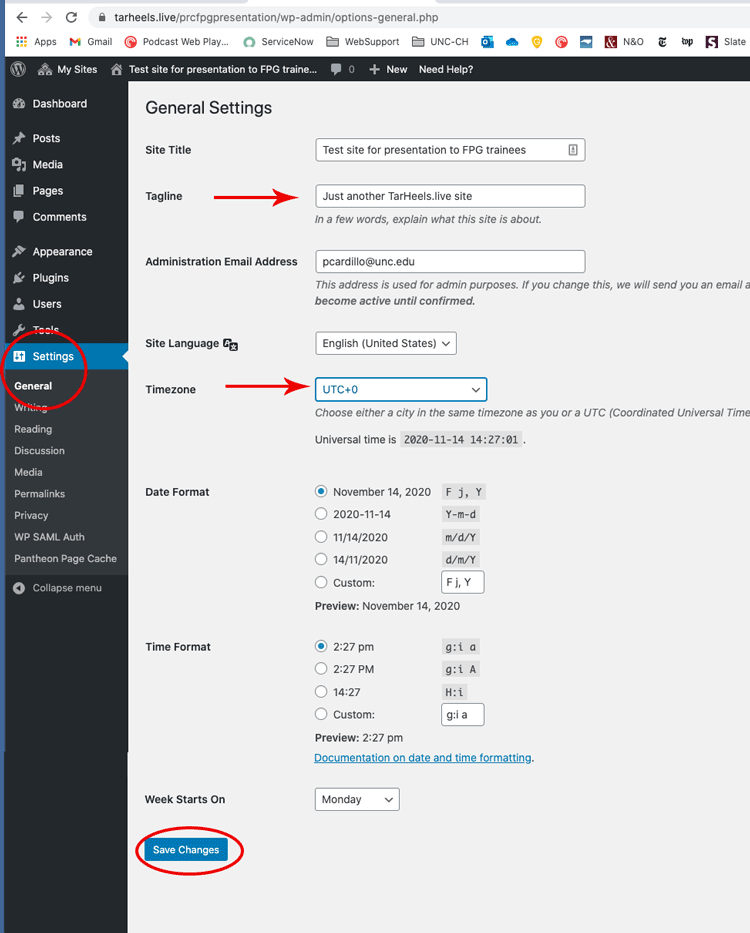
You’ll want to change the default tagline and make sure your timezone is correct. The tagline is descriptive text below the title of your website. By default, your tagline will say “Just another TarHeels.live site.” To change the text of your tagline and the Timezone, follow these instructions:
- Log into the dashboard of your site by going to http://TarHeels.live/yourdomain/wp-admin/
- Navigate to Settings > General
- From there, you can edit the Tagline and Timezone as shown in the accompanying screenshot
Next you can select from one of several responsive themes such as Heelium to change the appearance of your site. Each theme will have a number of options for customizing the look and feel—from colors, to logos and backgrounds, fonts, and page layouts.
To select a theme, follow these instructions:
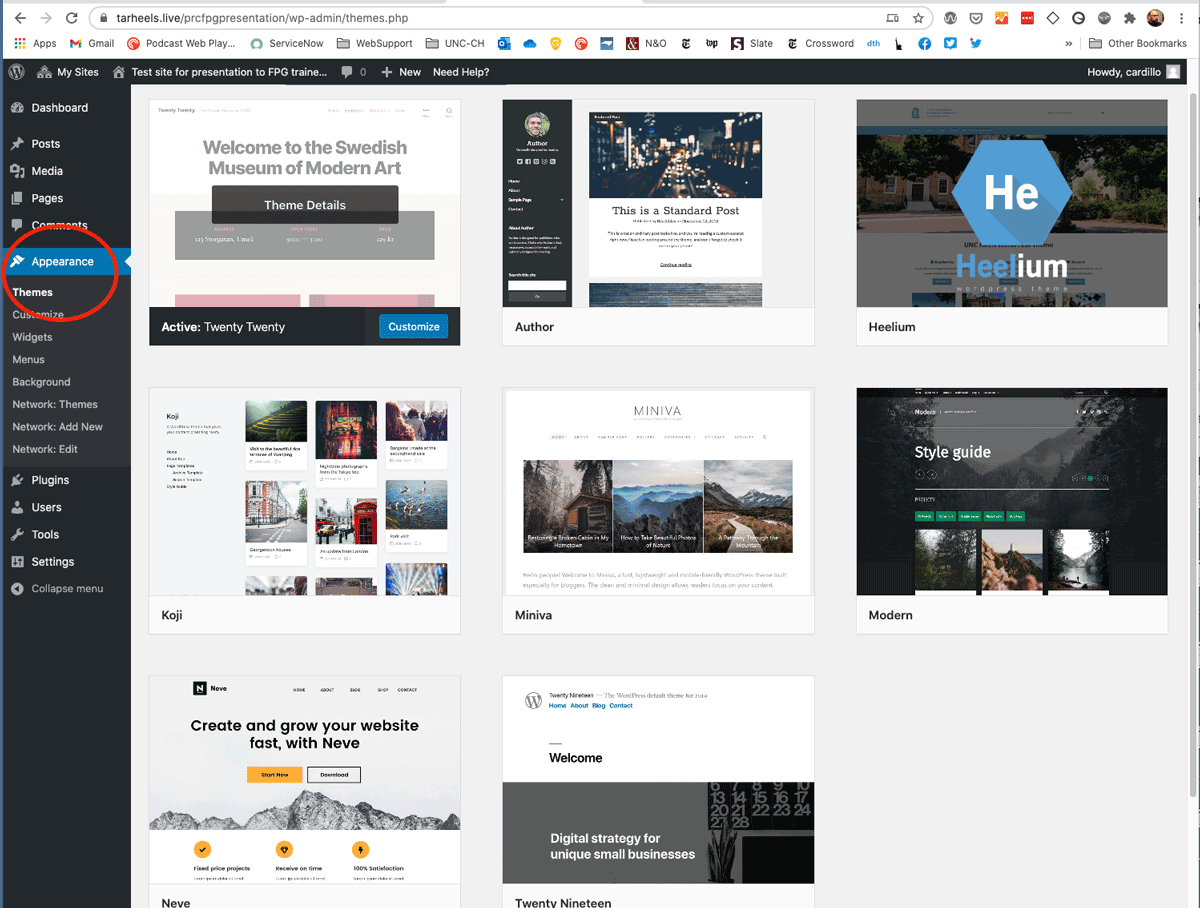
- Log into the Dashboard of your site and navigate to Appearance > Themes
- From there you can browse through the themes we offer, Live Preview a theme, and Activate a theme. The Live Preview feature allows you to get a glimpse of what the theme will look like when activated.
To view more details, activate, or live preview, simply hover your mouse over top of one of the theme images.
The front page is the first page people see upon going to your site and is often called the homepage. If you want to set up the front page to be a specific page or your most recent posts, follow these instructions:
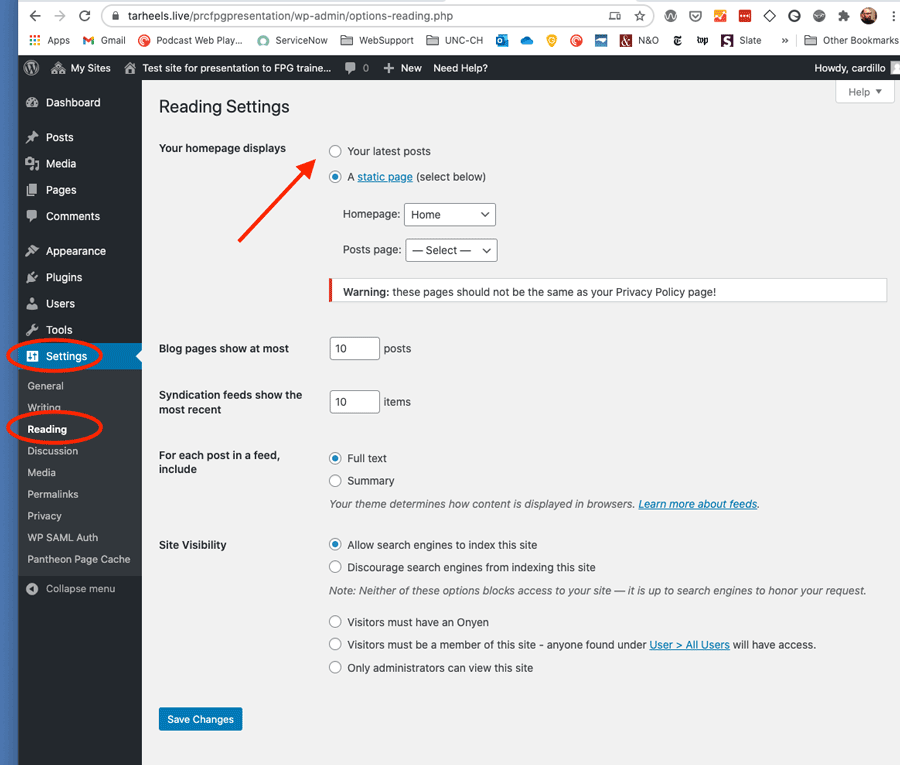
- Navigate to Settings > Reading
- Where it says “Front page displays”, select from the radio buttons Your latest posts or A static page.
- If you are selecting A static page, you then need to select a page from the dropdown menu. Note that in order to select a homepage you must have published the page you want first!
For this example, A static page is being chosen for the front page and the “About me” page is being selected as the page to show.
Once you’ve selected a theme and changed your site’s appearance, you’re ready for some content. You can add pages, posts for news or a blog, and upload media like images and PDFs.
Adding Content
To add content, follow these instructions:
- Log onto your site at https://tarheels.live/yourdomain/wp-admin to access the Dashboard.
- From there, you can add posts and pages by going to the left-hand side of you page and selecting either Posts or Pages > Add New.
- After you have entered content, hit “Publish” on the right-hand side of your page.
Refer to WordPress.org’s documentation for more information on adding Pages, Posts and Media Files
To create a top level menu, follow these instructions:
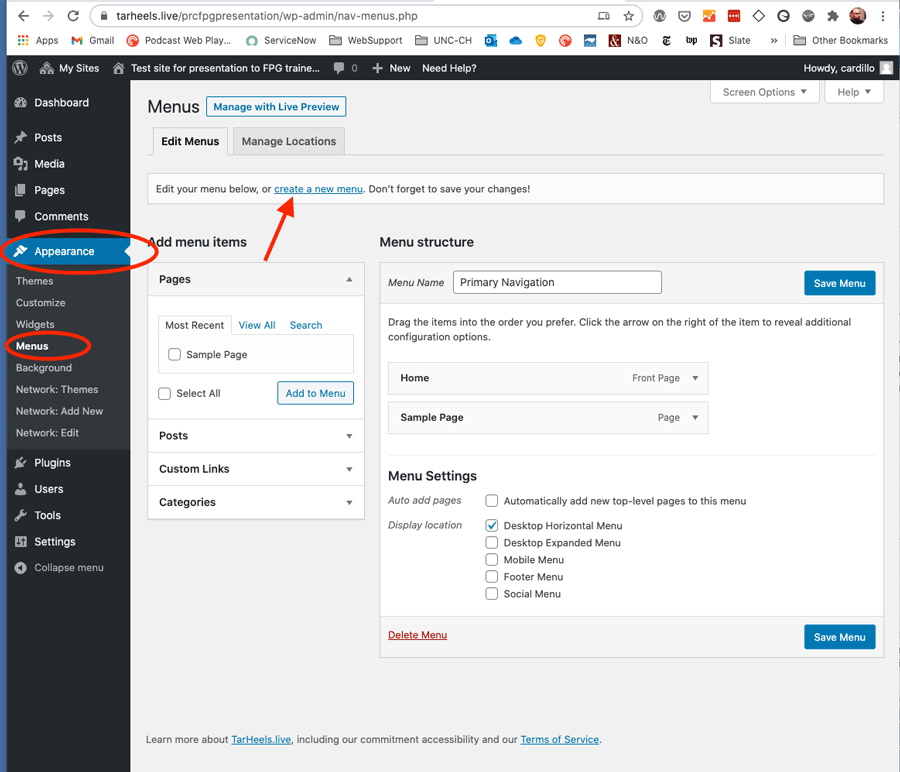
- Log onto your dashboard
- Navigate to Appearance > Menus
- Select “Create New Menu”
- On the left-hand side of the page, you can add pages, links, and categories of posts to the menu.
- Drag & Drop menu items to change the order and hierarchy
- You can save multiple menus and choose their placement on your site as detailed in this WordPress.org menu help document
- Hit “Save”
Refer to the Menu User Guide on WordPress.org to learn more about menu creation and functions.
To add customization and extra functionality to your site, check out our list of available plugins.
Since TarHeels.live is a multi-site network with over 1,000 sites which must meet University accessibility, privacy and security requirements, plug-in activation and availability is limited to only those choices you can see in your site’s ‘Plugins’ menu.
If you made a recent change on your site or if something isn’t showing up the way you specified, please see the tips below for common issues and solutions:
I can’t figure out how log into my site!
- To log into your site, add “/wp-admin/” to the end of your URL. You will then be taken to the login page where you can enter in your Onyen and password
- Example: TarHeels.live/yourdomain/wp-admin/
The changes I made aren’t showing up! What’s going on?
- Try refreshing the page or post you made changes on! The reason your site isn’t showing the changes is because your site is operating on old information and needs to be “refreshed” in order to receive the new changes.
- Make sure you Published, Updated, or Saved the changes. If you don’t save or update the page or post, the changes won’t show up.
The menu I set up isn’t showing up. What’s going on?
- Check to make you sure you created a menu, saved the menu, and specified the menu location.
- Refer to WordPress.org’s Menu documentation
I changed the theme and the settings are different. What’s going on?
- When you change your theme, certain aspects of the site will change. You may have a new options for your Header (top of your page) or your background (add a picture or select a color).
- When in doubt, check the Appearance section as that is where you can often find options to manipulate the theme settings.
I uploaded an image/pdf/file onto my page and can’t figure out where it is stored.
- On the left-hand side of your Dashboard, you will see a Media section. Select that and you will be able to search through and find your media items there!
Finding Support
If you have a general question about our self-service web publishing, check out ITS Digital Services. Many common questions are answered there. For details about the main UNC WordPress theme, visit Heelium. If you’re having trouble with your pages, please submit a help ticket.
Note: We do not provide support for custom CSS questions.