Build The Game at Home
Click Through the Tabs Below to Build the Game at Home!
Overview
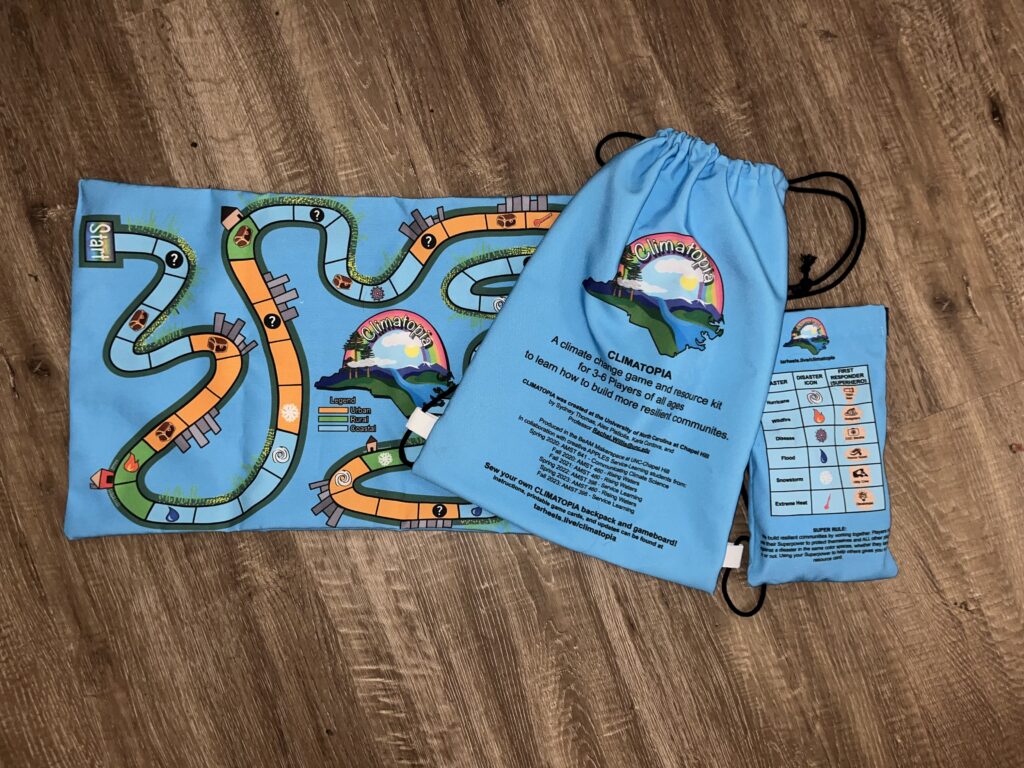
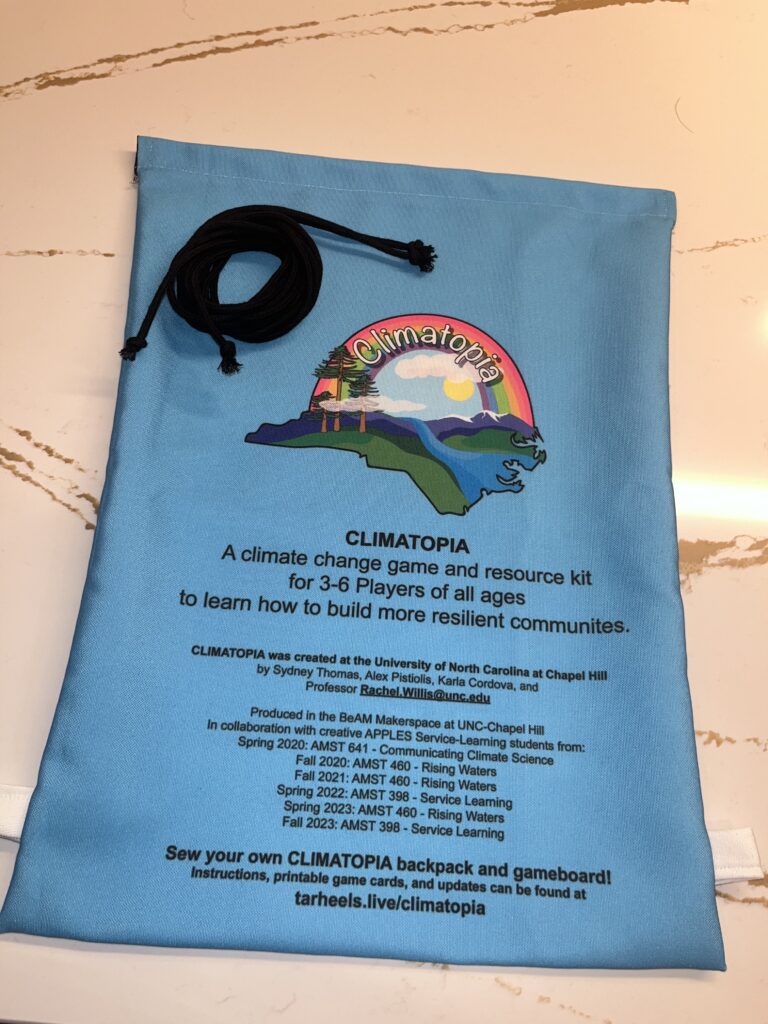
Navigate through the tabs above to learn how to order and sew the Climatopia™ drawstring backpack, game board, and parts bag at home and become part of the Climatopia™ mission of creating a more resilient future.
At-Home Items Needed to Build Climatopia™
To successfully build and play Climatopia™ at home, you will need all of the items listed below:
- A standard die
- A red disaster die
- A printer and paper (to print the character, resource, and quiz cards)
- Game board pieces
Materials Needed for the Sewing Process:
- 1 yard of Climatopia™ fabric (ordering details will be on the first tab)
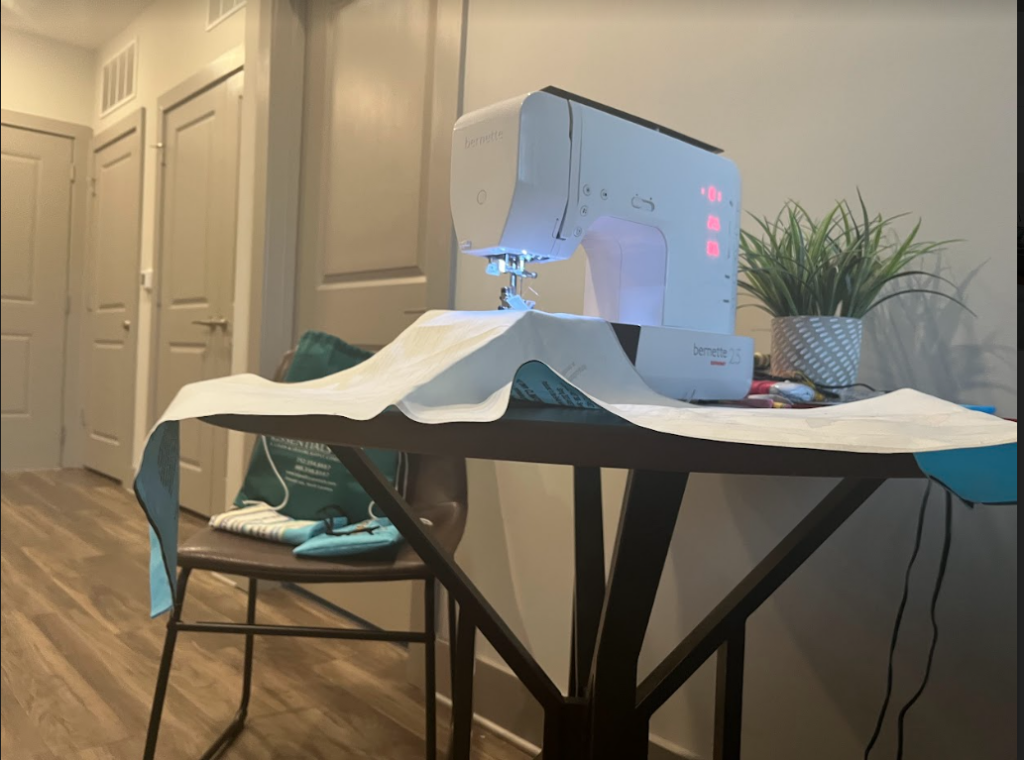
- Sewing machine
- Spool of invisible thread
- Scissors (preferably fabric scissors)
- 1 hand-sewing needle
- Ruler
- Iron or hair straightener
- Pencil
- 14 ft cotton macrame cord
- Two 20-inch strands
- Two 70-inch strands
Ordering Fabric
Climatopia™ makers have utilized Spoonflower to order the fabric for the game board and bags for the last 3 years. They have been reliable and provide quality fabric for the game.
Ordering Fabric Instructions
1. Go to the Spoonflower website found at this web address:https://www.spoonflower.com/
2. Take a look at the “Programs and Discounts” tab for any discounts for which you may apply.
3. In the search box back on the home page, type in “Climatopia” to find our fabric.
4. Choose your fabric dimensions based on the fabric of choice
-
- Lightweight Cotton Twill – 36 x 58 inches
- Original material. Flexible; ideal for structured apparel and bags
- Recycled Canvas – 36 x 54 inches
- Woven canvas with repreve recycled polyester suitable for seasonal outdoor use
- Lightweight Cotton Twill – 36 x 58 inches
5. You should now see a menu on the far right side of the page.
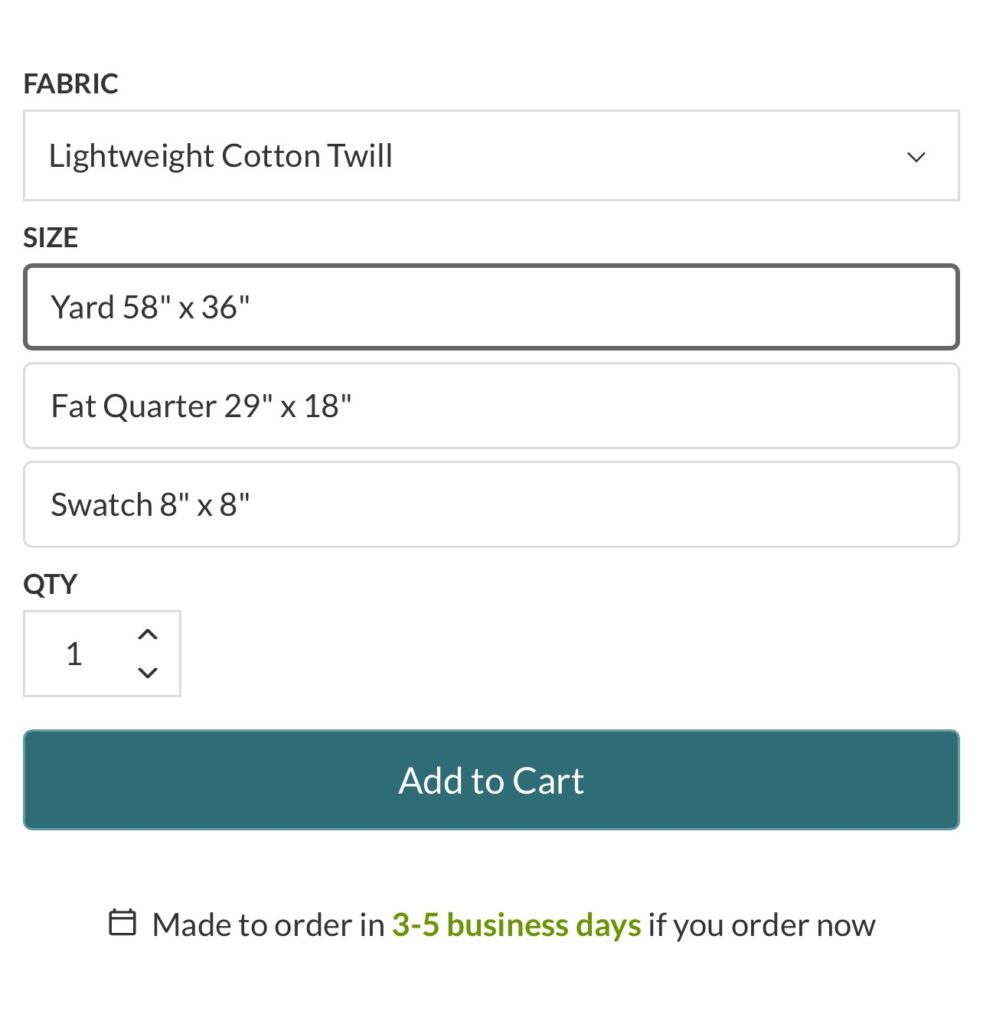
6. On the tab on the far right, under “Fabric Choice”, choose the correct fabric based on your dimension choices above.
7. Under “Size”, choose “Yards (36 x __)” instead of the other options in the drop-down menu.
8. Change the quantity to however many sets you want to sew.
9. You should now see a snapshot of the fabric that reveals the entire set.
10. Once everything is correct, click “Add to Cart”.
11. Scroll up to the top right corner of the webpage, and click on the cart icon.
12. Once in the cart, click “Check out”
13. Fill out shipping and payment details.
14. After reviewing the order, order the fabric and you are set!
Stitching Together a More Resilient Future: A Step-by-Step Guide to Construct Climatopia
For access to a printable version of the sewing guide, click HERE!
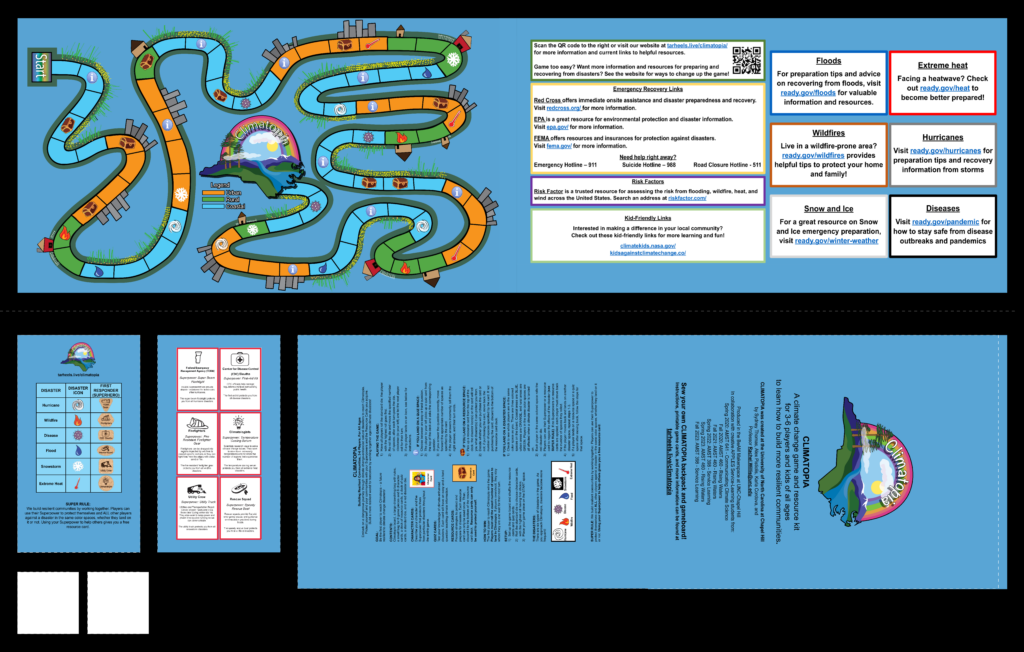
The sewing instructions have been split into 3 different sections: game board sewing, drawstring backpack sewing, and game parts bag sewing. These go from easiest to hardest to ensure that you are confident sewing throughout!
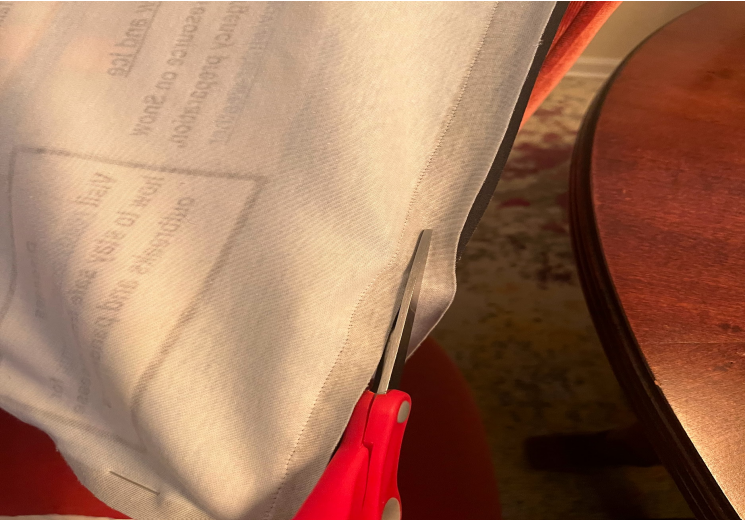
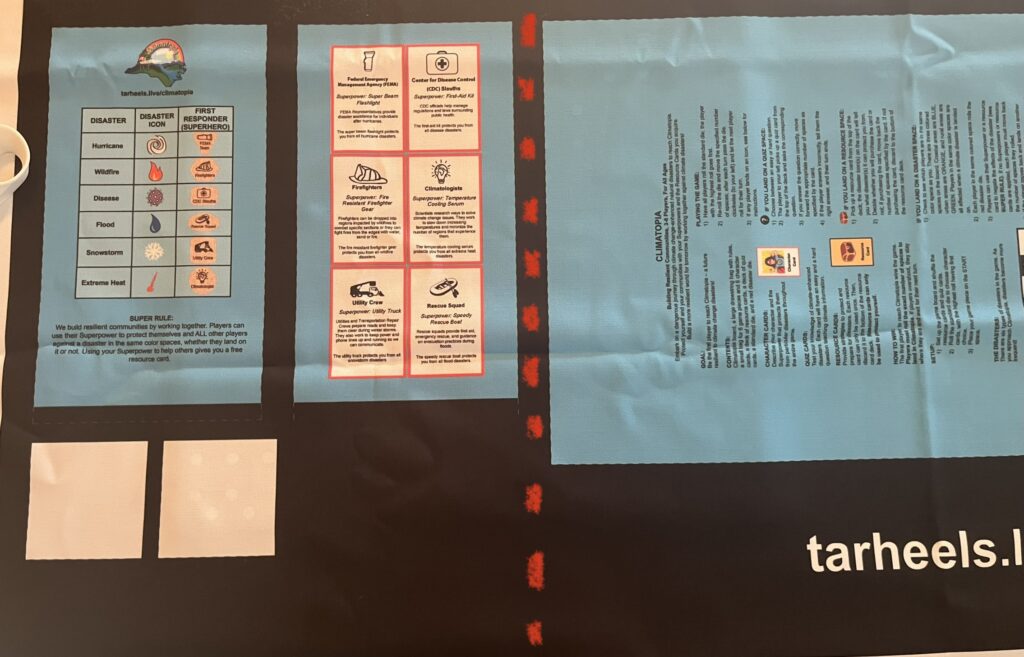
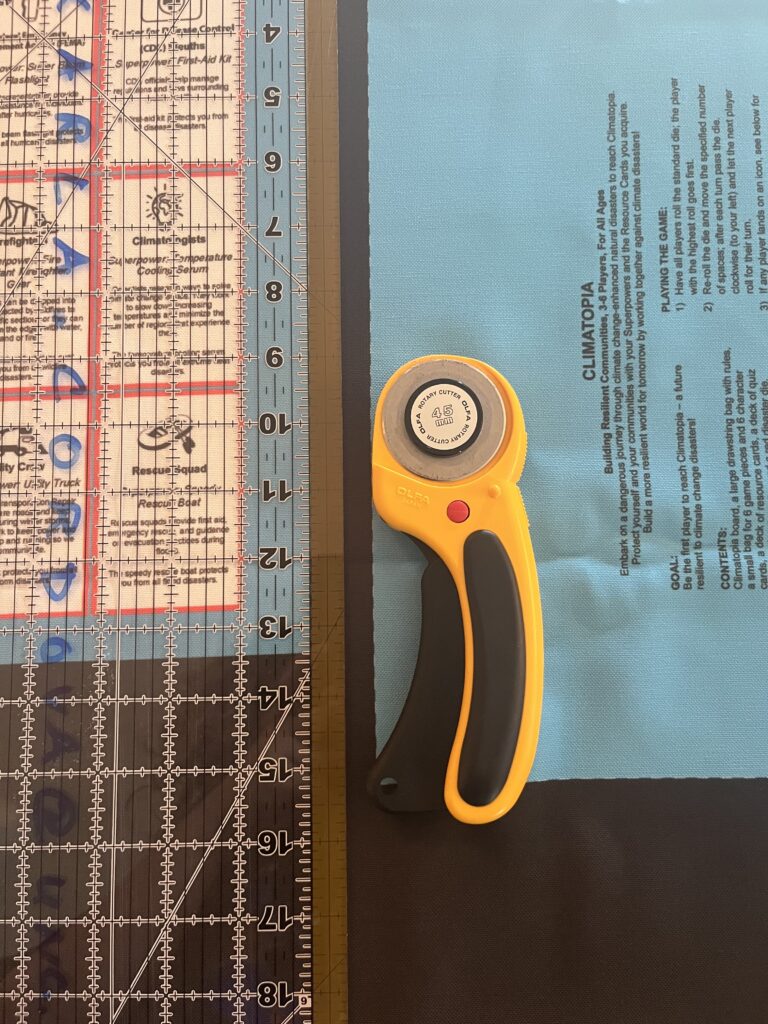
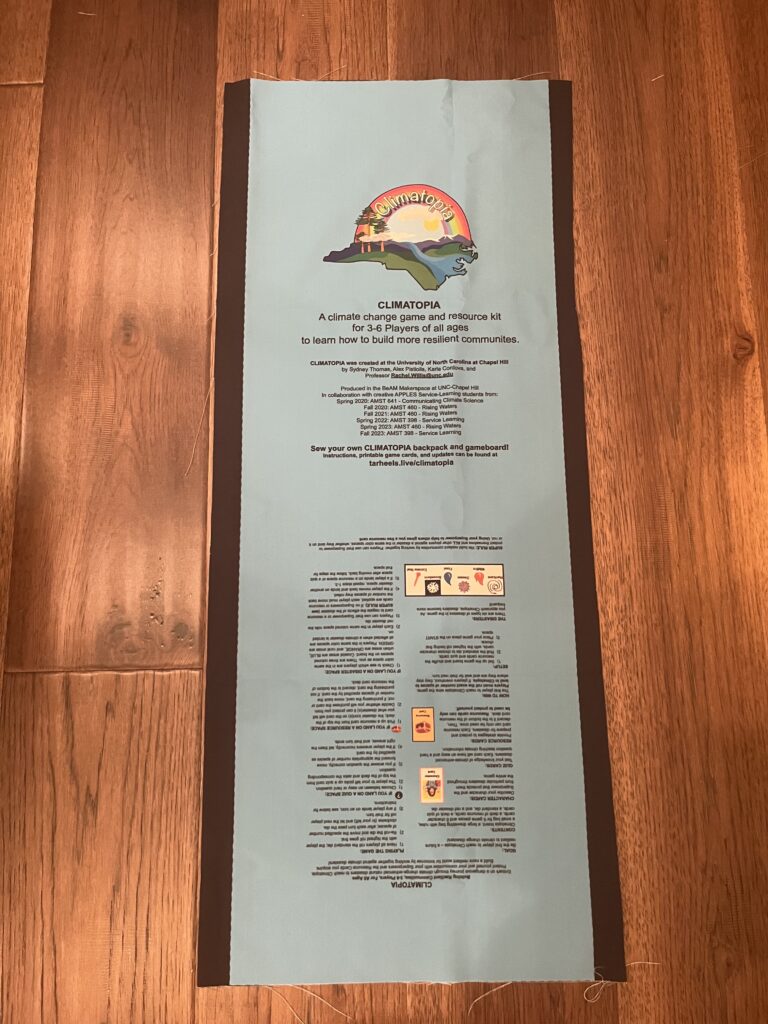
Before starting each individual construction process, cut along the dotted line to separate the game board with the bags.
Game Board Sewing Instructions
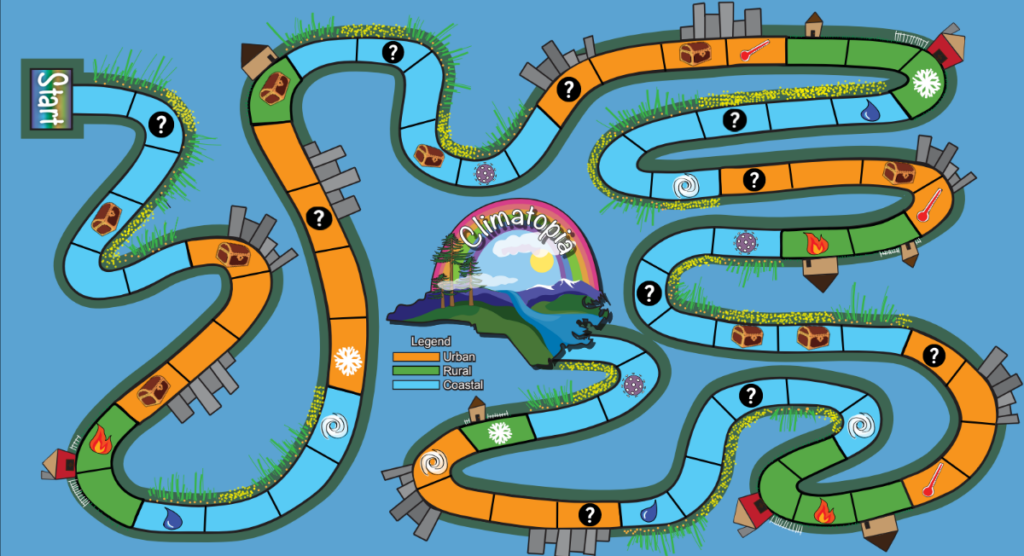
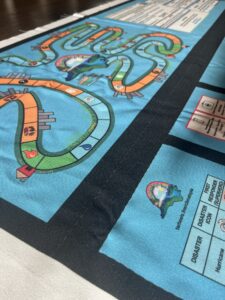
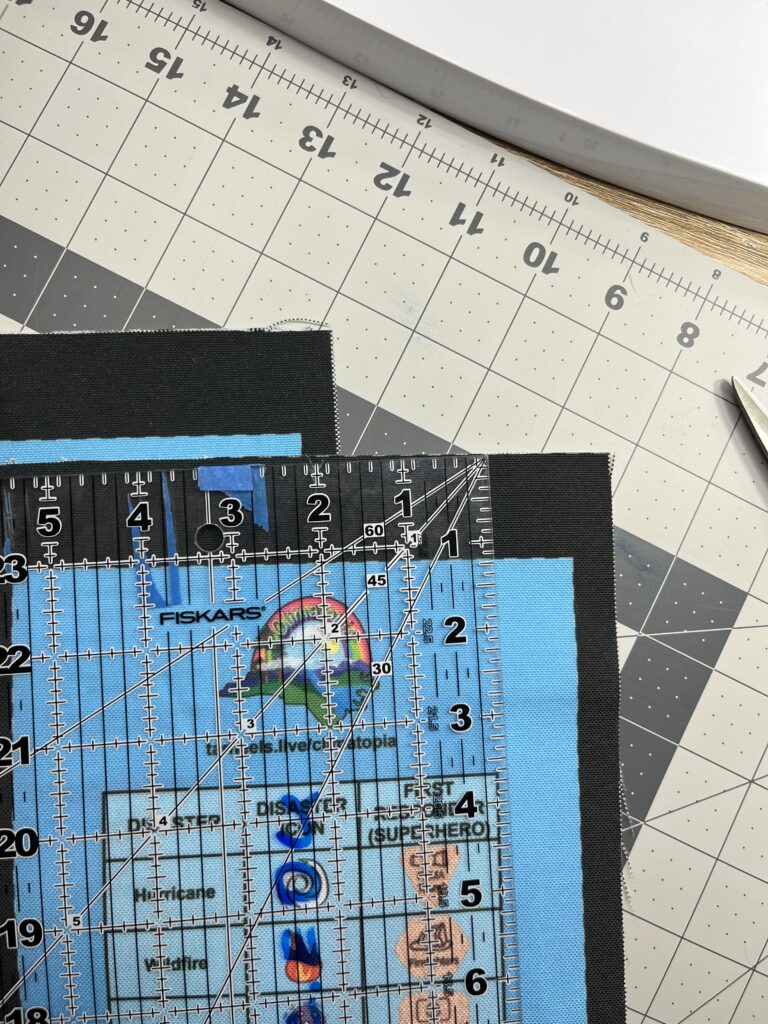
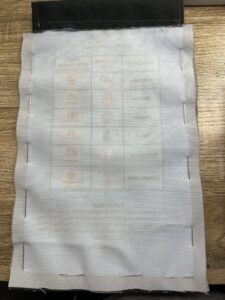
RECOMMENDED: Leave yourself about an inch of black margin but ensure that there is no less than half an inch of black margin – you will be aiming to sew the seam on the border where the black margin meets the blue board.
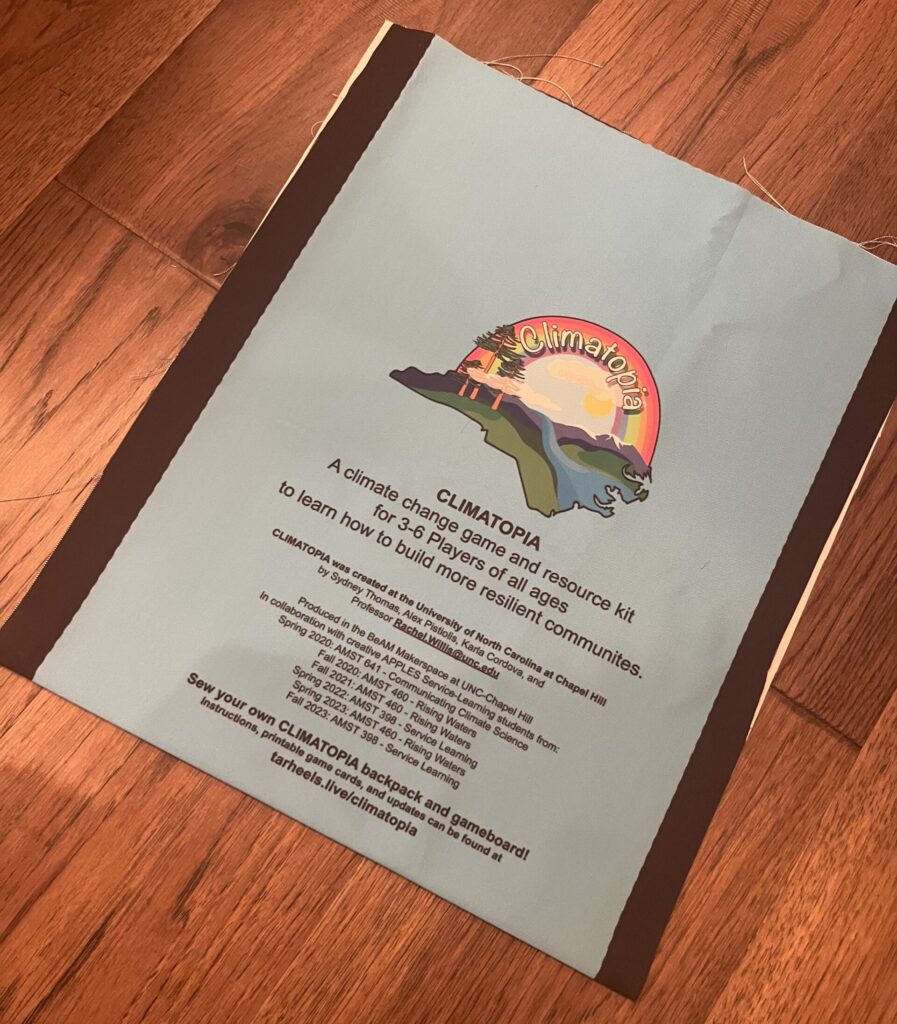
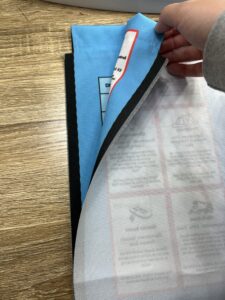
1. Fold the board so both sides of the printed fabric face one another in the inside and the unprinted side faces outward toward you.
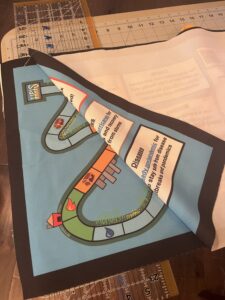
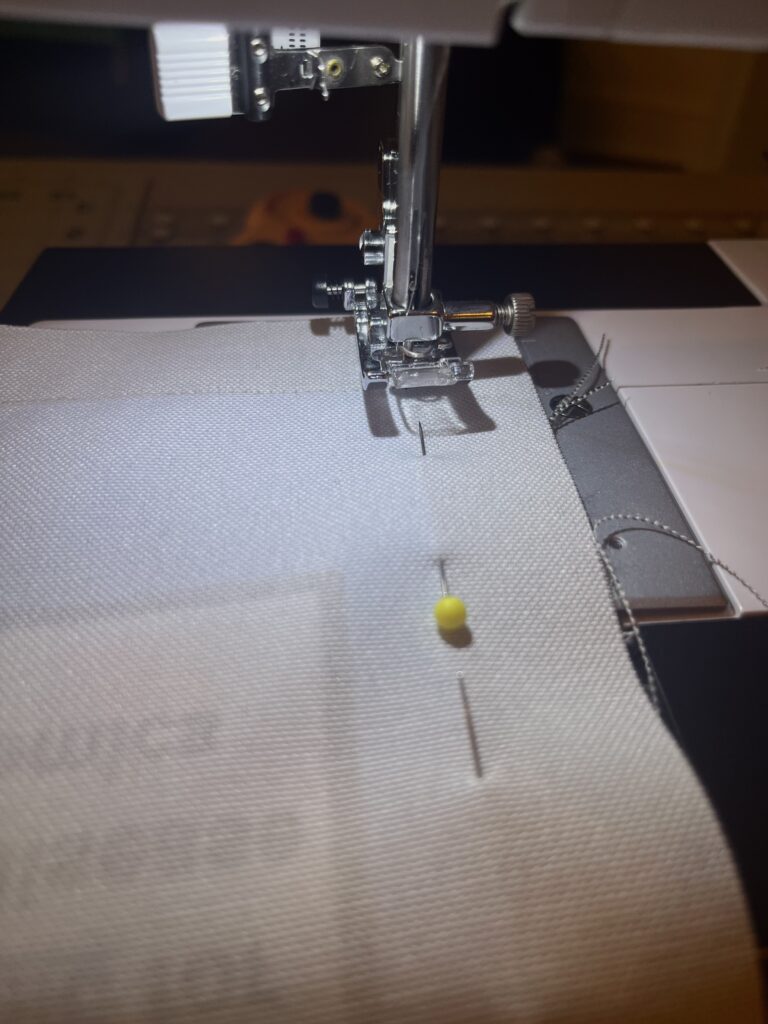
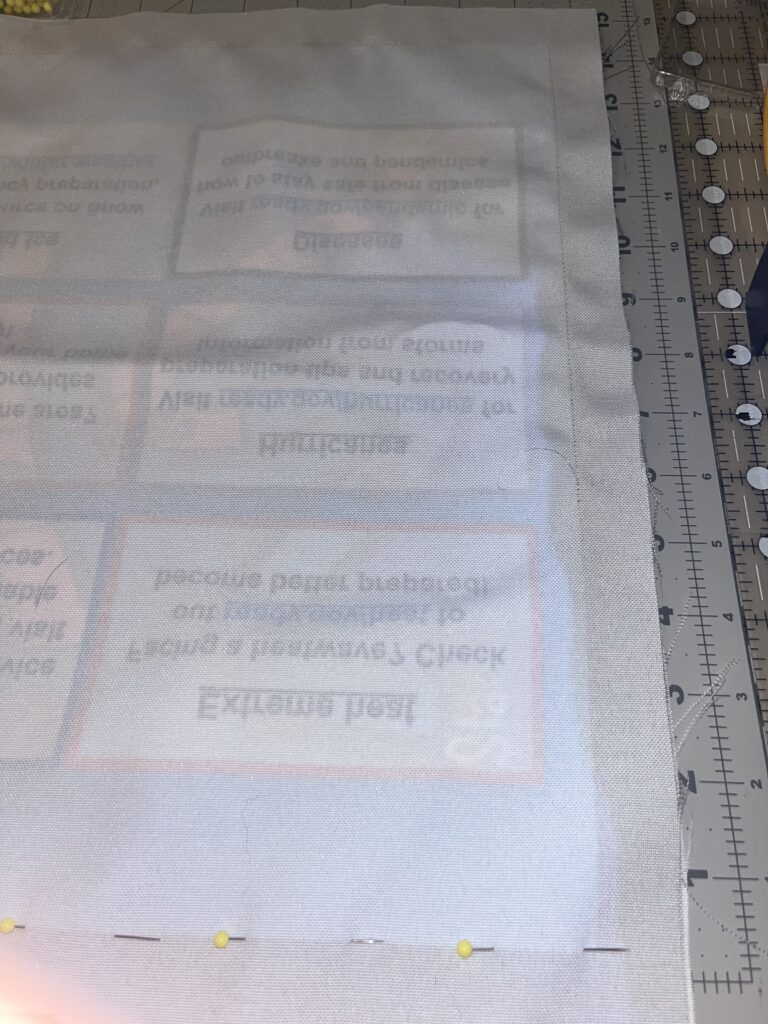
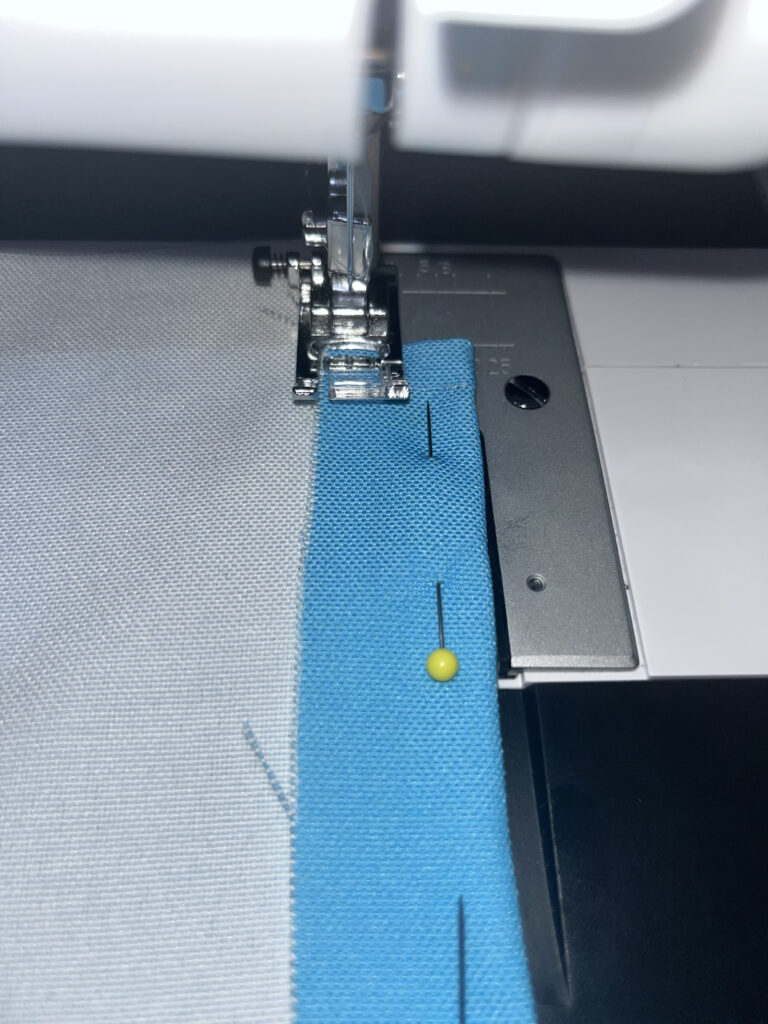
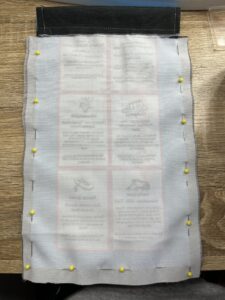
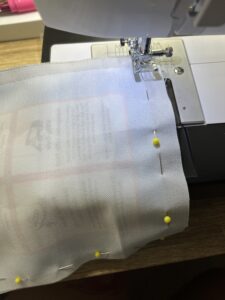
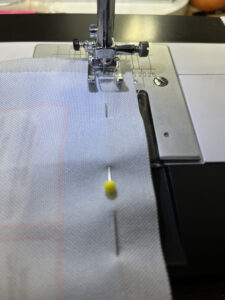
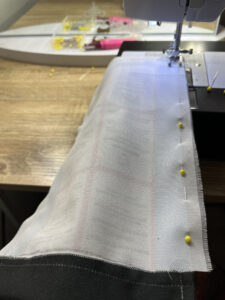
2. Pin the board around the edges so that the pin lies horizontally on the border between the blue and black. This will ensure the seam will stay straight and aligned while sewing. Starting at the corners will make sure the fabric does not slide in this process.

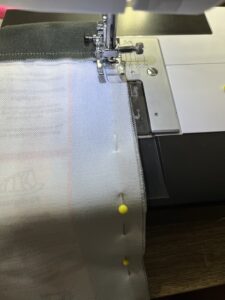
3. After pinning, place the sewing machine needle at the edge of the game board on the side with the fold. Follow the border where the black margin meets the blue and sew down to the corner of the opposite side, sliding the fabric slowly and removing the pins while advancing down the seam.

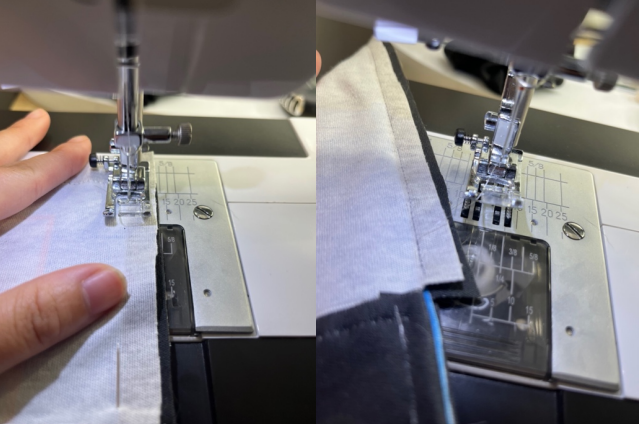
4. Once you get to a corner, lift the presser foot of the sewing machine, and rotate the fabric 90 degrees so that the next margin line on the board is met. Sew ¾ of the way down the board, leaving a gap that would fit the circumference of your arm. This gap will ensure that the fabric will be easy to fold right-side in when the side seams are finished. You can finish the seam line by reversing the stitch line to reduce the chance that the stitching/seam will come apart.
5. Repeat Step #3 and place the needle at the top of the folded side. Only stitch down to the unsewn corner, again using the backstitch/reverse stitch option to ensure the board will stay tightly stitched.
6. Cut off the excess margin so that there are at least 3/8ths of an inch left for seam allowance. Cutting off the extra fabric will allow the board to lay completely flat without any interior bumps with extra fabric.
7. Once the corners are smoothed use an iron (or a hair straightener on the lowest setting) and go along the edges of the newly sewn seam edges so that the board will lay totally flat.
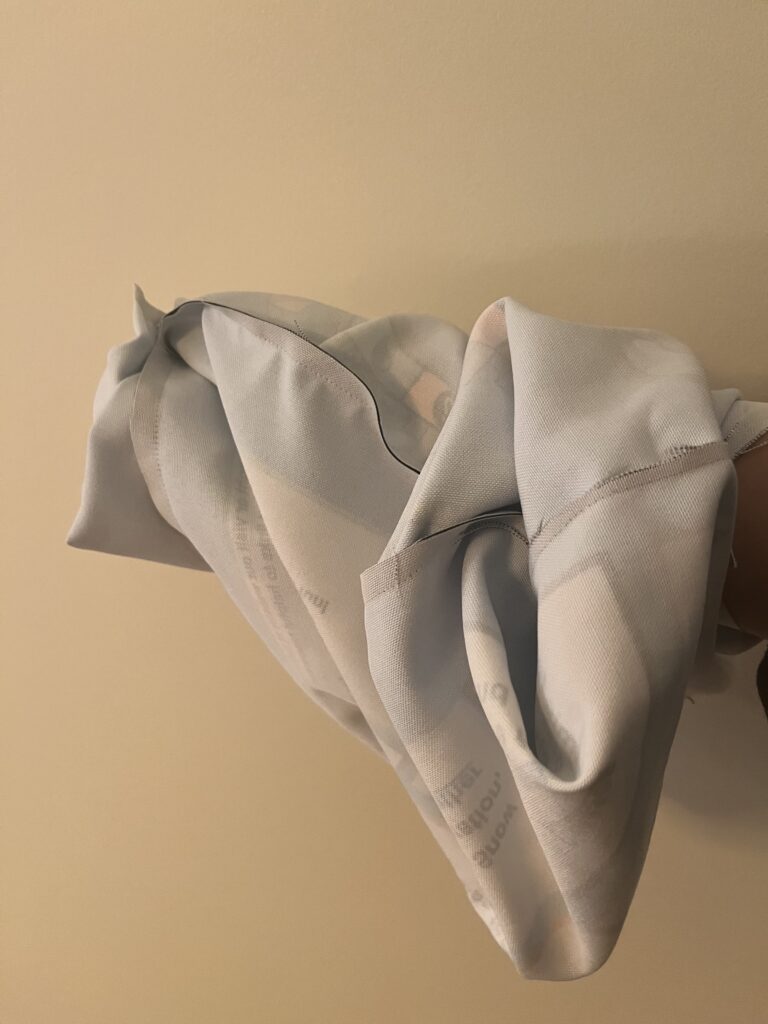
8. Take your arm and insert it into the inside-out-bag you have just sewn. Grab both corners of the bag from the inside, and pull through the armhole to turn the board right-side-in. Once it is no longer inside out, you can use your fingers to straighten out the corners and sides of the board.
9. To close the armhole, use a ladder stitch with a hand-sewing needle and thread and finish up the game board. The seam line for the ladder stitch should follow the border of the black margin and blue board.
Extra ladder stitching instructions can be found linked here.
10. Make sure the ladder stitch is secured with a knot before cutting off the excess thread.
11. Lastly, iron the entire board so that it is easily foldable and the edges remain crisp.
Congratulations, you have finished the first essential piece in the set!
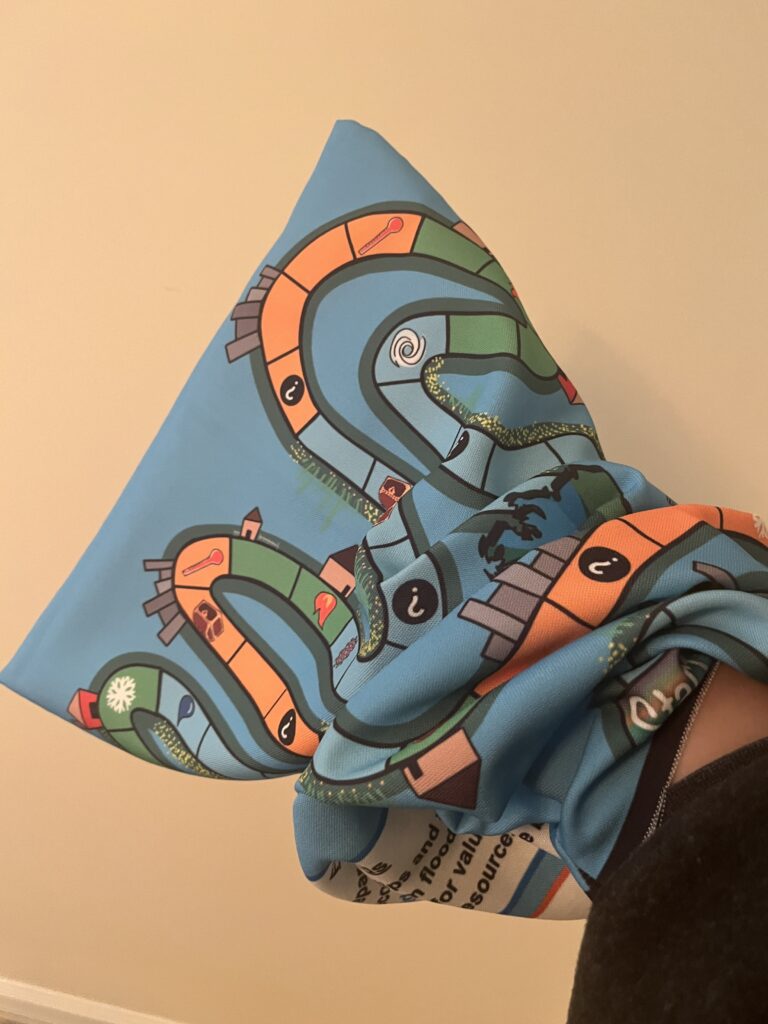
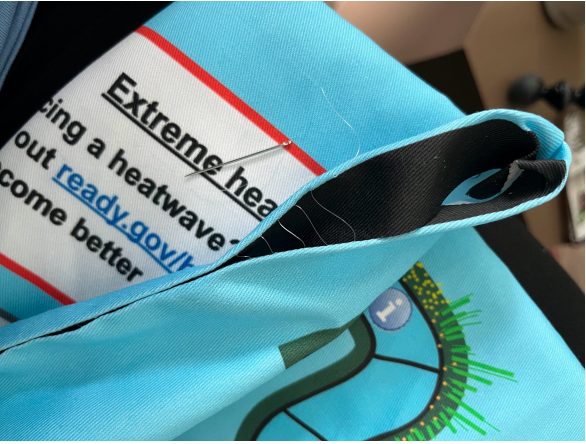
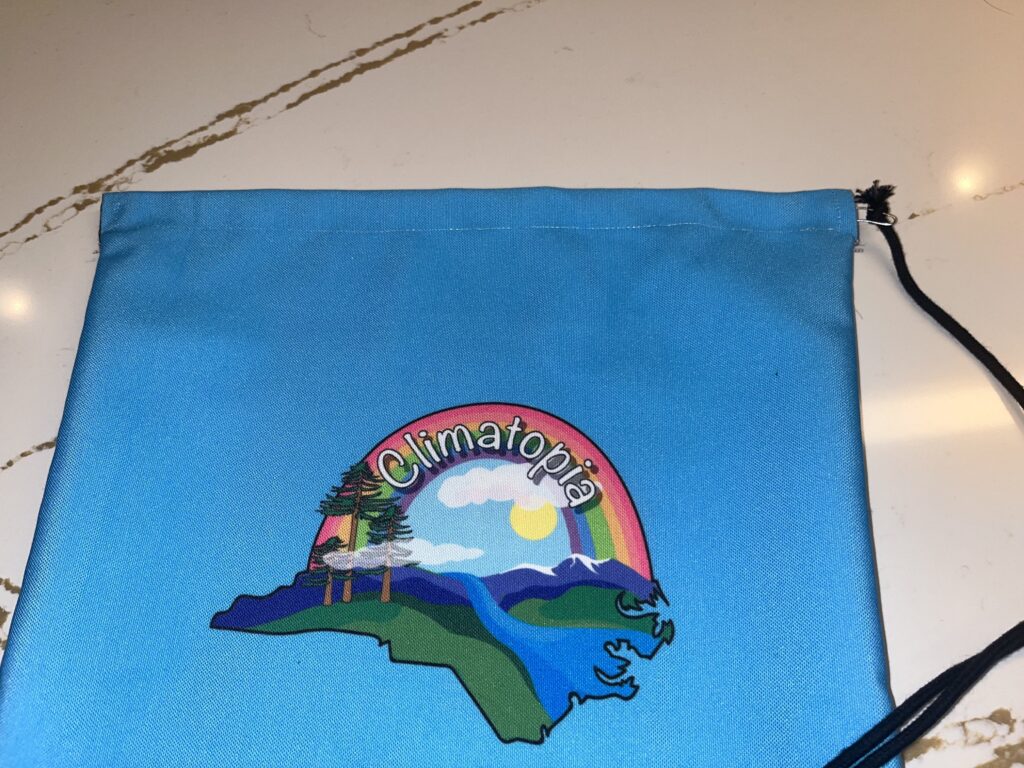
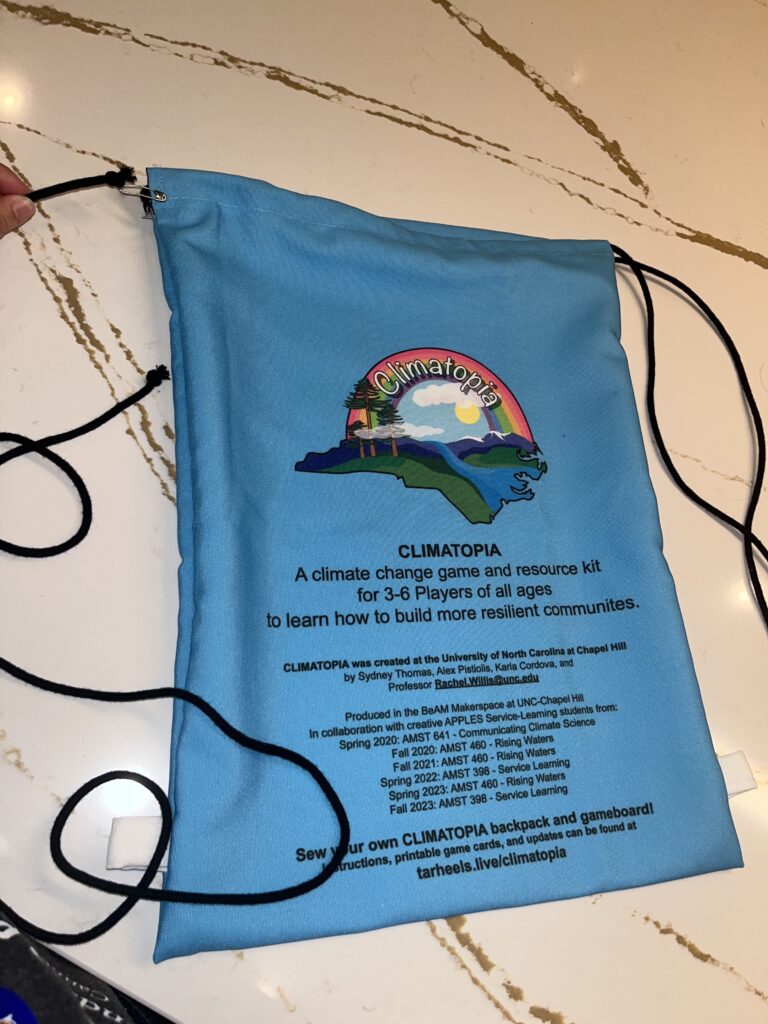
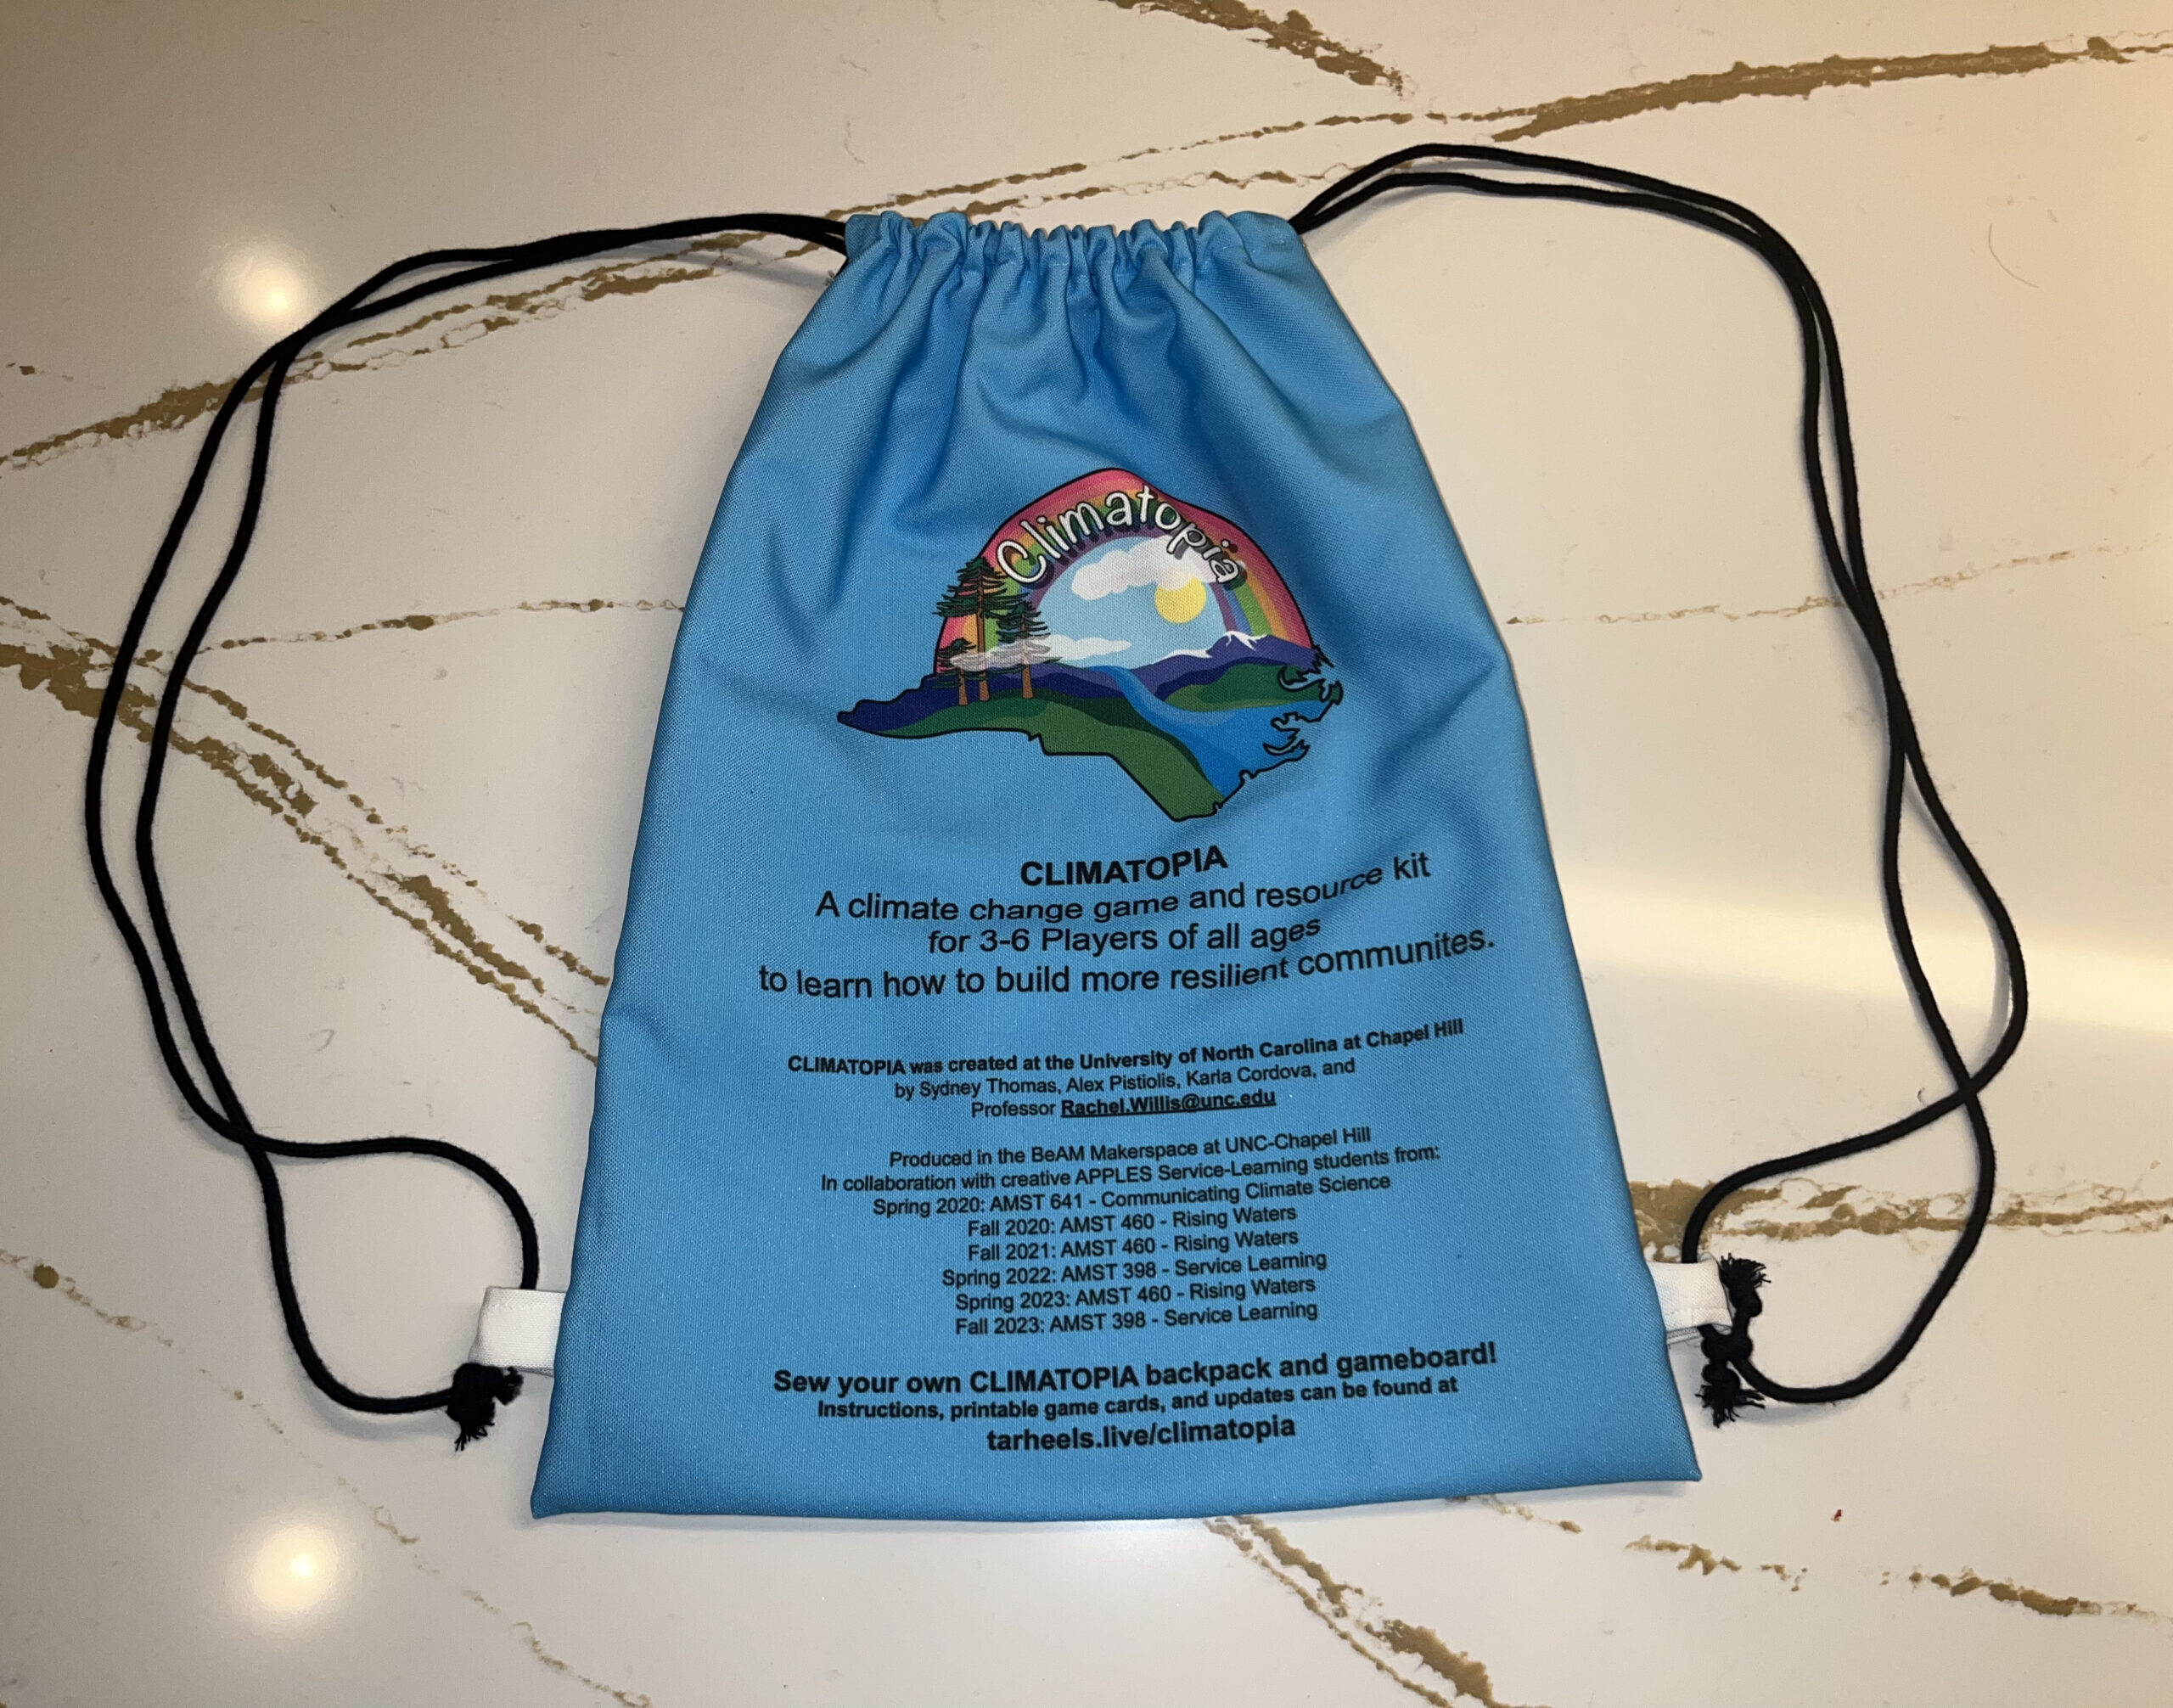
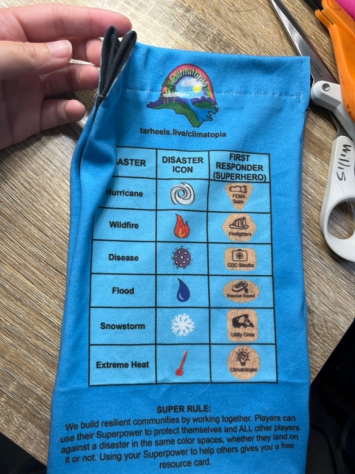
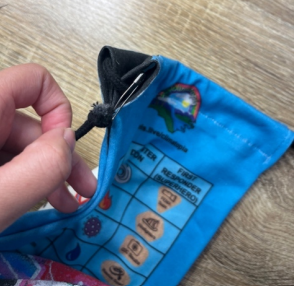
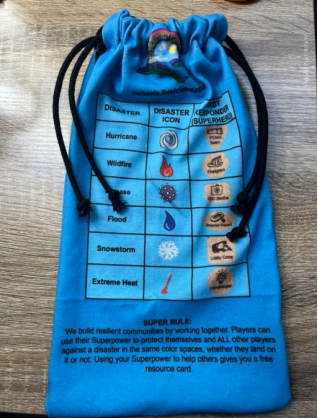
Drawstring Backpack Sewing
The drawstring backpack is super important and useful because it includes the game rules. On top of this, it can hold the game piece bag or anything you would like to carry around.
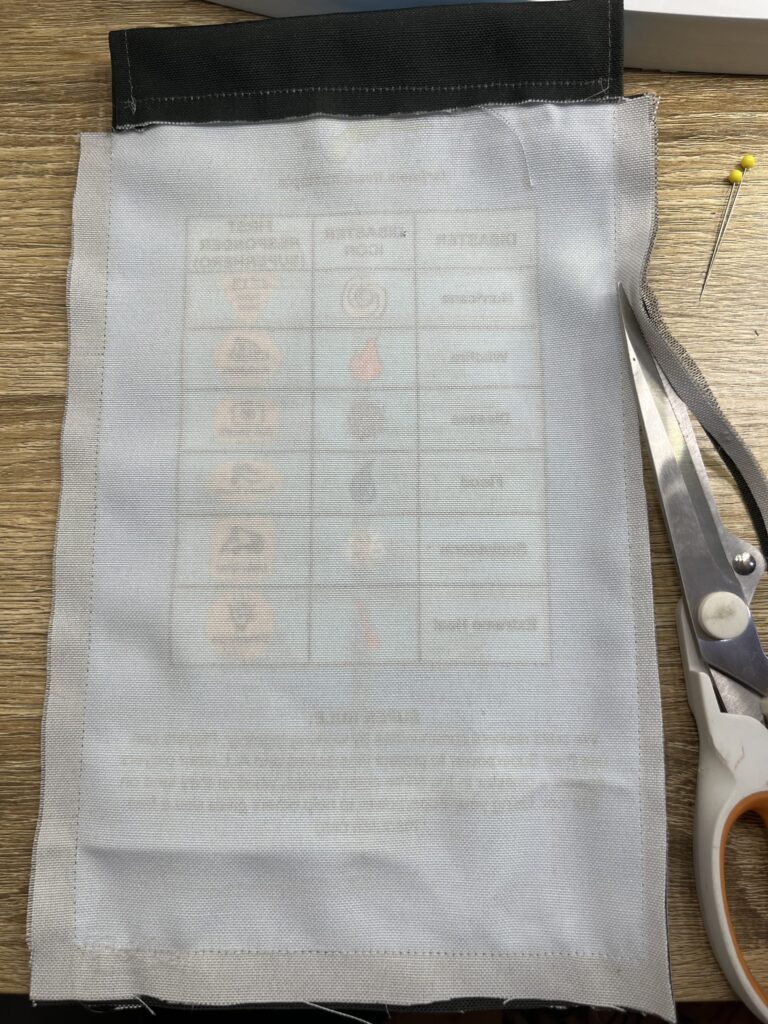
Drawstring Backpack Sewing Instructions
1. Separate the backpack bag from the parts bag, cut exactly halfway in between the black section so that there is equal black margin on the bottom of the top back piece and the side of the parts bag face with the character cards.
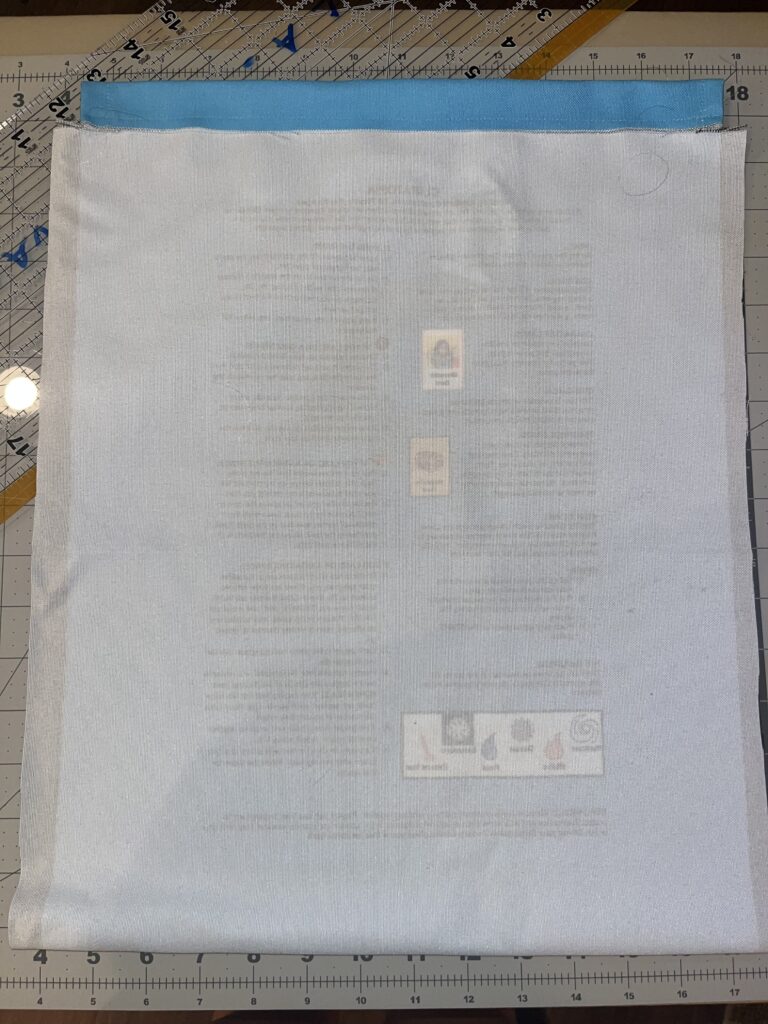
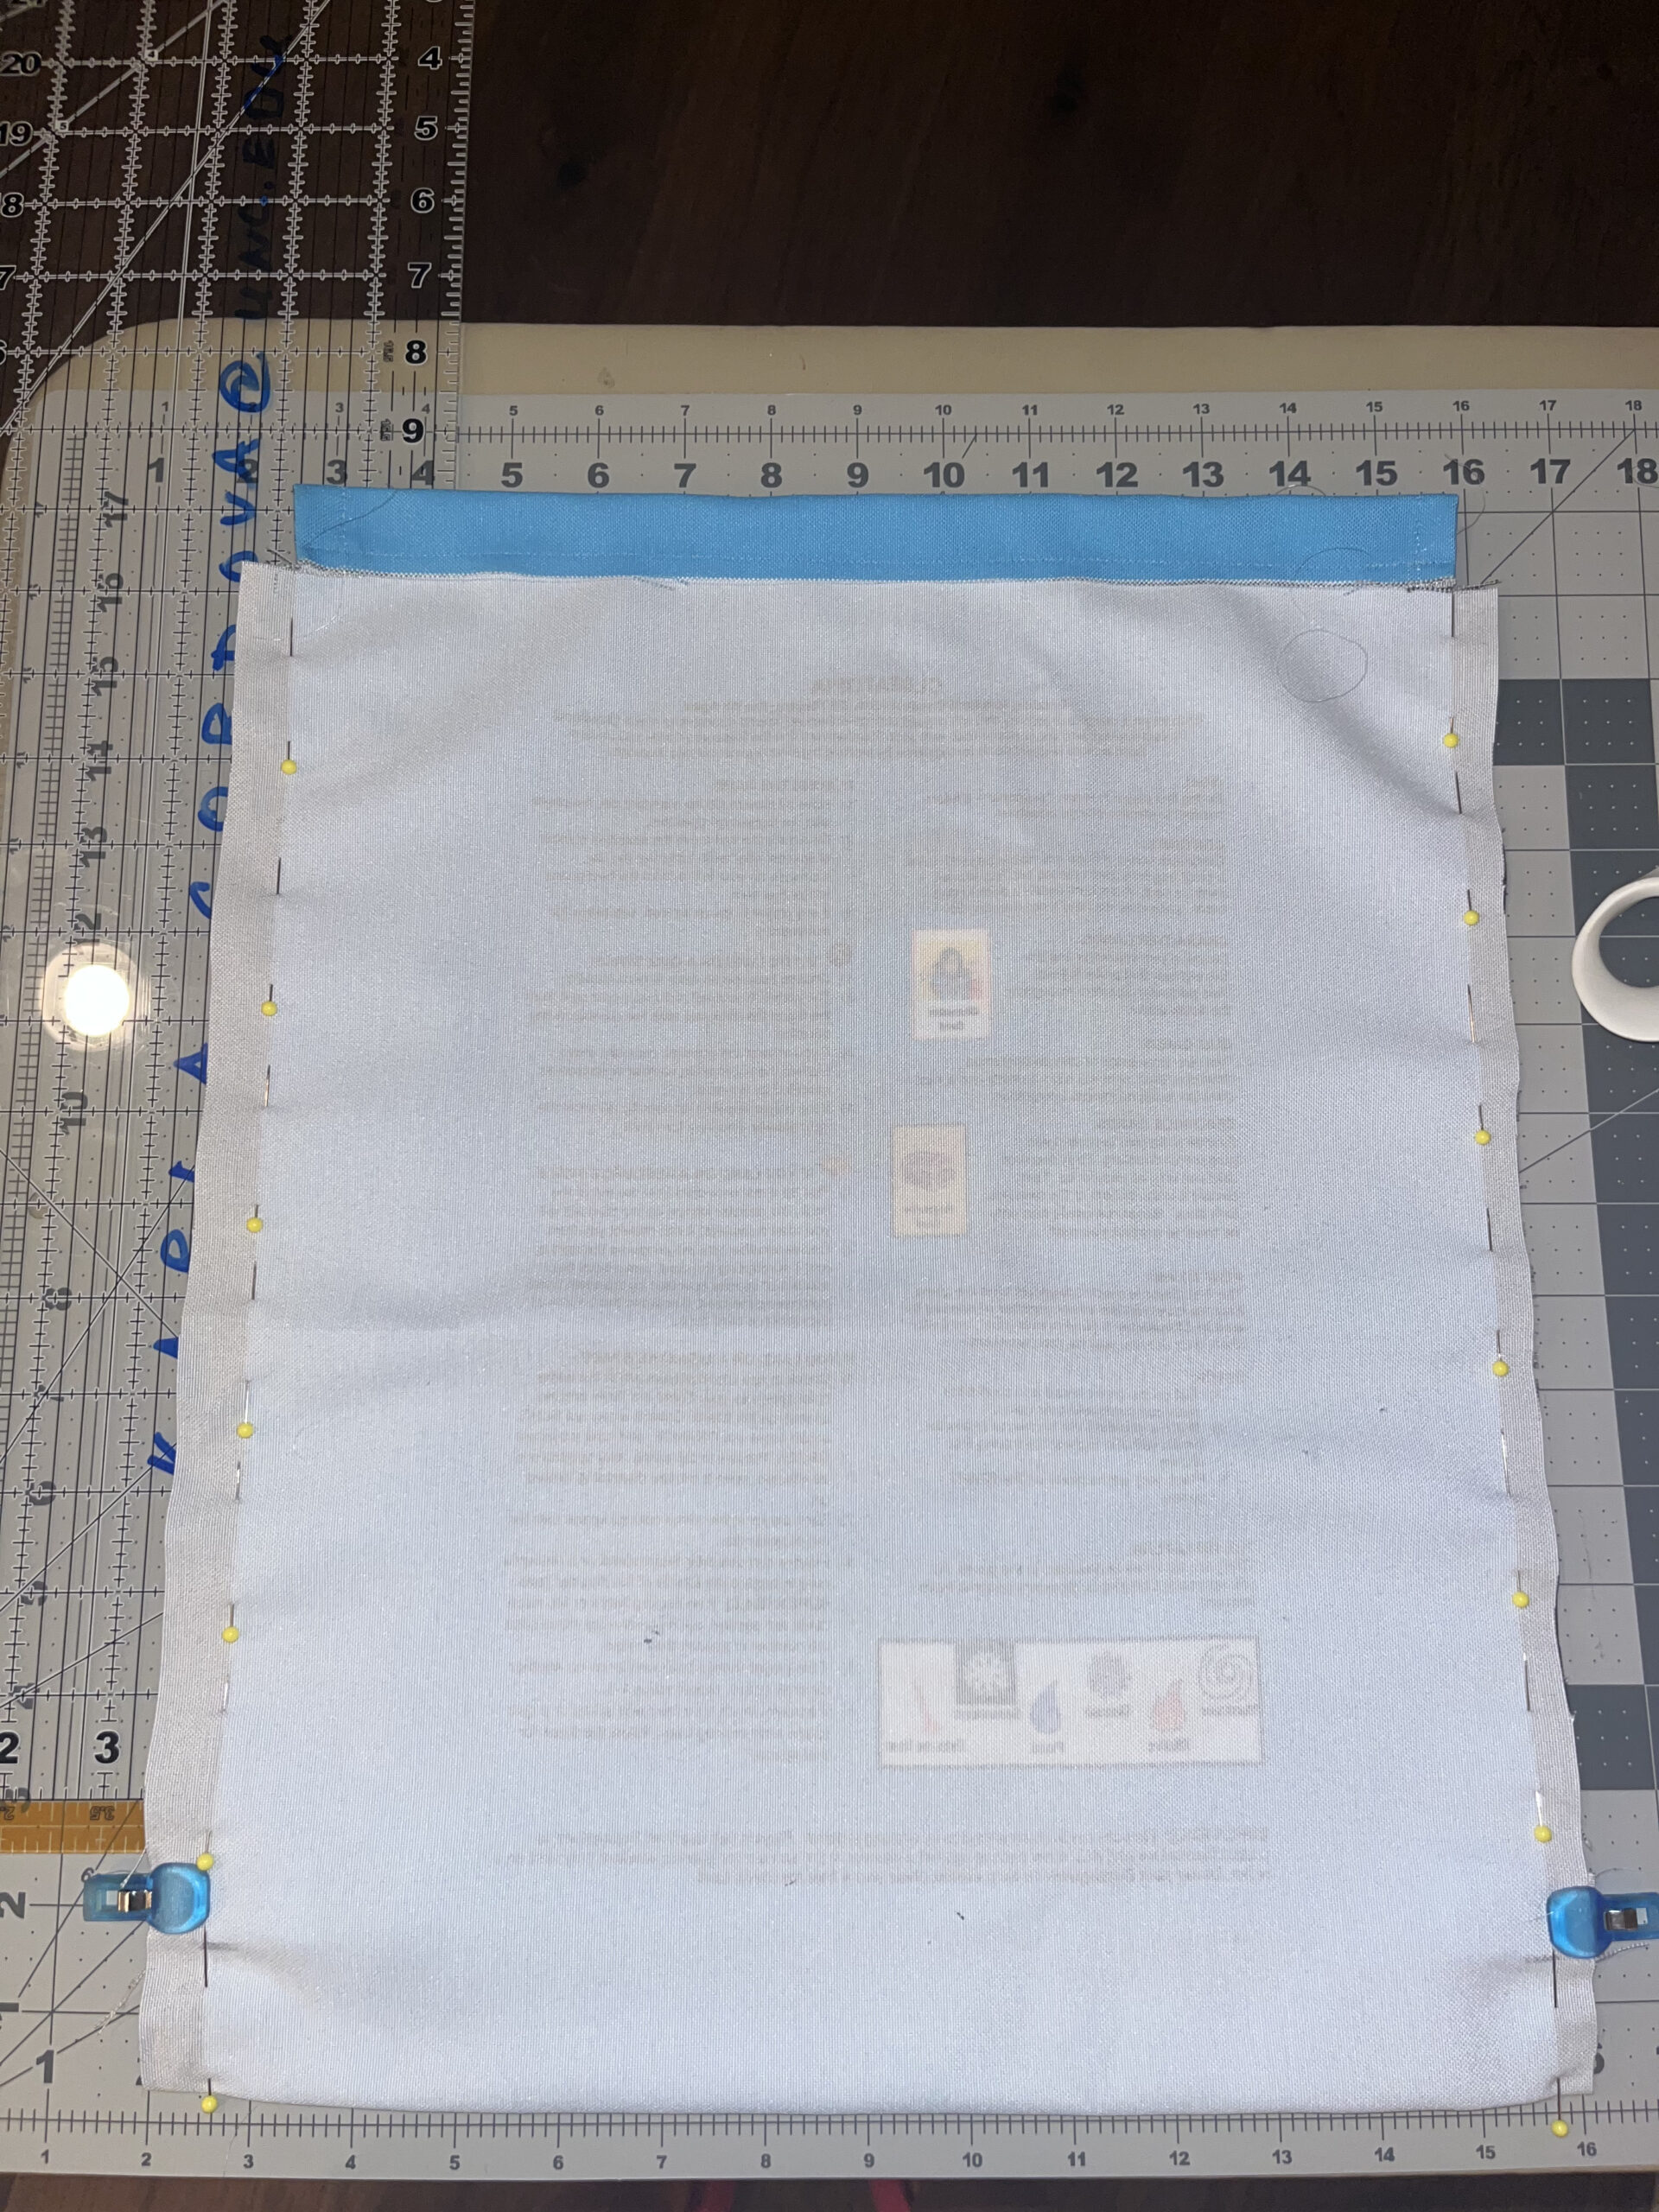
2. When cutting out the drawstring backpack bag, leave yourself about an inch of black margin, making sure there is no less than half an inch of black margin. You will sew the seam on the line where the black margin meets the blue of the bag. For the top of the drawstring bag, cut off any extra black margin, only leave the black margin on the sides of the bag.
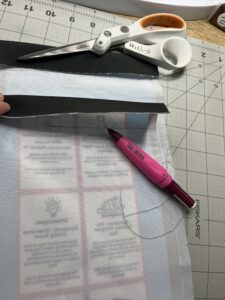
3. Fold the bag fabric in half and crease the bottom of the bag so that each side will be equal in length. Mark the creasing point with a pencil if the fabric does not stay.
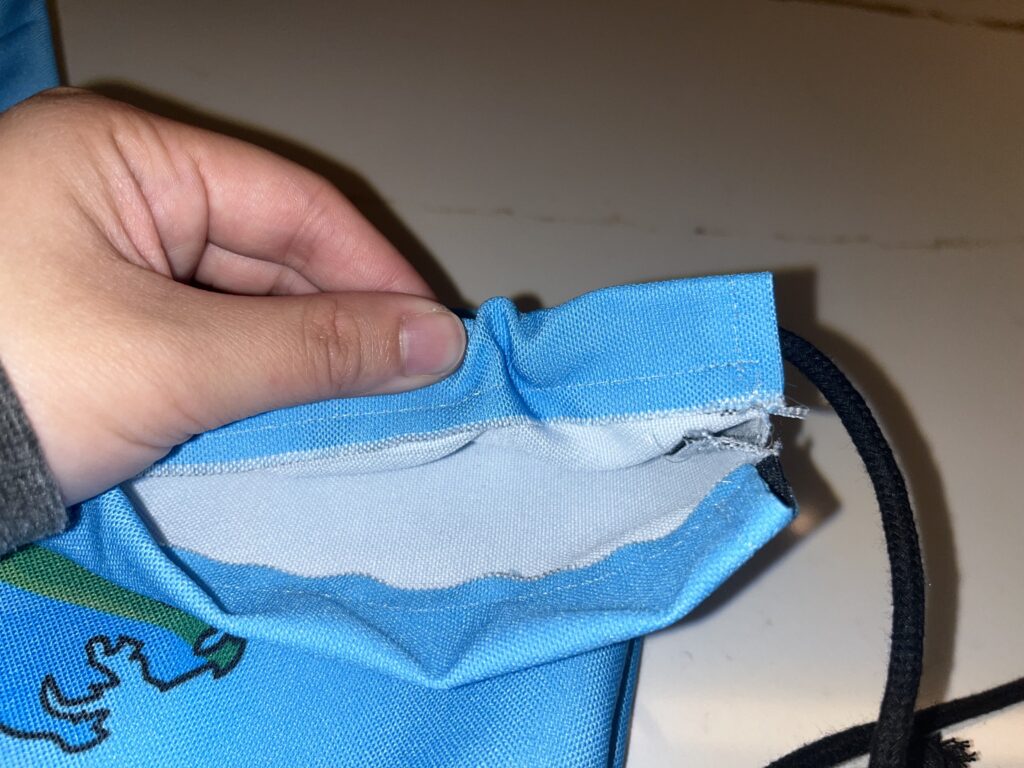
4. Turn the fabric so that the printed side is facing downward. Measure 2 inches down from the top of the bag and mark it with a pencil on the right and the left side. Then use the pencil to connect the two opposite points. This will be where the drawstrings are held.
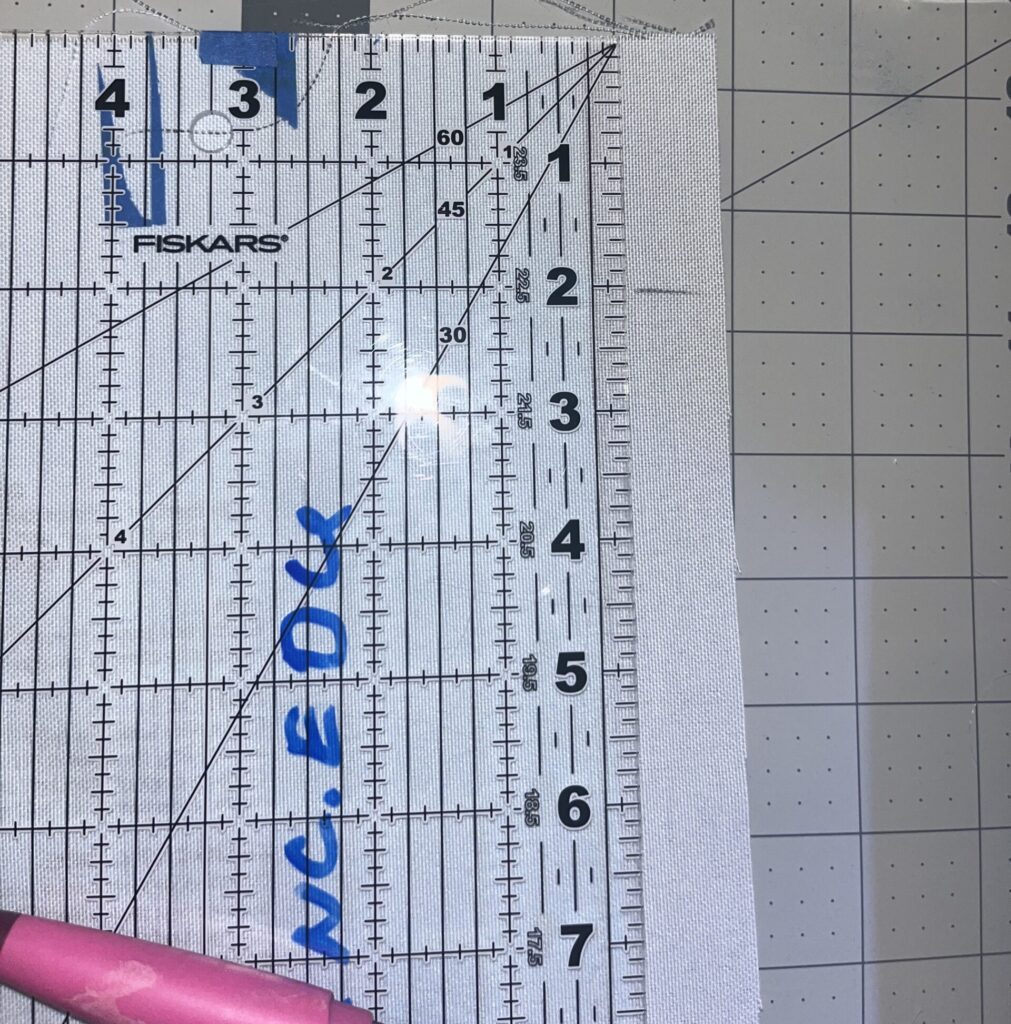

5. Use scissors to cut horizontally to the 2-inch marking on the edge of the blue and black border. This step ensures that the fabric does not fray with use, thus increasing its durability.
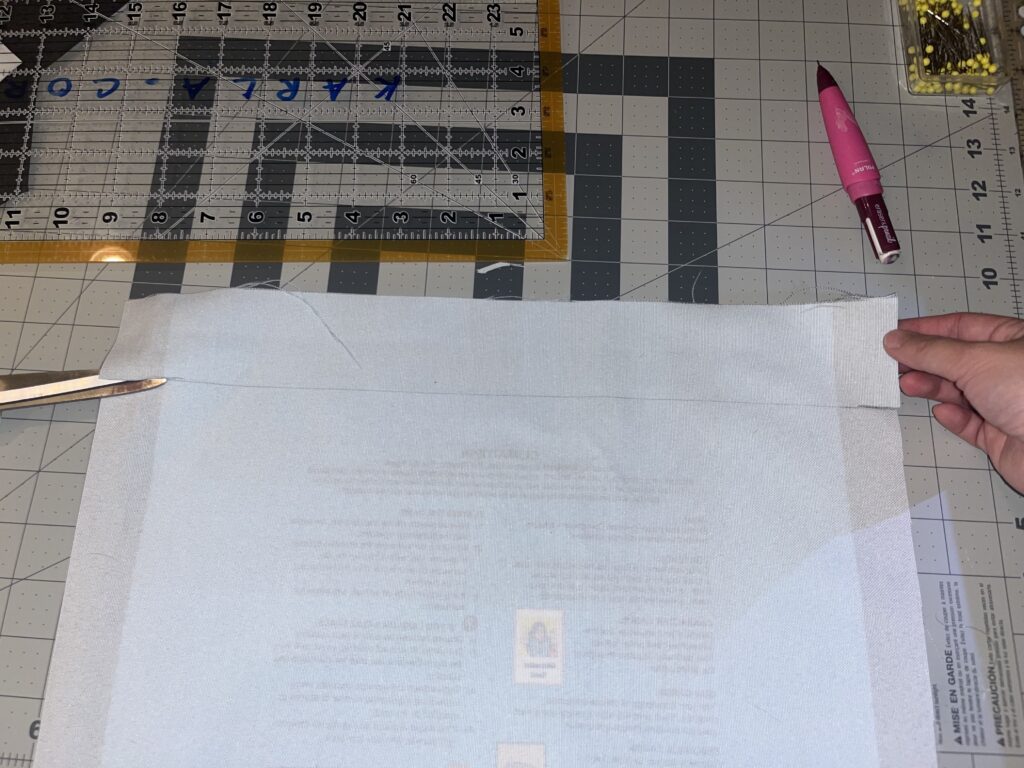
6. Leave ¼ inch to ½ inch of the black margin by cutting vertically on the two upper flaps that were just made by making a snip to the edges.
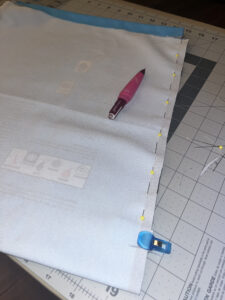
7. Pin the black margins toward the center of the bag, creasing where the blue of the bag meets the black margin.

8. Stitch down to the end (this should only take a few seconds on the machine since it is such a small seam). This will prevent any fraying on the exterior of the bag when the drawstrings are installed and during use. Repeat this step for the three other pinned edges.
9. Fold down the top of the bag so it aligns with the horizontal line on the right- and left-hand side of the bag. Use the iron or straightener to crease the fold so that it will be easy to pin and stitch a straight seam. Pin the drawstring flap down so that the seam will come out even.
10. Repeat Step 9 on the opposite side of the bag.
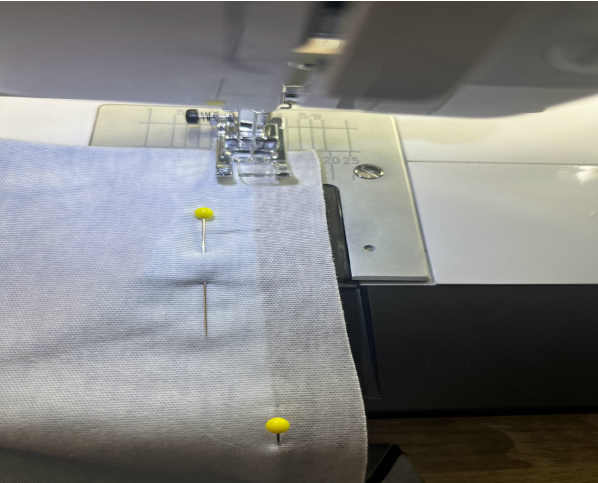
11. Now that each side is pinned, with the printed fabric side down stitch a seam with a maximum of ¼ of an inch from the open-edged side. Sew slowly and remove the pins as you advance down the seam. Do this on both the front side of the bag and the back side of the bag.
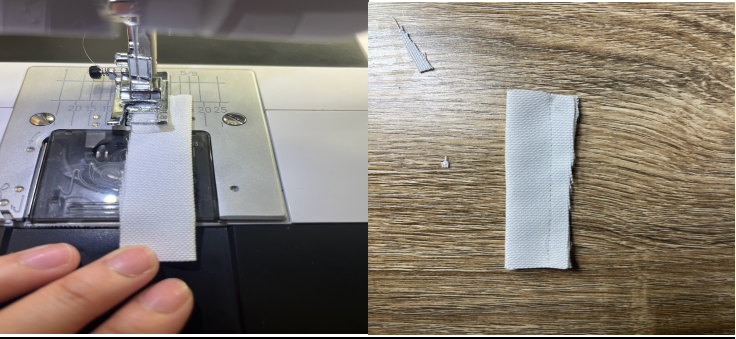
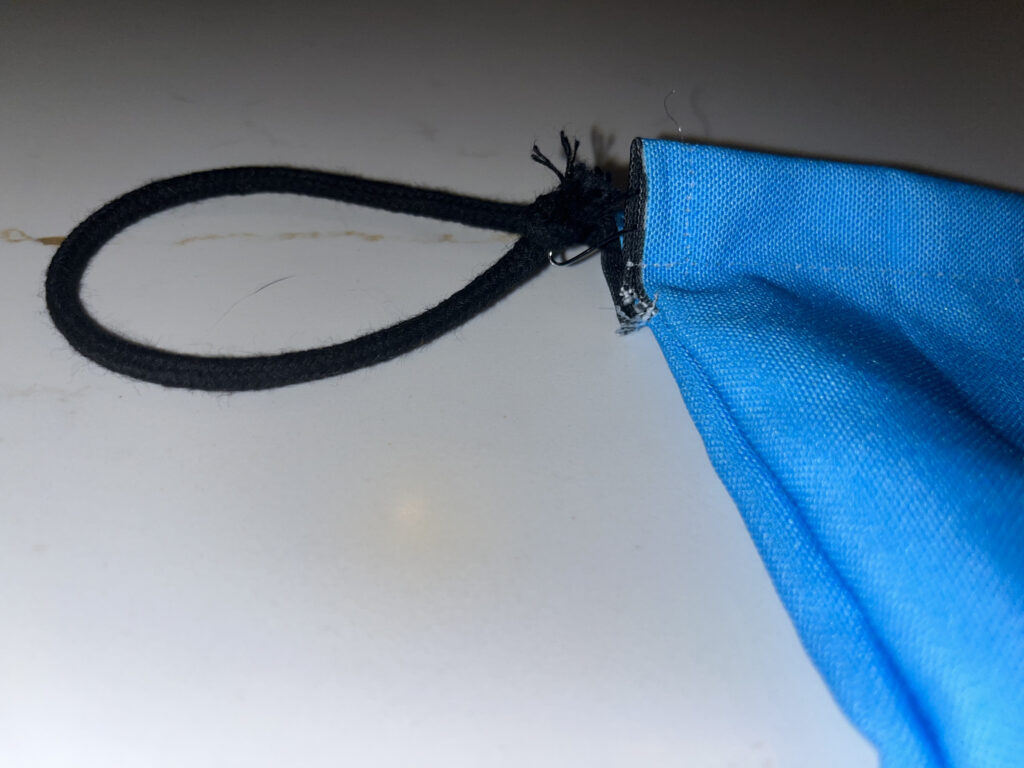
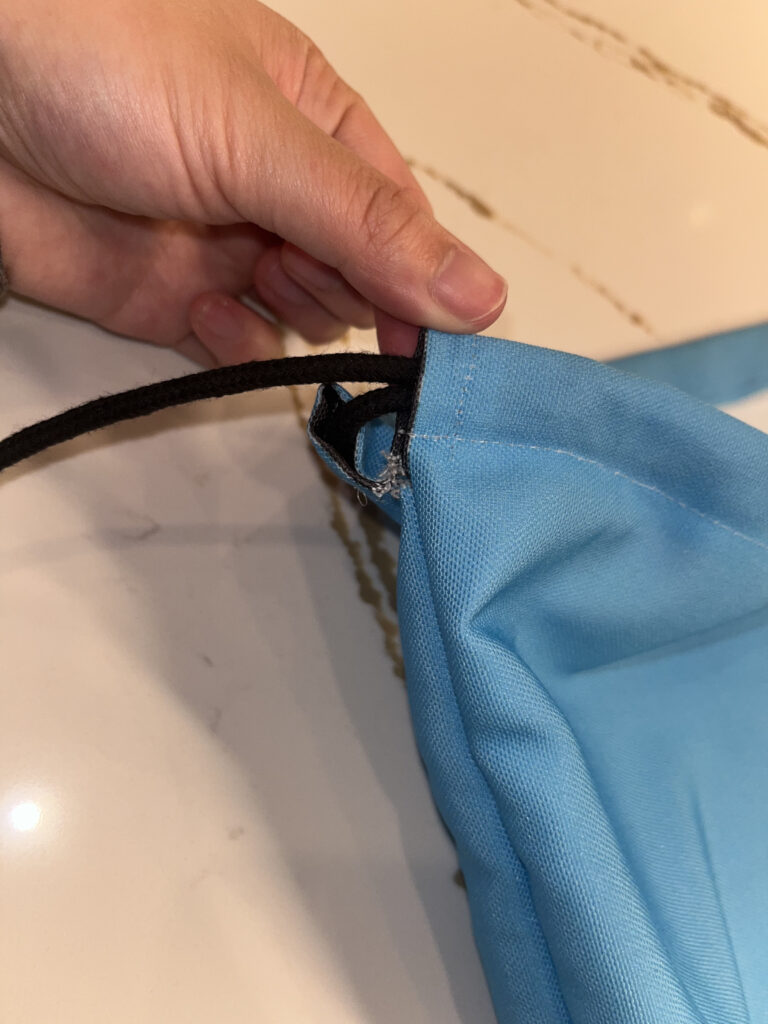
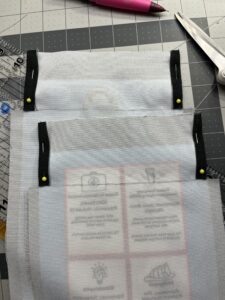
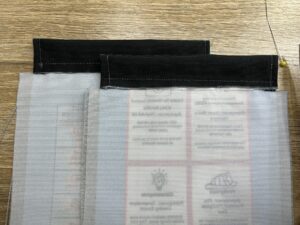
12. Next, you will make and install the tabs.
- Cut out one of the white squares provided in the fabric template below the parts/pieces bag.
- Fold the square in half and cut along the crease so that you have two equal rectangles.

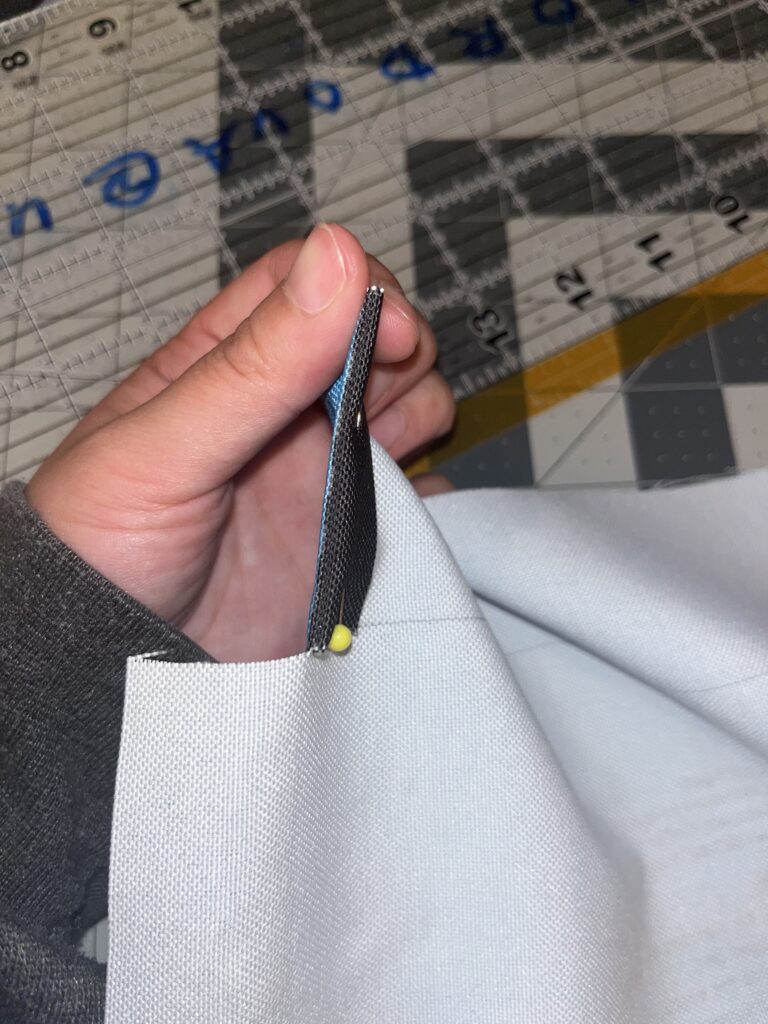
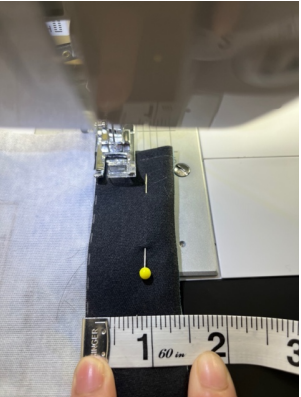
- Fold one rectangle in half again, and place under the presser foot, with approximately ½ inch of the creased side of the fabric sticking out on the right side. Sew down to the end of the fabric piece, and finish with a reverse stitch. Repeat this bullet point one more time for the second rectangle/tab. You can cut off extra fabric close to the seam to prevent further fraying of the fabric. (If a more advanced sewer with a capable machine, you can serge the edges as well to prevent any extra fraying.)
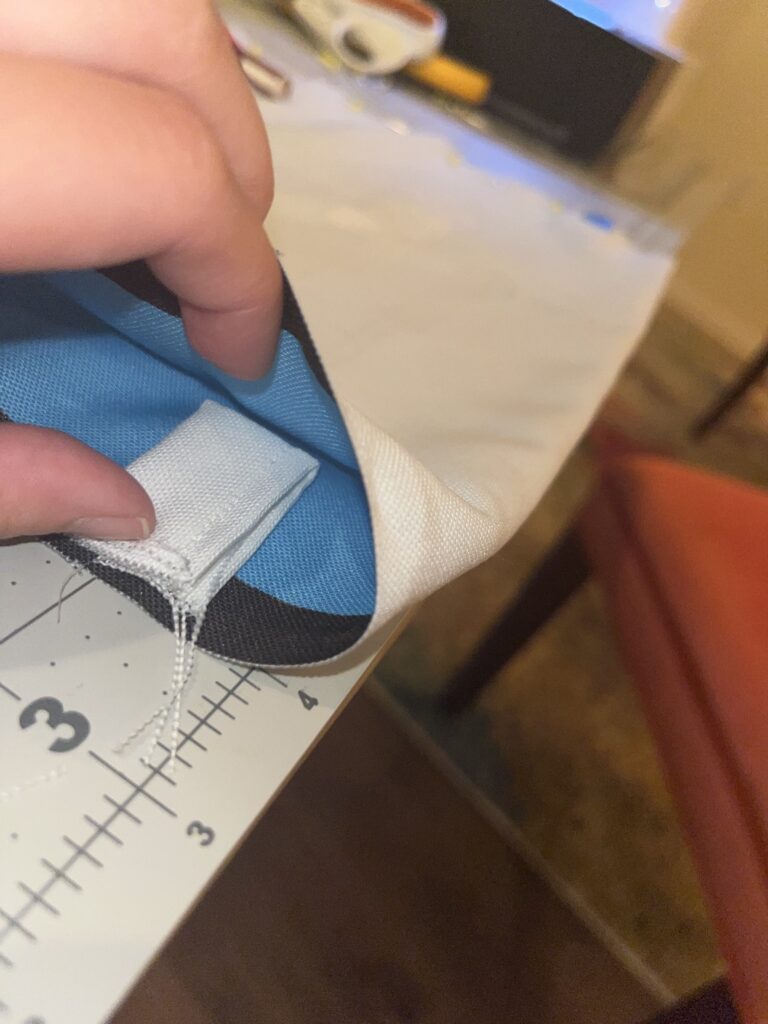
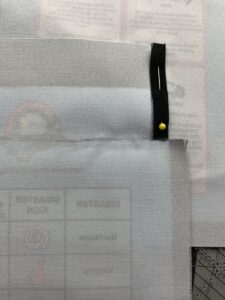
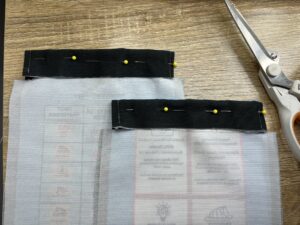
- Make sure the printed side of the fabric is on the inside. Make a mark 1 ½ in. from the bottom crease of the bag on both sides.
- Pin the sides of the board where the black margin meets the side of the blue bag. Turn the fabric over to double-check that the pinning is vertical along the border on the opposite side so that both sides of the bag will come out evenly and no black margin will be exposed.
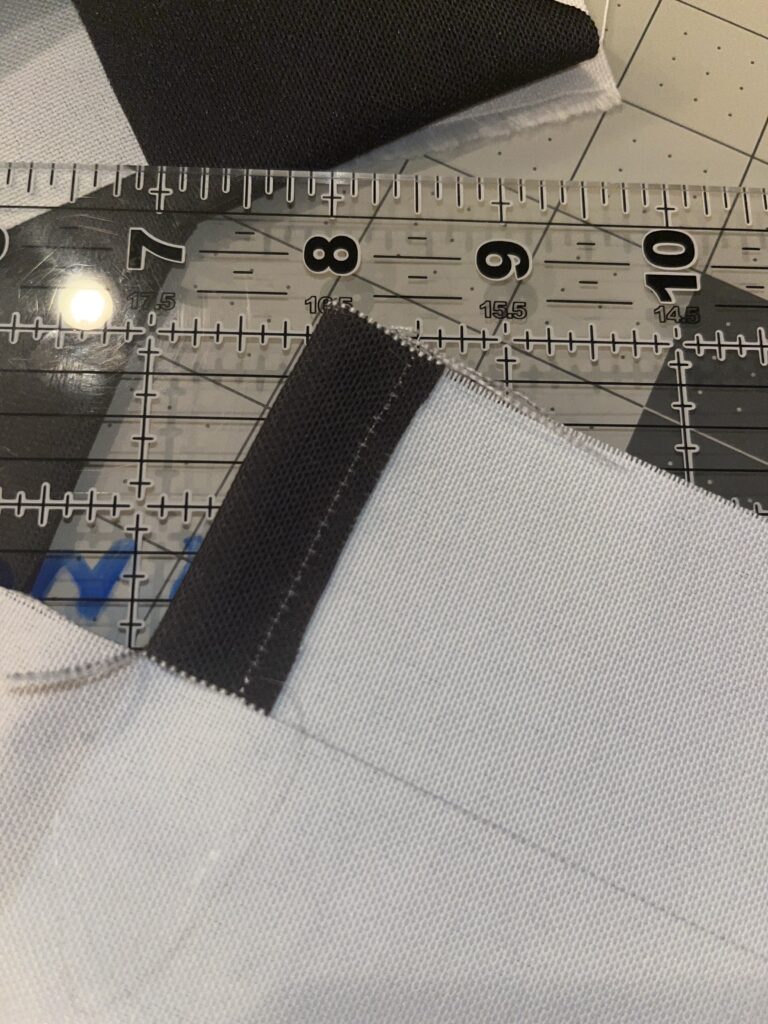
- Fold the white rectangle tab in half and insert it at the 1 ½ in. mark with its creased side toward the center of the bag. Pin or clip the tab to the bag fabric so that ¼ in. to ½ in. is sticking out onto the black margin while the rest of the tab lies on the blue bag. Do this to the opposite side.
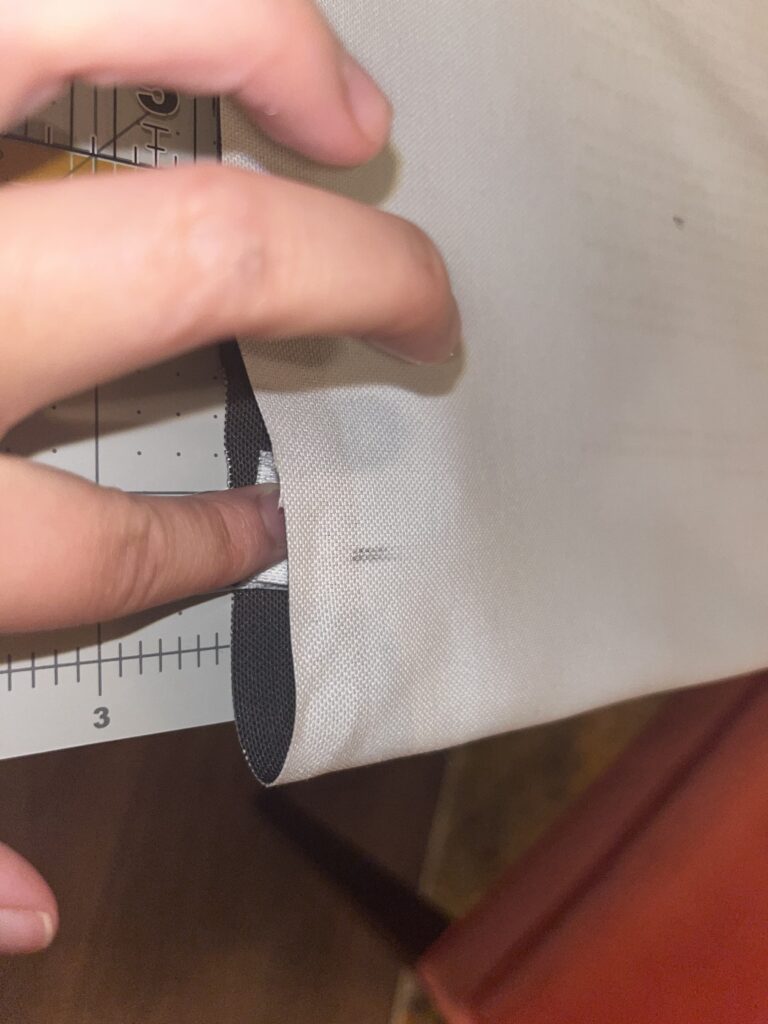
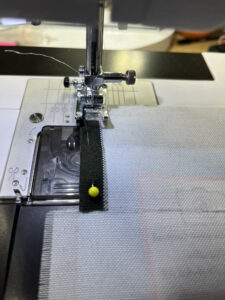
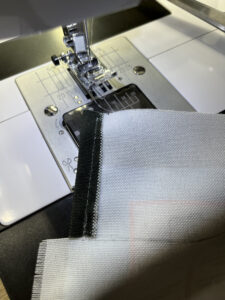
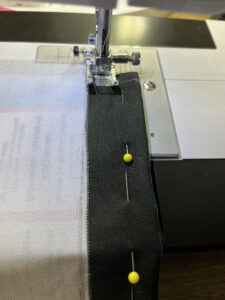
- Place the inside-out, pinned fabric under the presser foot of the sewing machine with the creased bottom of the bag at the top. The needle should line up with the border where the black margin meets the blue bag. Sew vertically to the top of the bag and end it with a reverse stitch to secure the thread. Repeat this Step on the opposite edge of the bag. You can snip off any excess threads to make it look polished.
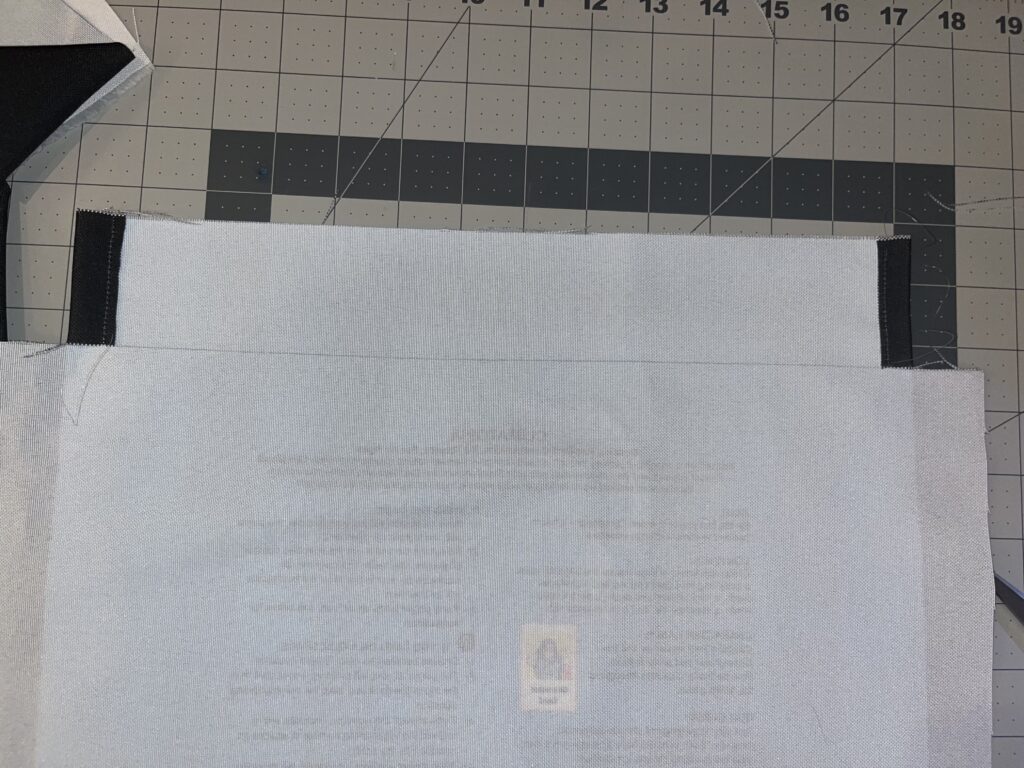
13. Now fold the bag right-side-in and the two tabs will stick out of both sides directly opposite one another.
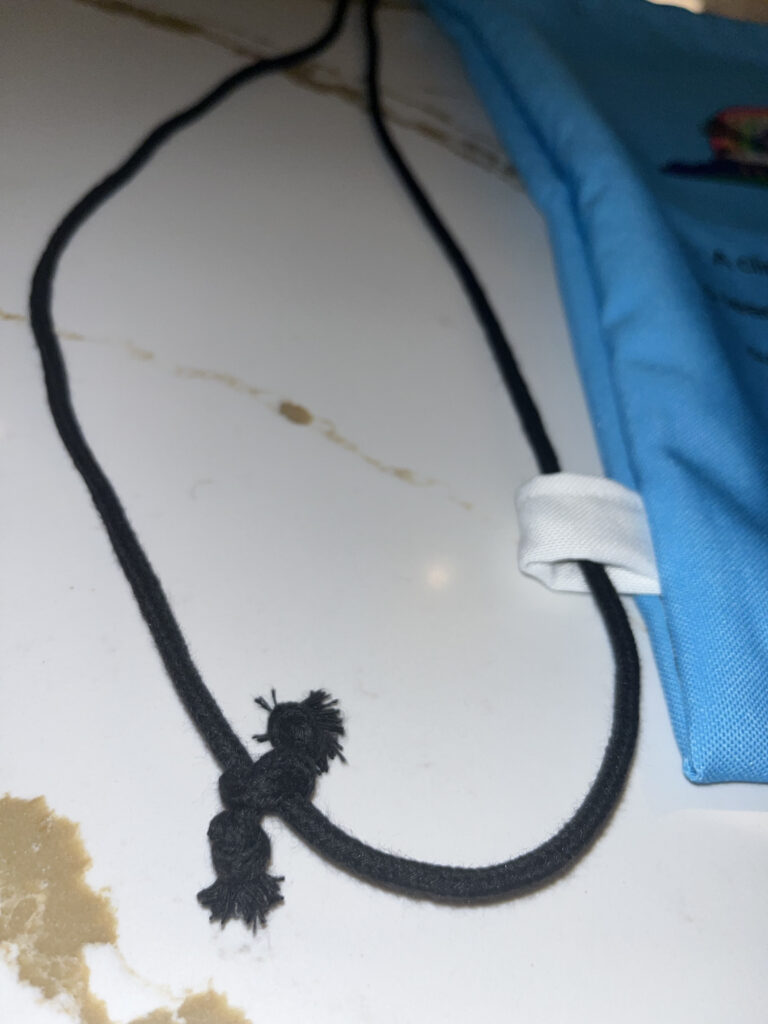
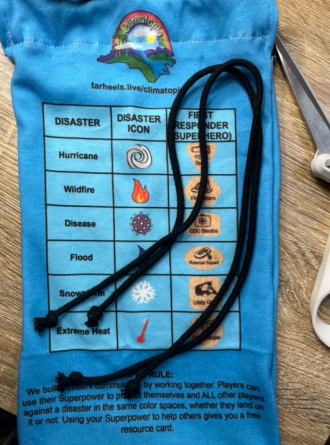
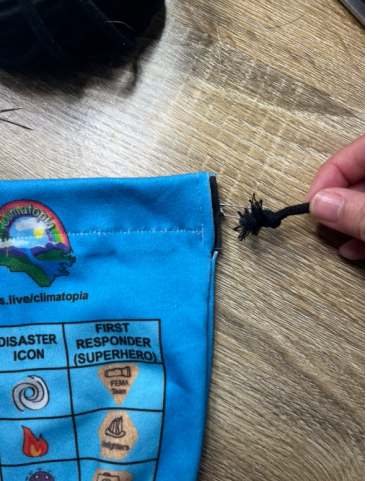
14. Cut two pieces of cord measuring 64 inches and tightly knot each end of the cord to prevent fraying.

15. Pin a safety pin through the knot of a cord and insert it into one of the open ends for the drawstrings at the top of the bag. Scrunch the fabric along the paperclip so the cord slides through the length of the top. Once the cord reaches the opening on the other side, feed it into the mouth of the drawstring opening on the opposite face of the bag.
16. Take the other cord piece and feed it through the drawstring opening starting on the opposite side of the initial drawstring entrance.
17. Pull the cords on the right and left sides of the bags outwards to tighten the bag.
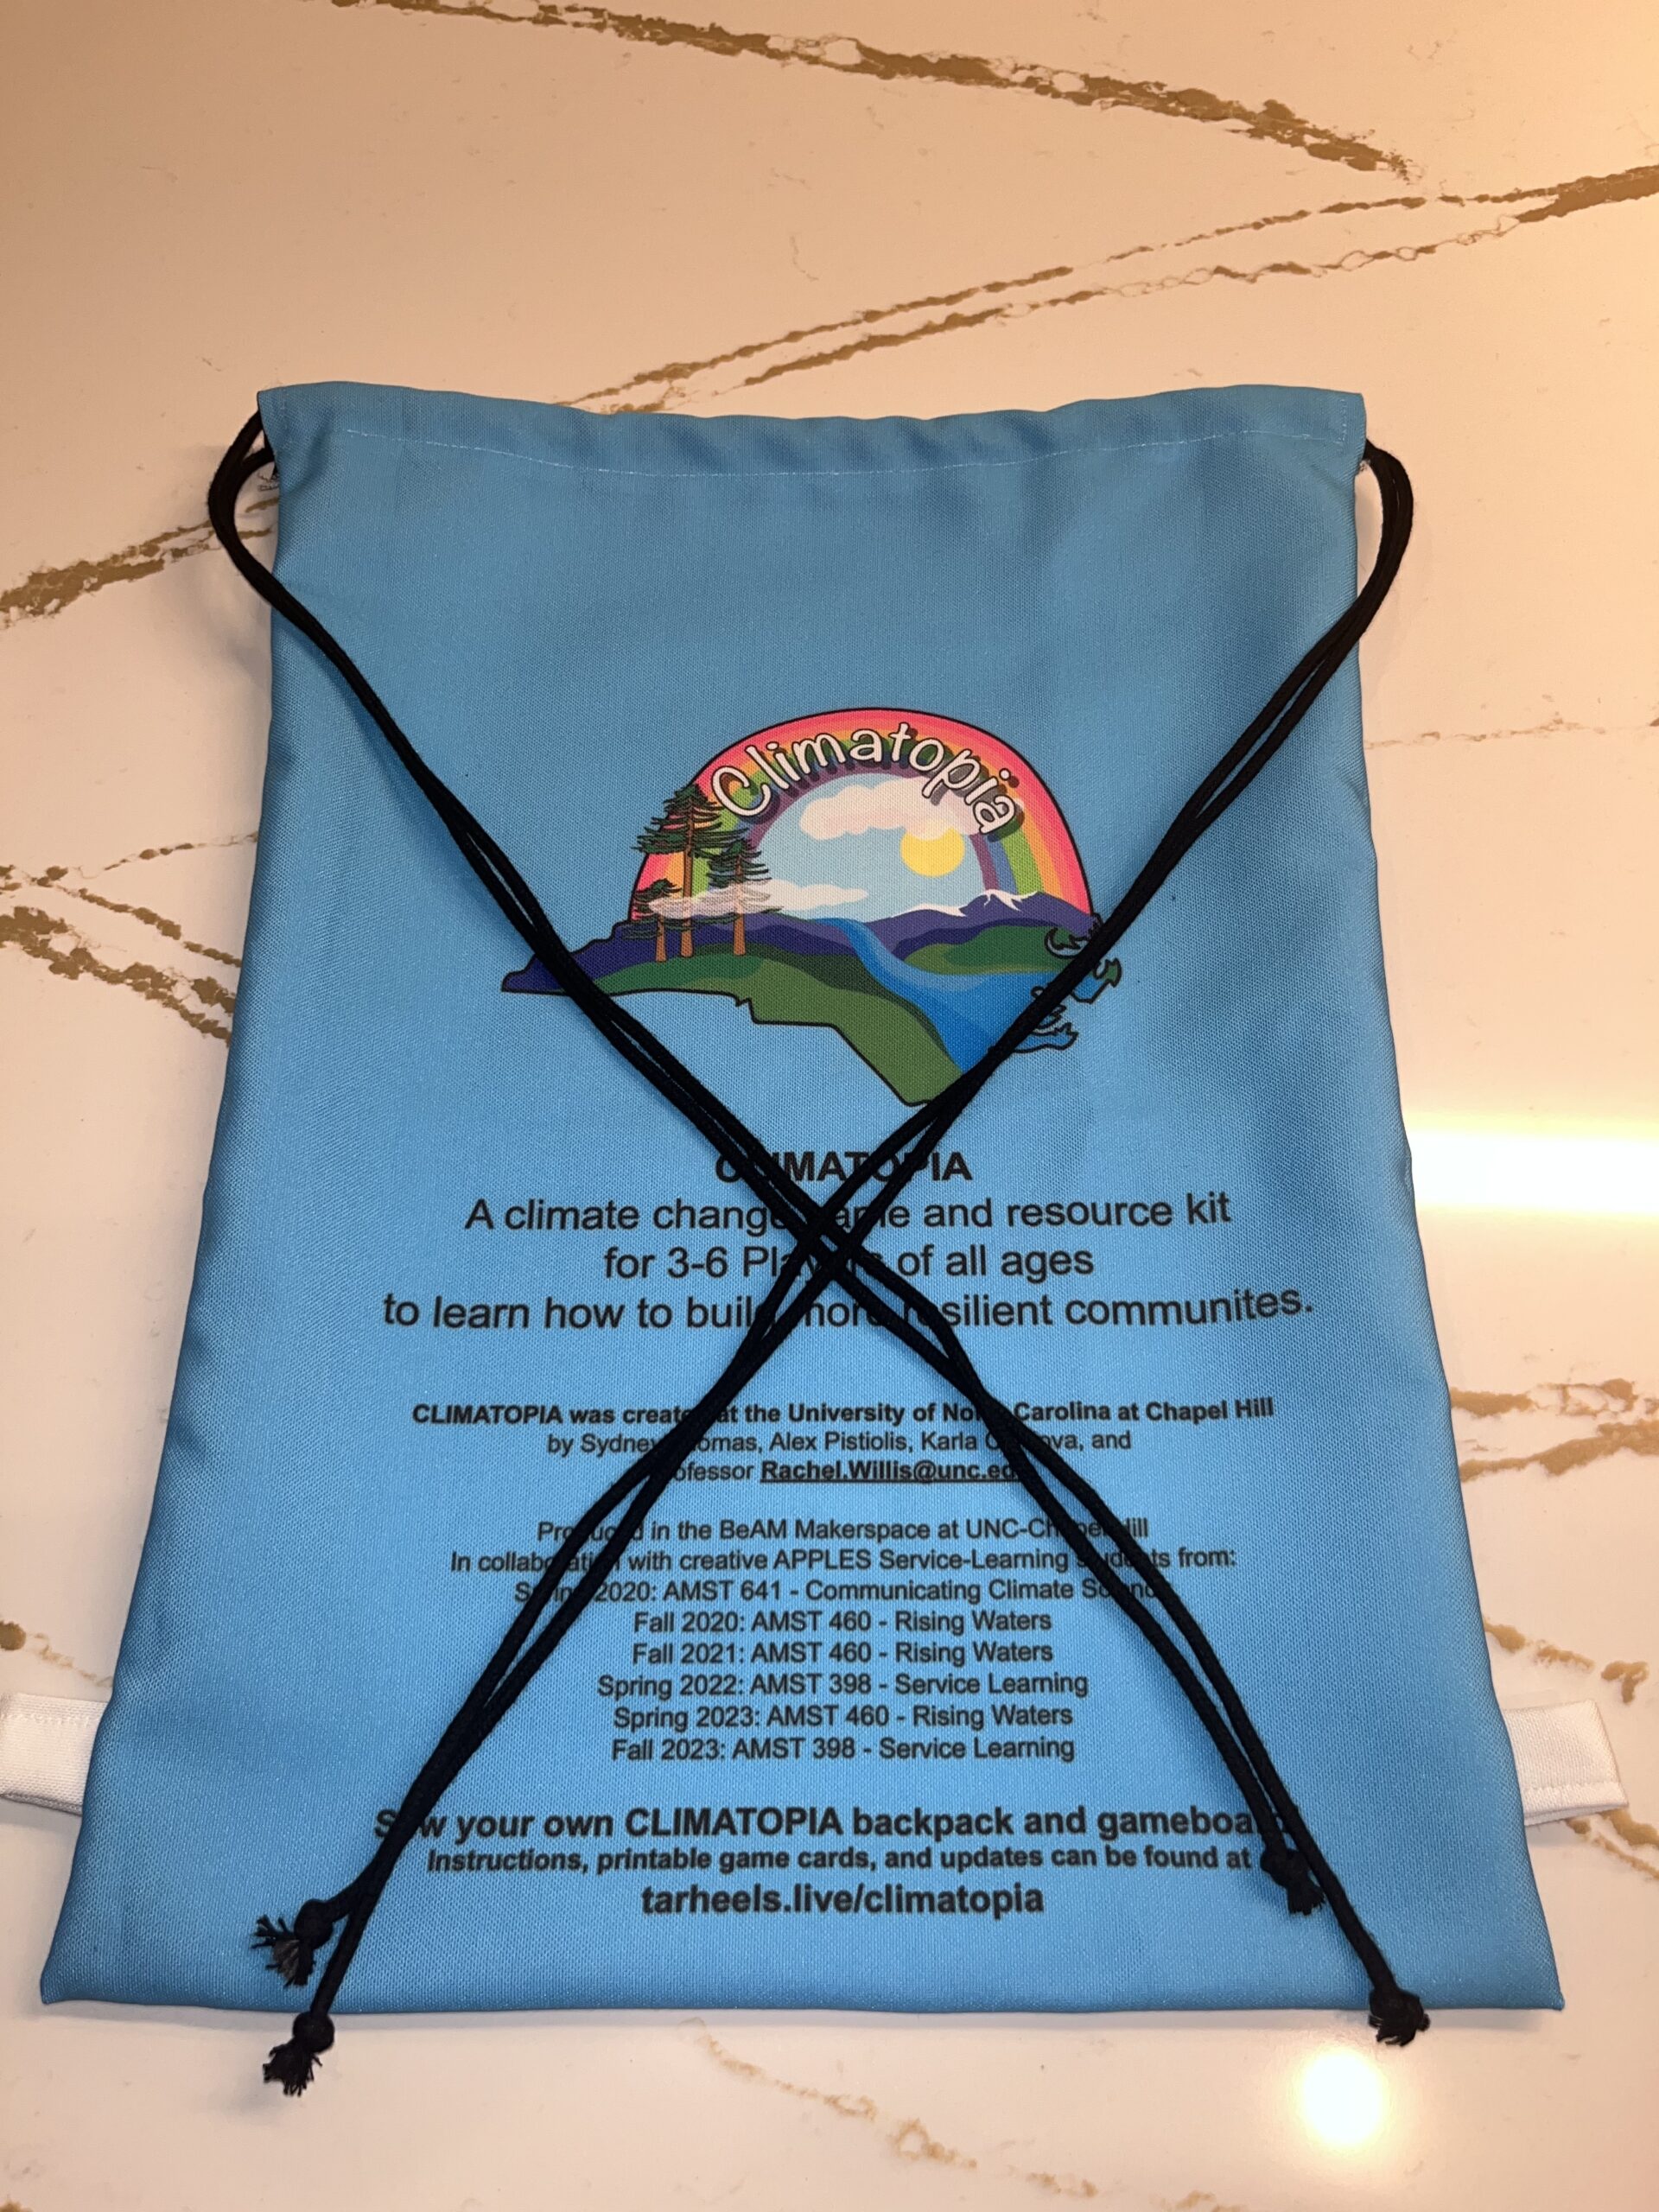
18. Tie a double knot with the two hanging cords on each respective side.
19. Voila! You are finished making your backpack! Cut off any extra thread or fraying to achieve a polished look.
Game Parts Bag Sewing
The smaller game-piece bag is useful for carrying the dice, cards, and character pieces that help to play Climatopia™!
Game Parts Bag Sewing Instructions
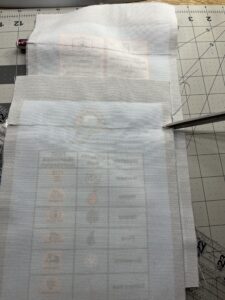
1. If you split up the board and the bag fabrics on the initial fabric template dotted line, there will be a approx. a 1 ½ inch black margin on the top of each face of the parts bag fabrics. This will become the section for the drawstrings.
2. Face both fabrics so the colorful printed side is downward on the table. Fold the 1 and ½ inch black margin down, creasing the fabric where the black margin meets the border of the blue on the bag; With a pencil, sketch a visible but light line across the horizontal axis.
3. Use the scissors to horizontally snip a small section of the black margin until it reaches the start of the blue fabric. Repeat this for all four top corners of the fabric.
4. Fold the black margin towards the center of the bag and crease the fabric where the black margin meets the start of the blue fabric. Place a pin in through these edges to ensure straightness before placing under the sewing needle. Repeat Step 4 for all other top corners of the fabric.
5. Place the sewing needle in the middle of the top black margin, making sure that the pressure foot has a balanced amount of black margin under it. This will prevent sliding and/or scrunching.
6. Stitch down to about one centimeter from the bottom of the folded margin. Use the reverse/backstitch to secure the thread. Repeat this Step for the other side, as well as the other face of the bag.
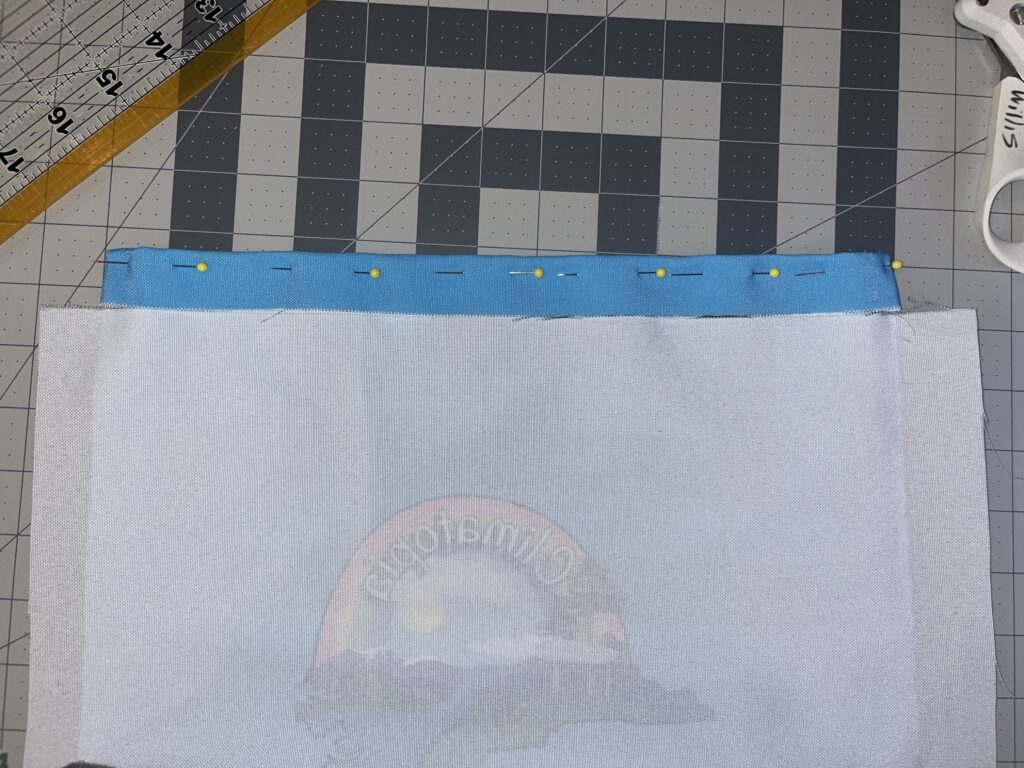
7. Fold the black margin down to the sketched line that was done in Step #2, and pin within the first ½ inch across the top of the black margin so the pins can be kept in while sewing.

8. Place the fabric under the needle so the top (the side with the creased edge) is facing toward the right. Make sure that the entire pressure foot is on the edge of the black margin flap so there is no fabric bunching.
9. Advance down the seam, stopping approximately one centimeter from the bottom of the fabric so there is room for the securing backstitch.
10. Repeat Steps #7-9 for the other face of the bag.
11. Once the drawstring holders are sewn, place both fabrics on top of one another so that both colorful printed sides are facing one another, with the white backside of the fabric facing you.
12. Pin the side edges of the bag where the black margin meets the side of the blue bag. Turn the fabric over to double-check that the pinning is vertical along the border on the other side so that both sides of the bag will come out evenly.
13. Place the inside-out fabric under the needle starting on the right-hand side of the bag. The needle should line up with the border where the black margin meets the blue bag. Sew vertically downwards, using the black margin and the start of the blue fabric as a seam guideline. Once the fabric gets close to one of the pins, stop sewing and remove the pin before advancing.
14. Once you get to the corner adjacent corner of the black margin, stop sewing and (Do not move the needle! Only the presser foot!) lift the presser foot and rotate the fabric 90 degrees so that the needle is now facing the correct direction for the bottom seam.
15. Lower the presser foot and advance across the bottom of the bag.
16. Repeat the lifting of the presser foot and the 90-degree fabric rotation when the second bottom corner is reached.
17. The needle should now line up with the border where the black margin meets the blue bag while pointing toward the last unsewn vertical edge. Stitch to the top of the bag and end it with a reverse stitch to secure the thread.
18. The sewing process is finished! Cut the excess fabric edges off, making sure to leave ¼ in. of the margin for seam allowance.
19. Now turn the small bag right-side in.
20. Cut two pieces of cord that are 20 inches each and tightly knot each end of the cord to prevent fraying.
21. Pin a safety pin through the knot of a cord and insert it into one of the open ends for the drawstrings at the top of the bag. Scrunch the fabric along the paperclip so the cord slides through the length of the top. Once the cord reaches the opening on the other side, feed it into the mouth of the drawstring opening on the opposite face of the bag.
22. Take the other cord piece and feed it through the drawstring opening starting on the opposite side of the initial drawstring entrance.
23. Pull equally on the cords from the right and left sides of the bags outwards to tighten the bag.
24. Cut off any excess thread and you have a polished parts/pieces bag for your cards and characters!
Congratulations! You have completed the final step.
Game Card Printing
The game cards, which consist of the character, resource, and quiz cards are crucial for playing Climatopia™. These cards inform you about your specific superpower, protect you from disasters, and help to teach you about climate resilience.
Game Card Printing Instructions
These game cards are super quick and easy to print and utilize at home. You simply just need a printer, paper, and scissors.
1. Click on the links below and download the sets of game cards. Make sure to print on the front and back of the paper.


2. Collect the cards from the printer and cut them out individually.
3. Once all of the cards are cut out, you are all done with the cards!
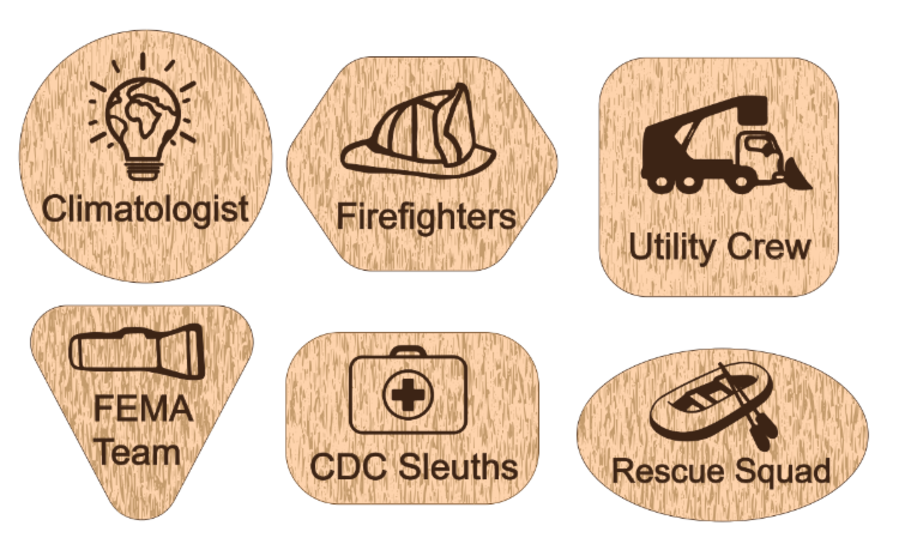
Game Piece Making
While making Climatopia, the team successfully made game pieces using a laser wood cutter. If you have access to a laser wood cutter, you can create your own pieces by following the instructions below. However, this isn’t necessary for at-home play as you can find small objects around the house to use as game pieces.
Laser Wood Cut Game Pieces
1. Download the PDF below to create the Climatopia™ pieces using a laser wood cutter!
Download and Create the Laser Wood Cut Game Pieces
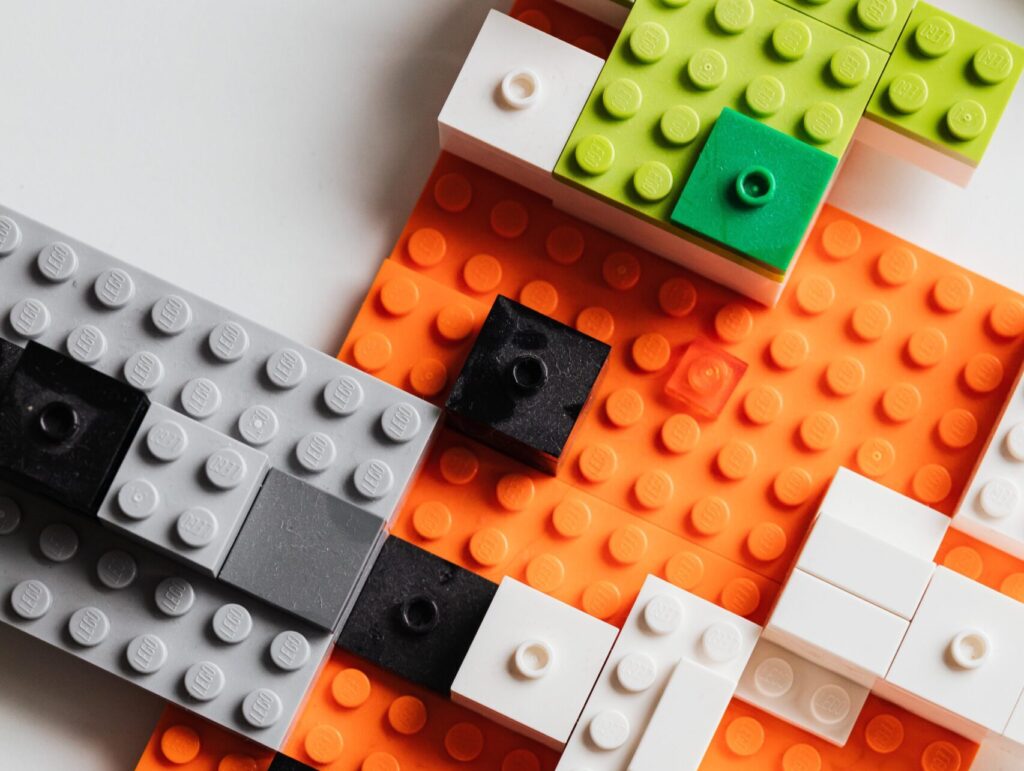
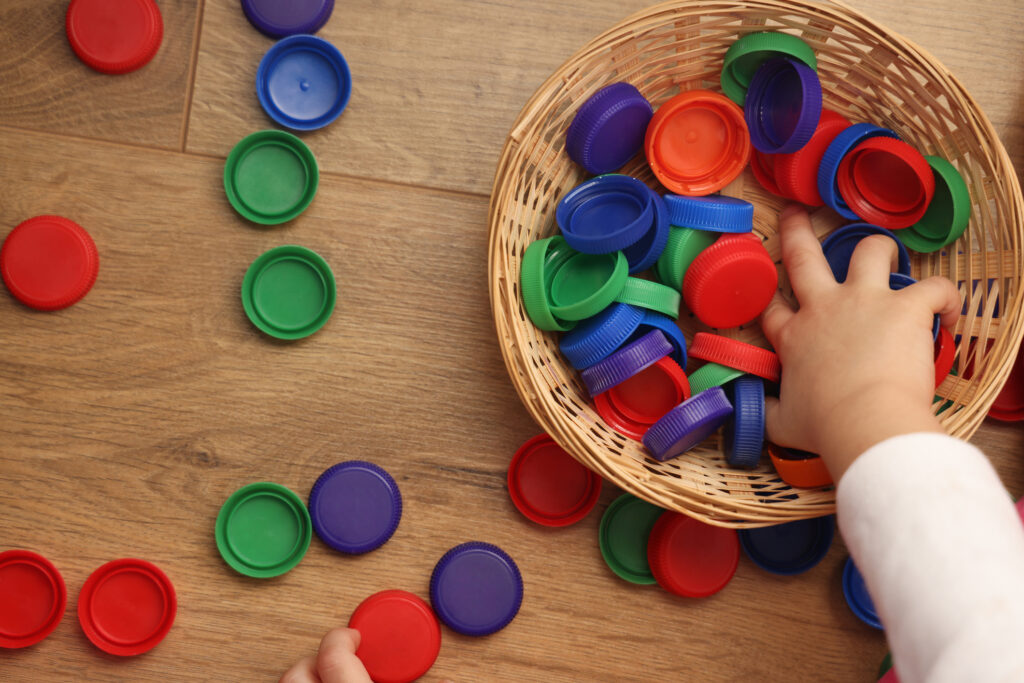
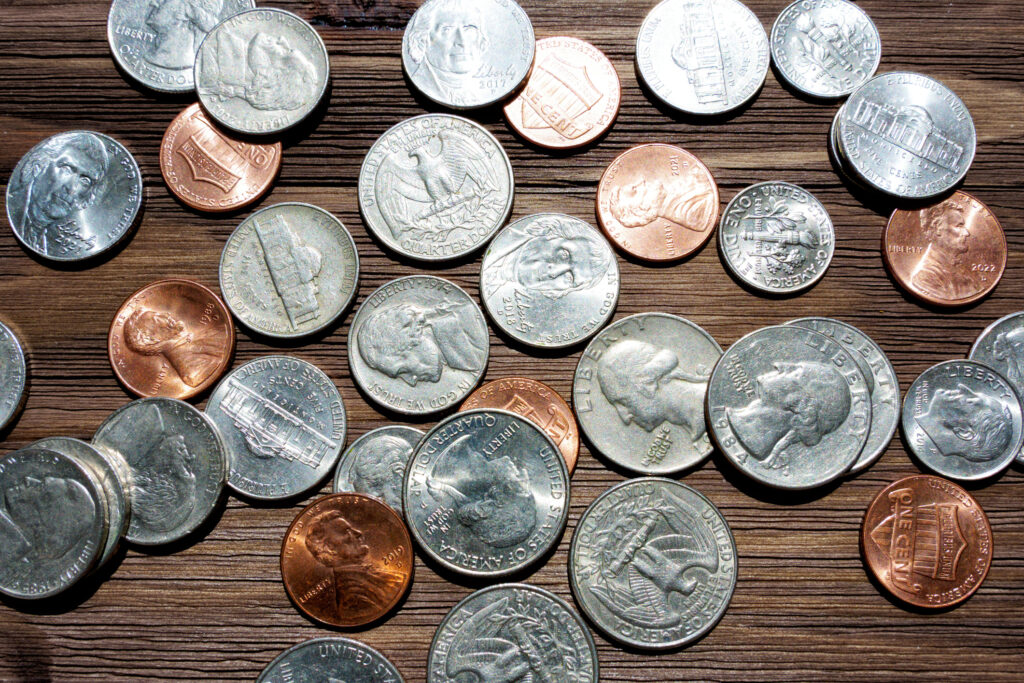
List of At-Home Items That Can Serve as Game Pieces
1. Legos

2. Various bottle caps

3. Different coins

4. Different colored paper clips
5. Game pieces from other board games

6. Different colored Crayons

7. Pieces of candy
8. Dice