Hi Dad. The experts say the place to start a TR3 body restoration is the doors, since they touch the front and rear fenders, the sills and the scuttle. The door is therefore a constant reference point to make sure that alignment remains true as support elements are removed, repaired and refitted. So thats where my first body work starts. I decided to start with my best door, which is from a bit earlier than my car. You’ll notice that it doesn’t have a hole cut out for the door handle, while the 59 did. In fact, after TS60000, the hole cut out is raised off the panel. You can see in this photo that it also has a wooden frame that runs NW to SE. The later doors have a more full metal frame and small wood blocks.
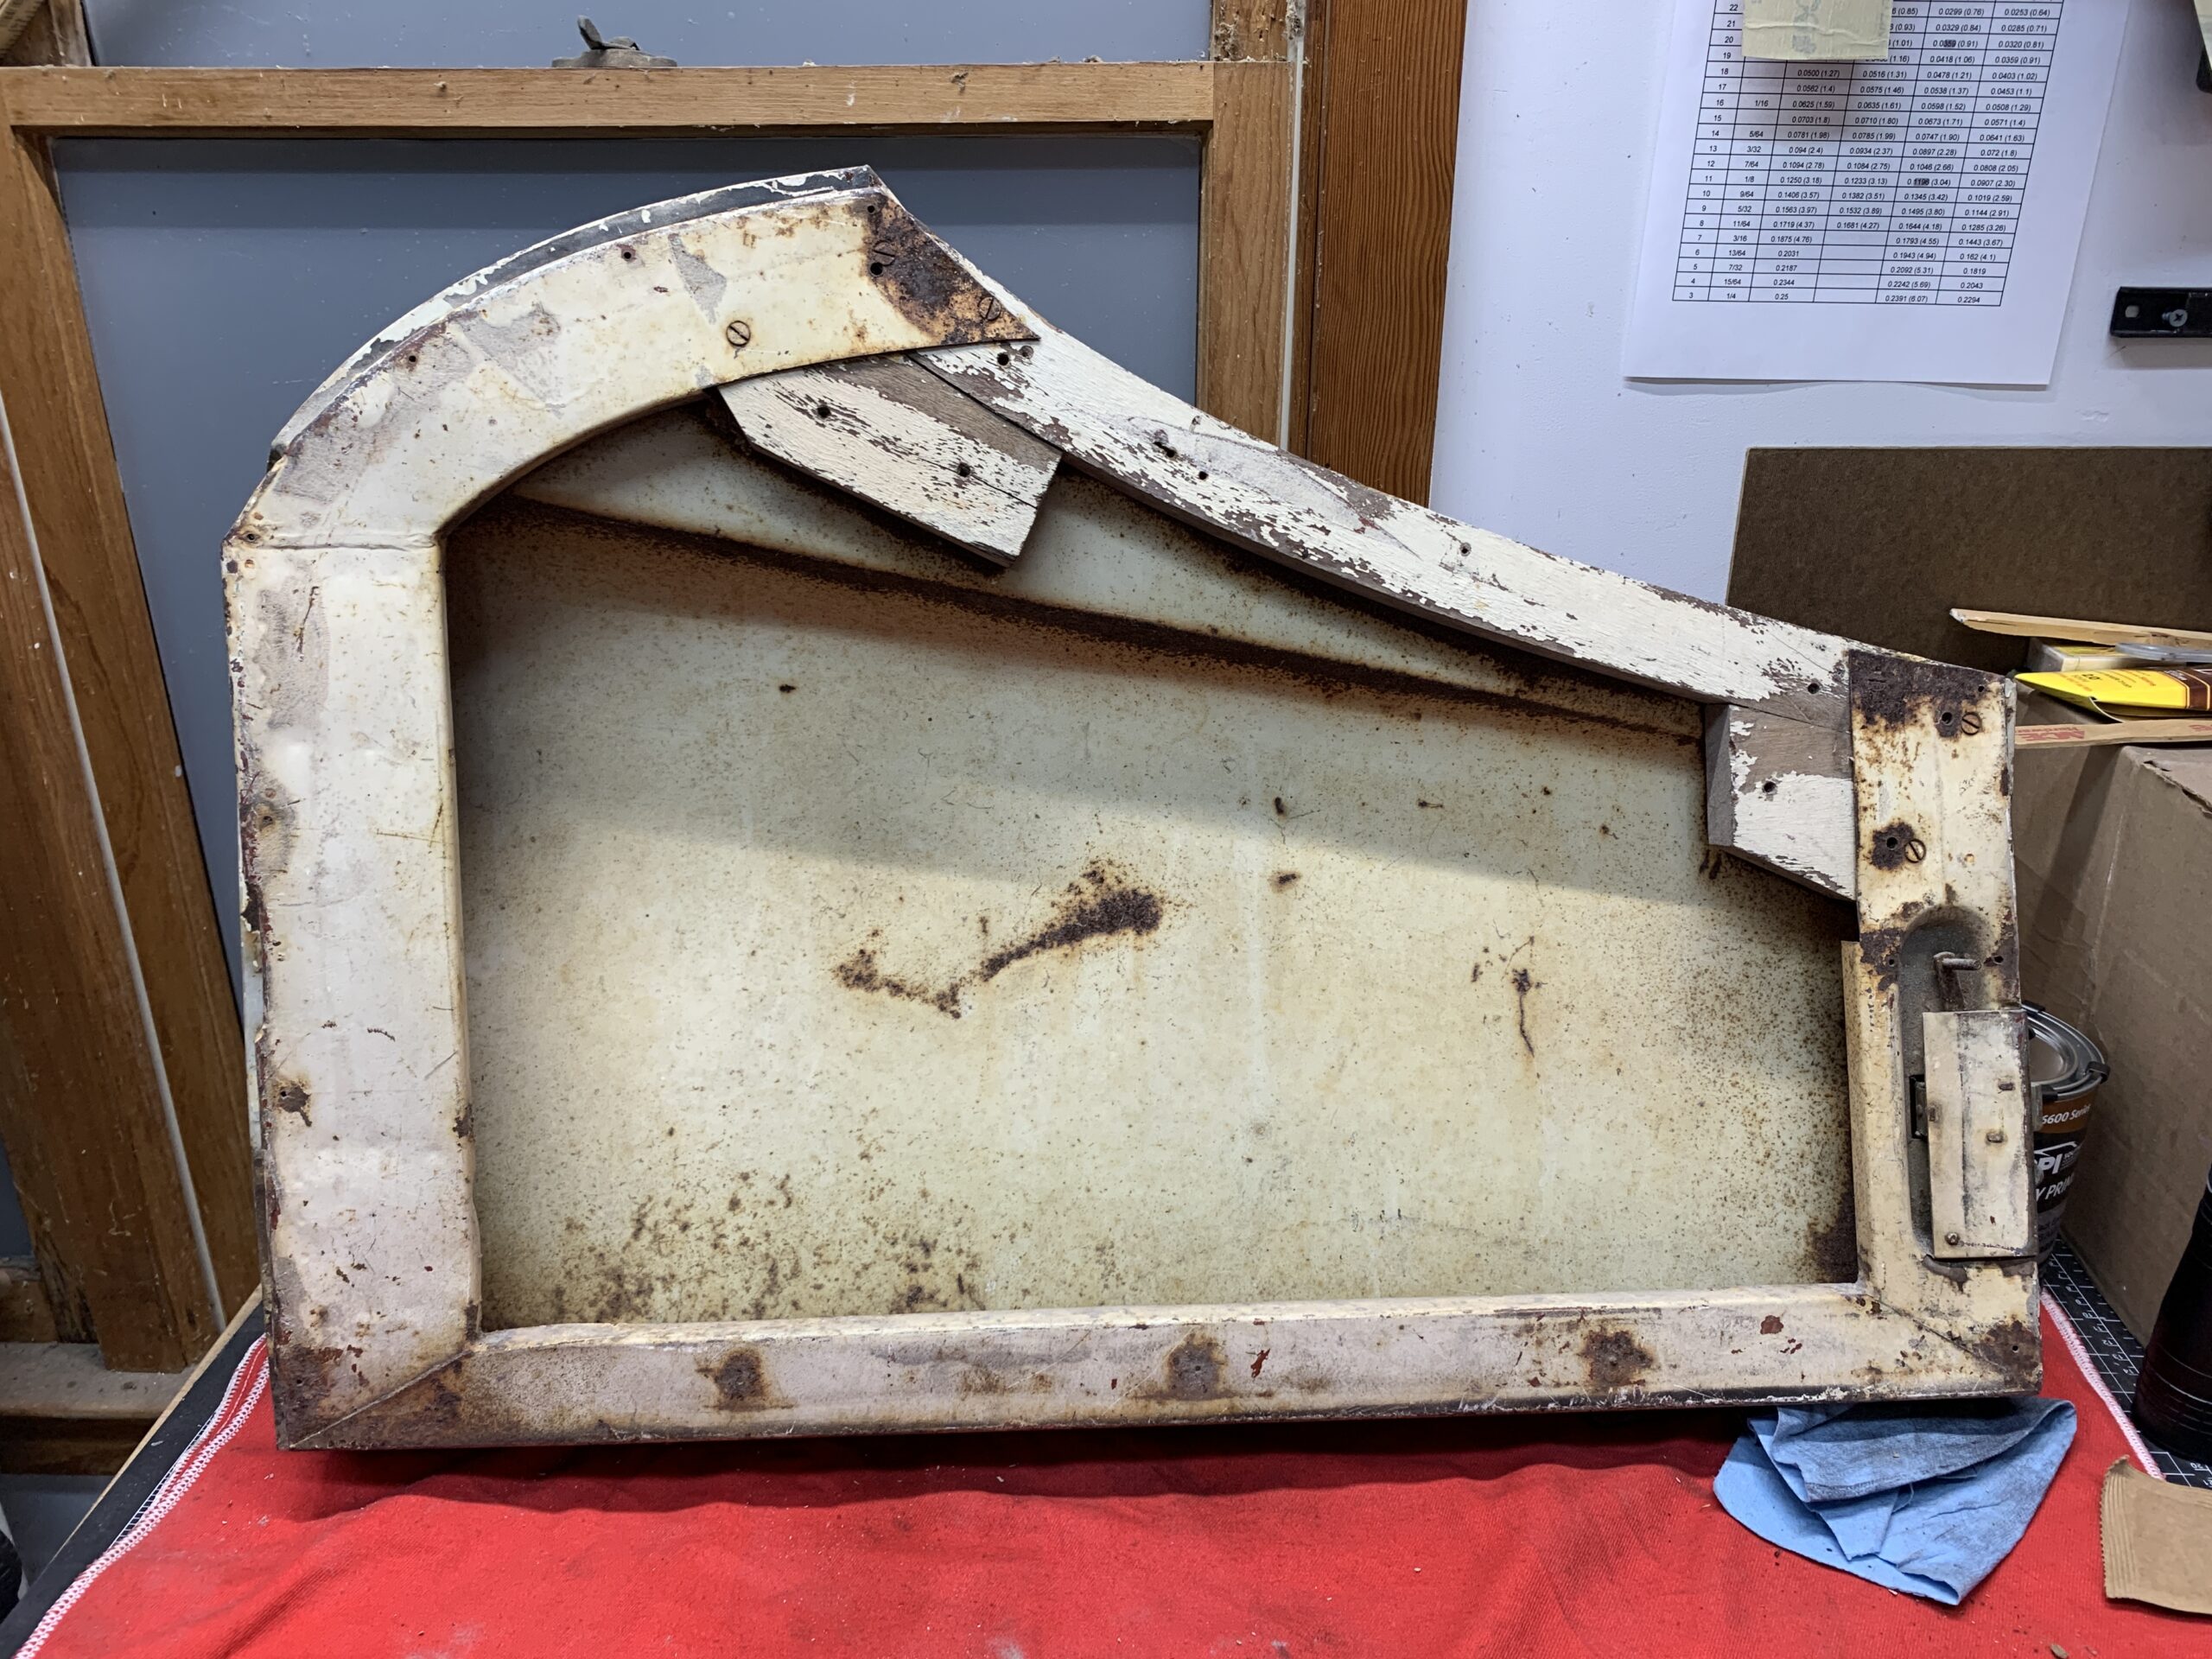
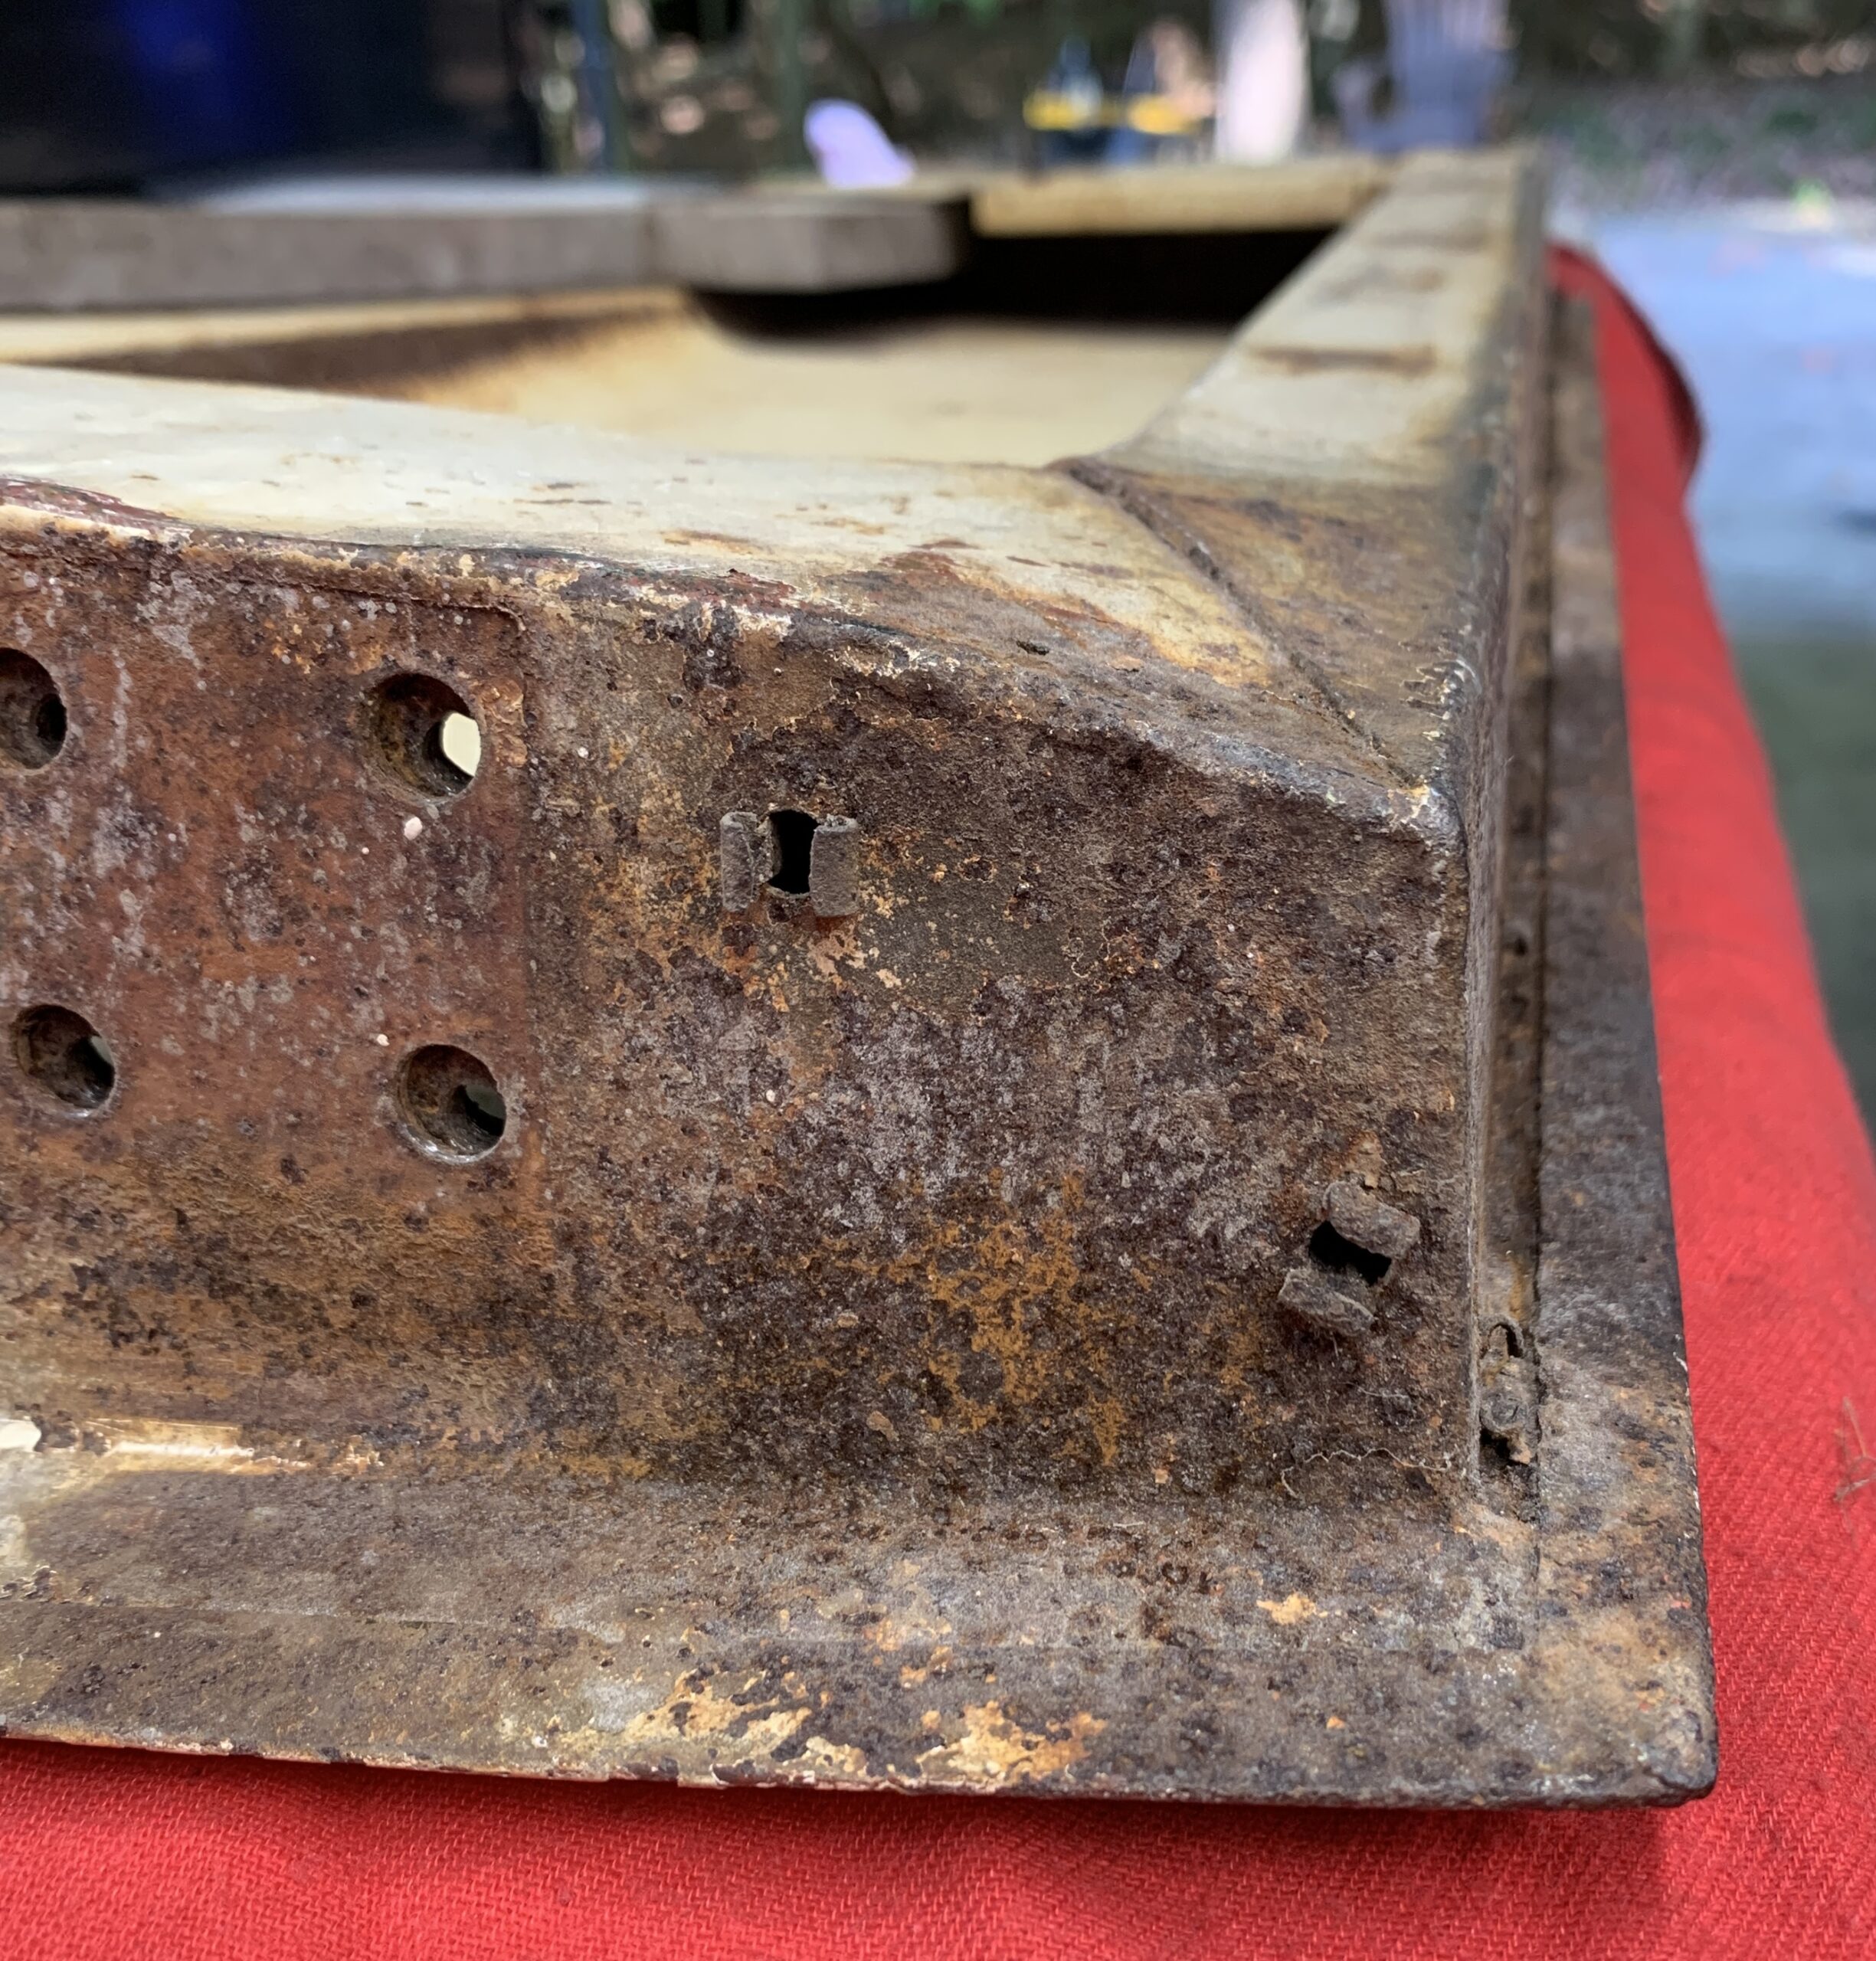
This door is somewhat rusty in the lower areas, but not horribly so. It still has little clips in the drain holes. The hinge mounts just to the left.
Before starting to take things apart I stripped the outside surface. Beneath the beige/olde english white color was gray and then more of the OEW. Plenty of Red Oxide primer under there also. In the lower left corner you’ll see the main problem area. The tan color is a little body filler trying to cover up a rust through. After this forensic work I took the remainder off using a stripping disk.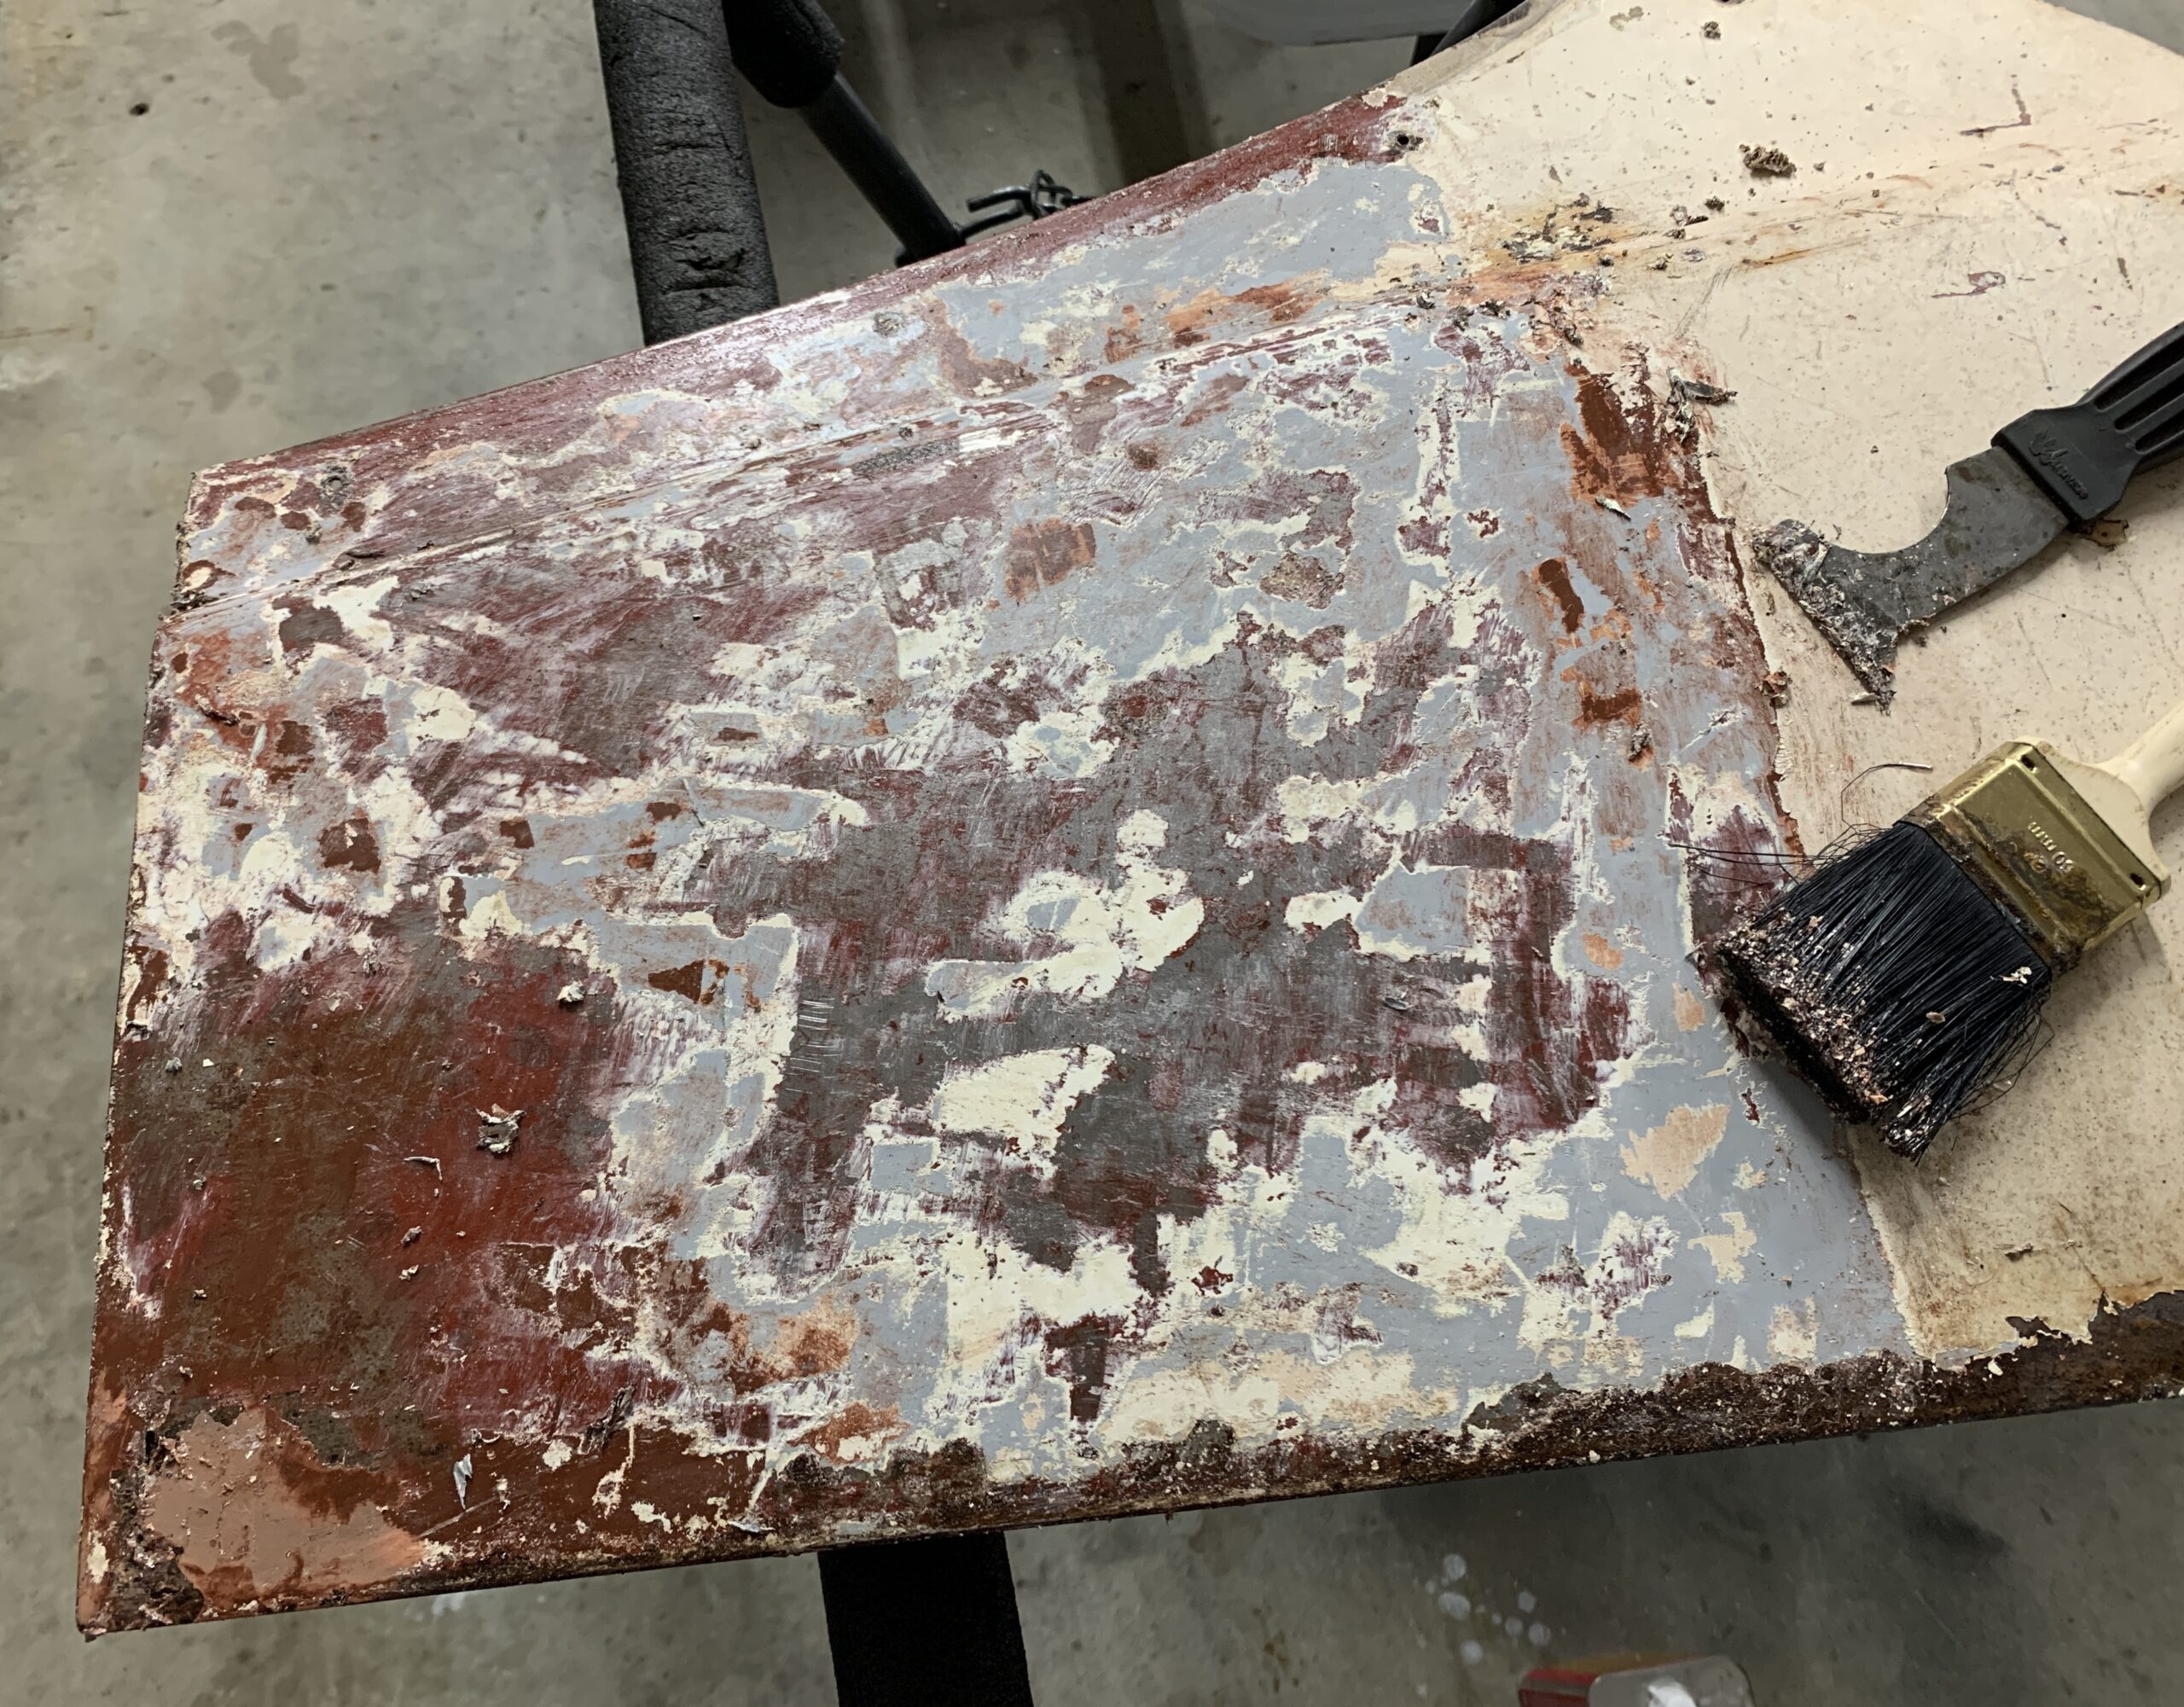
The next thing was to remove the hardware, which went smoothly… enough. The wooden cross piece is attached using several nails fixed through a fold over flange on the skin along the NW/SE direction and several flat head screws on the inward face.
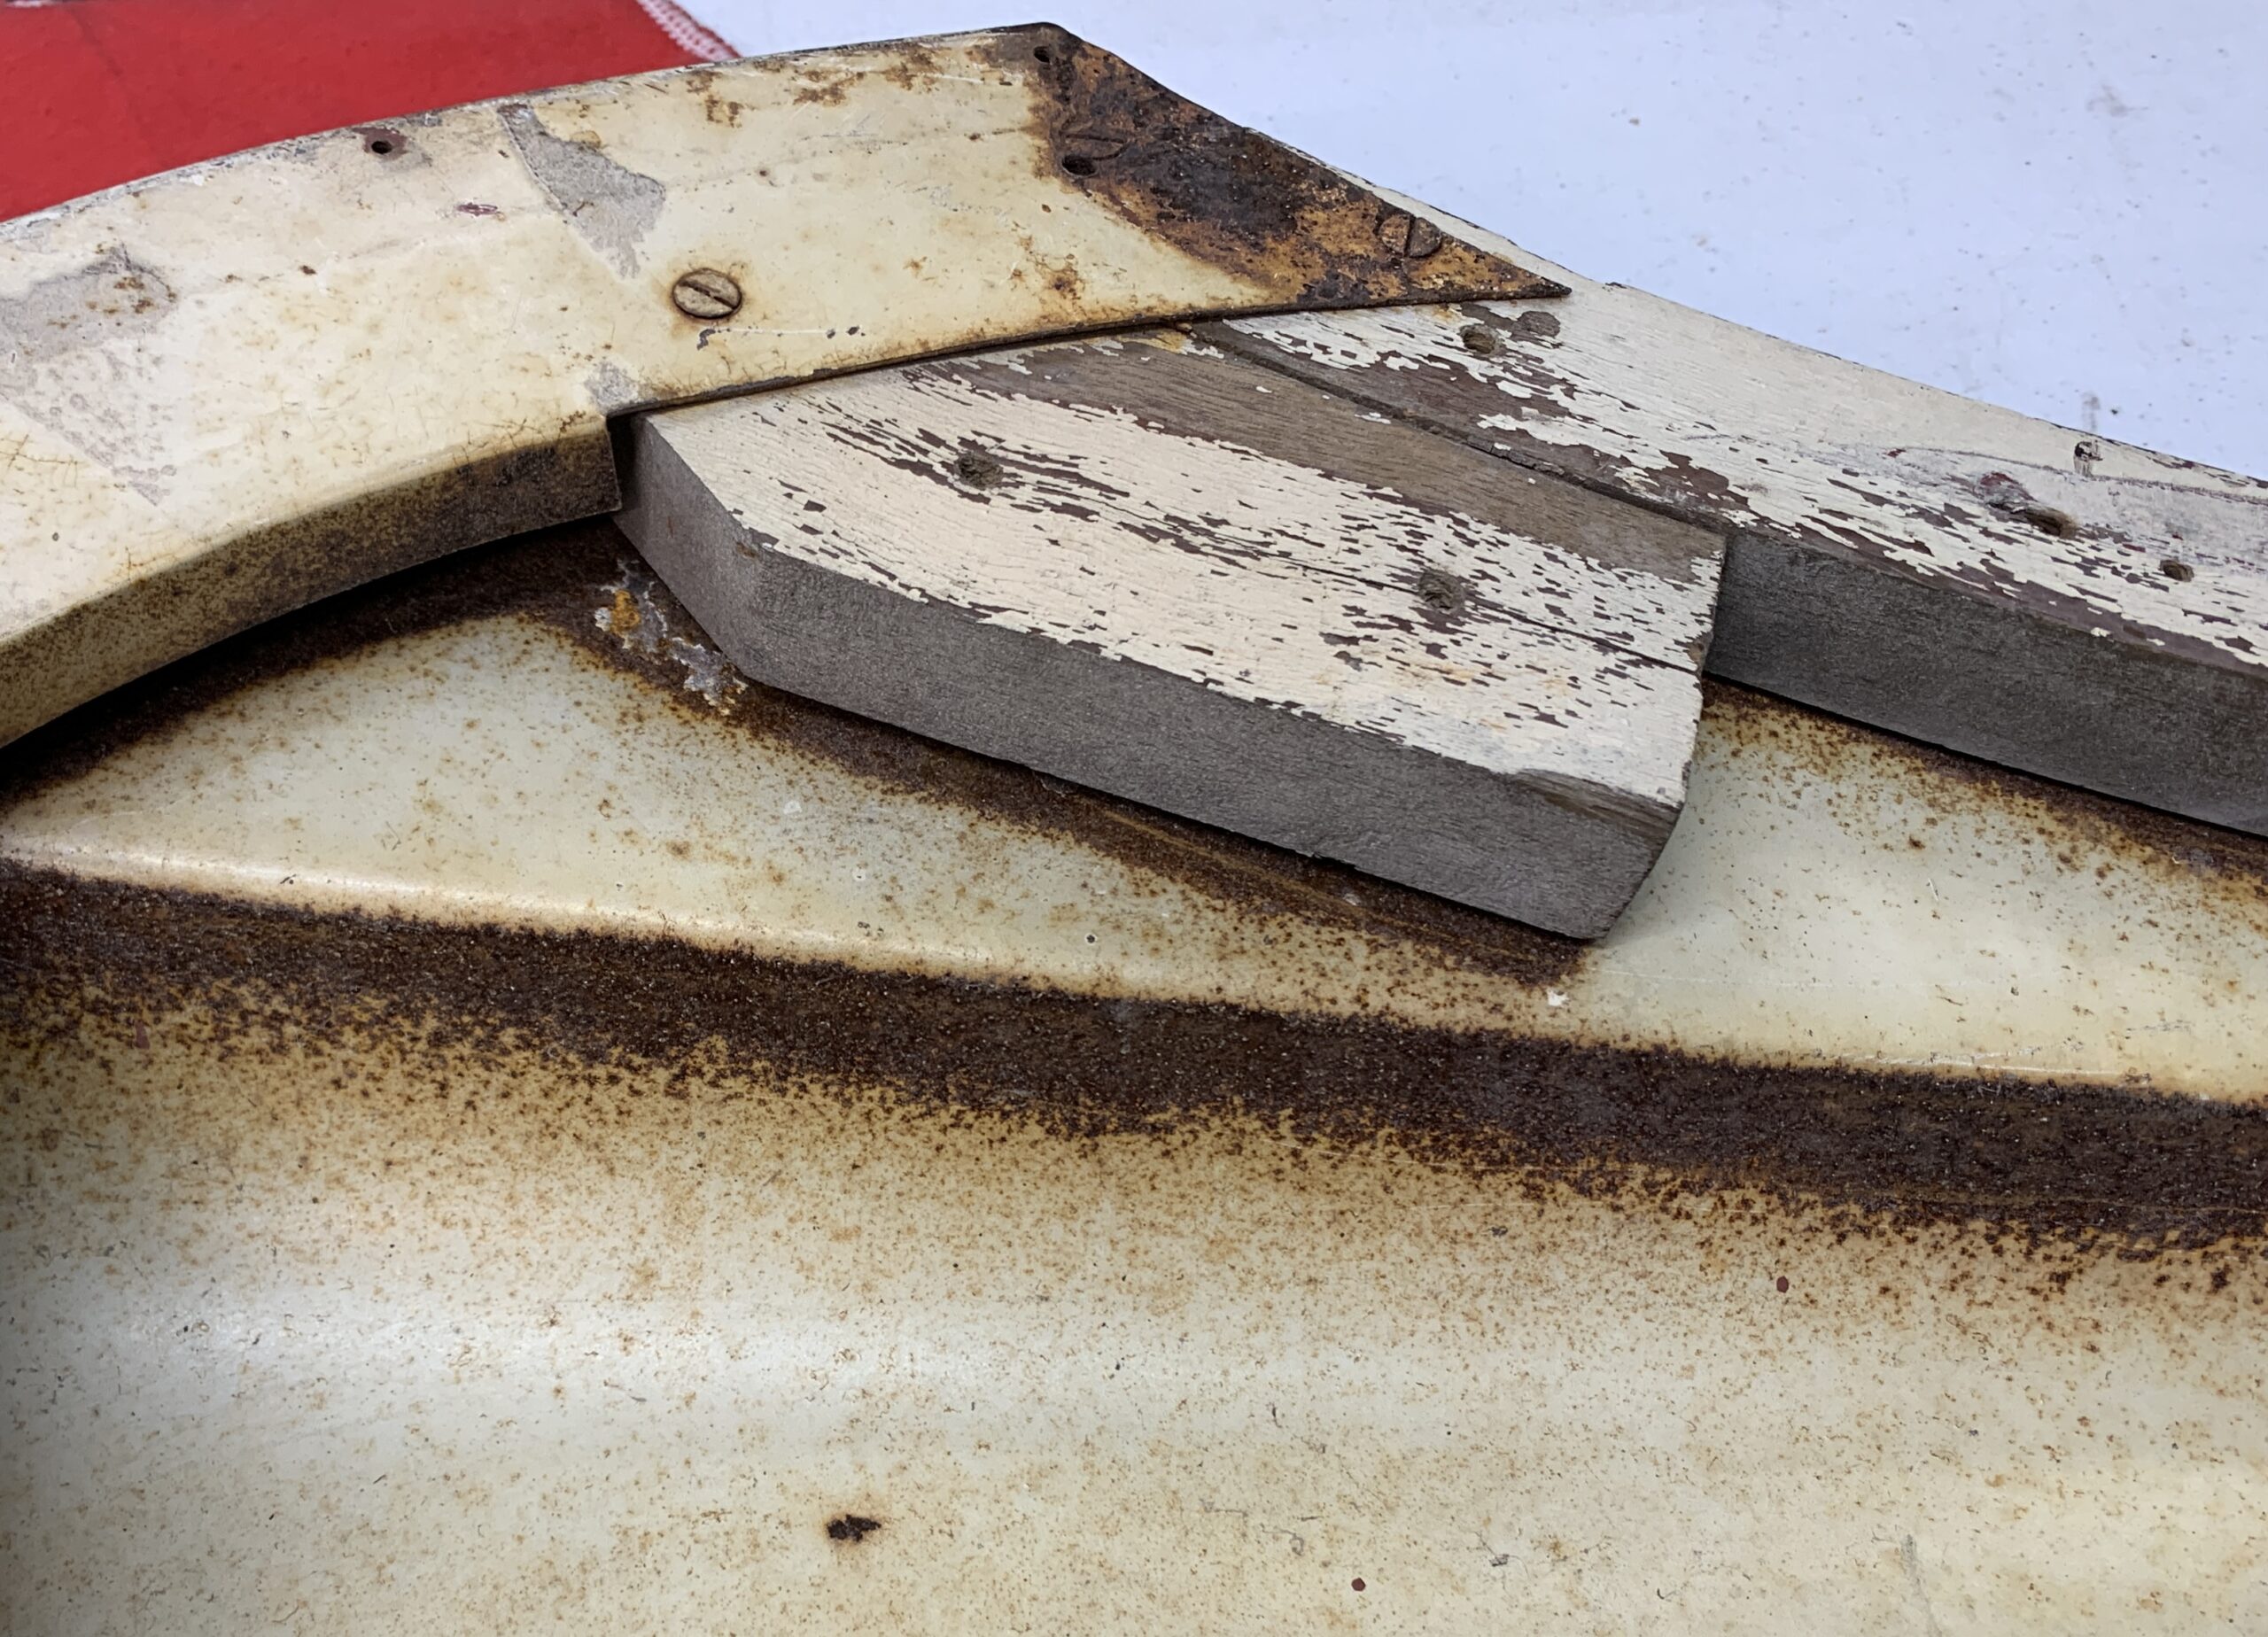
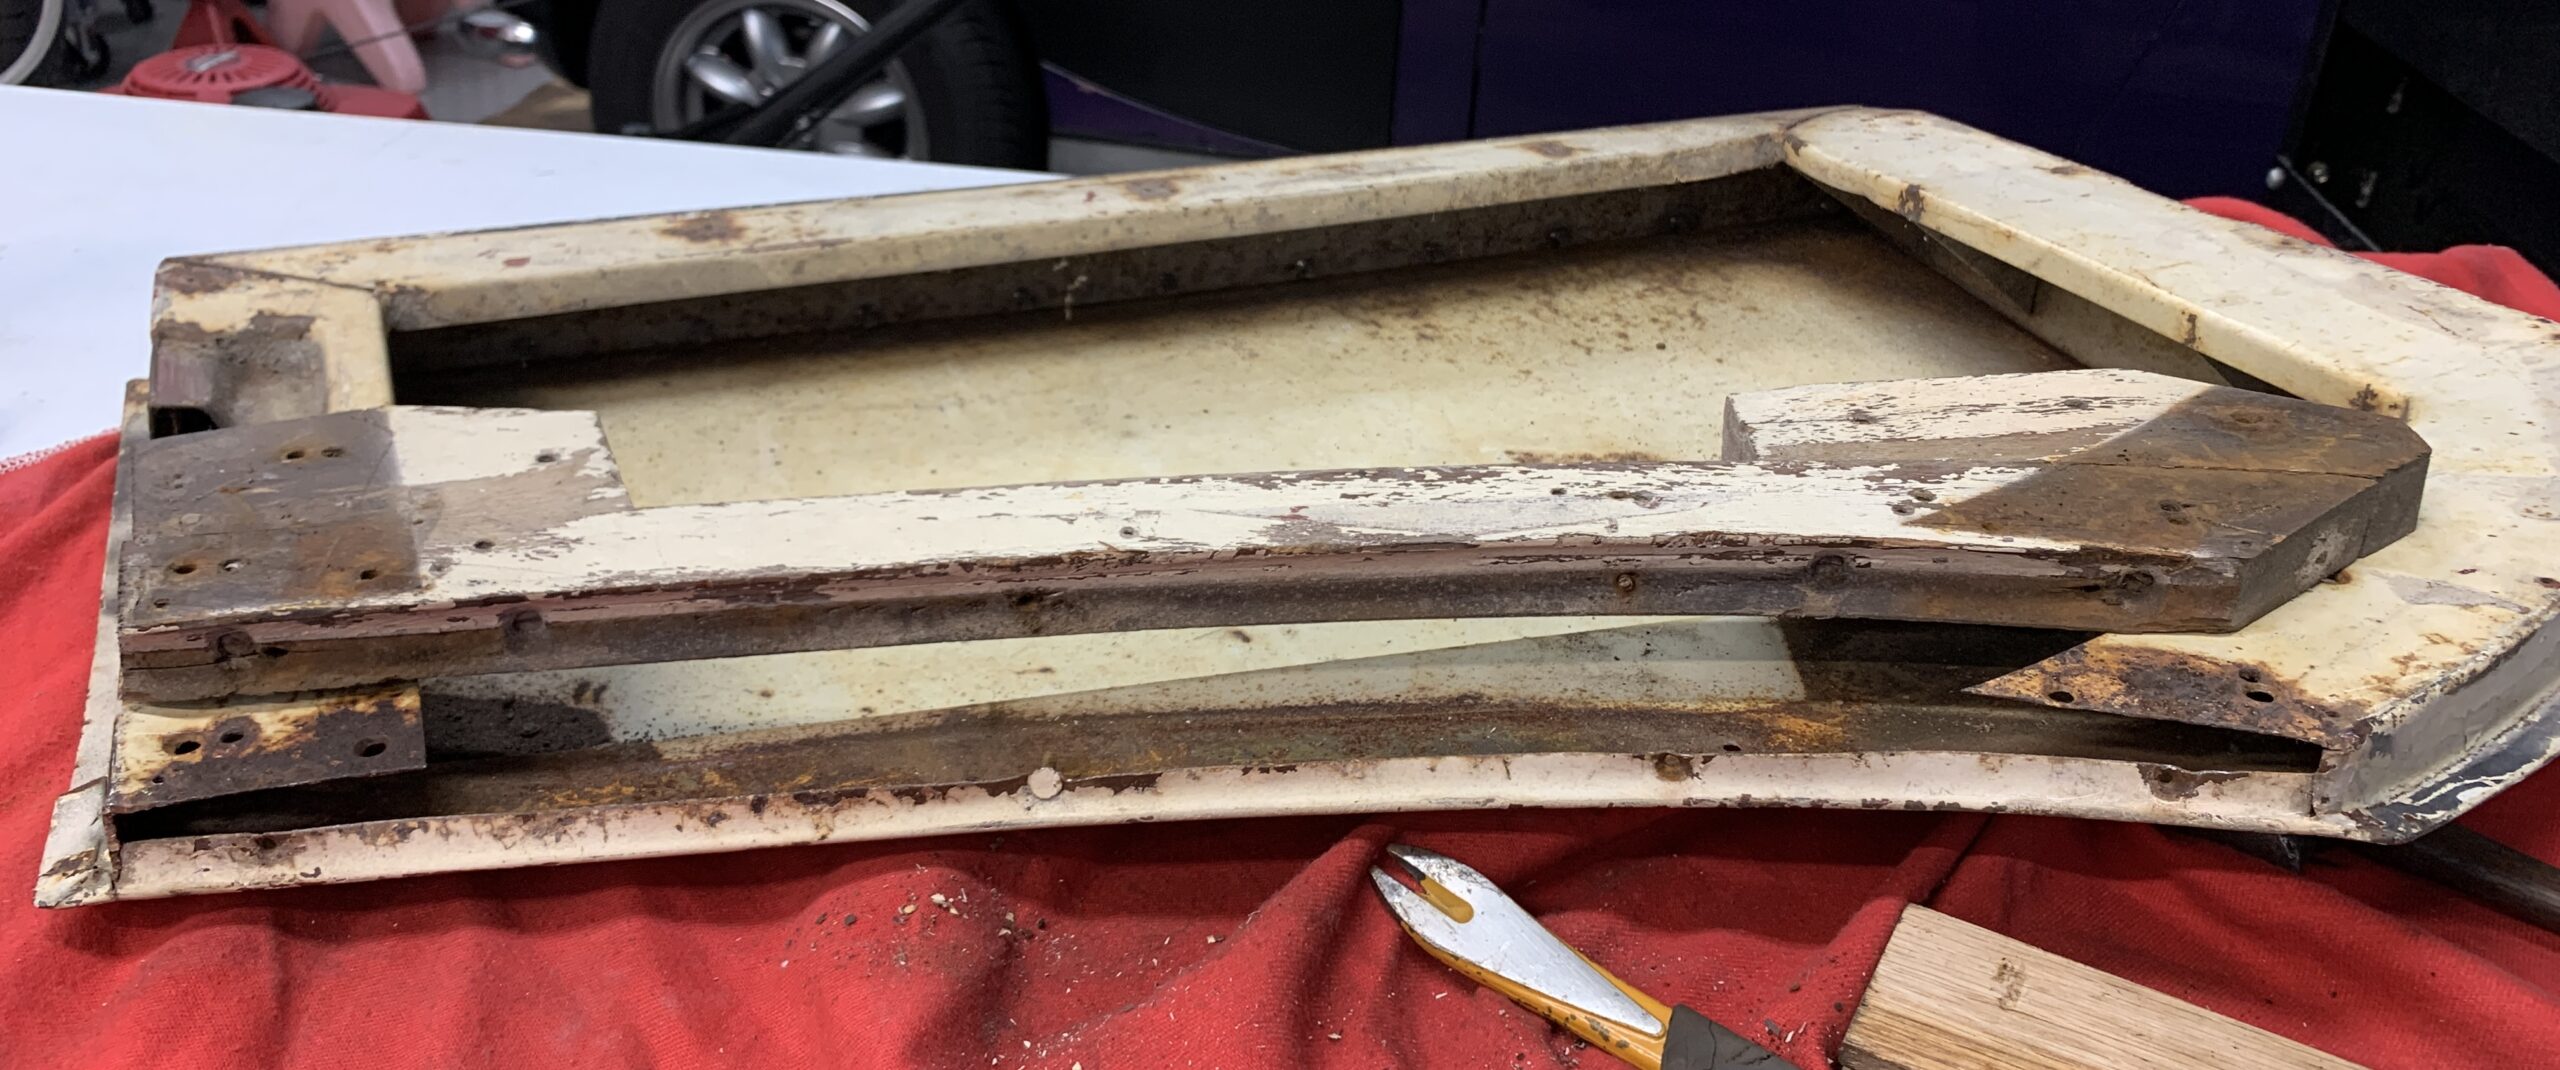
This wooden crosspiece nicely illustrates some of the shape in the door. At the bottom, the profile is flat the rearward 18 inches, then starts to gently curve approaching the front. The top of the door is more consistently curved. At each point front to back, there is a gentle vertical curve.
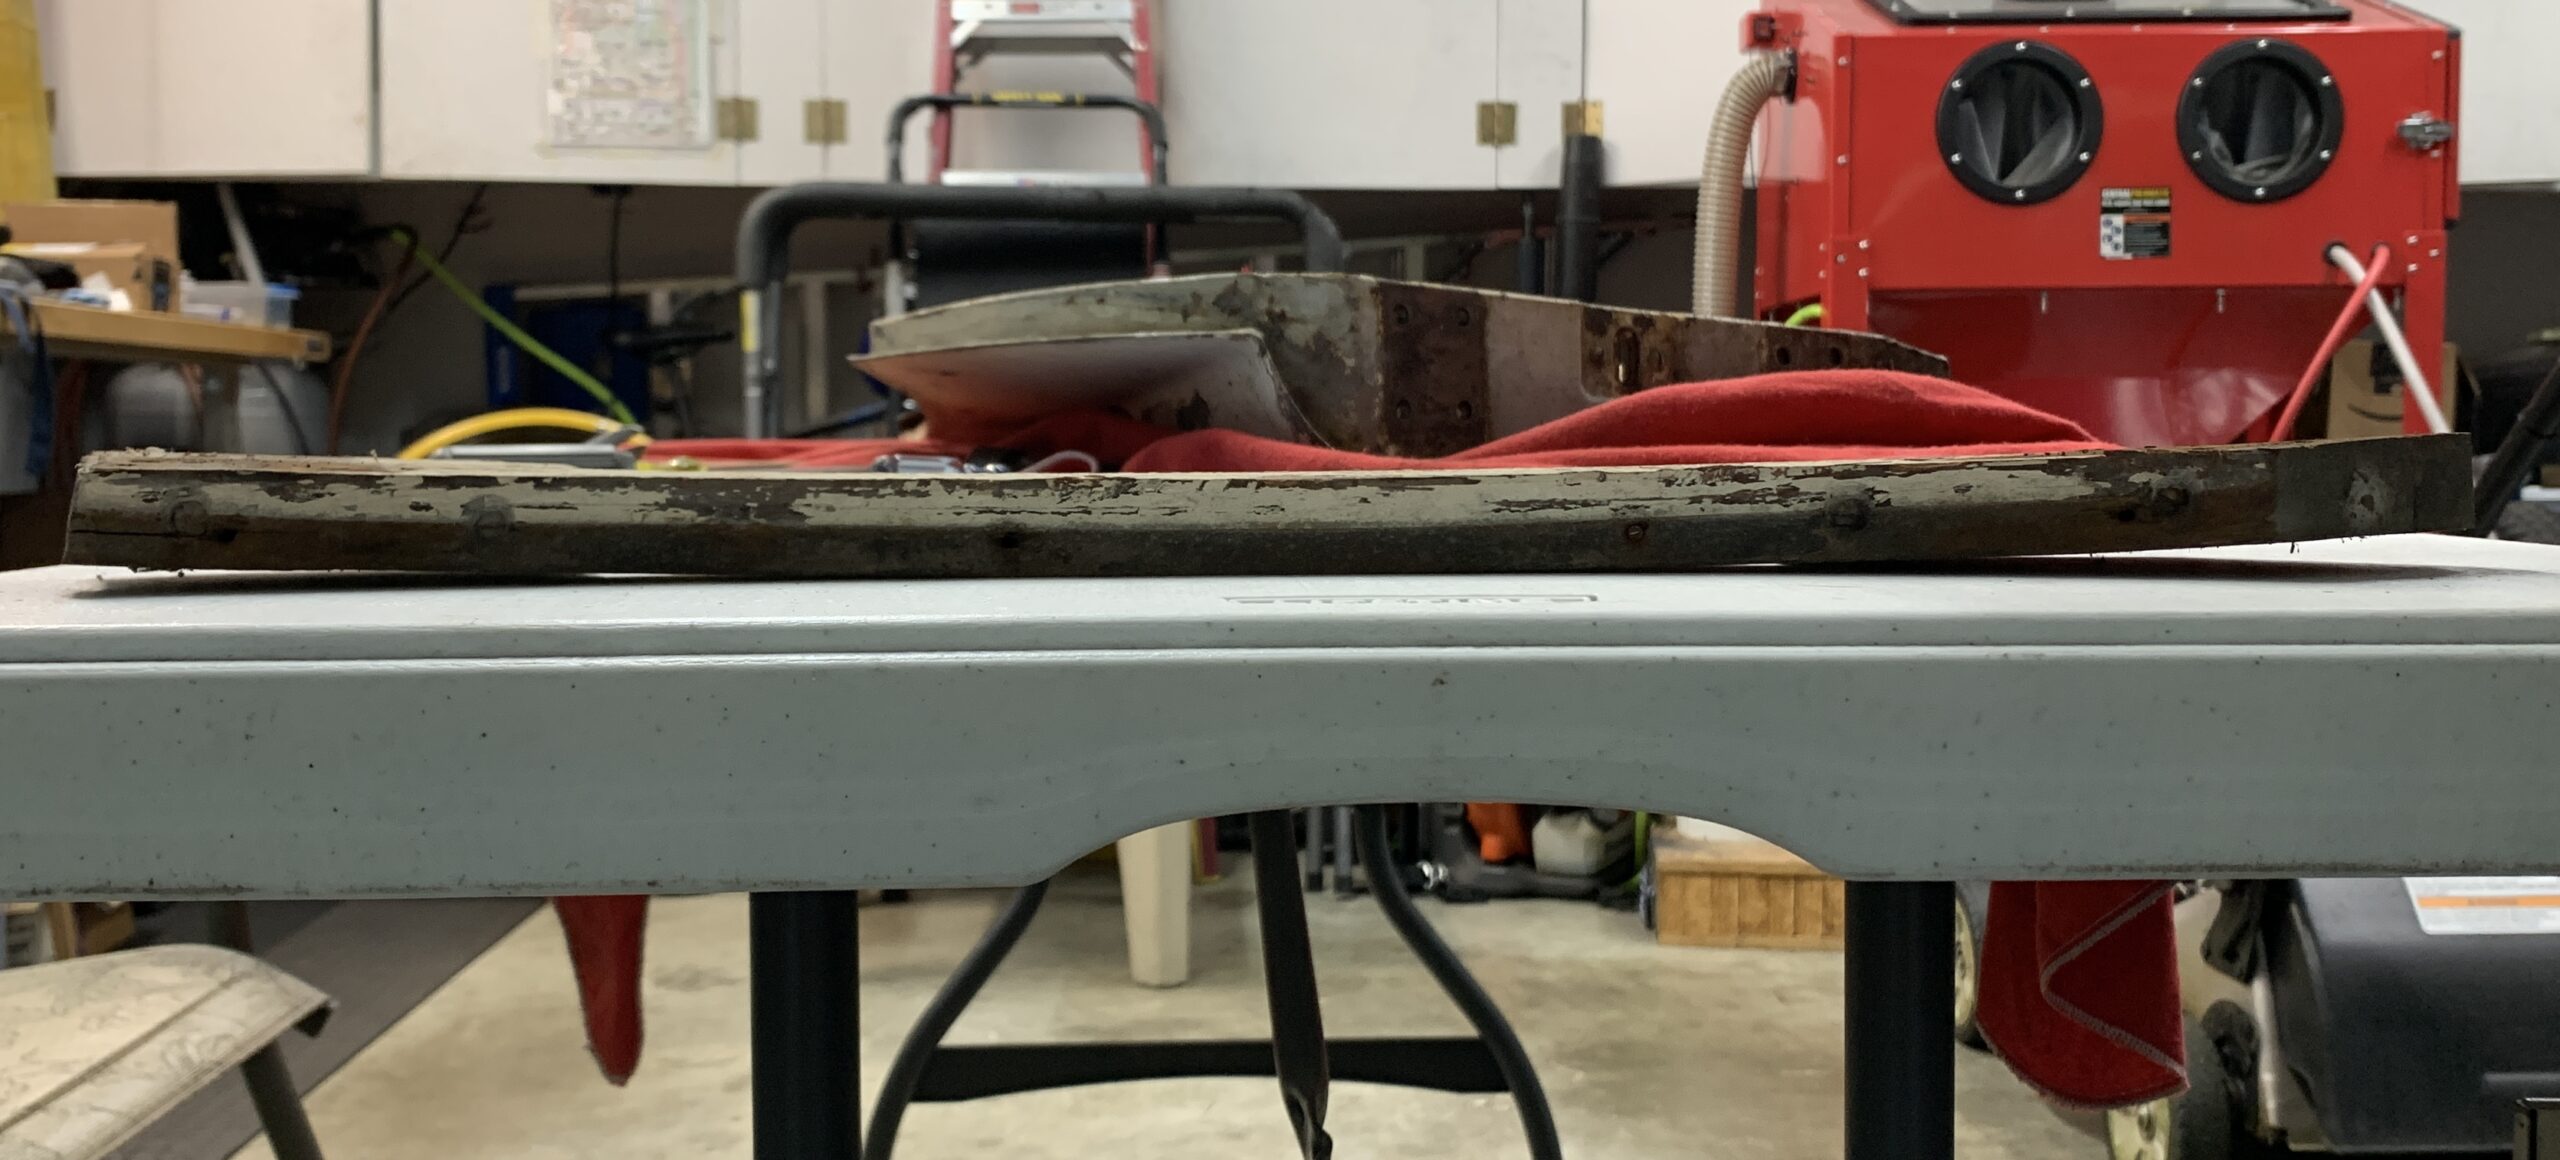
Removing the wood frame reveals bare metal… not even primer. So it seems the doors were assembled at the factory wood to bare sheet metal, then sprayed.
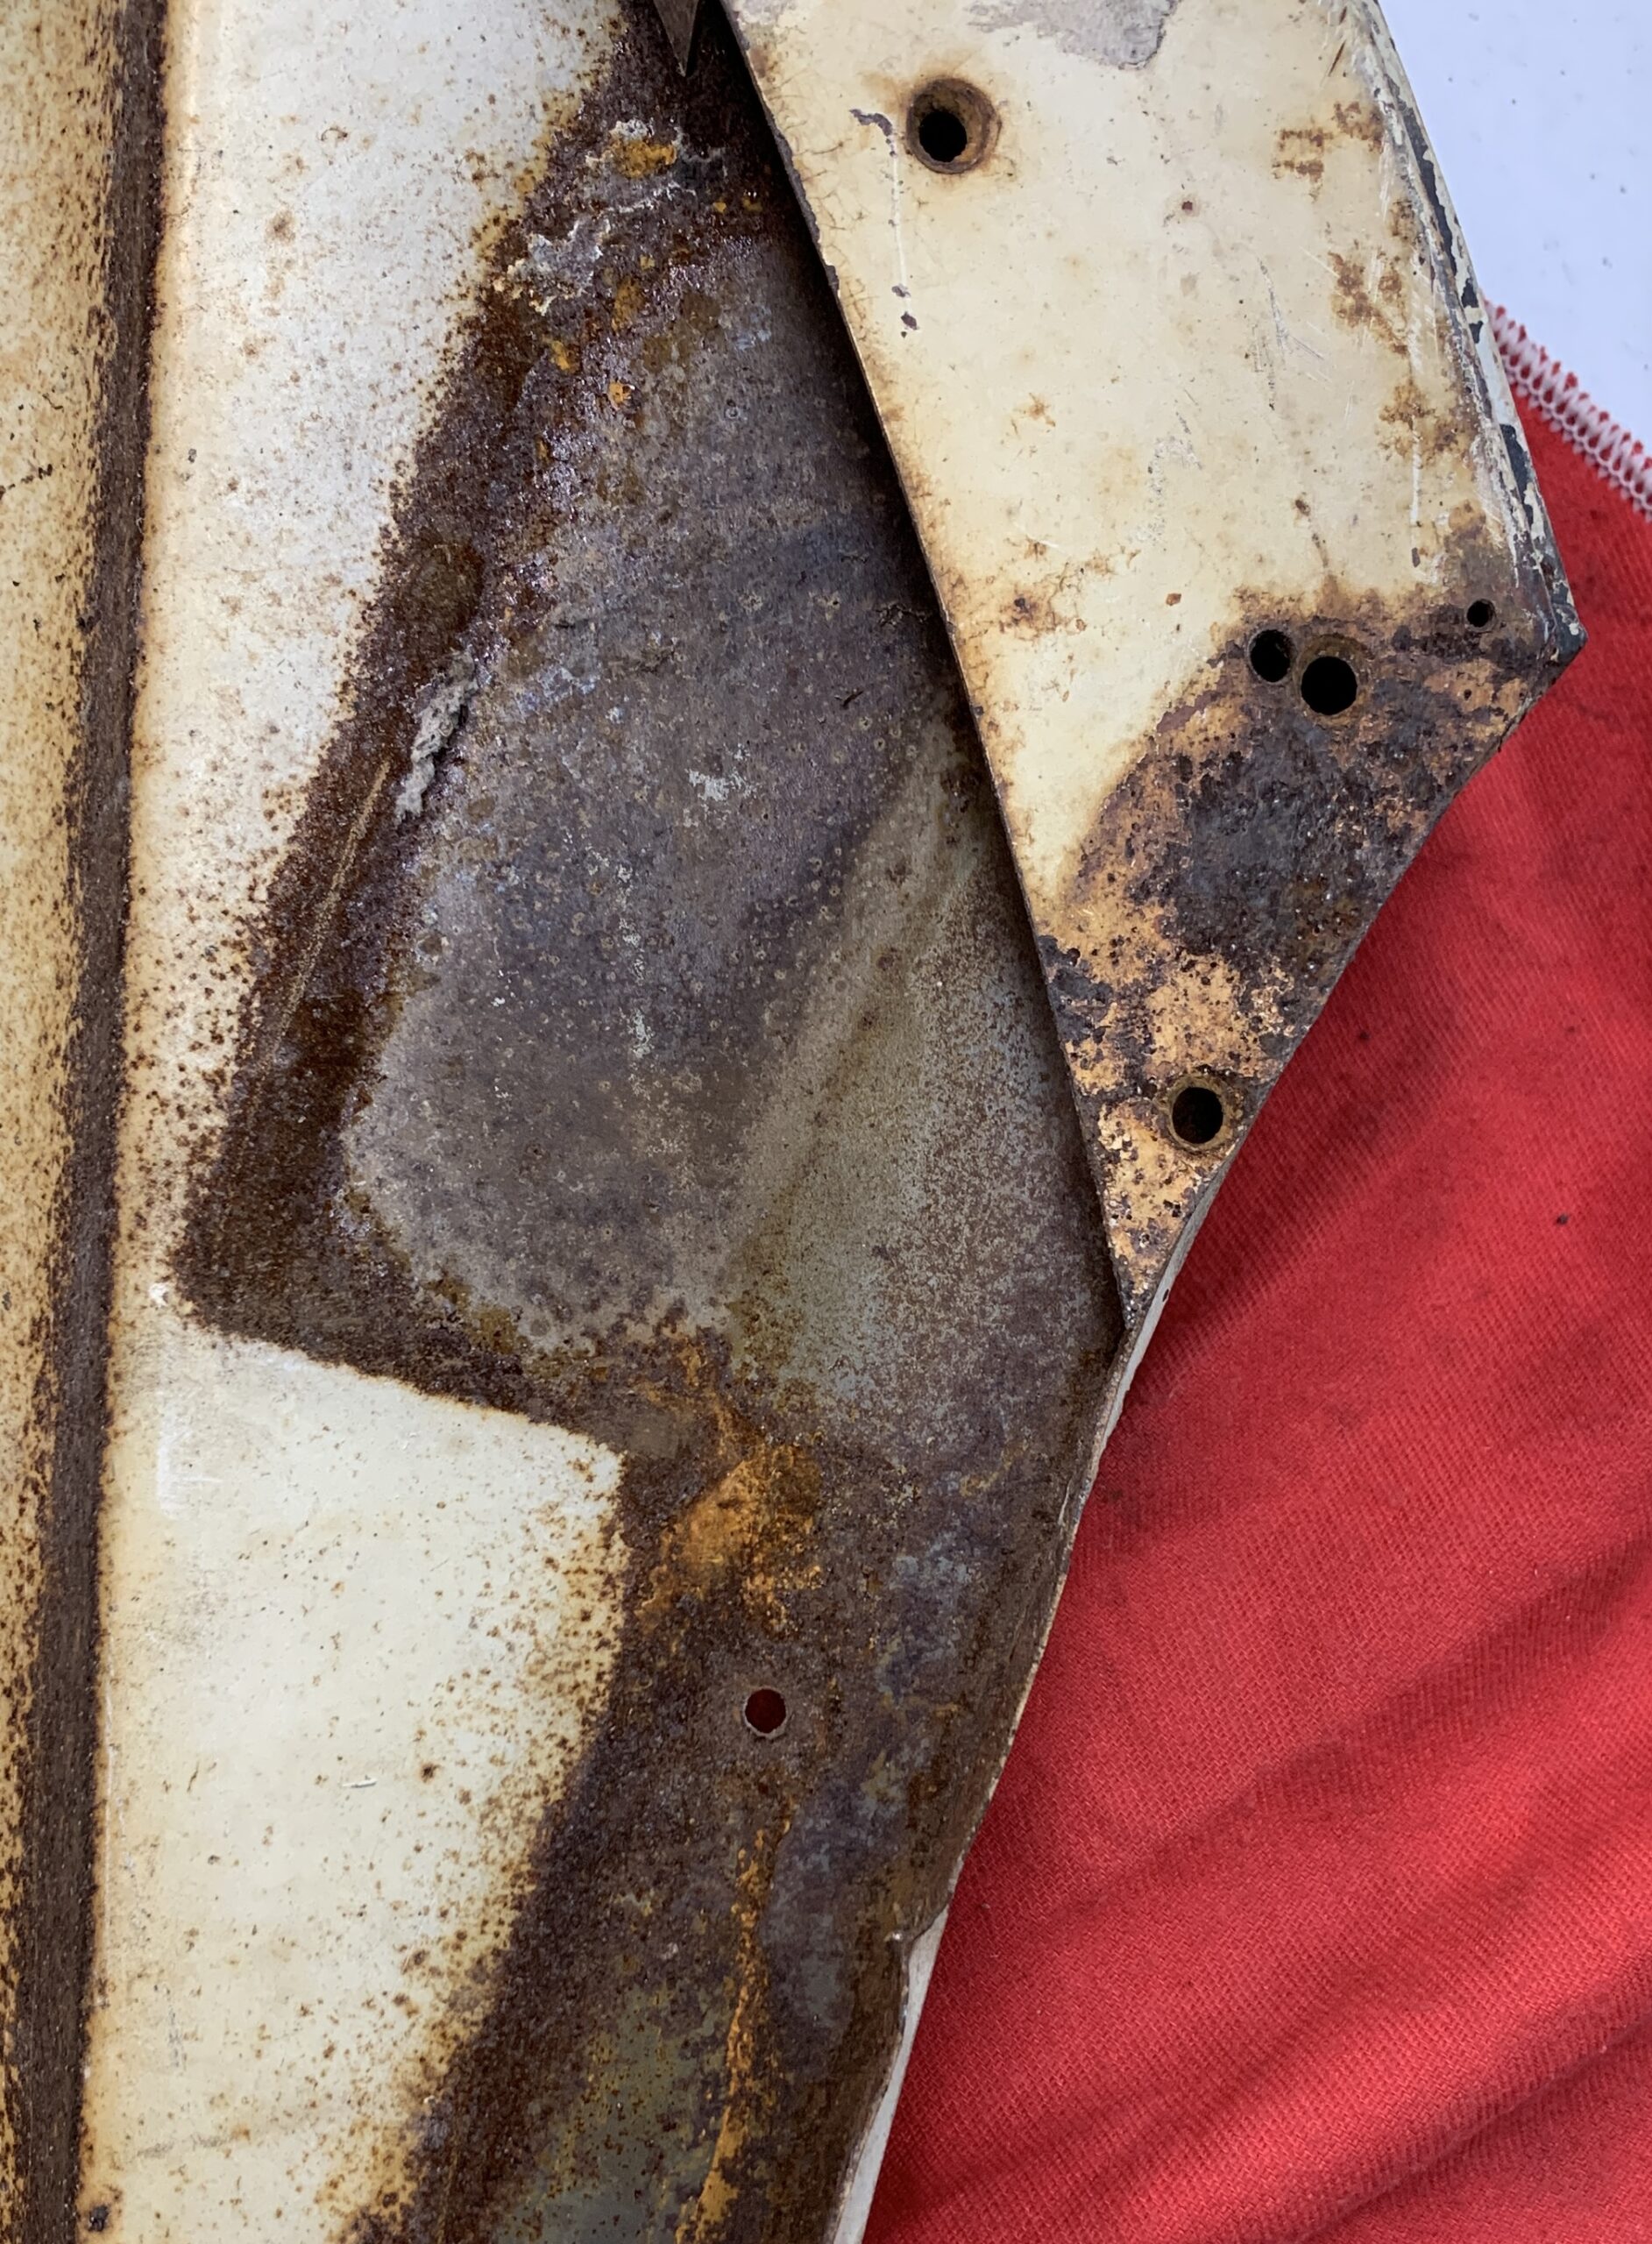
The skin is secured to the frame using 4 spot welds on the front and rear. These were cut as gently as possible and the fold undone to reveal the skin and frame.
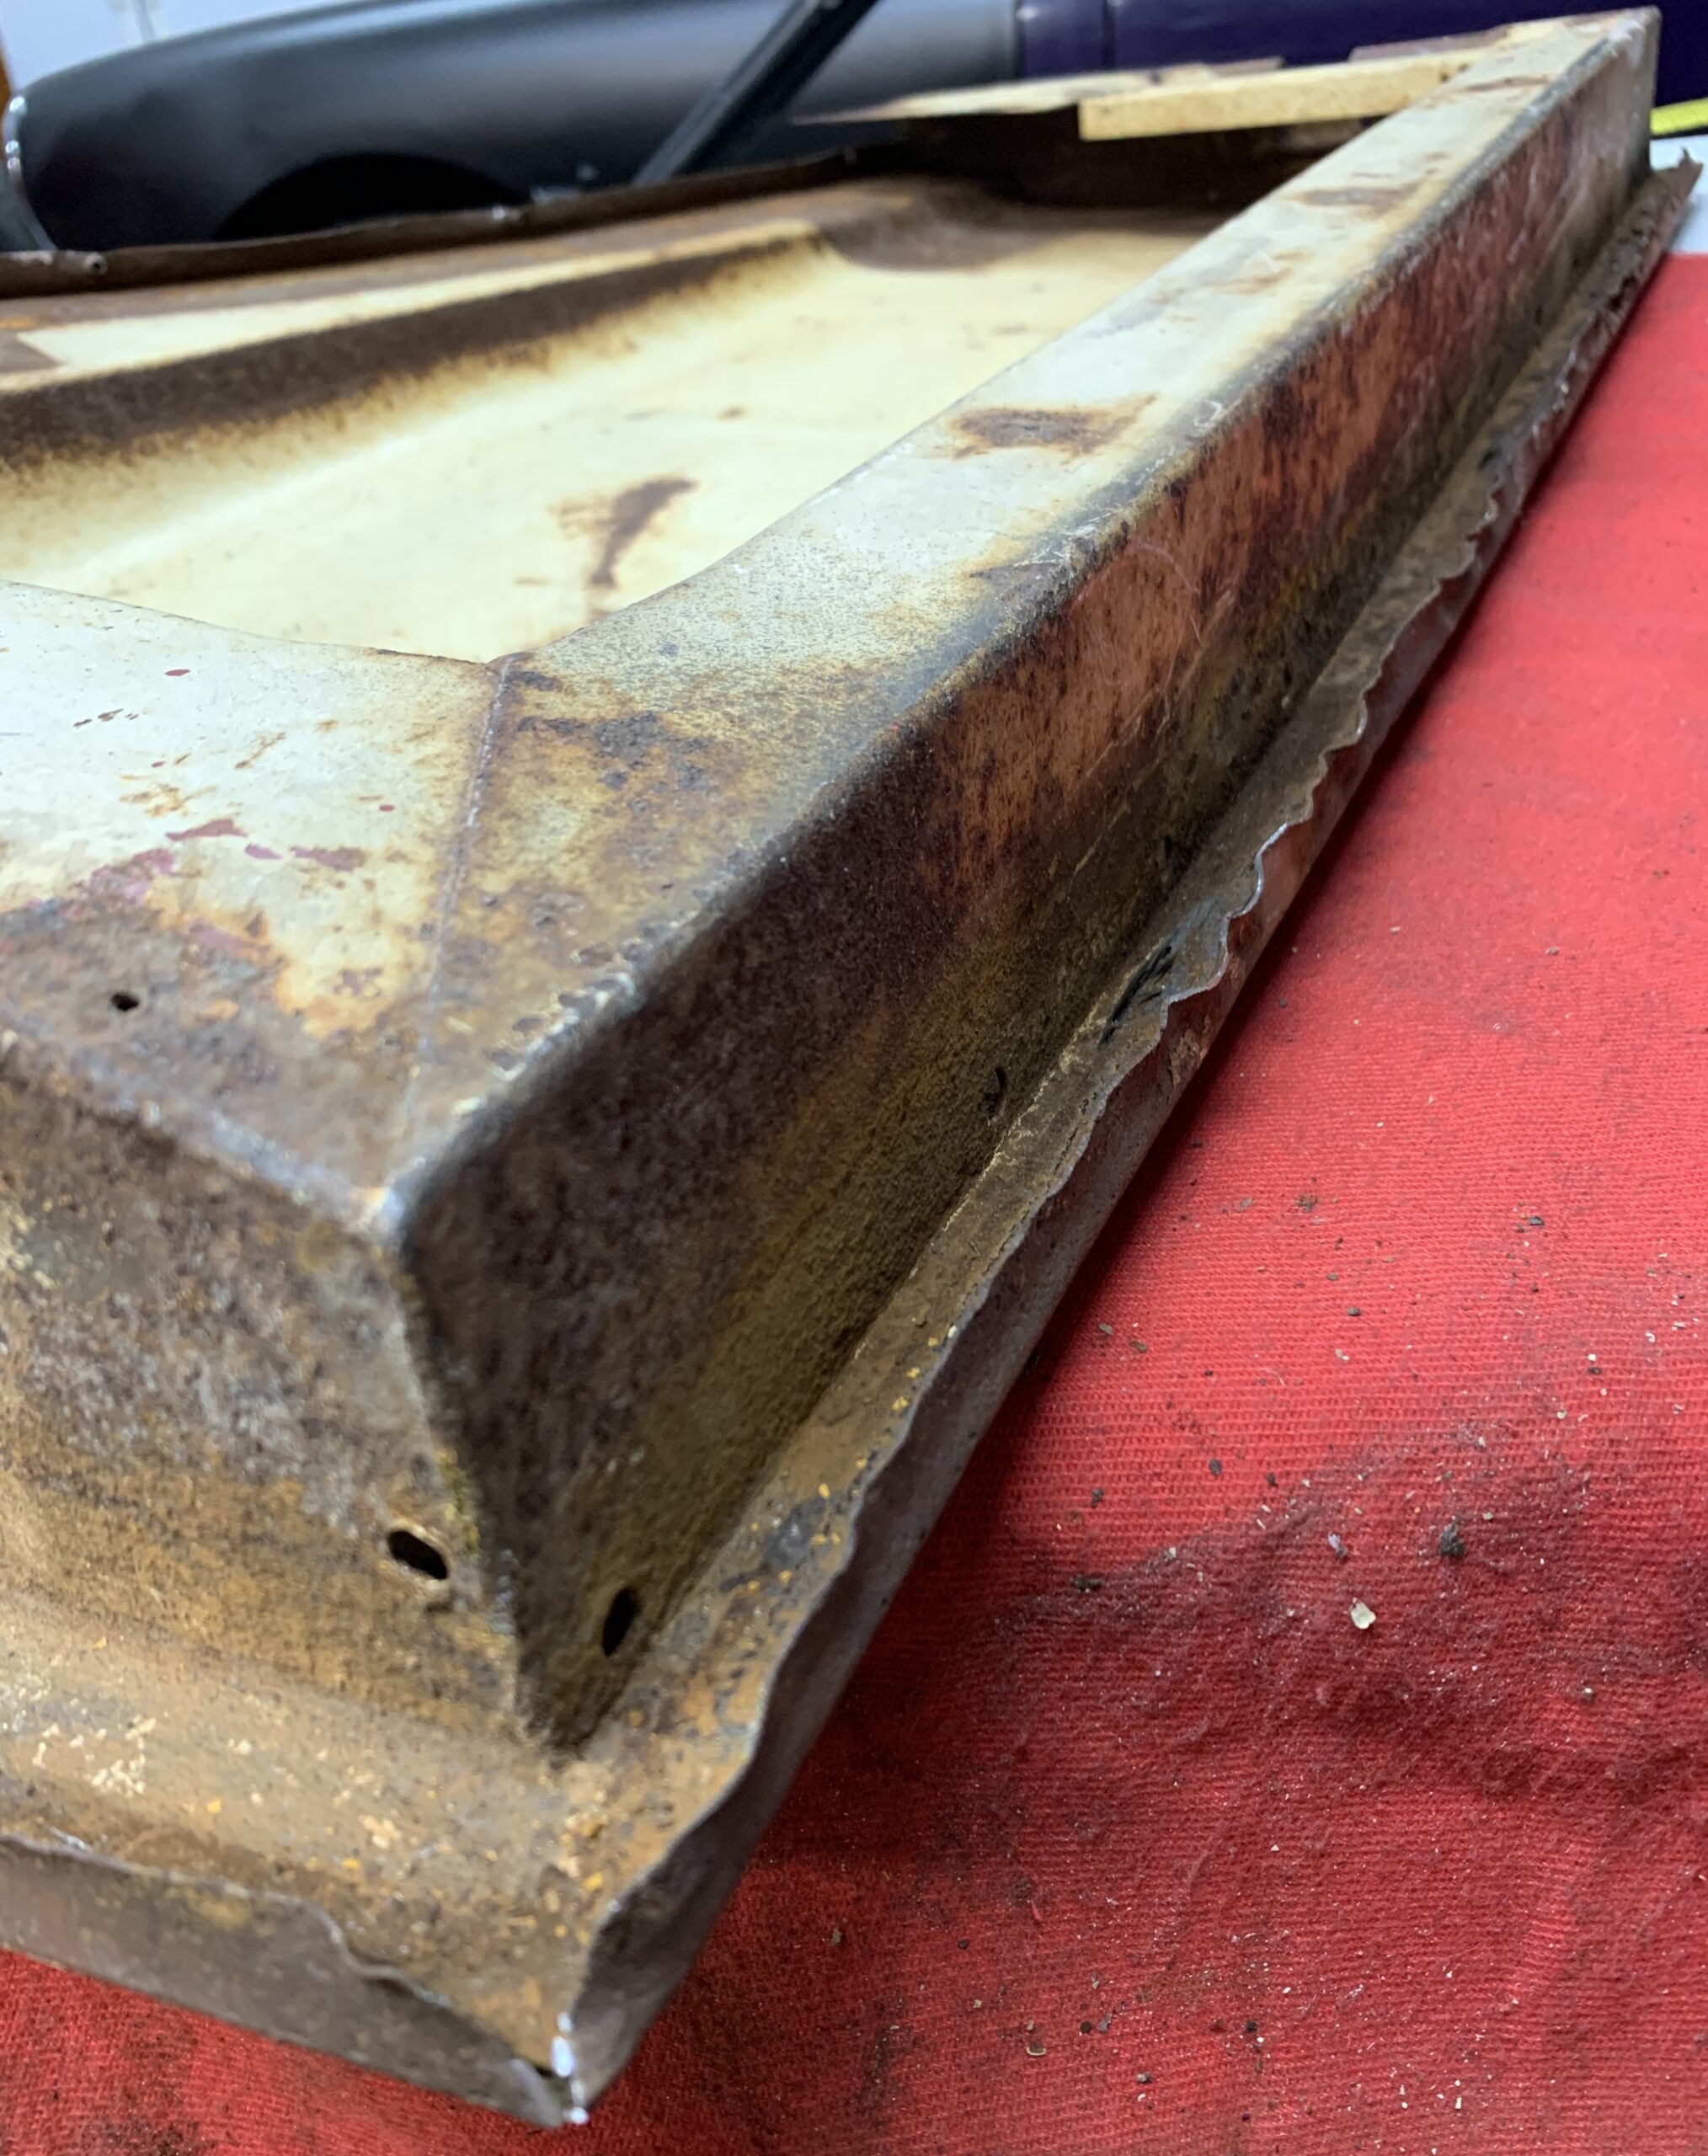
Continuing around the door led to smooth separation.
The frame is pretty solid, though minor repairs will be needed along the lower flange. My plan is to take this into the blasting cabinet for a quickie surface rust removal, then I’ll probably get the deeper pitting removed with a Rust911 soak. After that I’ll be able to do a more careful assessment on how to proceed.
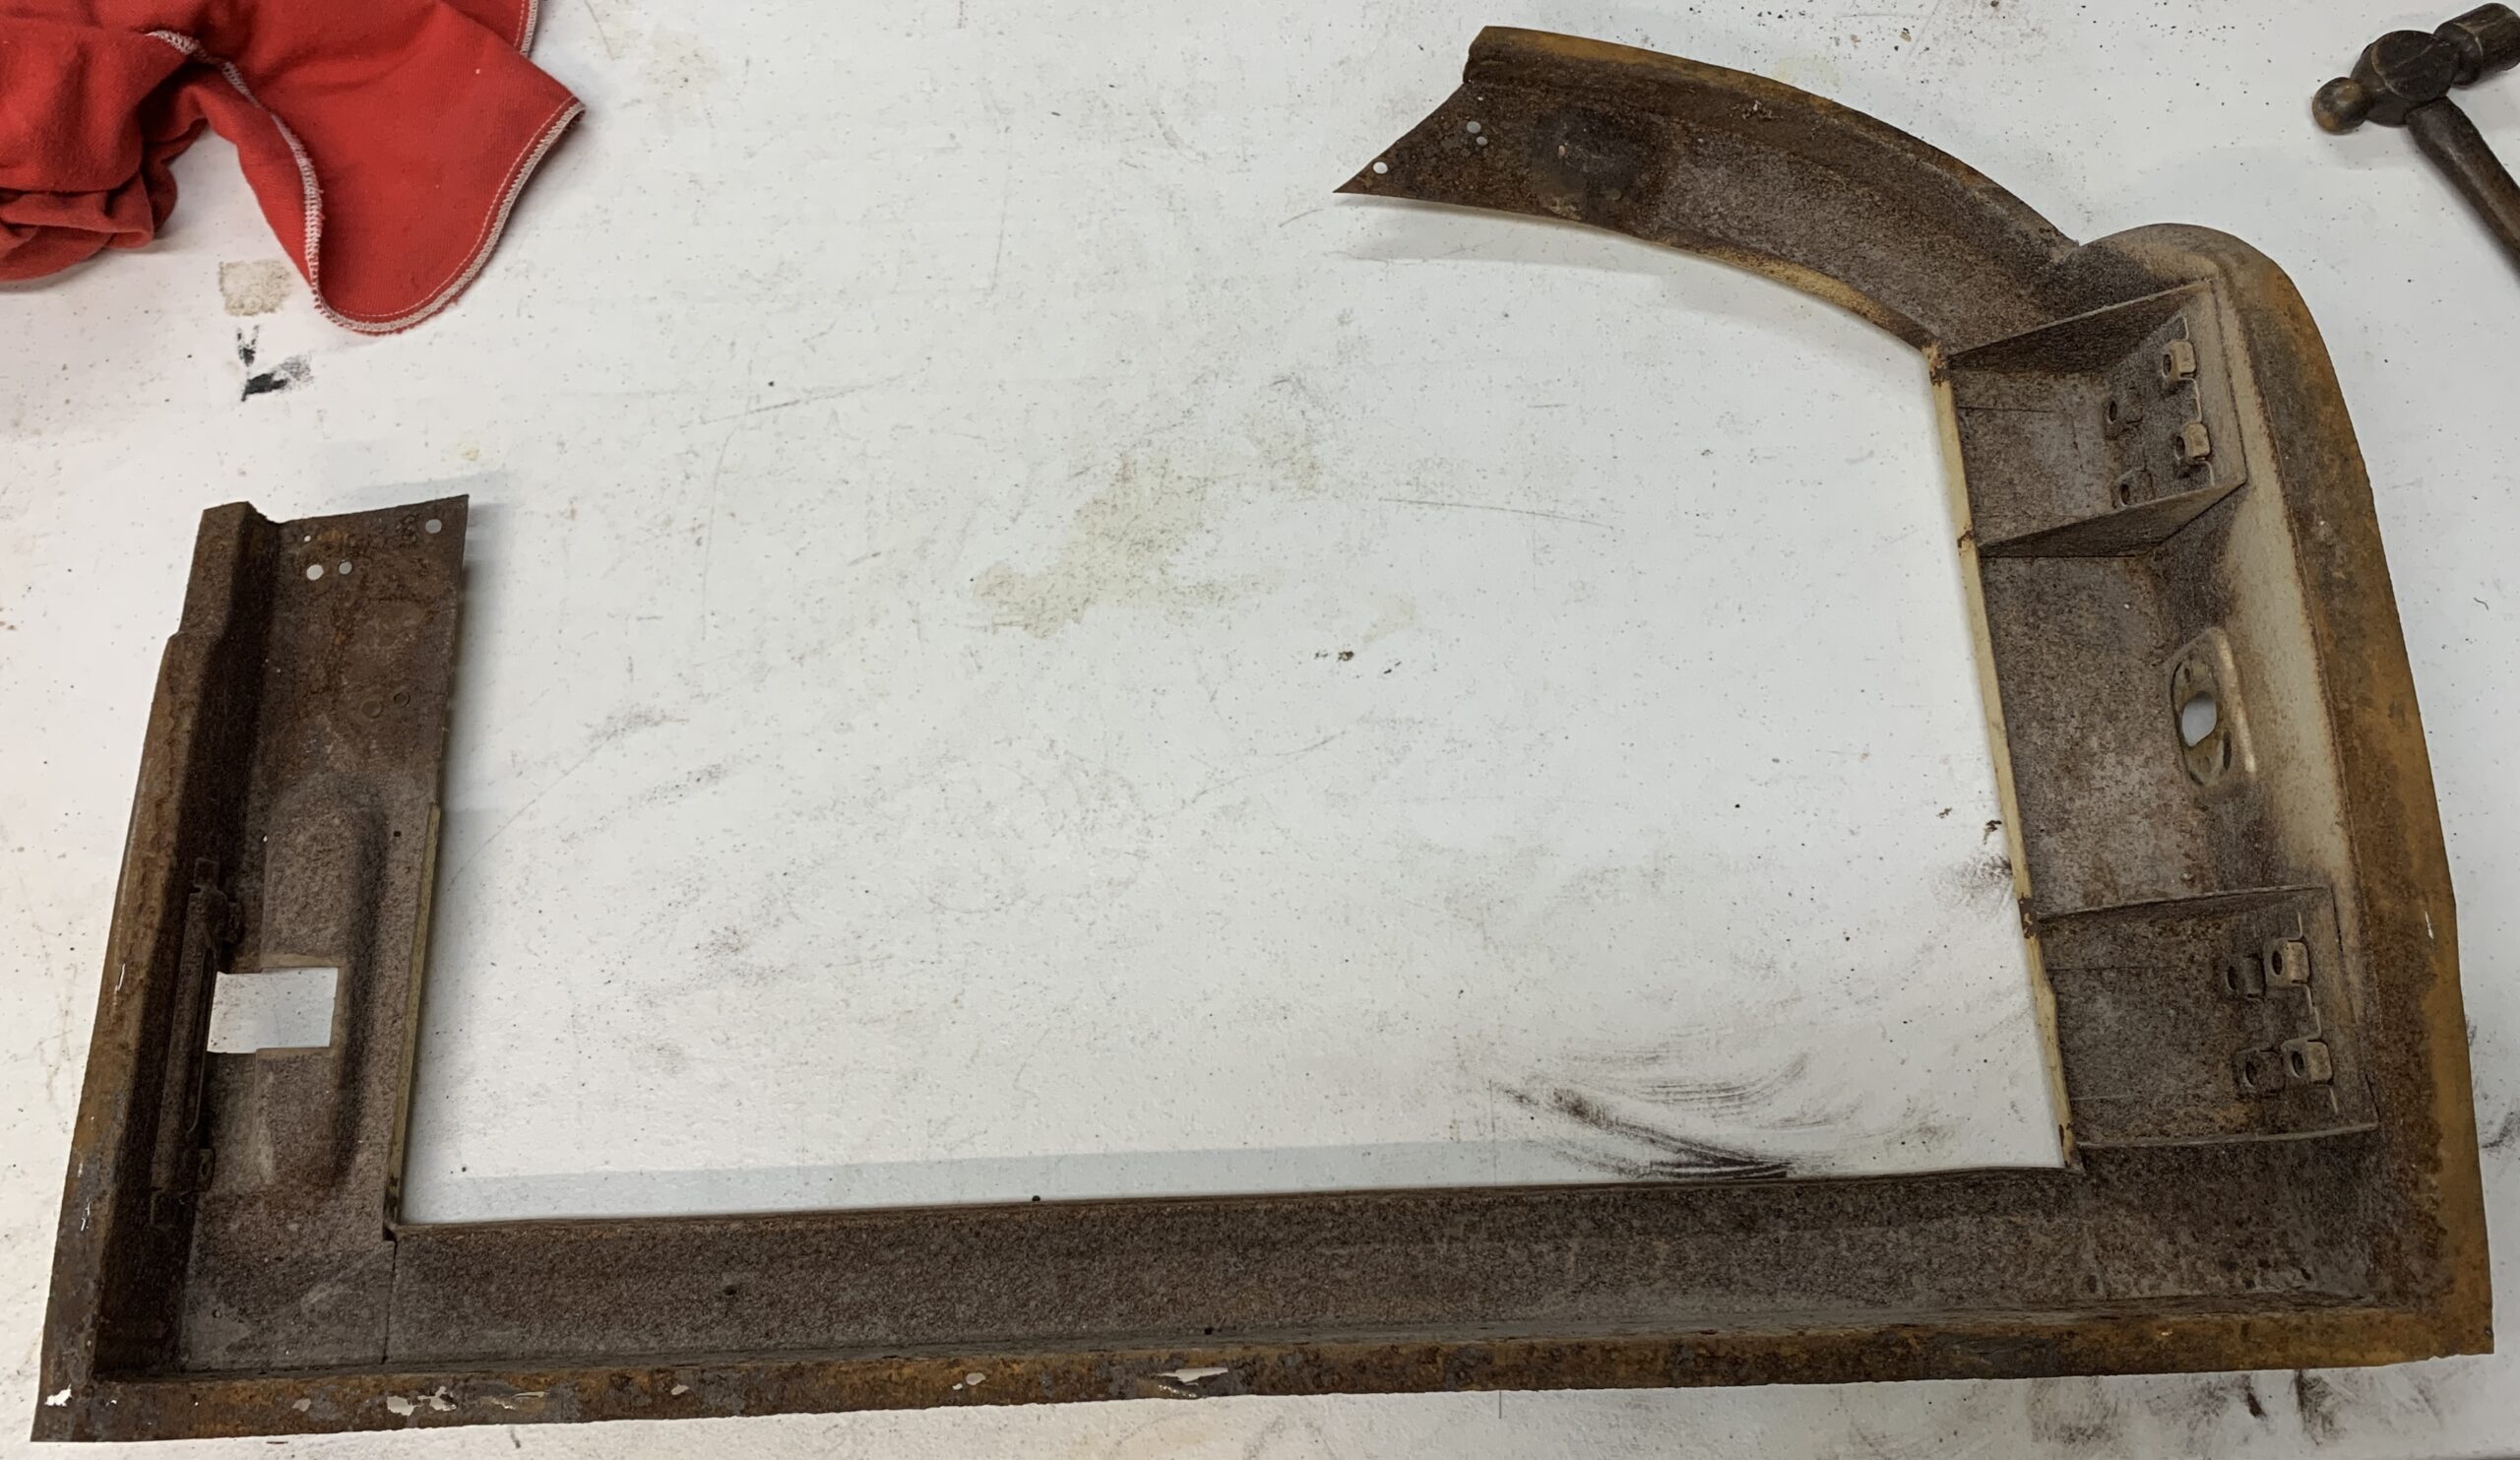
I’ll do the same with the skin, and will start with some paint stripper on the interior followed by a little light blasting and soaking. It looks a bit rough in this photo but a lot of it is surface rust… well except for the bottom rear corner.
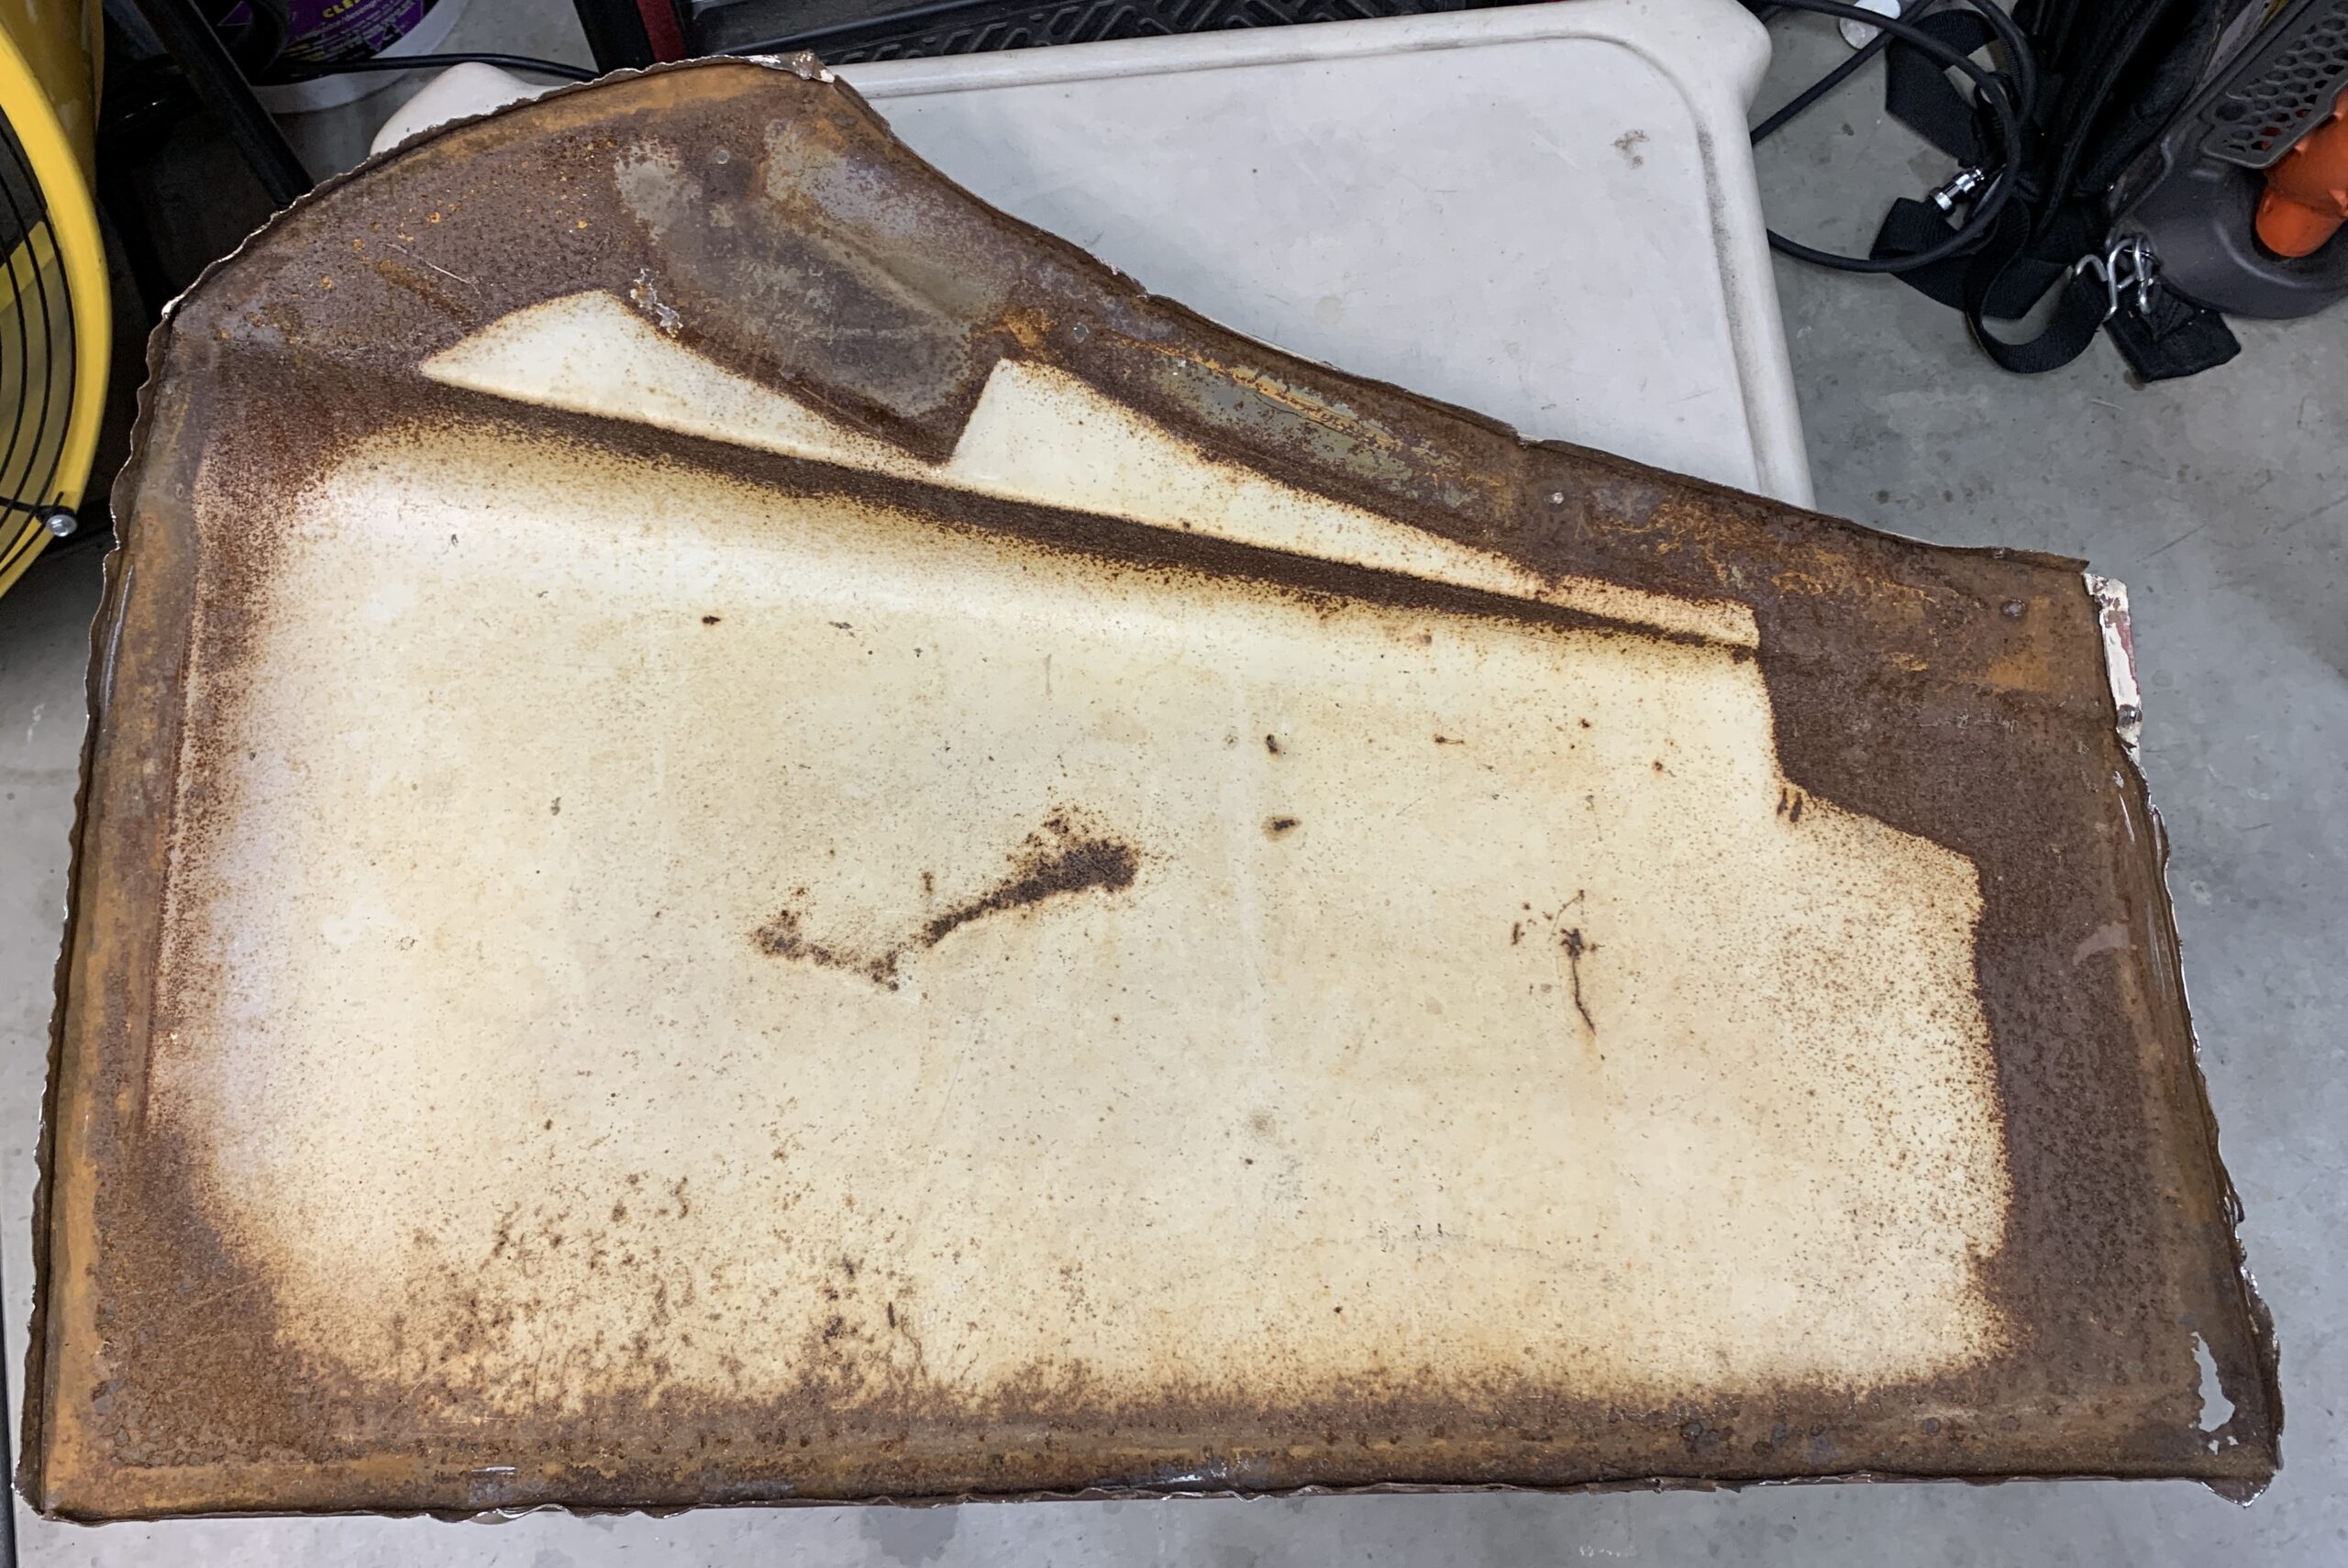
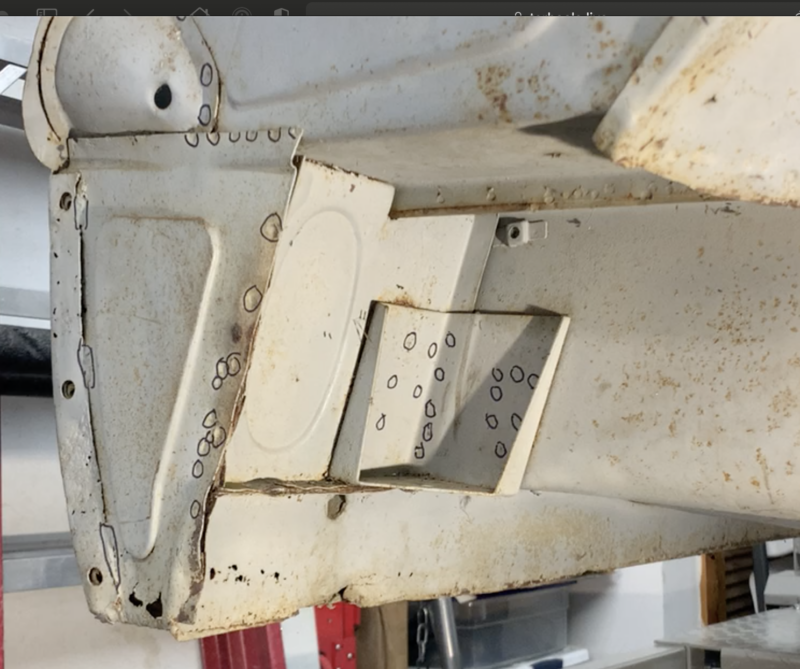
Below you can see some of my doodling as plan A starts to come together. At this point, the surgery looks like a straightforward horizontal patch panel across the lower 3-4 inches. The lower flange is shot so even if the outward surface is OK, it needs repair.
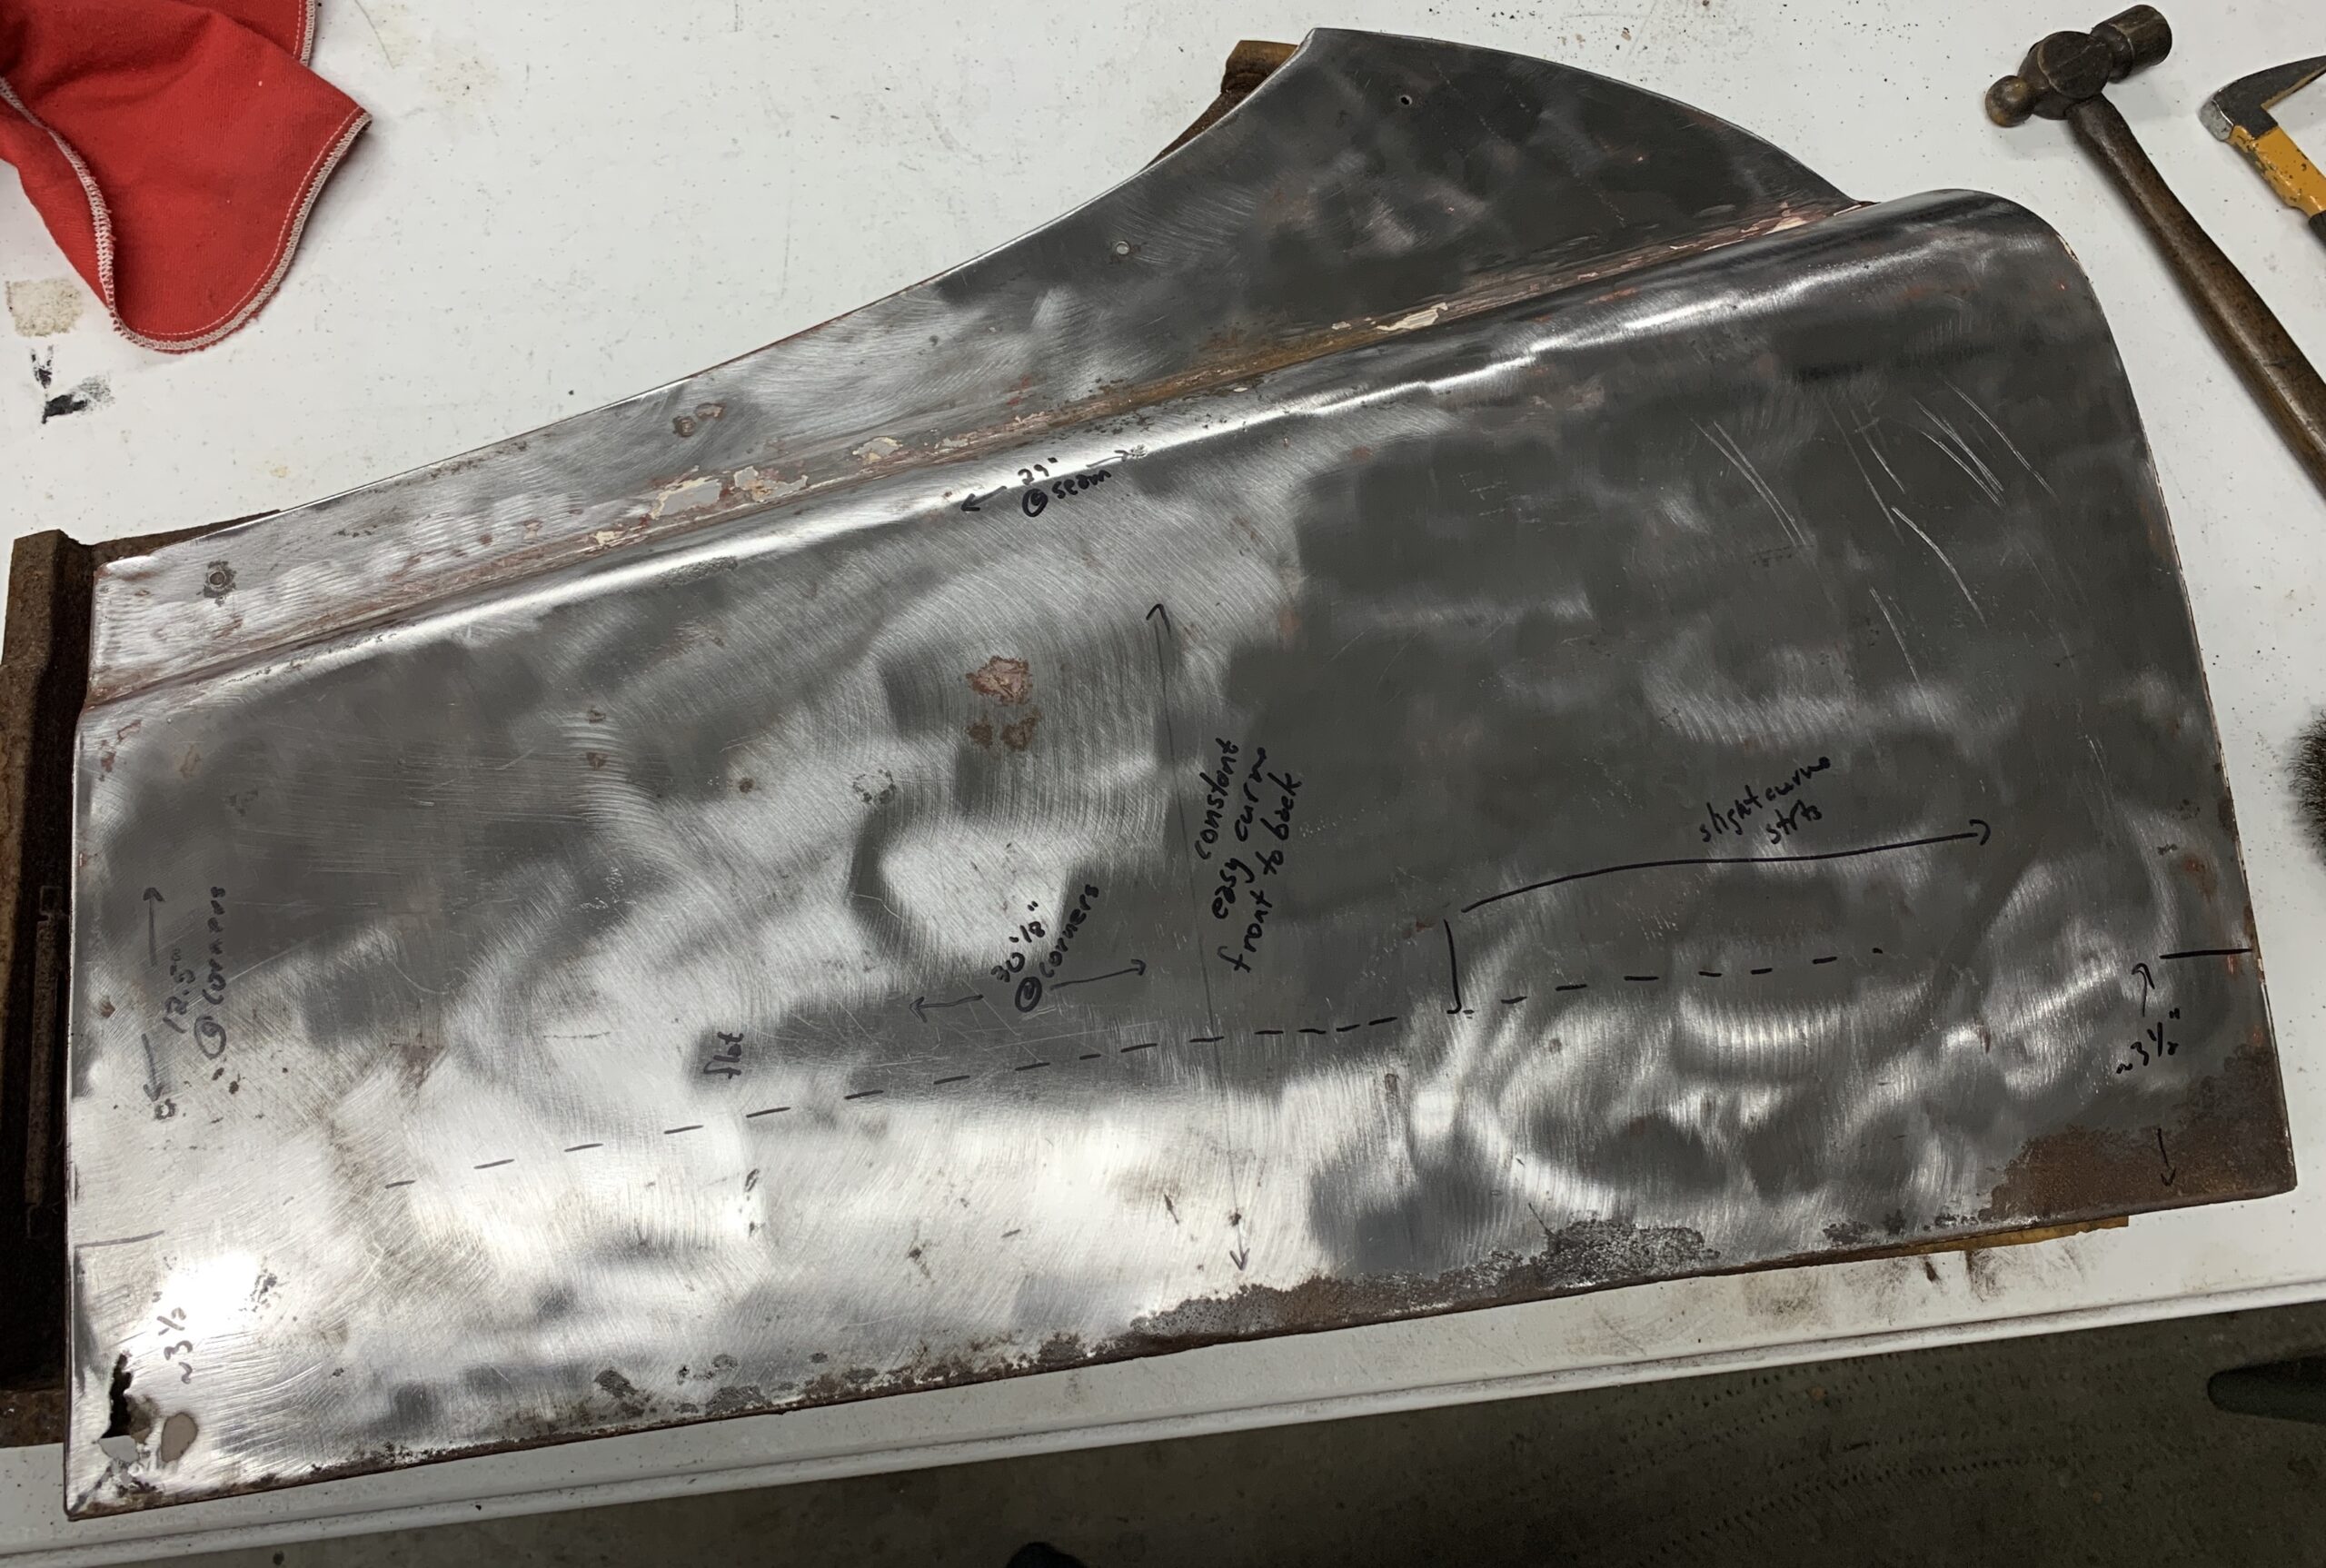
Well thats it for now…
10/25/2021
The door frame was soaked multiple times in rust 911 to remove the rust pitting. A major life event delayed my follow through on this, but it seems we are back on track. After multiple wire wheel treatments followed by more soaking the frame was wiped down with Ospho and allowed to dry. This puts an Iron Phosphate coating on the metal and protects it from further oxidation. The coating is gray and can be removed with additional wire wheeling but some paints (NOT most epoxy paints) can spray right over top. The chemical reason for this incompatibility is that the phosphoric acid is acidic, and epoxy paints are initiated with a base, so if there is any excess acid, the acid neutralizes the base before it can initiate paint curing (polymerization).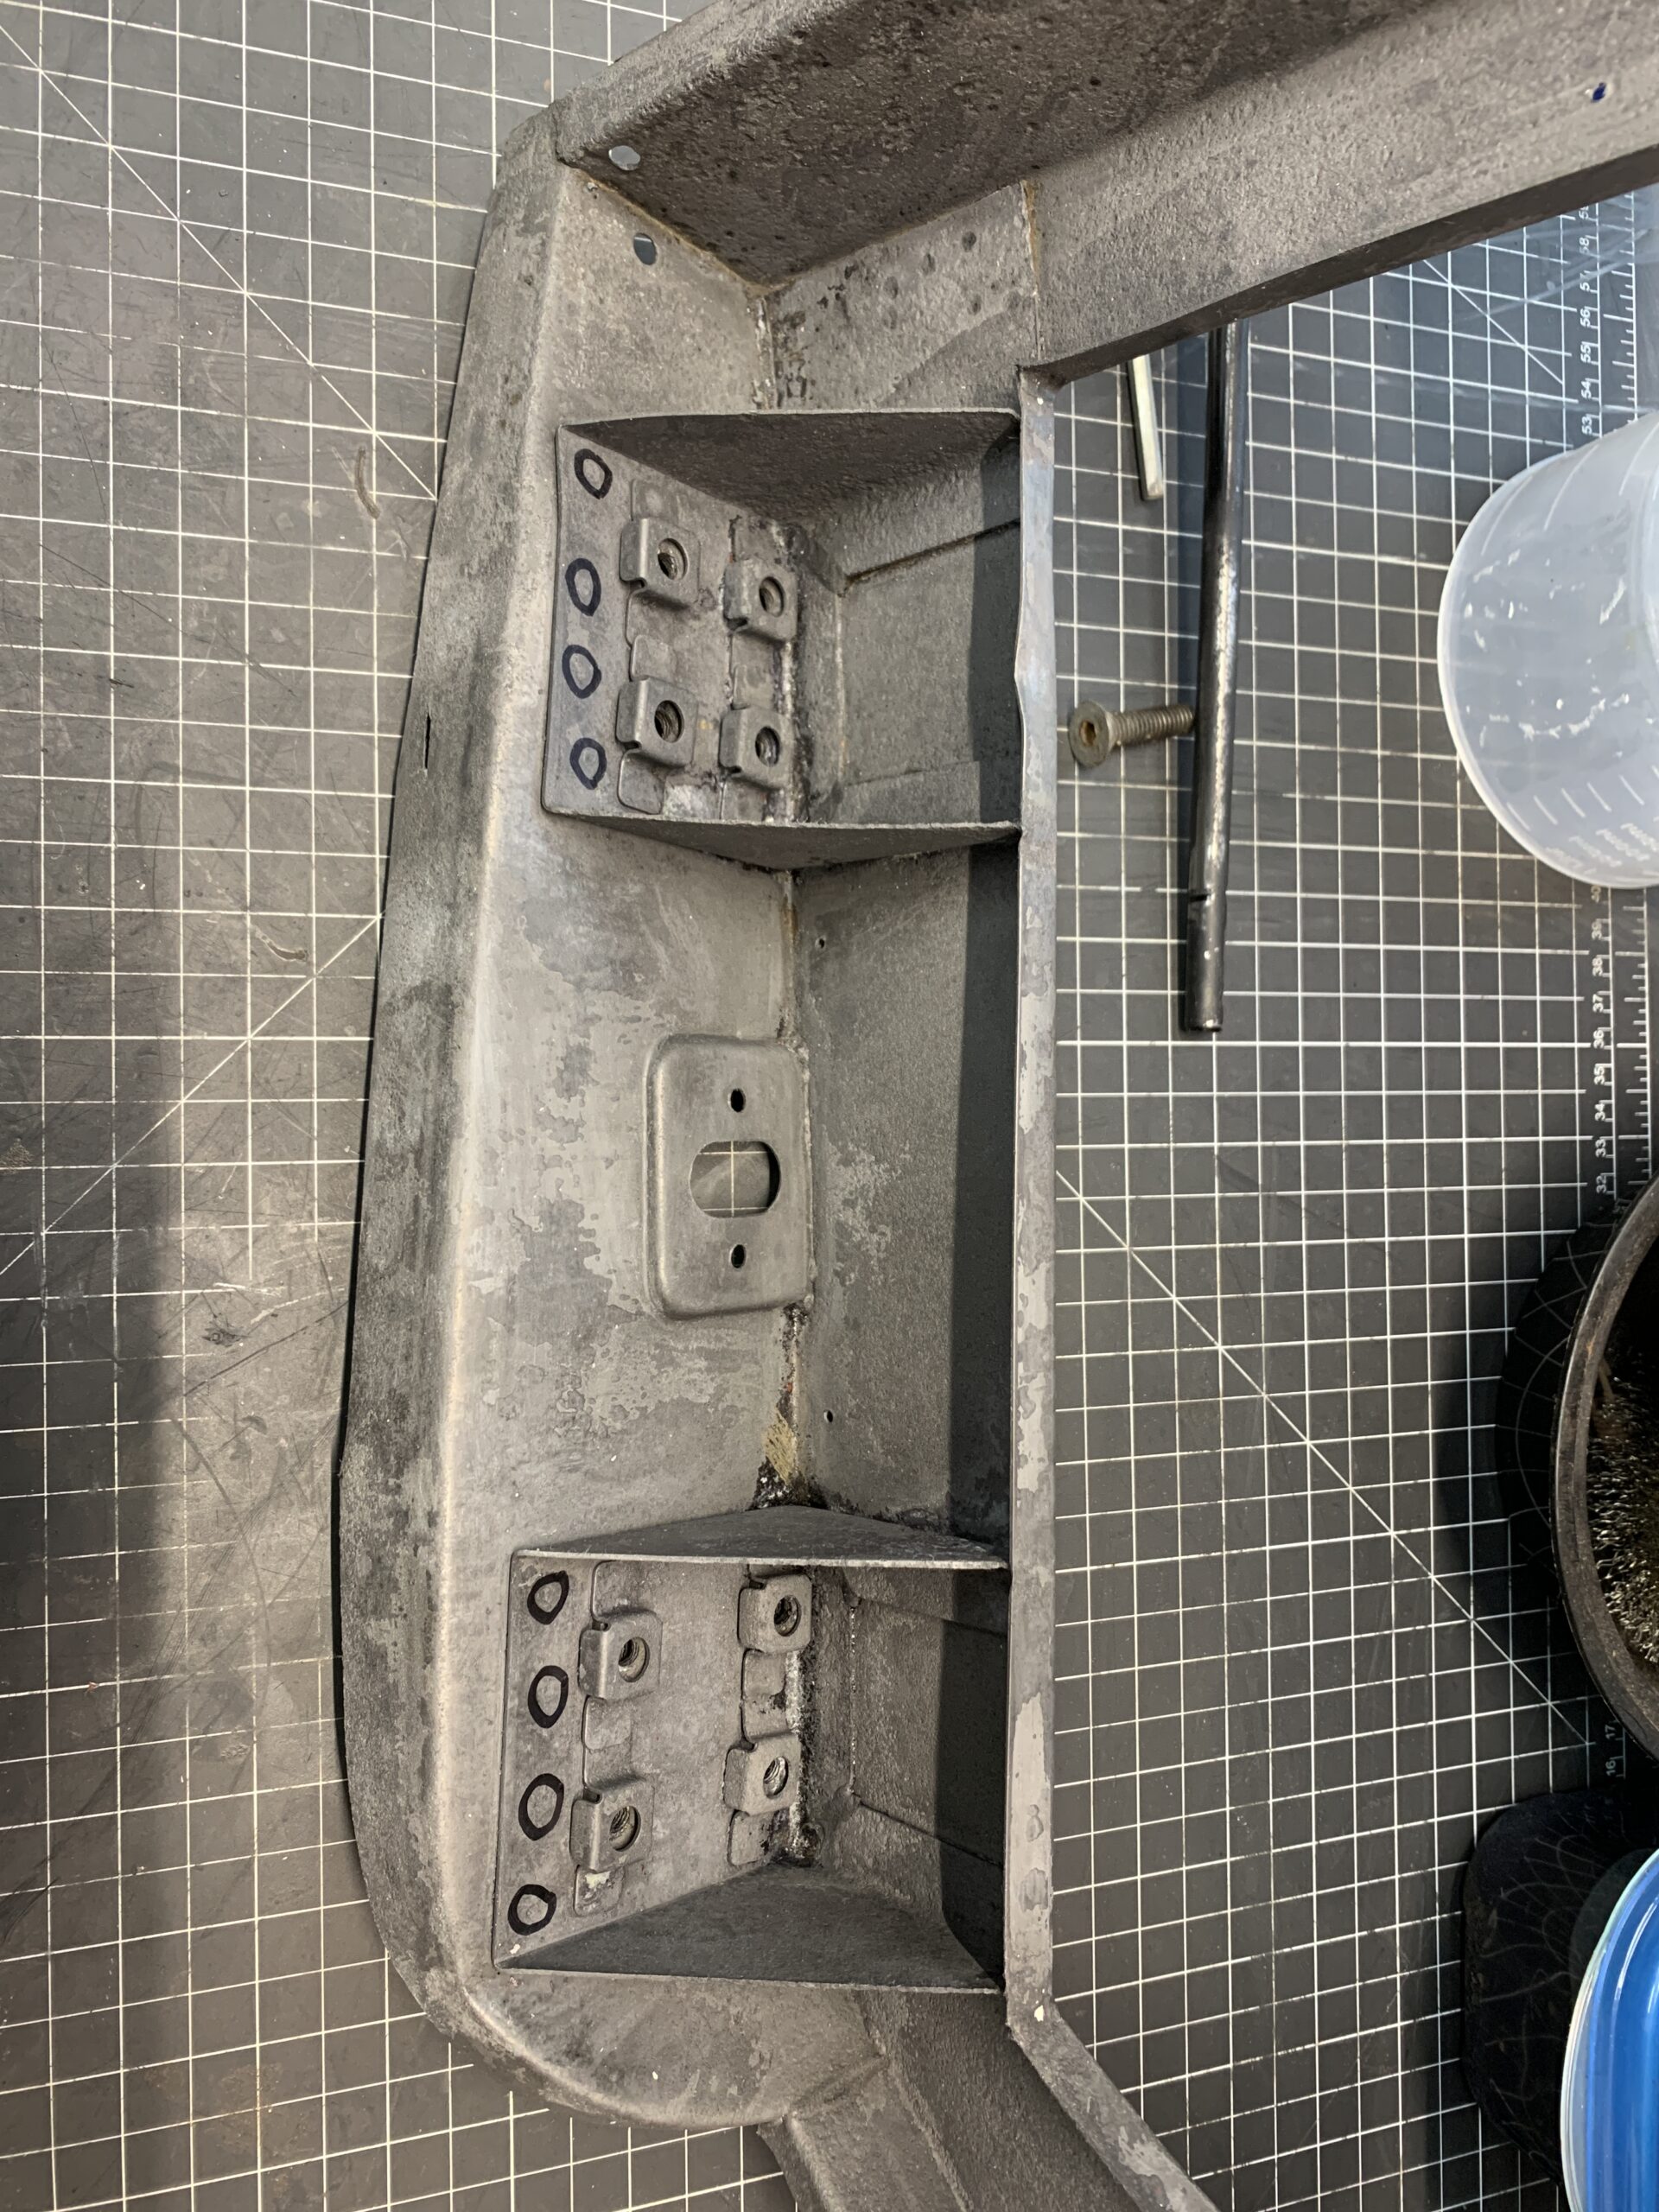
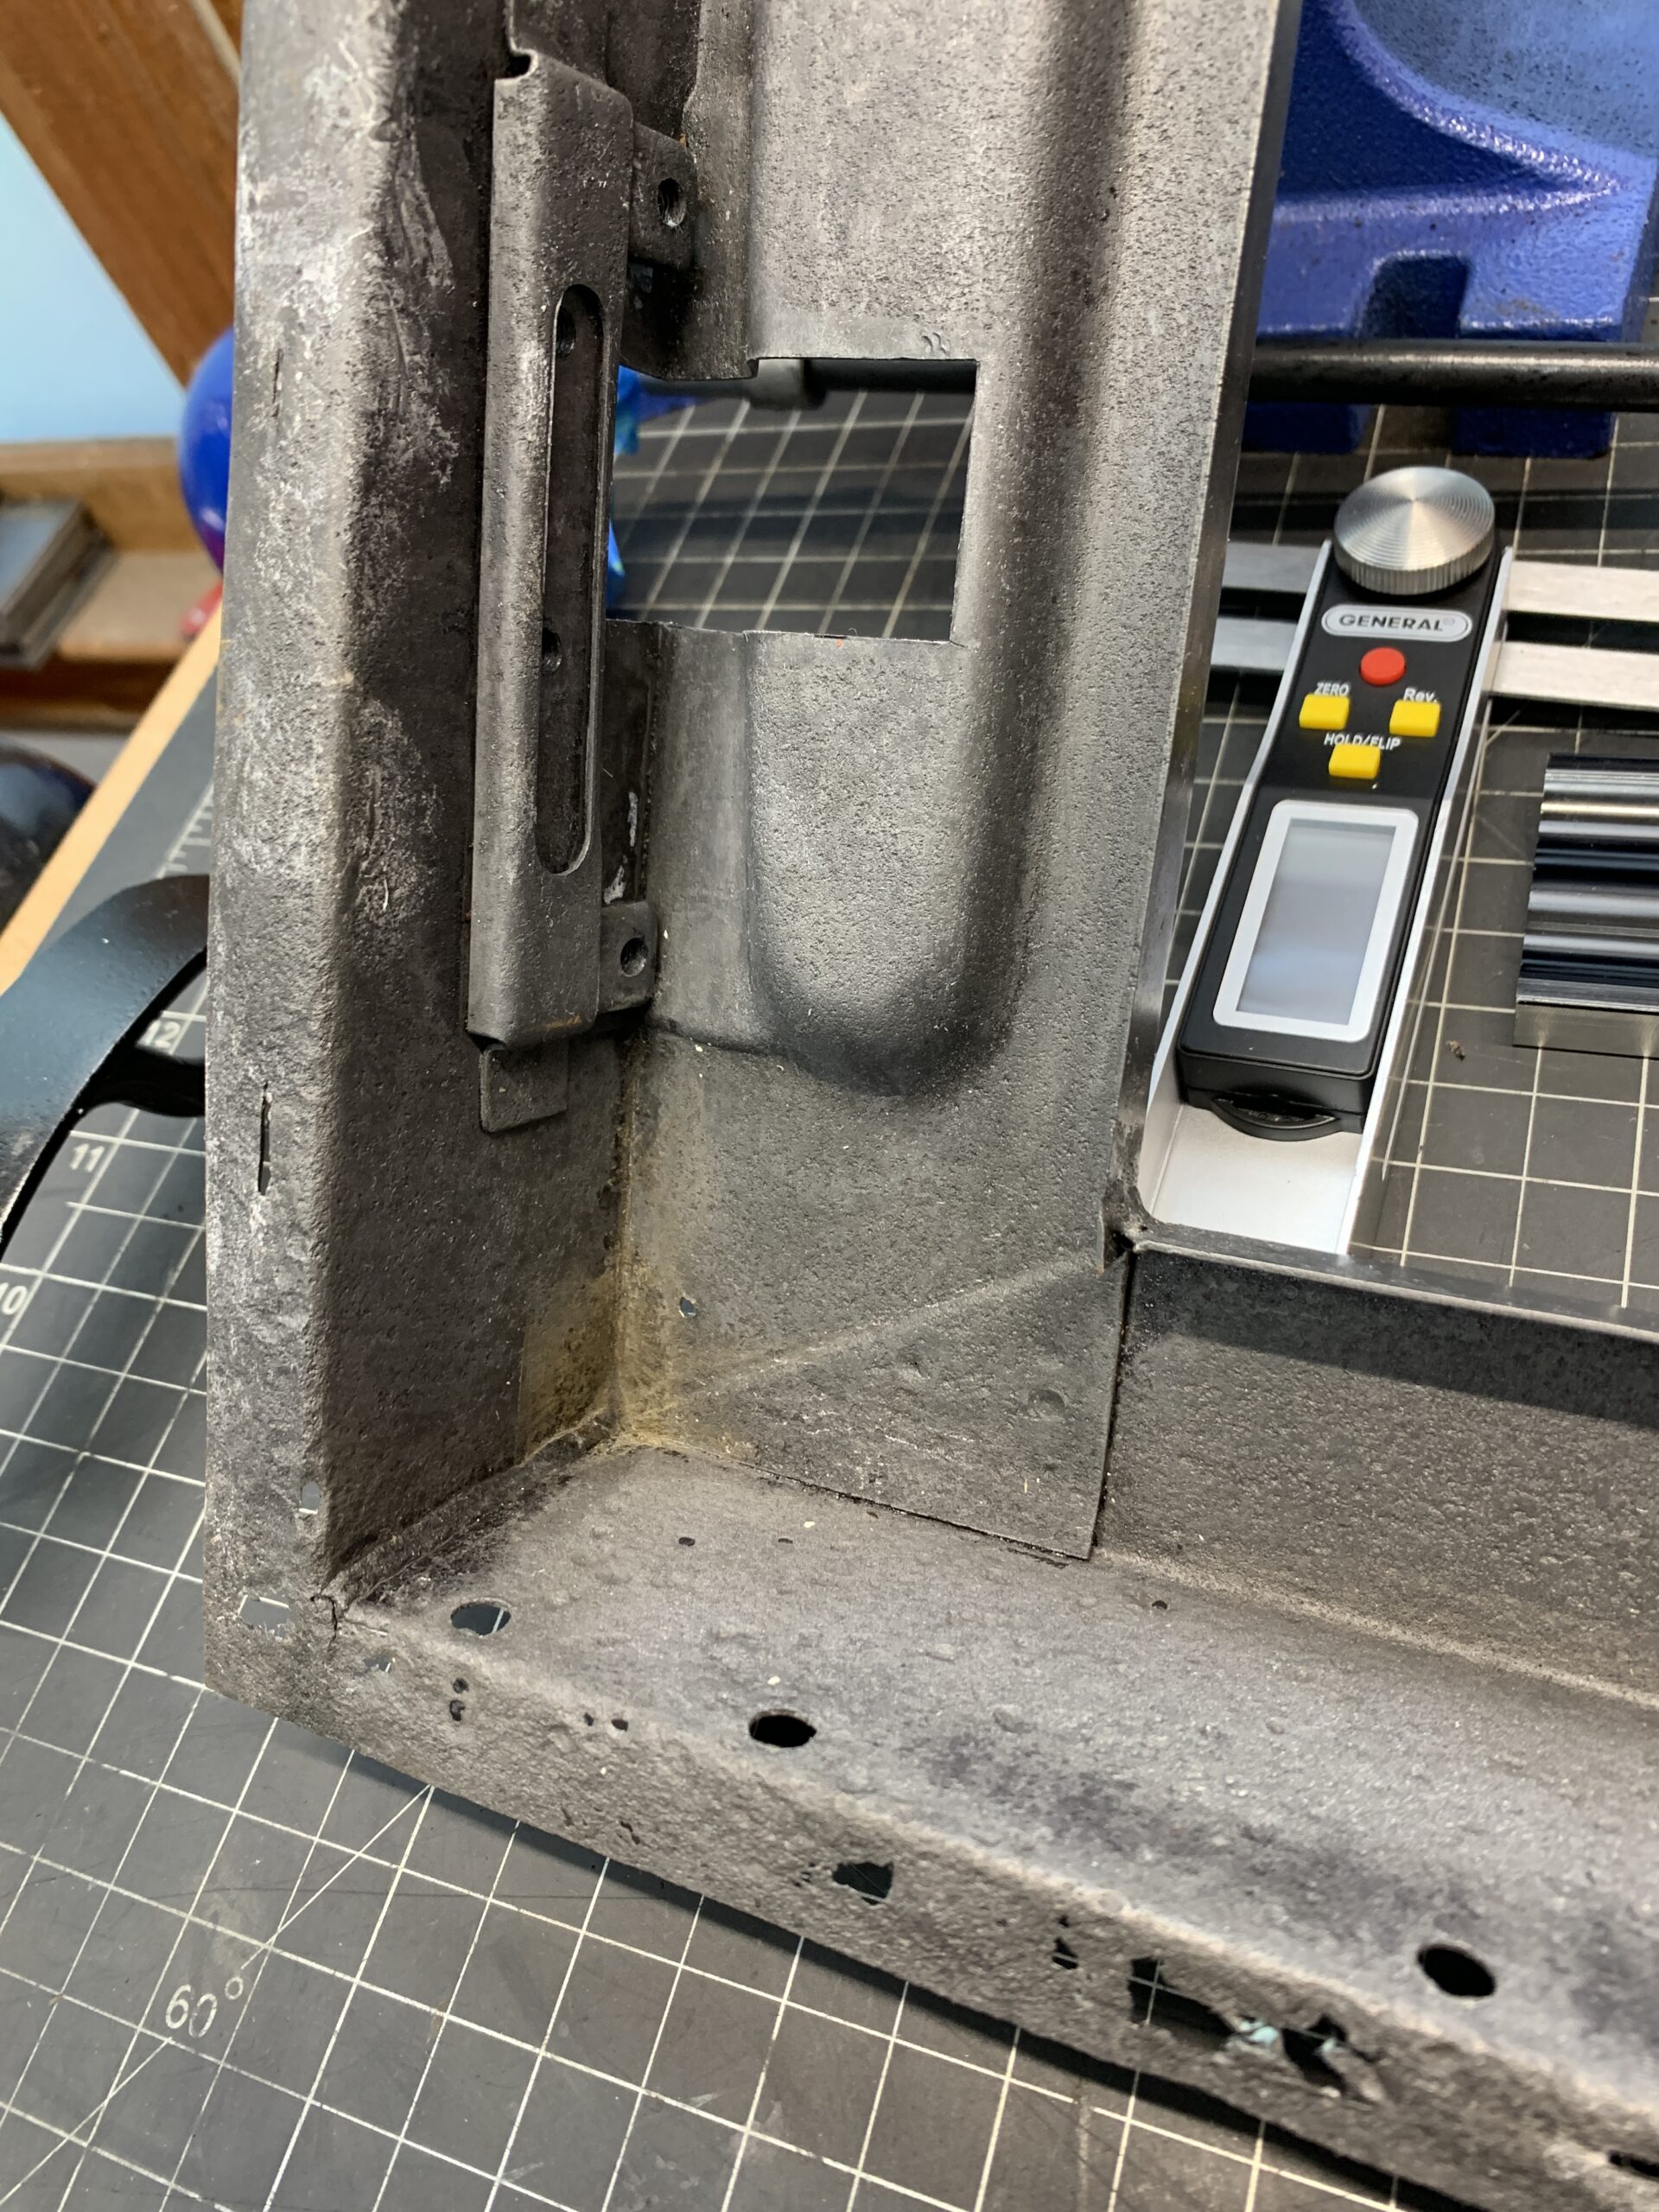
Some pretty serious pitting in the corners, but it is still pretty solid metal. The flange is another story and will require complete replacement.
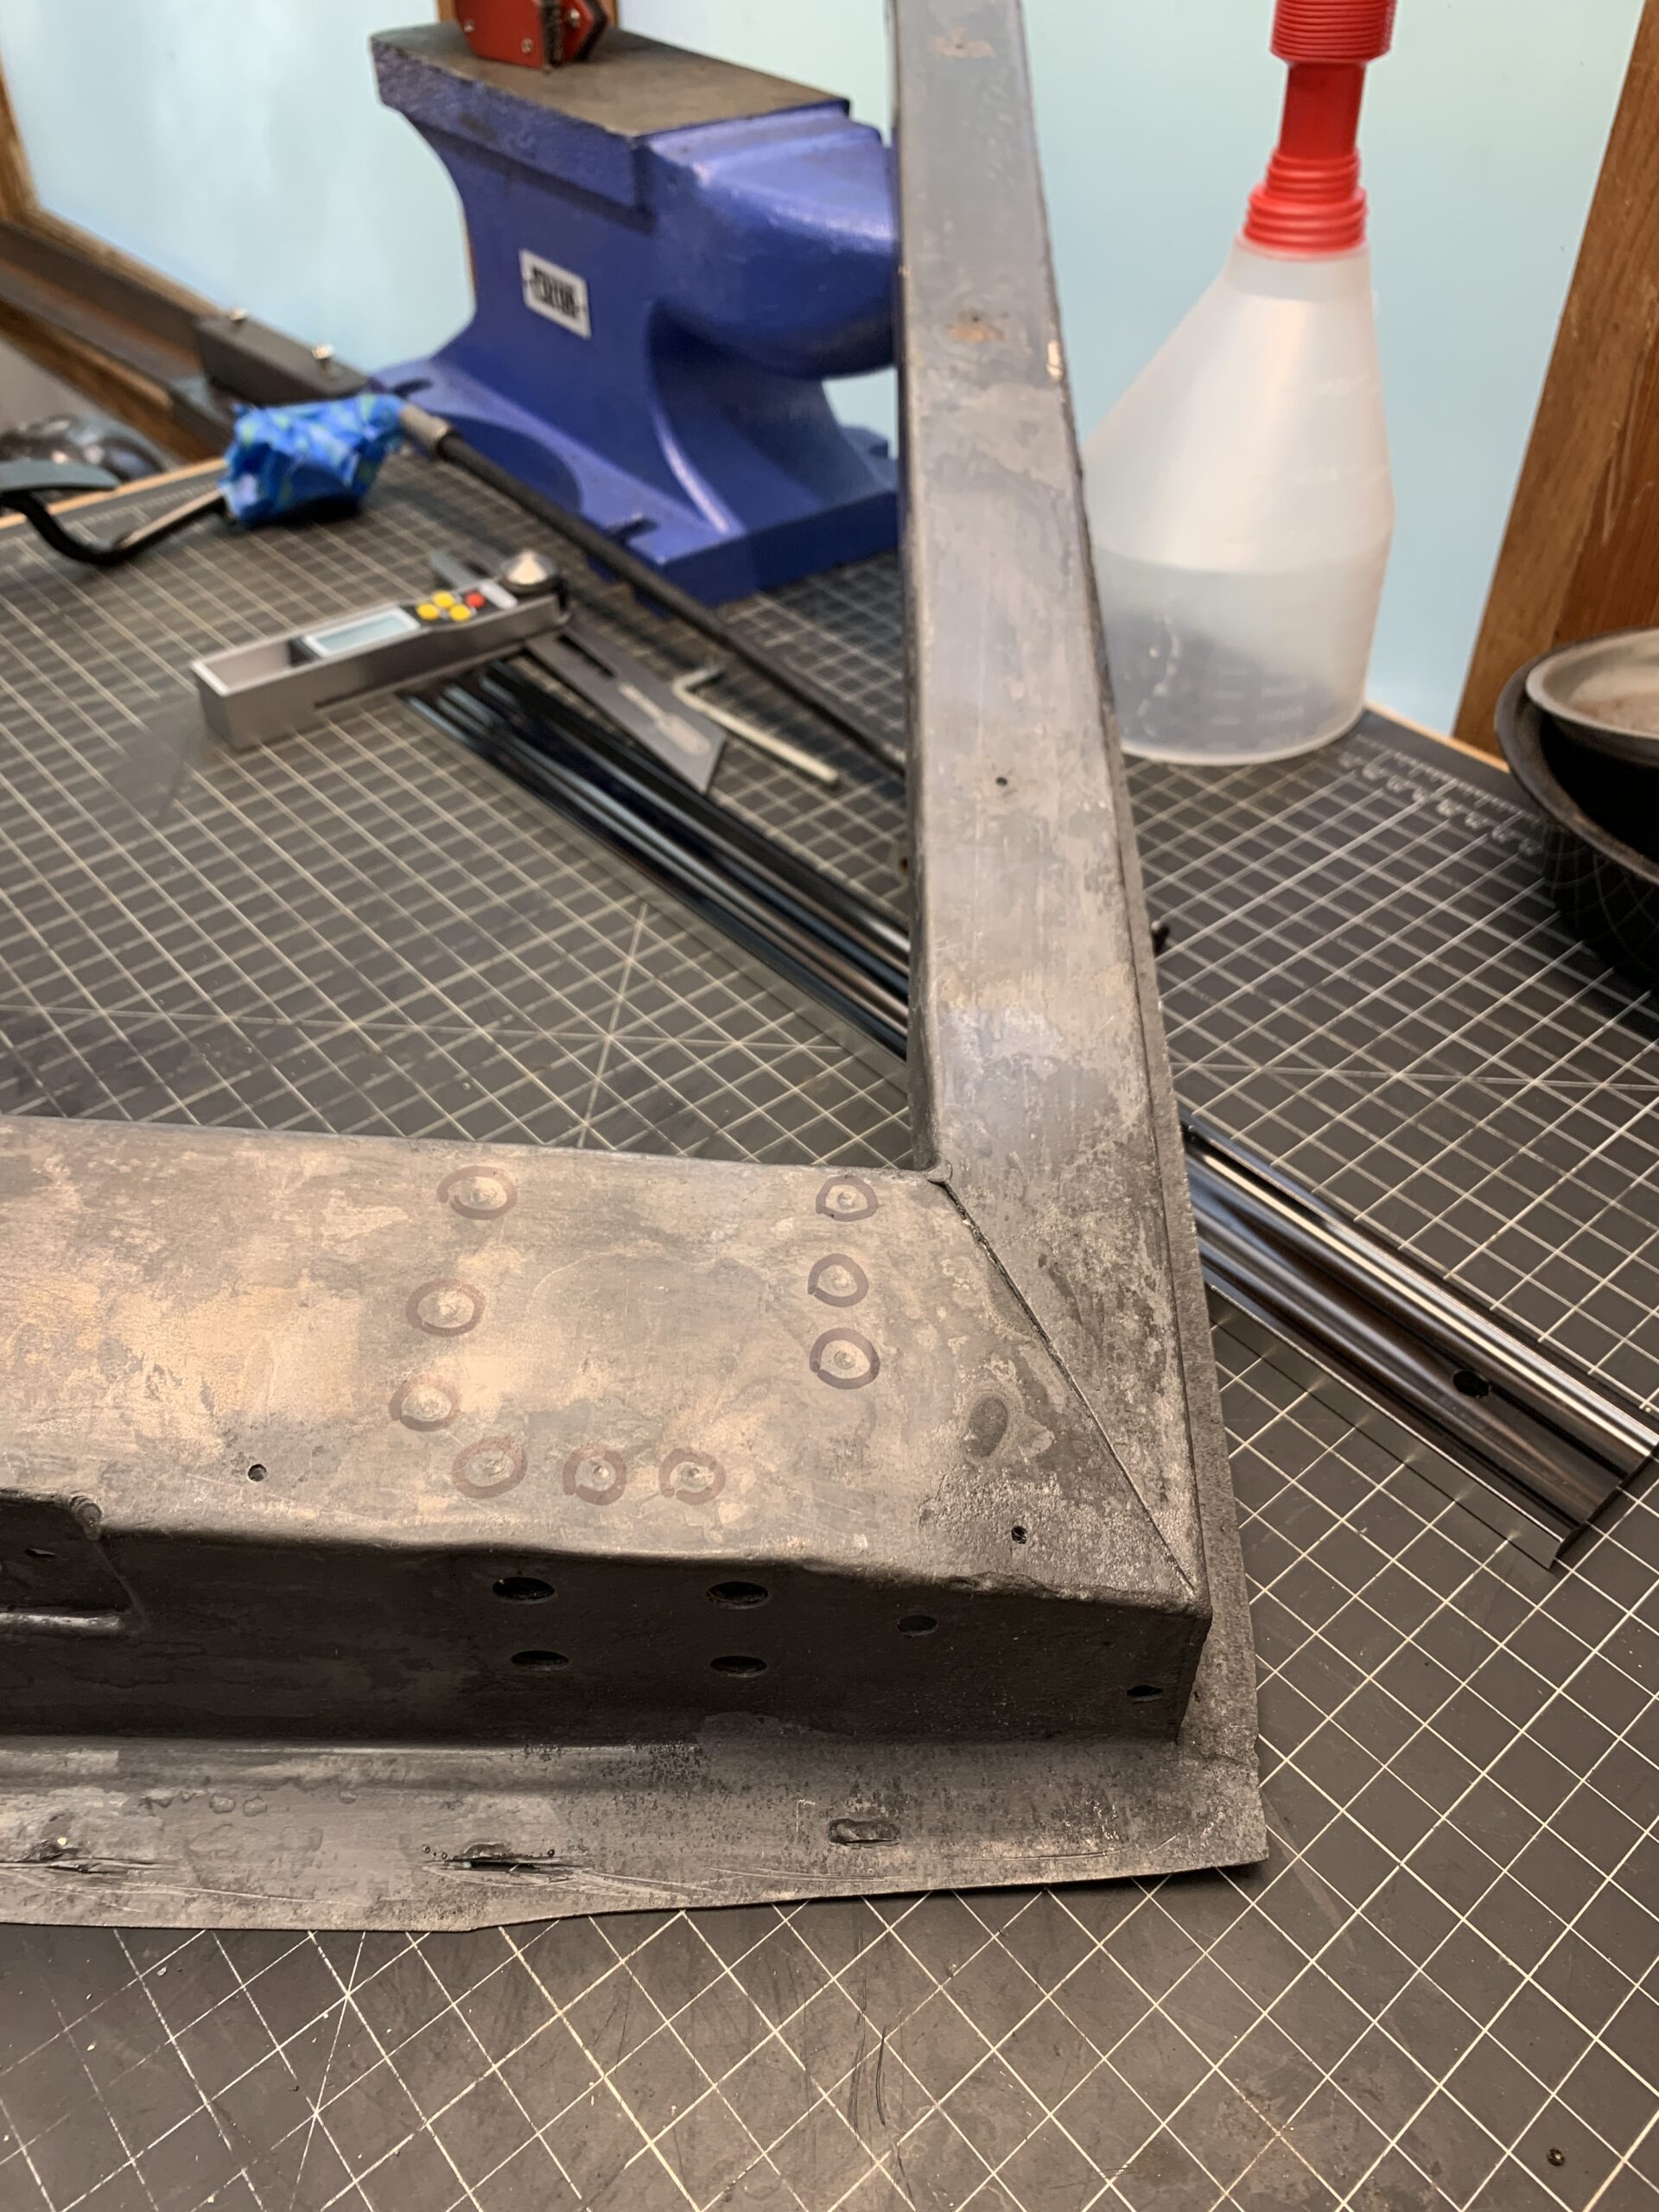
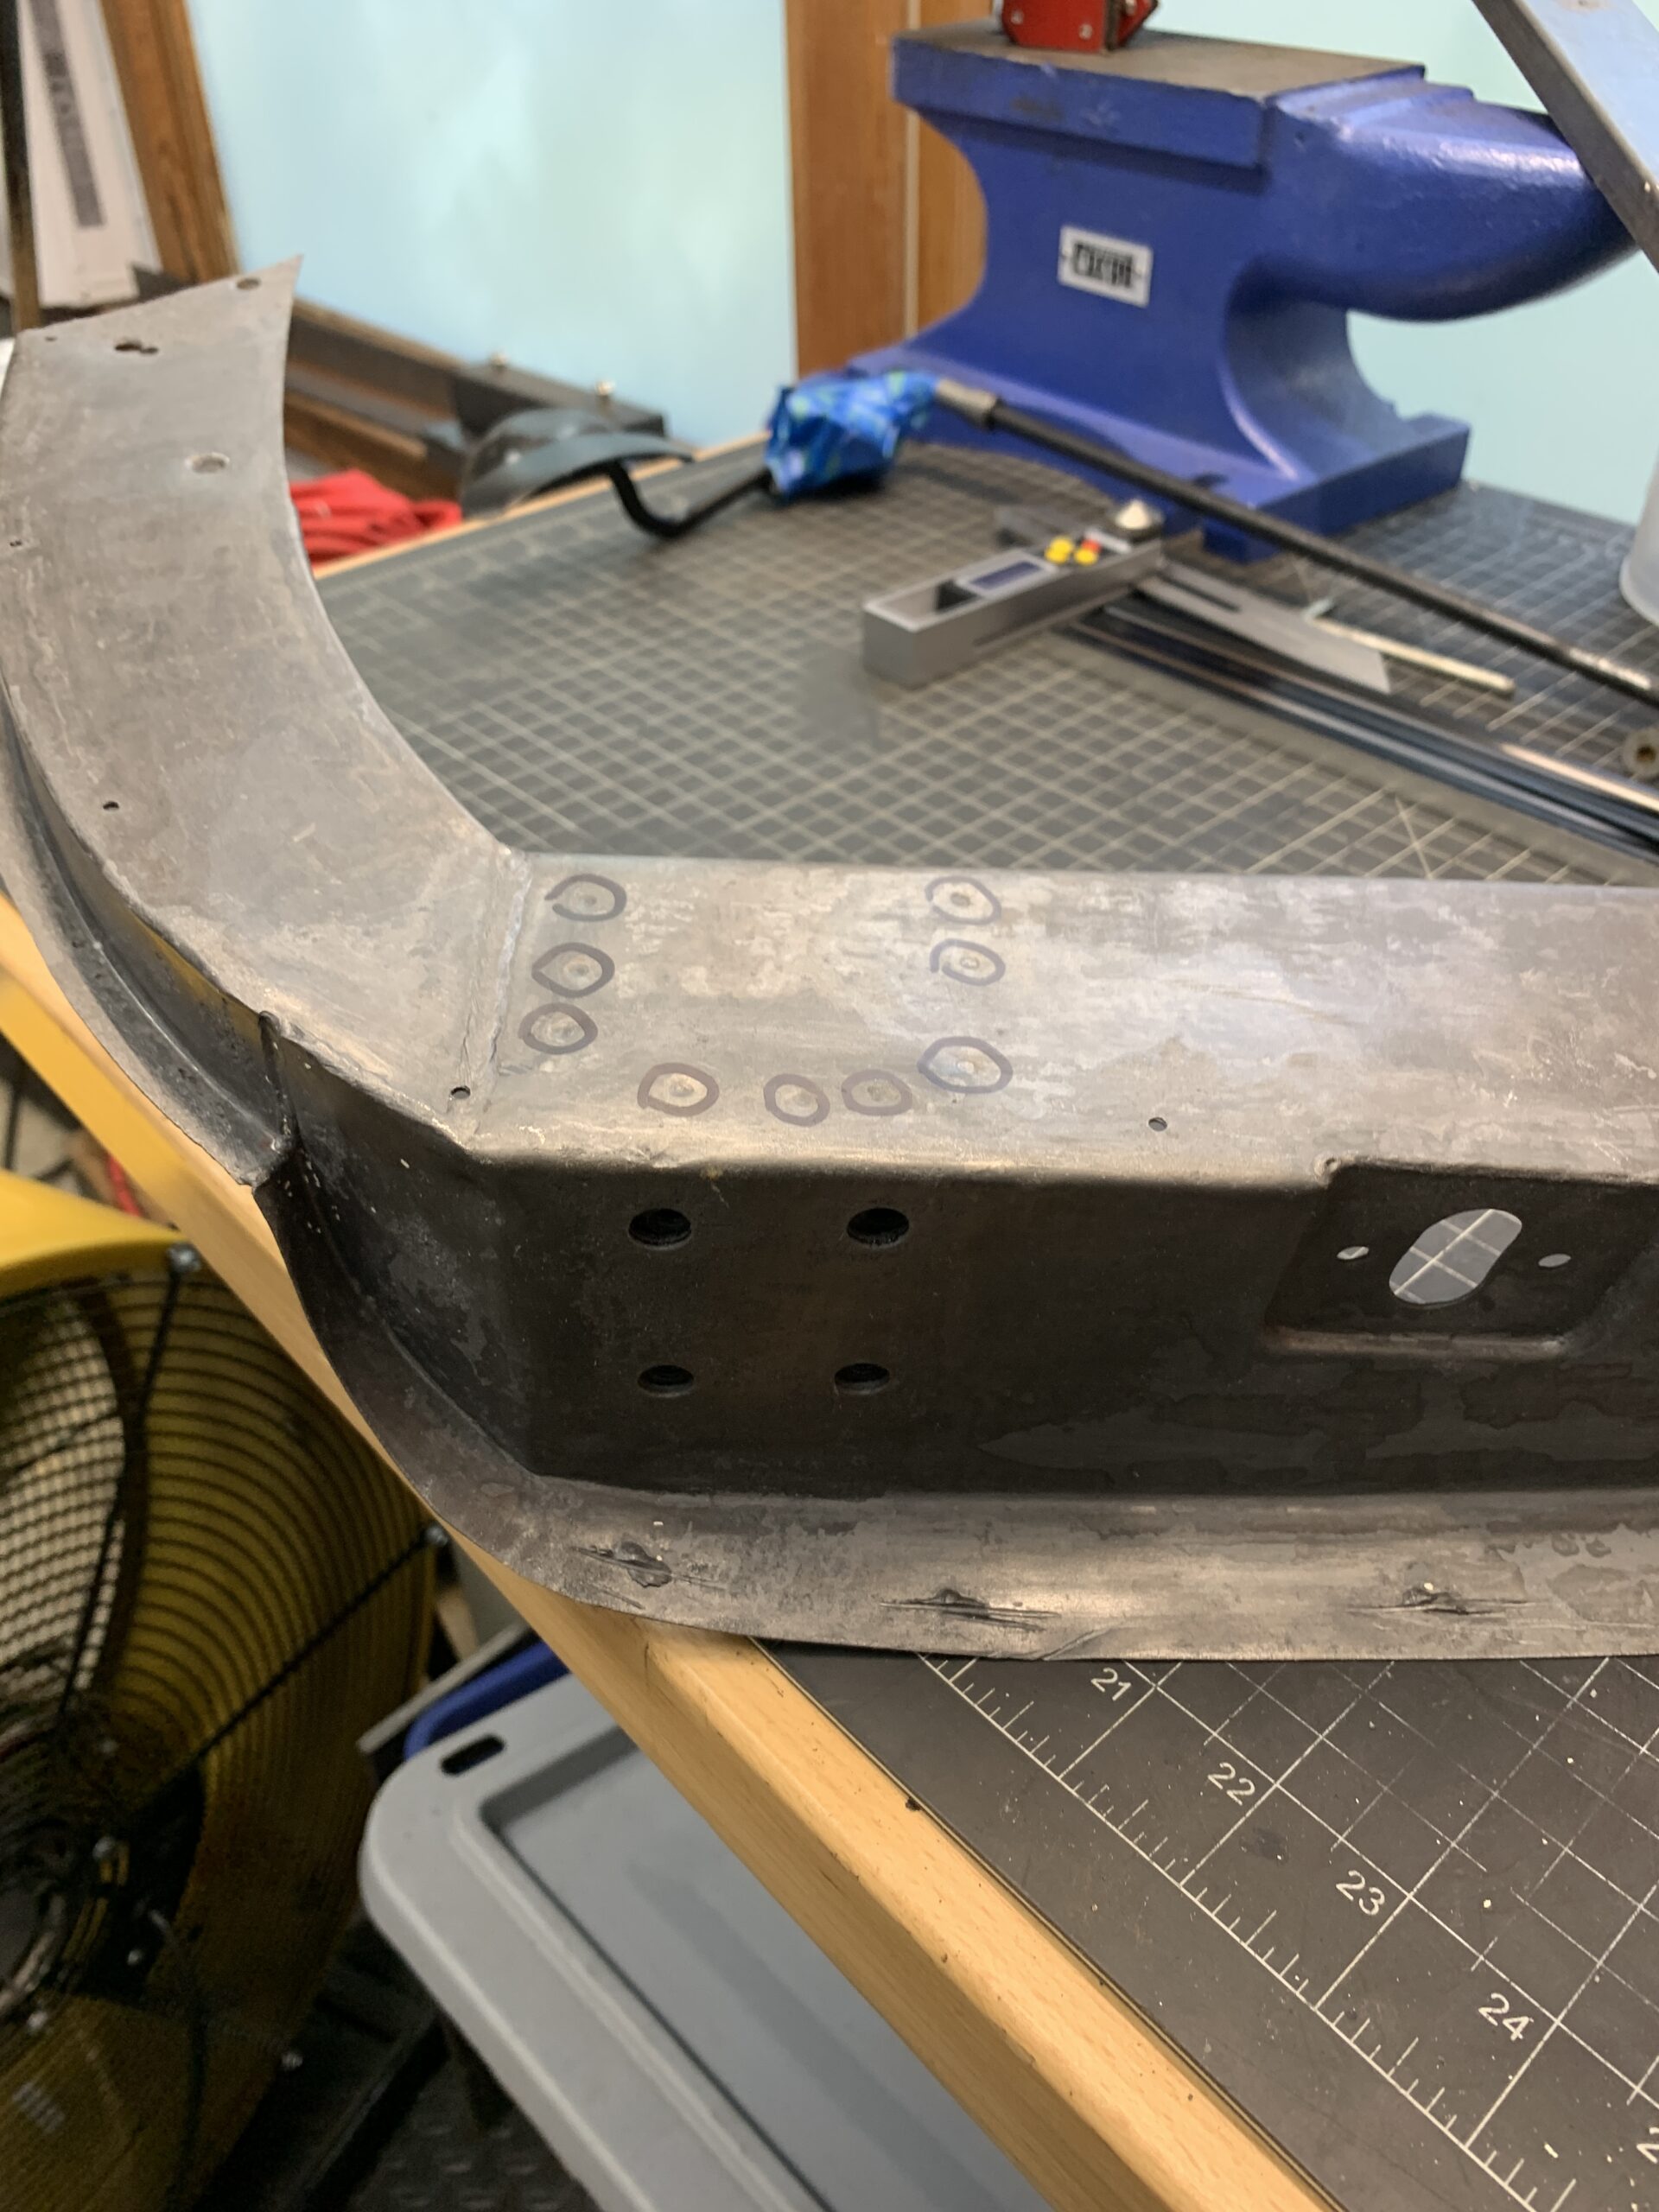
As noted in these photos, the majority of the frame is in quite good shape so definitely a solid piece to start with.
Recent Comments