Examining “The Art of Being a Good Doctor”- A Recapitulation of Dr. Rodney Mountain’s Keynote

         Examining “The Art of Being a Good Doctor”- A Recapitulation of Dr. Rodney Mountain’s Keynote

Dr. Rodney Mountain spoke to my class about the connection between design and medicine and how they both played a key role in patient care. He emphasized the importance of trust in the patient-doctor dynamic and how it can have a significant impact on the patient’s experience as well as increase patients’ involvement in decisions about their care. Building a healthy relationship between the doctor and the patient is important because it allows the doctor to better understand the patient’s problems and decide which treatment option is best for the patient. A healthy relationship between the patient and the practitioner also leads to higher patient satisfaction. This is great since improving patient quality of life is one of the primary goals of healthcare.
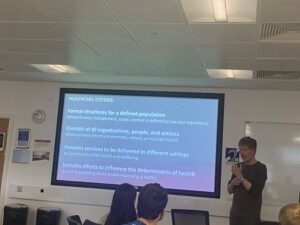
In addition to that, Dr. Mountain also stated that physicians should aim to understand a person and their living situation before developing a diagnosis and treatment plan. Hearing the patient describe their background and circumstances gives them the opportunity to be heard and understood by their doctor on an emotional level and also helps the doctor diagnose the patient more effectively based on the information the patient shares. Essentially, a partnership is created between the doctor and patient where they are both co-designers working together to come up with an optimal treatment plan for the patient. This touches on the “empower citizens to become co-designers” ideology Dr. Mountain discussed with our class. Having the patient collaborate with the practitioner also leads to a higher likelihood that they will go through with that treatment option. 
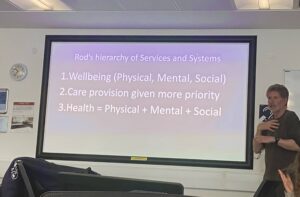
Dr. Mountain’s lecture was incredibly influential and motivated me to implement these practices into my method of care as an aspiring healthcare professional. My perspective on healthcare design has been impacted in the sense that I now think of the practitioner-patient dynamic as a relational system where the healthcare professional is collaborating with the patient to design products and services the user will value. In the end, it all begins with that component of trust. The relationship between the patient and doctor is the foundation for diagnosis, treatment, and care.

Flashback in Time with Kiosk 1

Flashback in Time with Kiosk 1

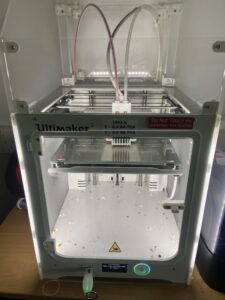
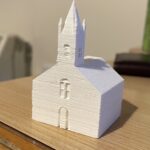
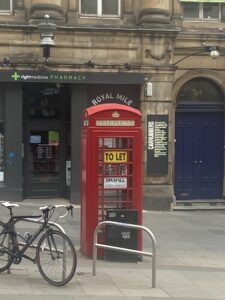
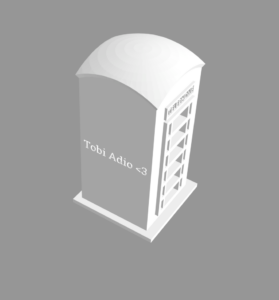
For my individual technical assignment, I decided to 3D print the iconic red telephone booth I’ve been seeing all around Edinburgh! This telephone booth, also known as Kiosk 1 is an item that is part of my childhood recollection. When I was younger, my father, sisters, and I used to watch Dr. Who (the one with Amy Ponds and Rory Williams) together before bed, and I vividly recall seeing this red telephone booth pop up as a time traveling machine in several episodes. Ever since then, I always associated this telephone booth with that memory from my childhood so you can imagine my excitement when I saw it in person! I chose this object as my souvenir because I can’t walk down the streets of Edinburgh without encountering at least one red phone booth. Everytime I see this booth, it takes me back to the time my sisters and I would be bunched together with my dad watching yet another episode of Dr. Who.

                                                    The process in which this Telephone Booth was created:

                                                                                    Captured a Real Life Photo

                                         Took this photo at the Royal Mile on one of my excursions with Cloris!

                                                                                                  CAD Design

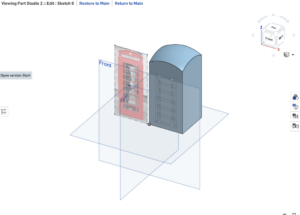
                              This is where I use the reference photo to create the windows in the telephone booth. 

                                                                                                    STL File  

                                                              Moments before I sent my design to the 3D Printer!

                                                                                 3D Print of Telephone Booth

                                                   My device took approximately 2 hours and 30 minutes to print.

                                                                                  Telephone Booth in Bath

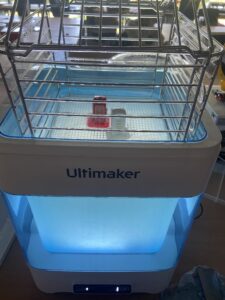
               My product still had a lot of supports after printing, so I let it sit in the bath overnight to clean it off.

My Designed and Printed Objects!

Creator: E. Nathaniel McBride

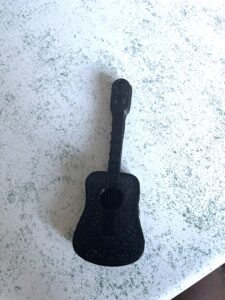
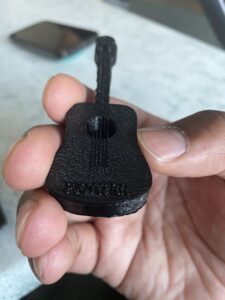
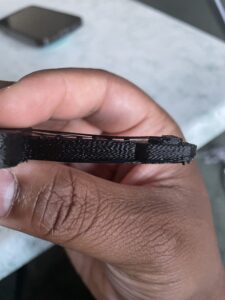
  1. This guitar features pluckable strings and is engraved with Floater, a homage to the friends I made while studying abroad in Scotland.

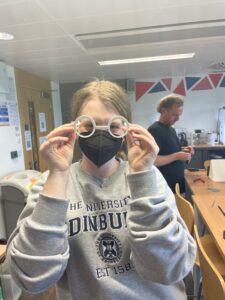
2. I also designed and printed glasses. I received inspiration from Harry Potter. As a result, I named my glasses “Potter” and had my friend Kayley model them.

Peter Browns 3D Print & OnShape Reference [Technical Module Individual Assignment 1]

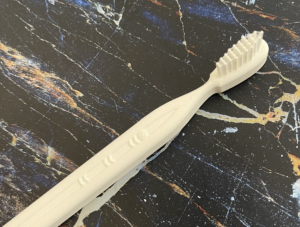
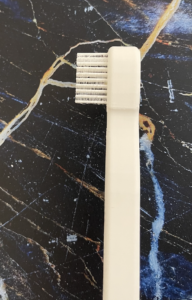
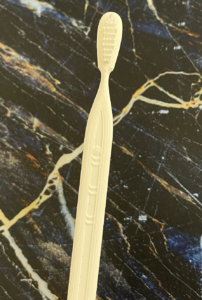
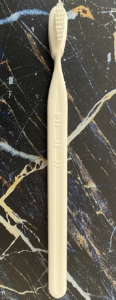
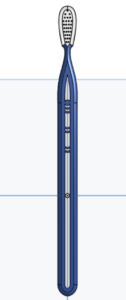
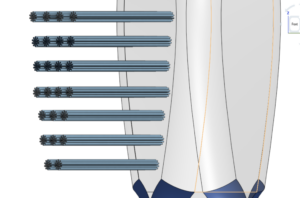
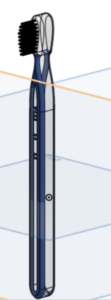
For this assignment, I created an OnShape design of an object related to healthcare and produced a physical model via 3D printing. I am fascinated by dentistry and oral health, making a toothbrush the perfect option. The measurements used for my OnShape design were true to scale; however, I had to decrease the size by twenty percent to print my toothbrush. Overall, this assignment was both challenging yet extremely rewarding as I gained new skills and insight into the logistics and elements required to design and 3D print an object. 

Top/Side view of printed model

Side view of printed model

Front view of printed model

Front view of printed model (entire body)

Front view of OnShape model (entire body)

Bristle detail on OnShape

Side view of OnShape model (entire body)


Peter Browns 3D Print & OnShape Reference [Technical Module Individual Assignment 2]

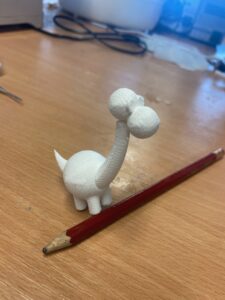
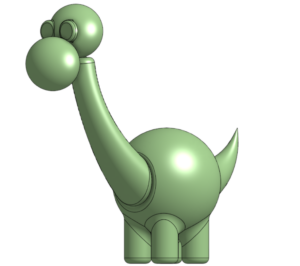
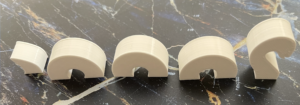
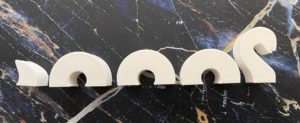
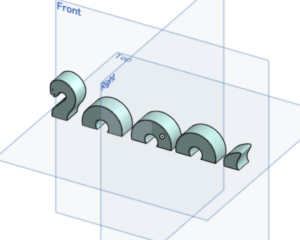
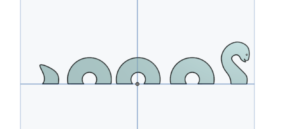
Using Onshape, I designed an object that reflected my personal experience in Scotland. My object was a variation of the Loch Ness Monster. Nessie was printed in a size that allows him to be displayed on a desk, bookshelf, or even a car dashboard, wherever one may fancy! His creative design includes five separate parts that, when presented on a flat surface, make it appear as though he is breaching the surface of the water and gliding over Loch Ness. I selected this object because one of our first group activities following our arrival in Scotland was a hike around Loch Ness lake. Ultimately, it was one of my favorite experiences and memories from this study abroad trip! 

Top/Side profile view

Bottom/Side profile view

Side profile view

OnShape model design

OnShape model design

Using the CNC Milling Machine

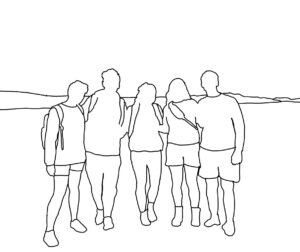
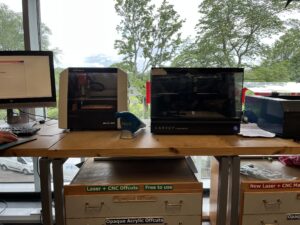
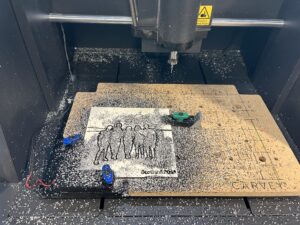
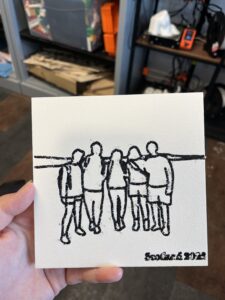
While studying in Edinburgh, we have had the privilege of utilizing the Makerspace located within the main library at the University of Edinburgh. Their space houses many different tools and technology that we have not gotten the chance to use back in North Carolina, including VR, 3D scanning, and CNC milling. As part of a project for our junior design class, BMME 398, I created an item that reminds me of my time in Scotland using the CNC milling machine. Prior to starting my personal project, I was required to attend a staff-led training in order to learn about operating the machine and utilizing the associated software and technology. Once I got the hang of it, I had to decide what to make. In the end, I chose to trace a photo of my classmates and I at the Culloden Battlefield to mill into a square, 2-color acrylic tile. After I had the design on my laptop, I uploaded it to Easel, the cloud-based software used for the CNC machine. There I put in the measurements of my material, scaled my design to fit on the plate, and picked cut settings. This meant I selected that I wanted the bit to trace along my design and how deep the different cuts in my material went. I made sure to carefully place my material in the left bottom corner of the CNC plate and tightly clamp it in place using the correct color-coded screws

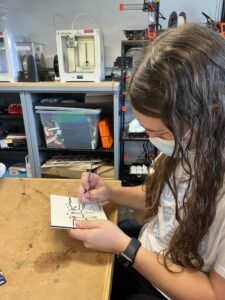
Next, it was time to select the appropriate bit size, which depends on the type of material you are using and how detailed you want your design to be. In some cases it is helpful to do a rough cut of your design first with a larger bit, and then doing the detailed parts using a smaller bit. In my case, I stuck with a 1/16 in. bit, which I installed in the machine using small wrenches. Now that my material was secured and bit in place, it was time to start cutting. On my first try, my material was not secured all the way and ended up moving during the cutting process. Luckily, I was able to pause and cancel the rest of the job and reposition and clamp down a new tile. After the second job was complete, I gave the machine and my tile a wee hoover. Finally, I used a file to get out any leftover material scraps. The CNC machine was certainly a learning experience, but I really enjoyed figuring it out and using it for my project. Now I am confident I can help my classmates in using the machine as well!