1 / 30 / 2023
The Lunar surface is something that has always fascinated me. Looking up at the sky at any point of any given day and seeing a colossal mass of wonder (or lack thereof depending on the phase), for those who are in love with the night sky, can be considered one of the greatest shared human experiences. Having the opportunity to photograph such a wonder with professional-level equipment and software has been unforgettable, and I can finally show it off!

1 – Observing
Getting a high-quality colored photo of the moon is not as simple as most might think!
The location of the PROMPT-6 telescope I used (via Skynet), as seen in the above caption, was at the Cerro Tololo Inter-American Observatory (CTIO) in Chile, one of the best locations for astrophotography in the world, since this site has little atmospheric blurring.
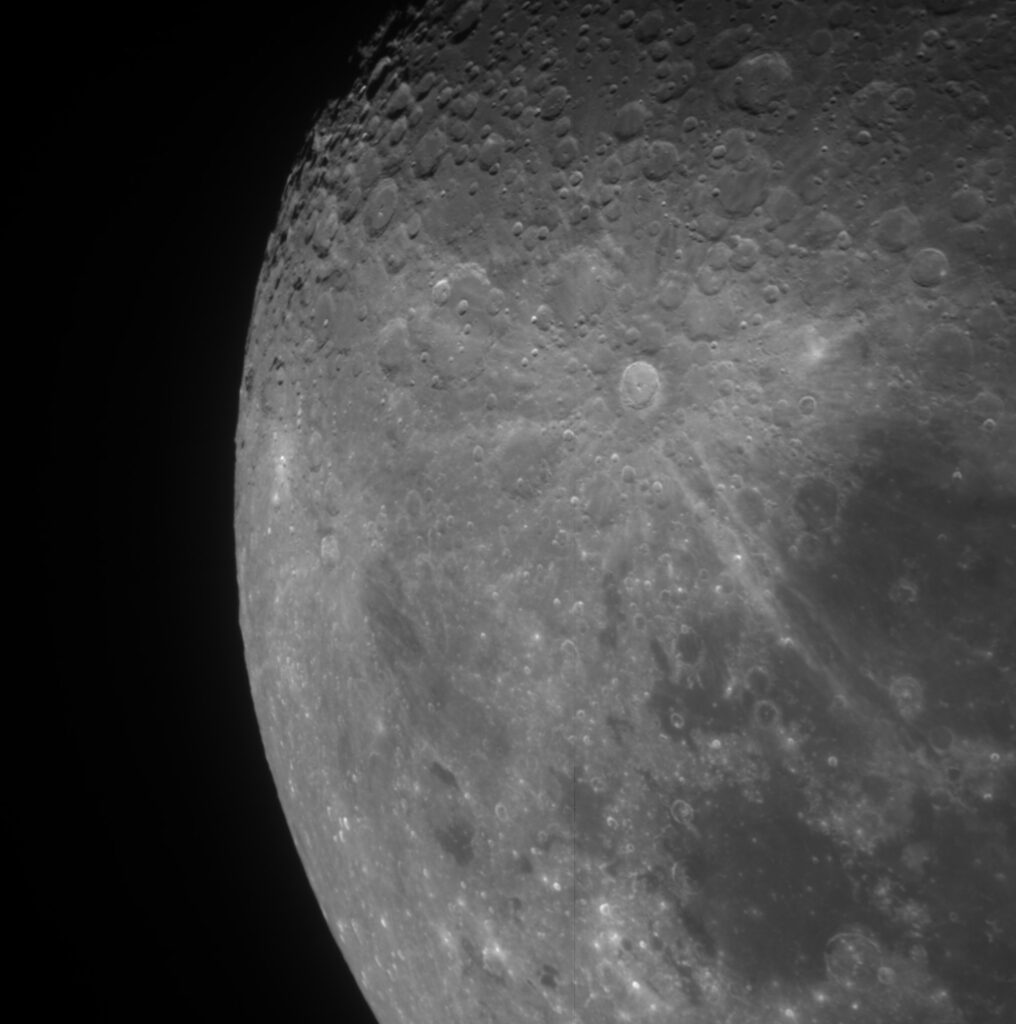
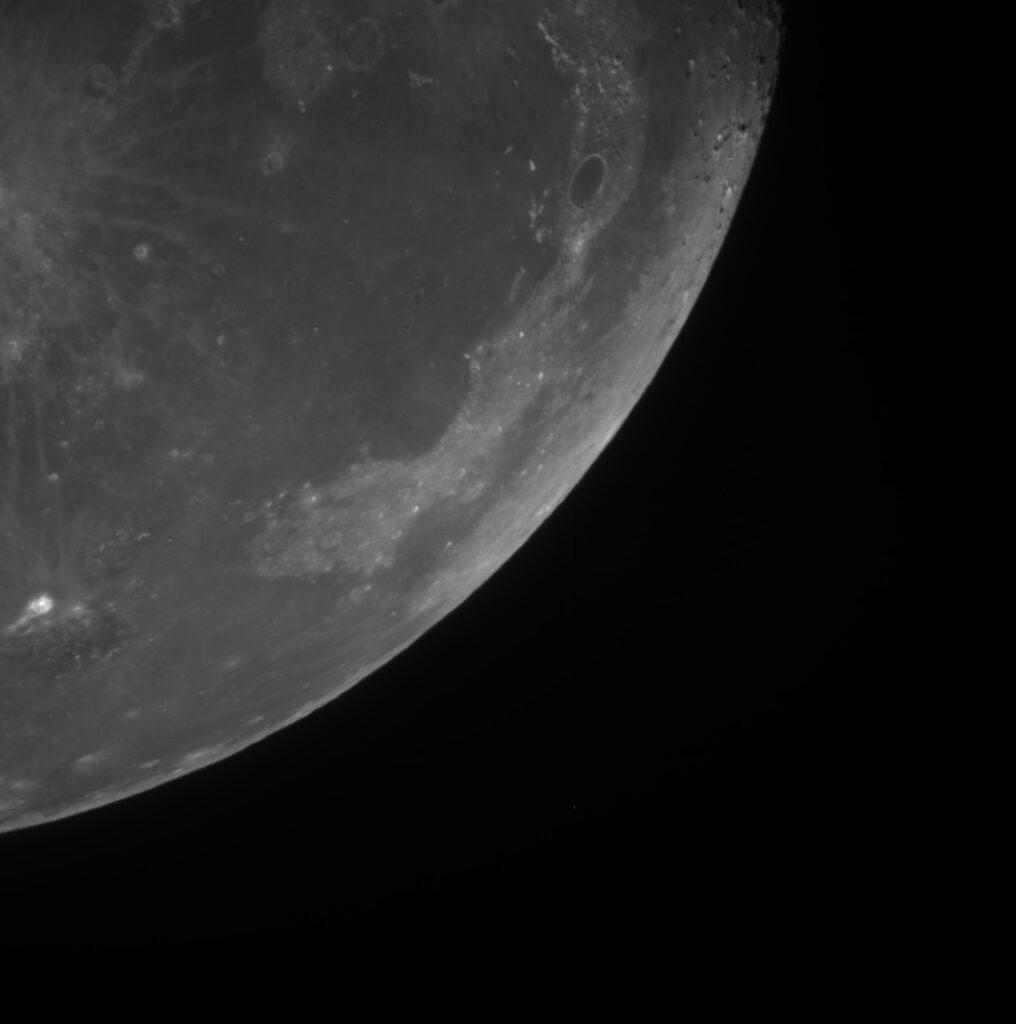
Since I wanted to take a photo using PROMPT-6, and the field of view (FOV) of the telescope was 15′ (arcminutes), my observation had to take photos in a 3×3 grid, splitting the moon into pieces to combine into a high-quality mosaic.
The moon is a very bright object, so instead of using standard red, green, and blue filters to capture color, I used H⍺, OIII, and U as replacements, respectively (lowest throughput filters available, which allowed me to lengthen the exposure time). This not only gave my photo color, which will be discussed later, but helped combat the “iris effect,” an issue that arises when the camera shutter is open for too short of a time, which would leave very noticeable shadows in the final product. (I found out that combating issues involves every step of the process, even ahead of time!)
Now, with 9 exposures that were 0.2 seconds long each (3×3), and repeating them 3 times (Red, Green, Blue), I ended up submitting 27 total exposures. All I had to do now was wait for them to come back!


2 – Images and Processing
After the 27 images were taken, Skynet went ahead and made some image corrections (bias, dark, flat) that fix camera defects automatically. Once the images were returned, I opened them up in Afterglow, an image processing software developed for Skynet. Since I used PROMPT-6, I had to fix a few “bad columns” in the photos using a few special lines of code as a temporary fix.
Once the initial corrections were made, I aligned my images using Afterglow’s algorithm, placing them in the correct positions for the 3×3 mosaic. This was immediately followed by “stacking” the aligned images on top of each other, leaving me with a full mosaic (it was beautiful). I repeated this process 2 more times to create mosaics for each of the other colors.
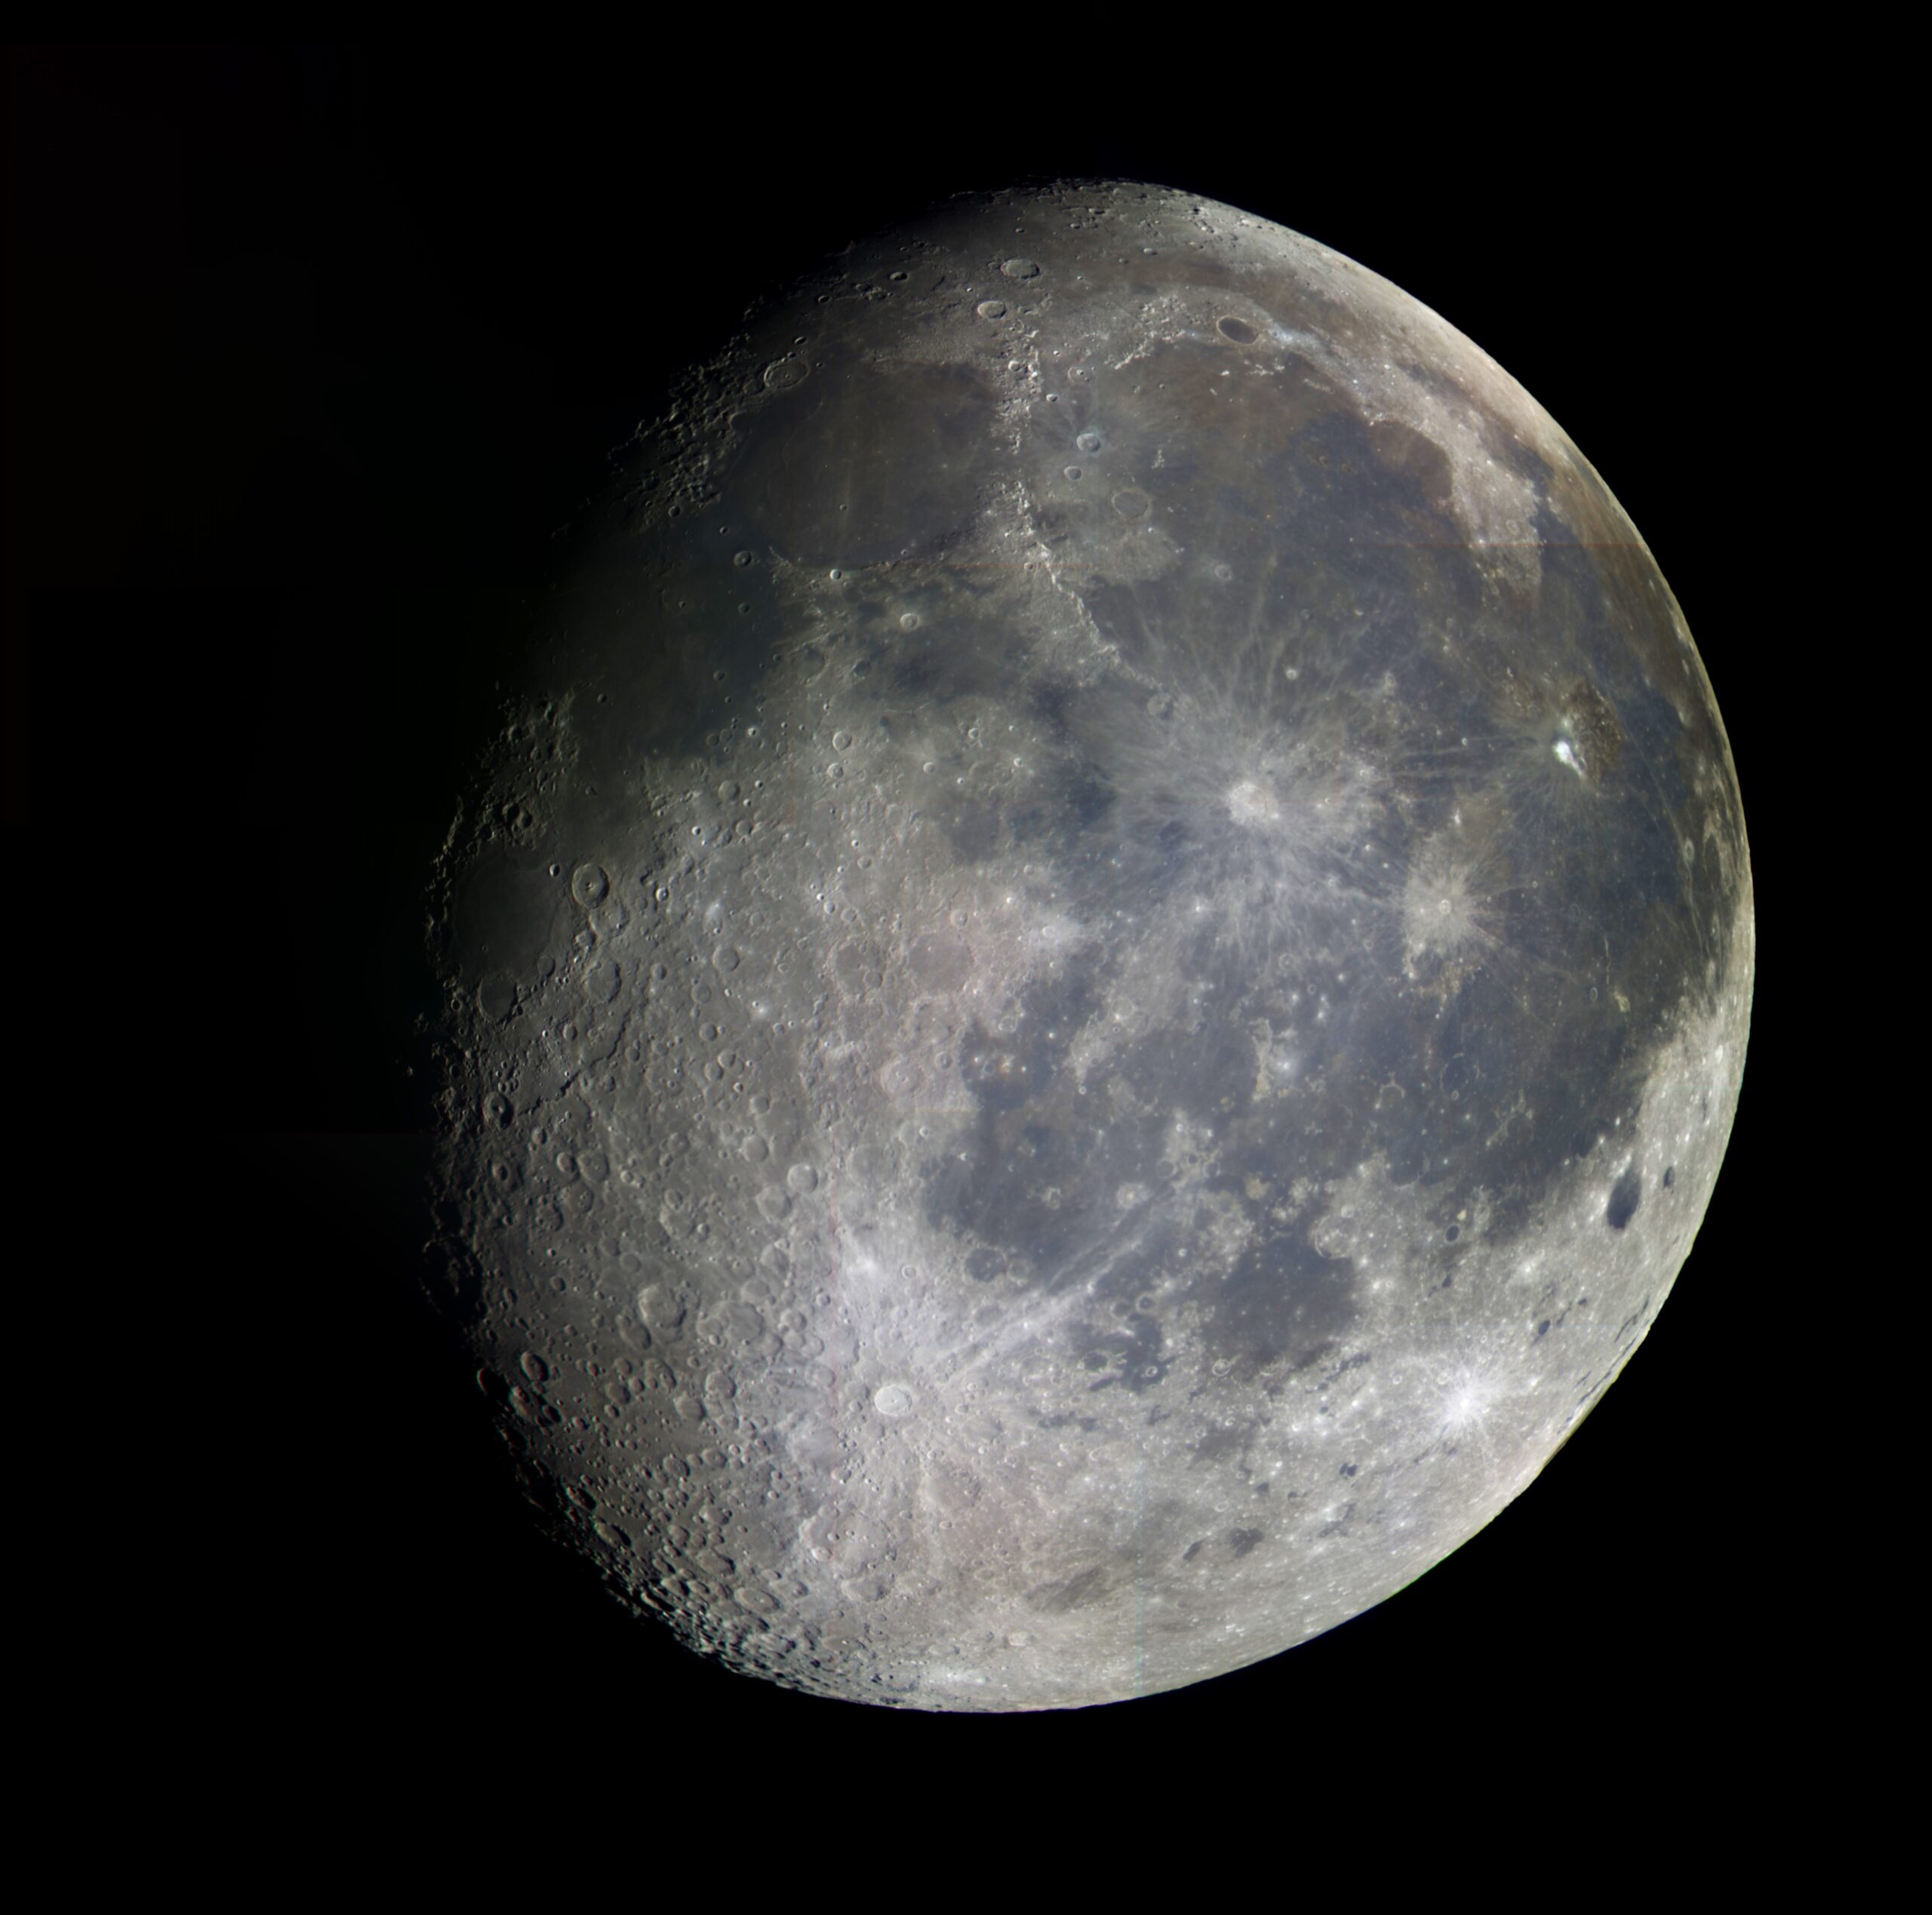
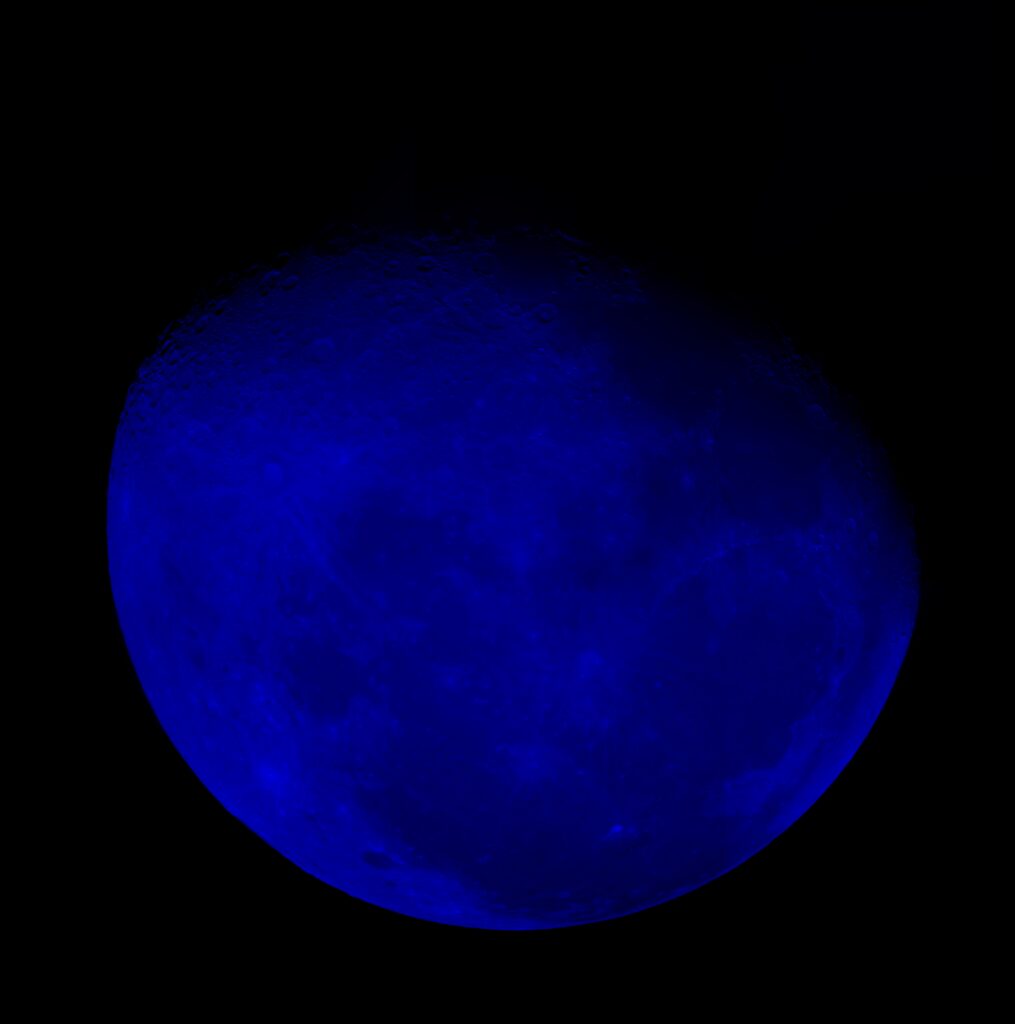
Finally, I grouped all three mosaics together, assigned a red color map to the H⍺ stack, a green color map to the OIII, and blue to the U stack. These three color mapped images are shown below.


Moving to the display settings, I adjusted the midtone and background levels to brighten dark areas and darken bright areas of the lunar surface. Once I was happy with it, I took it to a simple photo editor, rotated it, upped the saturation (and a slight contrast) a little to make the colors more obvious, and there it was! The final photo, as seen above.
3 – Analysis
After taking some time to fall in love with the photo, it’s important to spend a moment analyzing what makes the photo itself.
Minerology! Since we are looking at a colored image, we can now understand what the colors mean. Although not screaming with vibrancy, the colors we do see tell an interesting story.

Blue is the most obvious color, as it overwhelms the maria (the large, dark “seas” on the lunar surface). These dark-blue hues indicate the presence of titanium-rich basalts. The Redder/Browner areas indicate iron-rich lavas found on top of basalts. Bright blue and dark yellow areas found around craters usually indicate glassy deposits, which were formed post-impact from meteorites (blue from the heat of the impact itself, dark yellow from the volcanism afterwards).