The Earth is a beautiful place. White sand beaches, rolling hills, deep canyons. Even with all of these beautiful features, nothing beats the view of the Moon. In Module 1A of Astro 110, we spent a couple of weeks learning how to use Skynet, a software that allows us to access telescopes around the world. If you’ve taken Astro 101L, you may already be familiar with Skynet. We also used programs like Afterglow to filter and edit our photos.
Starting off, we set our target to the Moon, and changed our max sun elevation to -12 degrees, to make sure that the sun was at least 12 degrees under the horizon before the pictures were taken. We set our min target elevation to 30 degrees, to make sure that the moon was at least 30 degrees above the horizon for optimal viewing. Next, we enabled dithering, which allowed us to make a mosaic of the Moon, piecing the pictures together. We wanted 5×5 pictures, with 390 degrees between each picture. Dithering allows the telescope to take 5×5 pictures of different squares of the moon, so we are able to mosaic them once they are all done!
Everyone in our group had to choose a different Skynet Prompt Telescope, and I chose PROMPT-MO-1, down in Meckering, Australia. Meckering had been down for a while for repairs, so I was eager to try the new hardware. We wanted to make a colorized picture of the moon, and in order to do that, you have to photograph it using 3 different filters, Halpha, OIII, and U. Since each square of the moon is 5×5, it takes 25 different exposures of each filter to make a full mosaic of the moon. I took 25 exposures using the Halpha, OIII, and U filters, all for 15 seconds, creating 75 individual images in total.
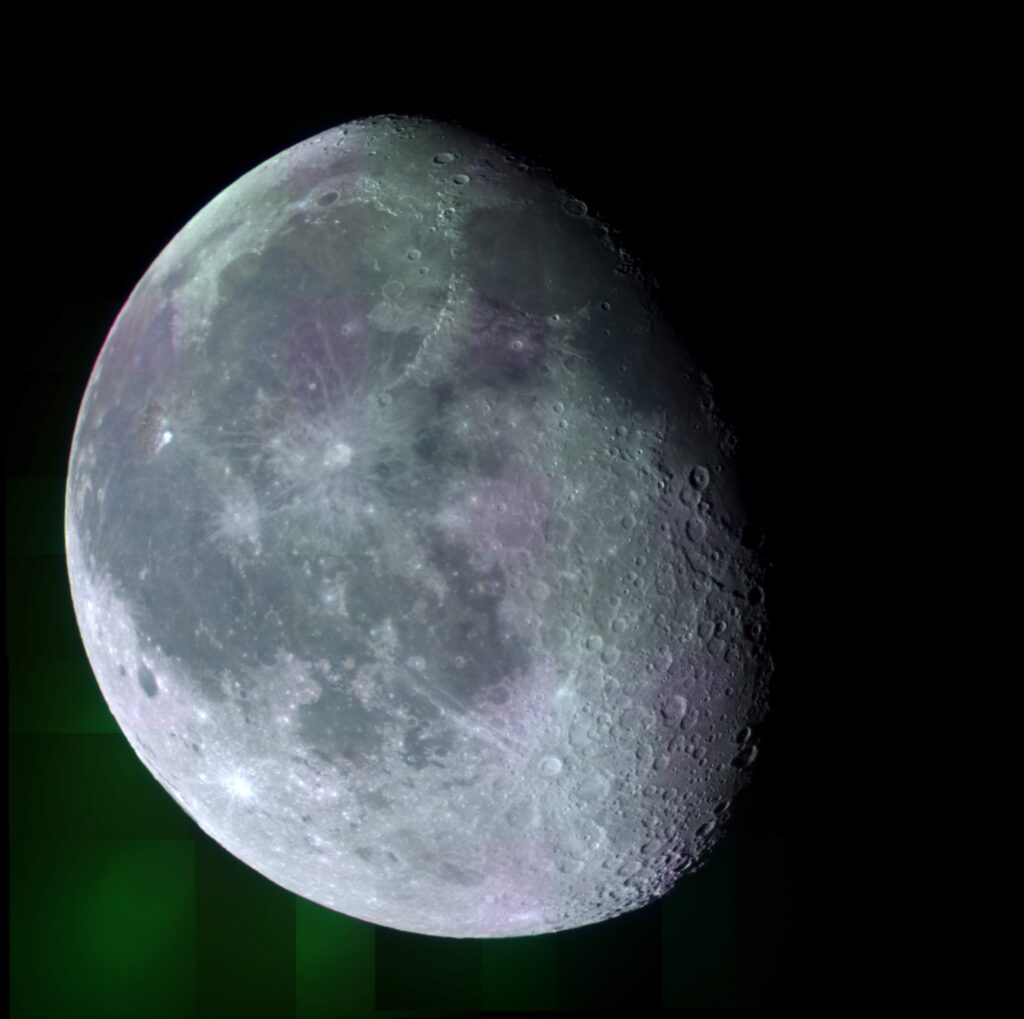
After I got my pictures back, I transferred the photos to Afterglow, so I could start editing. First, I aligned and stacked the pictures, so they were all in the right position to mosaic together. I aligned all the pictures together for the right orientation, and then stacked each filter set separately, so that they were in the right position to mosaic together. After about a week of trial and error with stacking, I then started to colorize them! For the Halpha stack, I used the color map to make it red, green for OIII, and blue for U. After grouping them together, I used the display setting on Afterglow to edit the brightness, edit the background, and change the saturation. Once this process was done, I had successfully completed my first mosaic of the Moon!

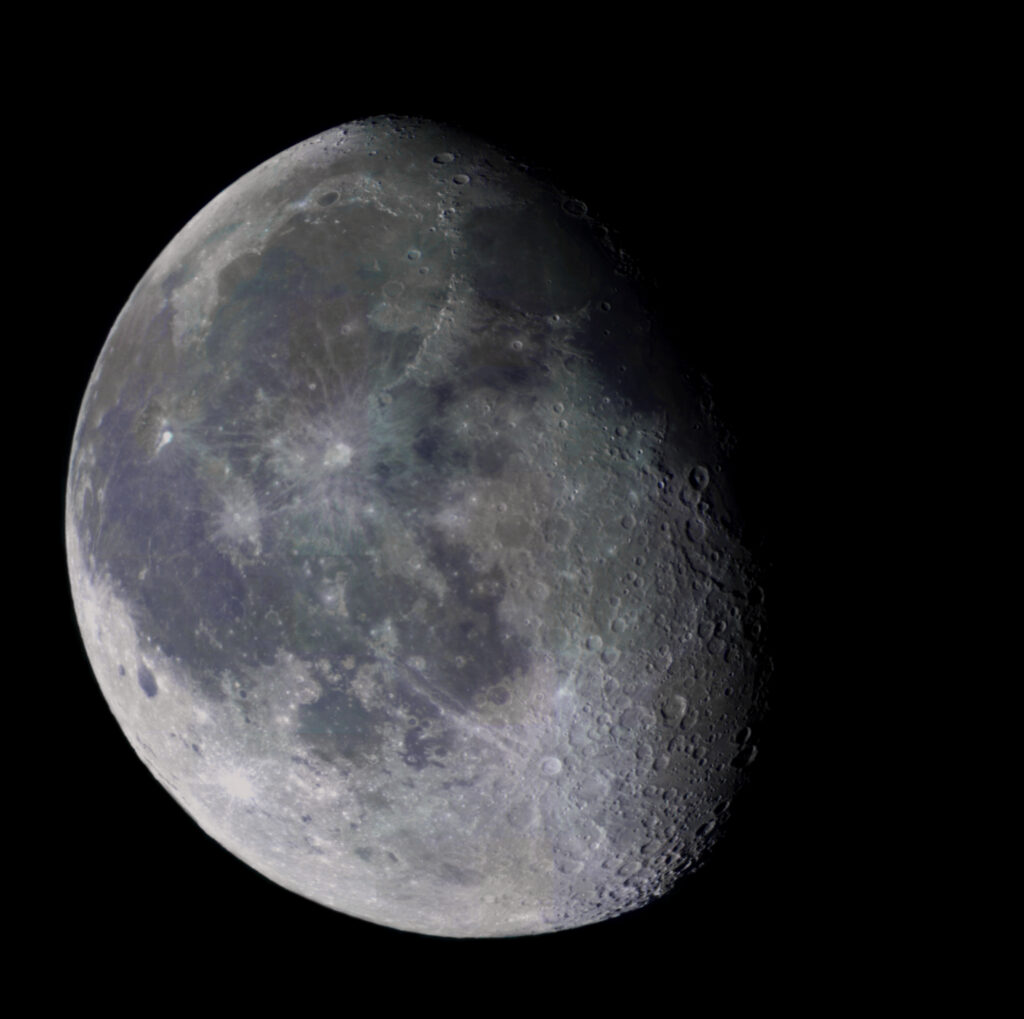
The green and purple shaded spots are a result of faulty filtering down in Australia. I was assured by my TA that those were normal for PROMPT-MO telescopic images, and that it was completely out of my control. With some very heavy editing on photoshop, I spent hours fixing the spots and altering the color to bring out more of the Moon’s features.

Taadaa!!!!
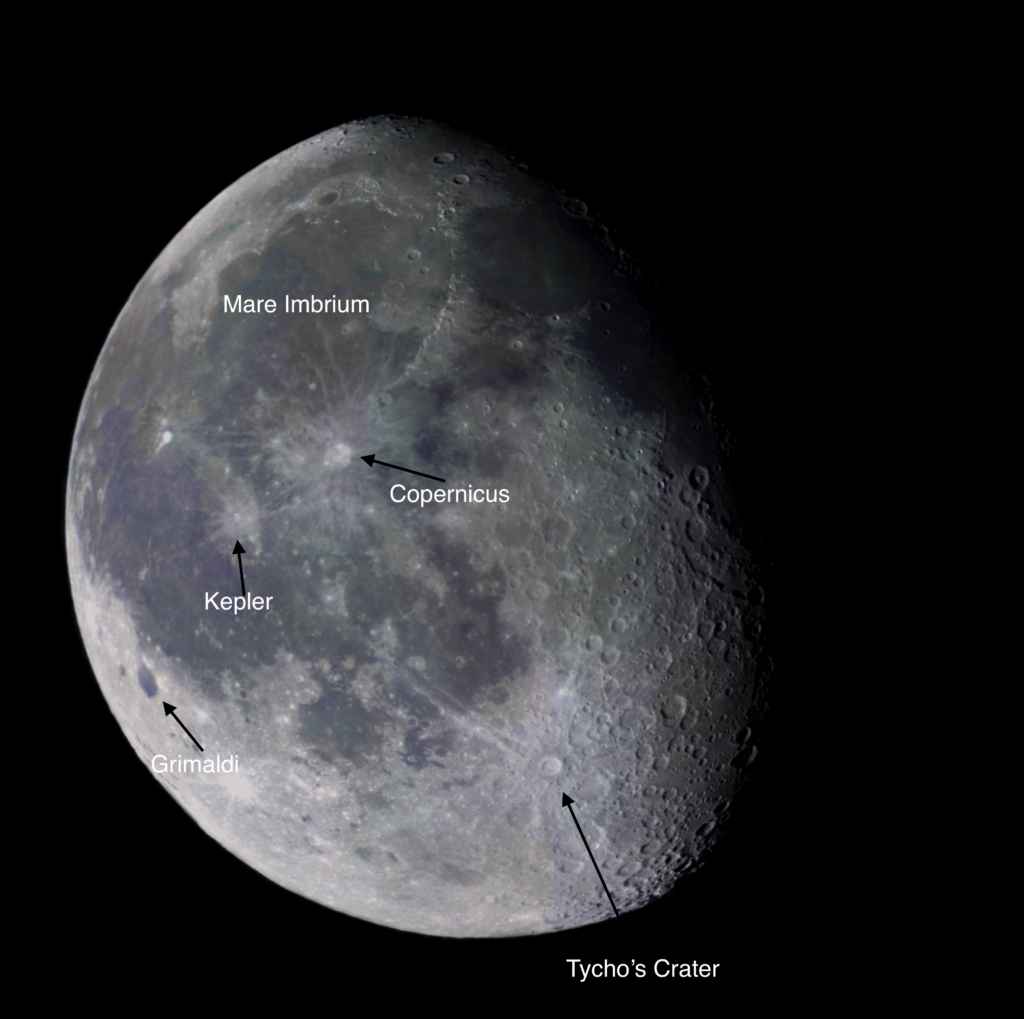
After I finished editing on photoshop, I was more able to point out places of interest that caught my eye, like the Maria basin. The large dark spot near the left of the image is the Mare Imbrium, one of the biggest craters on the moon, and is a massive lava plain comprised of titanium-rich basalt. I’ve labeled a couple of other things as well. After weeks of observing and editing, I am left with a deeper scientific understanding of moon, and a dope picture as well 🙂
