In this module, we captured the planets within our solar system with optical planetary imaging. The goal of this module was to try to capture the authentic color of the planet, as if we were seeing it from space ourselves. We don’t have enough time or resources to make a high-definition, professional optical telescopic picture of our planets, but we’ve got Skynet and a dream! Through using Skynet and Afterglow, we managed to capture images of Jupiter, Neptune, Uranus, and Mars. At the time we put the photographs in, Saturn and a couple of other planets were too close to the sun to be properly photographed, but thankfully, Dr.Reichart had put in some premature observations for us.
Using Skynet, we set our target and used the same settings we used to photograph the moon: Max sun elevation to -12, min target elevation to 30, and max moon phase to 100. In hopes that one of the planets near the sun makes a short appearance, we set out min visible hours to 0.25, and put min moon separation to 30.
We selected the same filters we used for the moon: Halpha, OIII, and U, Since our planets are too bright to be photographed in color filters. I was photographing Mars at the time, so I set my filters and proceeded to pick my telescopes. Since our planets are small in size, we chose the PROMPT-6 Telescope to get as much detail as we can. I took 10 exposures with the U filter for 1.2 seconds, Halpha for 0.3 seconds, and OIII at 0.6 seconds. We decided to interleave our images, meaning that instead of taking each filter in total back to back, it will switch filters in between use to avoid ghosting on the telescope. Once all of that is set, we submitted our images!
For my Images of Neptune, Uranus, and Jupiter, I used Dr. Reichart’s images on the afterglow database to complete my observations. To combine all of our images into one, we need to use the source catalog to find the middle of the planets. In the workbench settings, we enabled “sync orientations” and “sync display settings” on Pixel mode to orient all of our images in the same way. Next, for our source catalog, we only enabled source markers, centroid clicks, and planetary centroiding. After finding the center for each individual image, we combine them all together by including all the sources in one image. Next, we want to inform Afterglow that all of these random points are of the same object by merging all of our sources together.
Once all of the sources are merged, we want to align them all to have the same orientation. On the aligner tab, we enabled crop, disabled rotation, scale, and skew, and set Mode to “Sources – manual”. We left all the inputs the same and submitted our alignment. After all the images were successfully aligned, we continued to stacking. We stacked each respective filter the same way that we did for the moon, and colored them, while enabling “propagate mask”
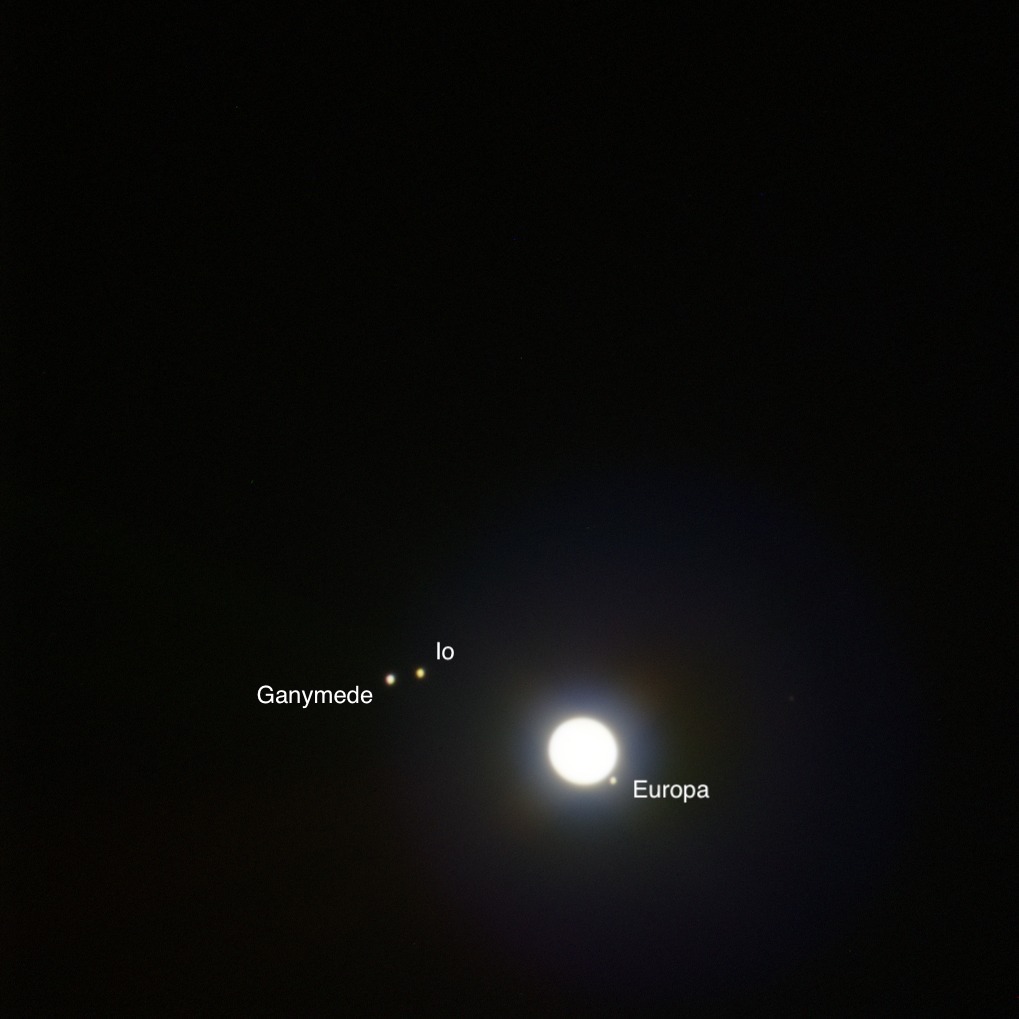
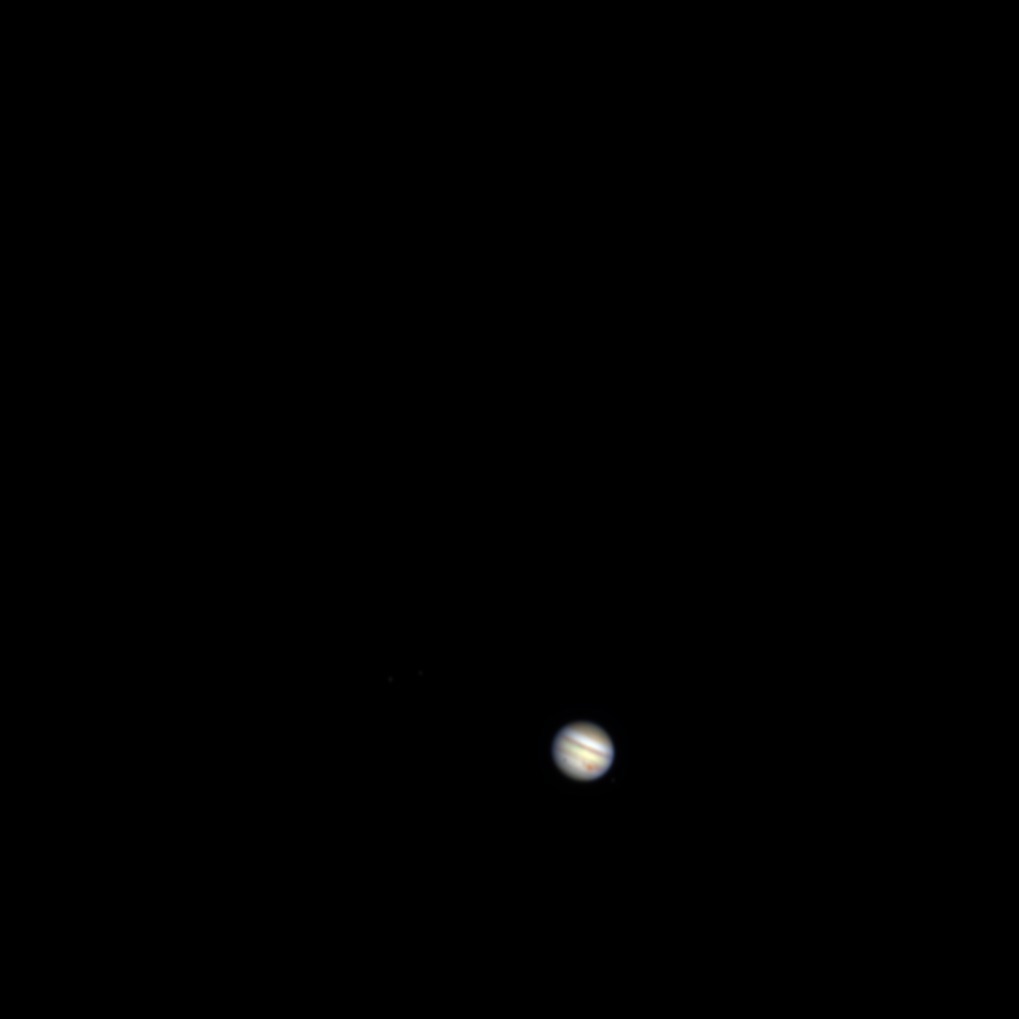
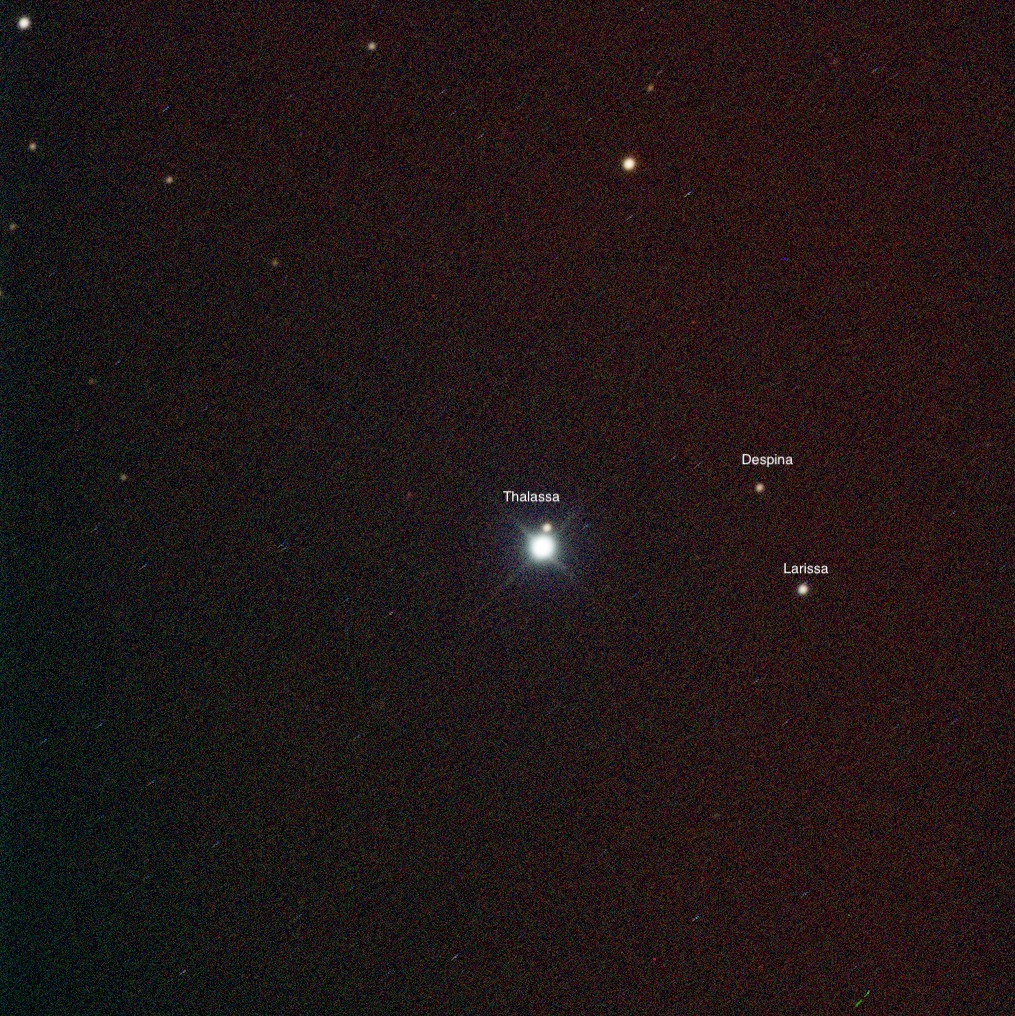
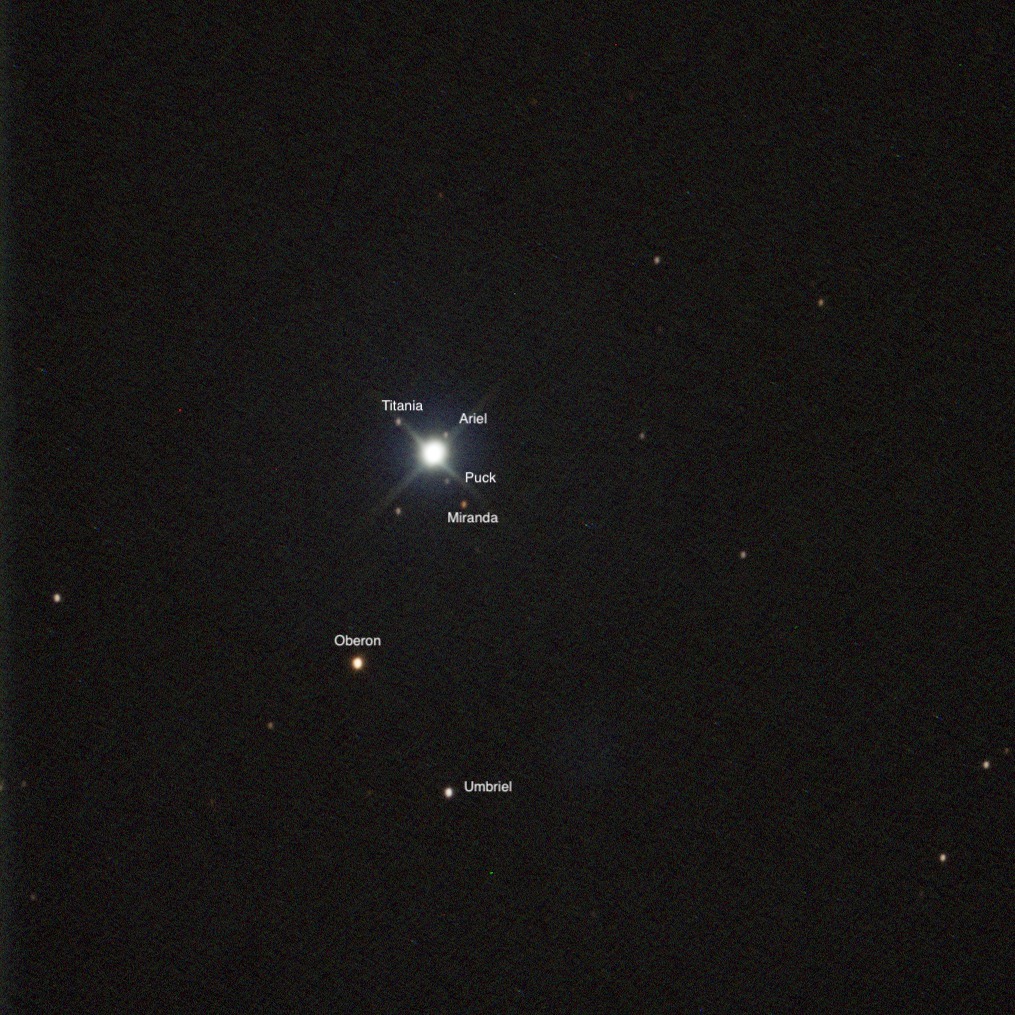
For Neptune, Jupiter, and Uranus, we wanted to make 2 separate images, one of the moons, and another one showcasing the color of the planet. We messed with our display settings and set our stretch mode to “midtone” to bring out more of the moon’s colors. Instead of focusing on the planet’s finer details, we want to highlight the variation in the color of the moons and the planet. Once we were able to clearly pinpoint the moons, we exported our image! For Jupiter, I was able to manually alter the colors by messing with the inputs on the display tab. (see fig. 1.1)
For Neptune and Uranus, we are able to achieve the “natural” color of the planet by looking at the background stars and comparing them to catalog values. First, we need to know which stars we’re looking at! To do this, we went to the World Coordinate System tab (WCS), and selected the red stack. We set our mode to “platesolve” and enabled “show extraction settings”, in order for Afterglow to find out where exactly this image is in the sky. Then, we “extract values from current image” which will extract information from the displayed image and label our stars with points on the image. Once complete, the image should have coordinates at the bottom, and labels where the stars are. We want to transfer this data to the other stacks, so we change our WCS mode to “Copy”, and set our reference image to the red stack. Once this is all complete, all of our stacks should have coordinates and star markers.
Now we are going to attempt to color our image by using photometry! Photometry measures the brightness by comparing it to catalog values. From there, we can figure out how much to brighten or dim the other images. Just like we did in our radio images, we are going to use aperture photometry. Next, we go to display settings and change our color balance mode to “histogram fitting” and choose Photometric Color Calibration. Afterglow should automatically select your red, green, and blue images. We then select “Measure zero points with field calibration”. This measures every star in our image and compares it to catalog values, leaving us with our “Zero point” – the relative color levels in our stacks. After our color calibration is complete, we have to select a reference image to “Sync Brightness & Contrast in all Layers”, which will leave us with our final colorized image! We repeated the same process for Neptune and Uranus.
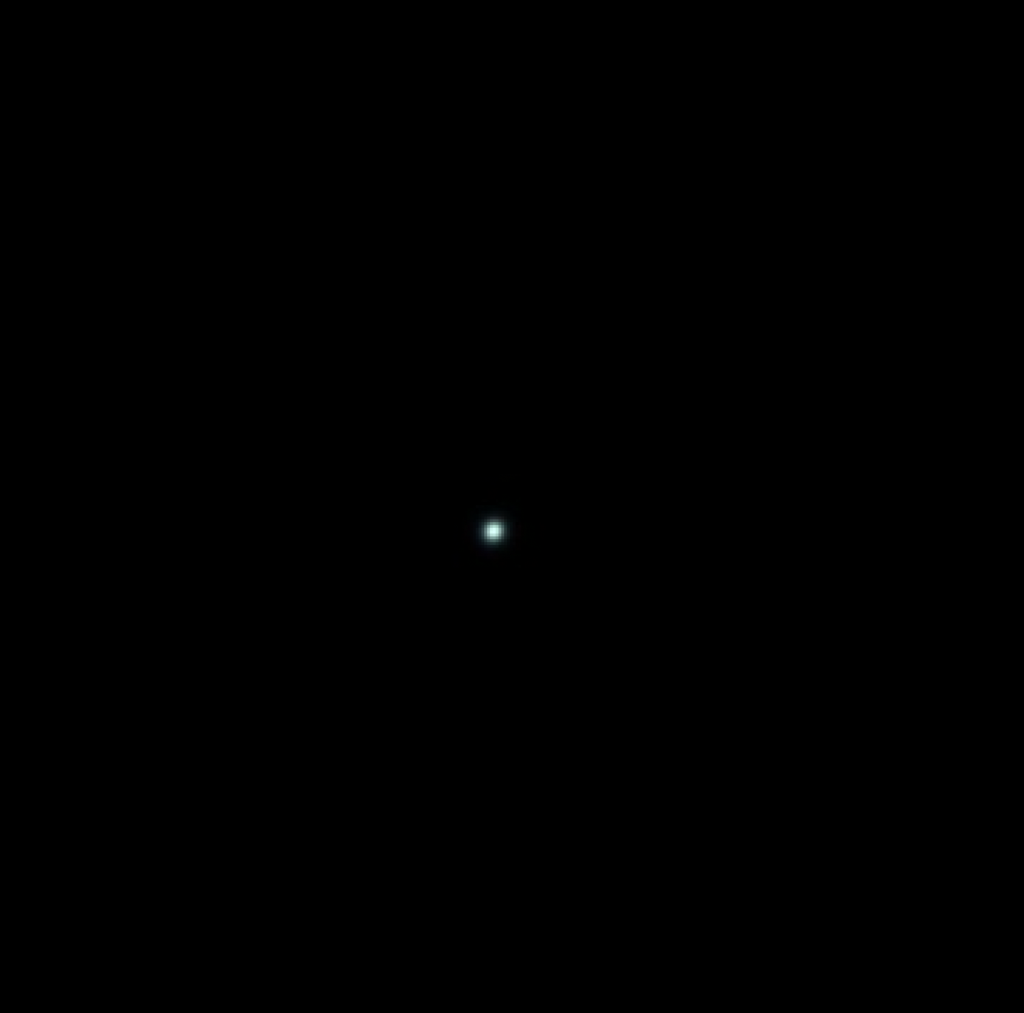
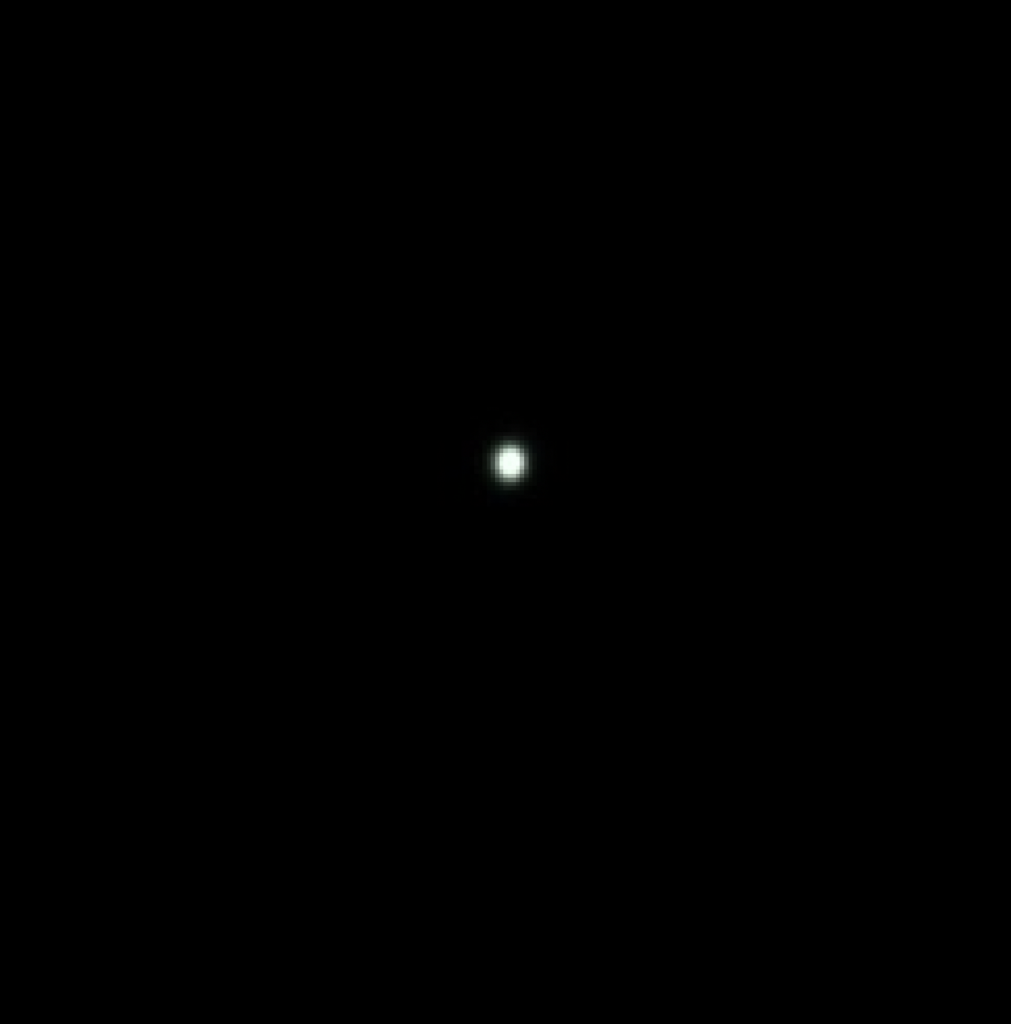
For Mars, since there are no background stars to calibrate, we have to manually balance the color by eye. In the display settings, we change our color balance mode to “histogram fitting” and select the red layer as our reference image. We then choose to view the blue, green, and combined color stack images, and put them side by side for comparison. In the scale box in the display page, we nudge each images layer scale to see how that changes the color.
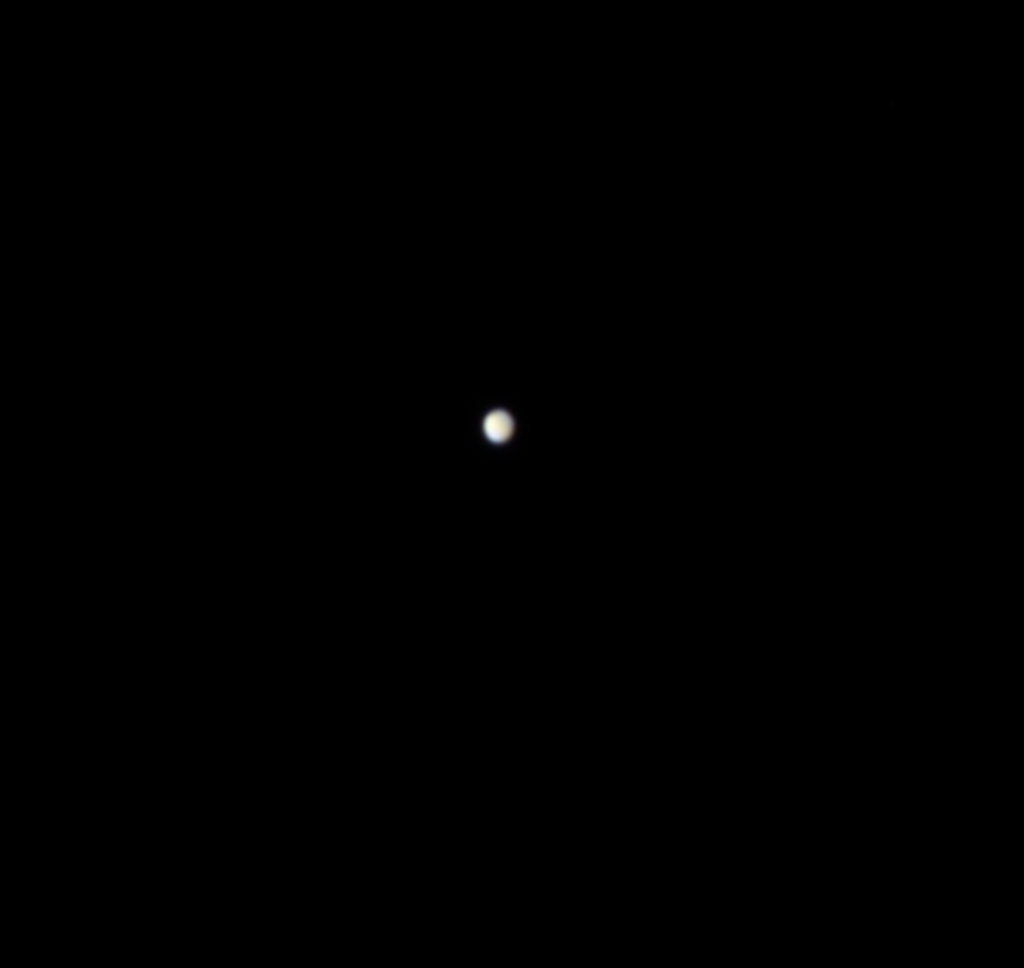
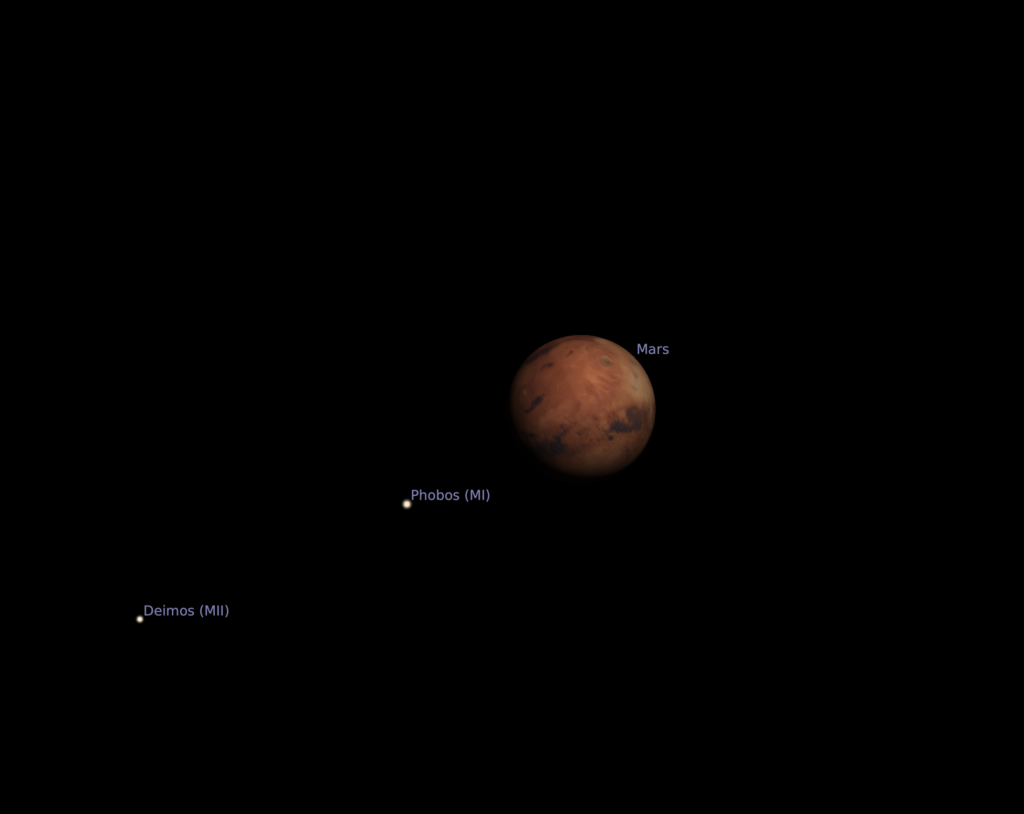
As you can tell in the image above, my photo of Mars was lacking some serious color. I mostly altered my blue and red levels, making the red level about 1.5, and the blue about 1.1. My image is a little bit smaller and has a lower resolution than others because it was taken about four months after Mars reached its best viewing period from Earth.
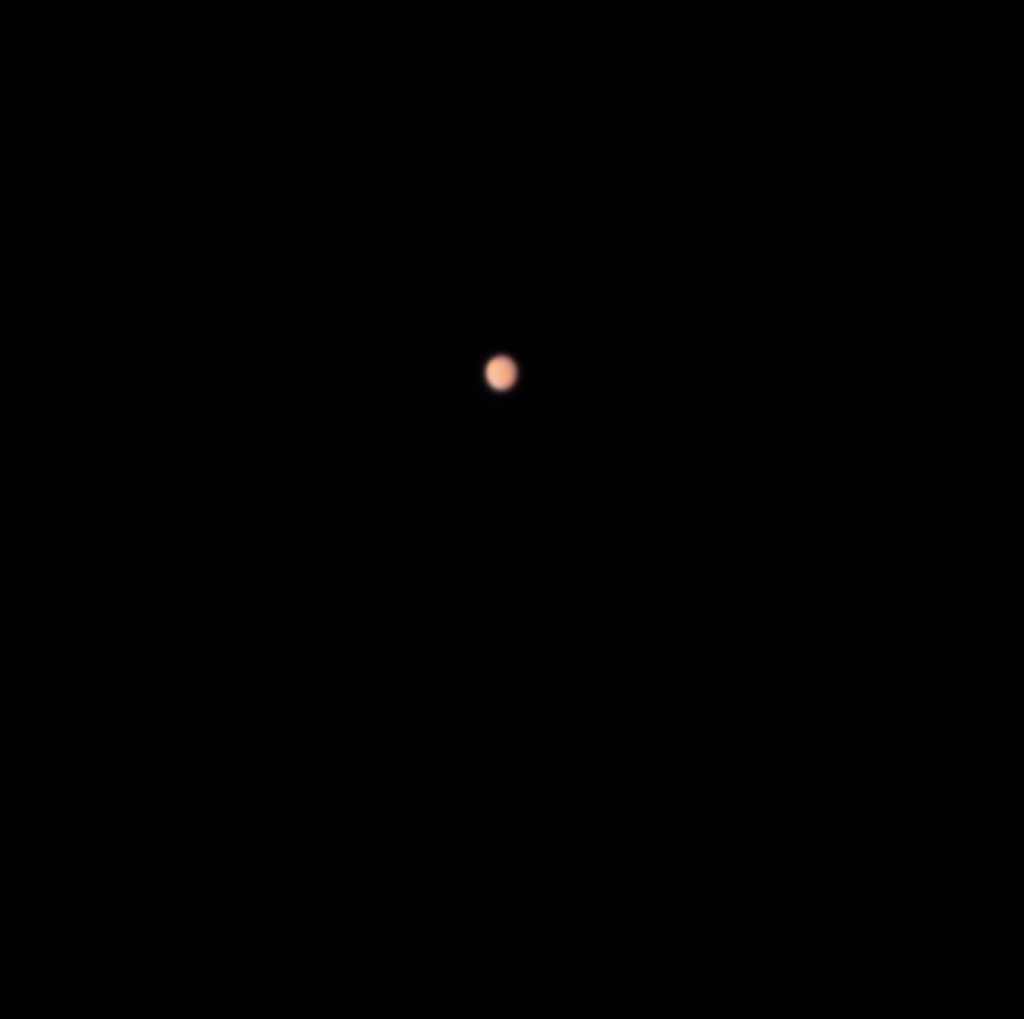
Overall, It was a very rewarding experience getting to see these planets in all of their glory. Even though most of them are very low resolution, it is still beneficial to learn how to manually and photometrically balance and calibrate colors on Afterglow. Learning the genuine hue of these planets not only allows us to delve deeper into their molecular makeup and chemical composition but also their history as well.