The Moon is an object that takes ahold of our night, and sometimes day, sky. Just like most, I am fascinated by the lunar surface, along with its seemingly primordial impacts from asteroids or meteorites. So, I fully obliged to being fairly proud to present my final product of a Moon mosaic.
I will start by detailing how and where I received the exposures that were used in the mosaic. First off, I want to note that due to encountering errors with photographs with PROMPT-MO-1, I was given permission to utilize my team member’s exposures (whom I will give credit to down below) from the telescope PROMPT-6. So, for this mosaic, I utilized the PROMPT-6 telescope that is stationed at Cerro Tololo Inter-American Observatory, Chile on January 11th of 2023. The PROMPT-6 telescope had a field of vision (FOV) of 15.1×15.2 arcmins along with a pixel size of 2048×2064 pixels. The telescope was able to collect 1.6 seconds in U, 1.8 seconds in H-alpha, and 1.8 seconds in OIII. PROMPT-6 took a total of 27 images leaving 9 images in each filter. The mosaic is formed with 3×3 grid of images. I want to point out that the reason for using the 3 different filters is to attempt to limit the “iris effect”. As we had to take short exposures due to the Moon’s brightness, there is an increased risk of the images being bright at the center and dark at the edges (and unfortunately, these are very noticeable in mosaics). So, as stated previously, to limit the “iris effect”, we chose to use the lowest throughput filters to lengthen the exposure times. These filters will also help show the Moon’s subtle discrepancy in color. Also, from these exposures collected, there weren’t any extreme errors that couldn’t be solved with a patch for an exposure collected in U—which was provided by Professor Dan Reichart.
After transferring the exposures, and the single patch, from Skynet to Afterglow, I began aligning the images collected from PROMPT-6. In this step, I selected all of the images and proceeded to use ‘Mosaic Mode,’ and unselected the ‘Enable Rotation,’ ‘Enable Scale,’ and ‘Enable Skew.’ The reasoning behind this decision to not utilize these factors is that I wanted to capture these images in a short time frame and did not want to run into any troubles with the alignment of the mosaic. Also, in this step of aligning the images, it was decided that the algorithm of ‘AKAZE’ with a ration threshold of .5 would be the most suitable for our images. The product that was received from this step was for the most part was aligned, however, there were a few uneven tiles that portrayed fairly noticeable seams in the mosaic. But not to worry, the stacking in the following step I conducted helped to alleviate such errors.
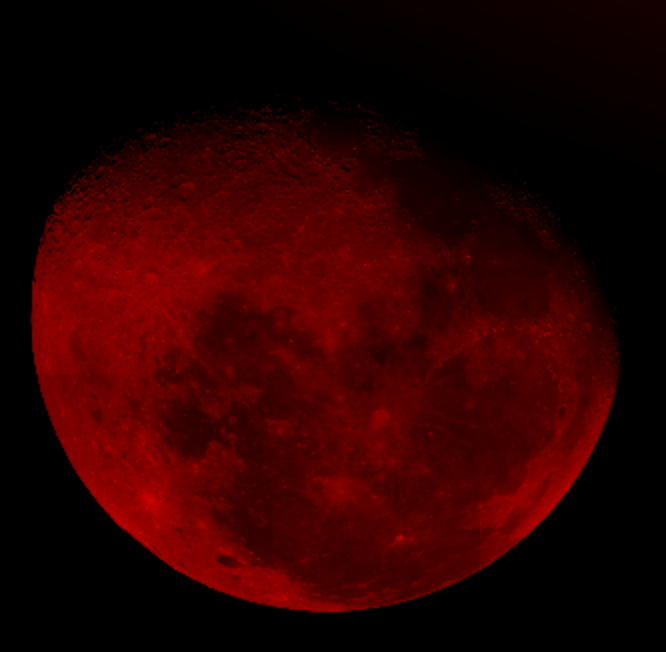
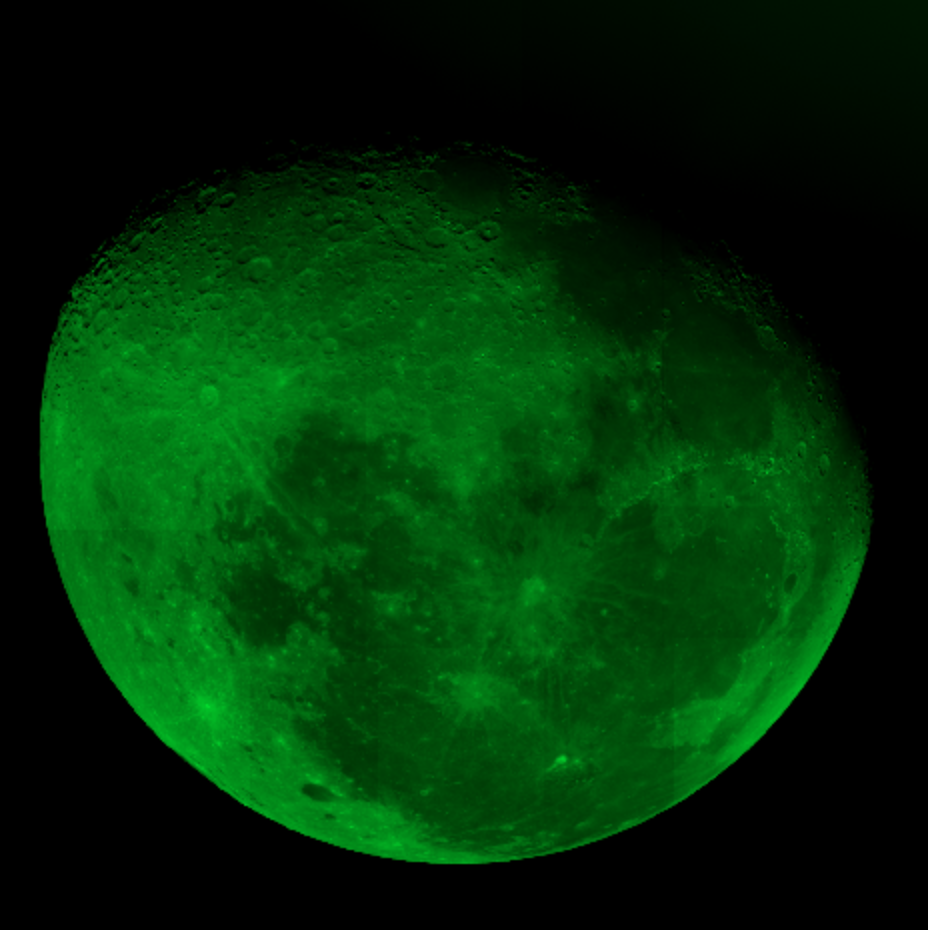
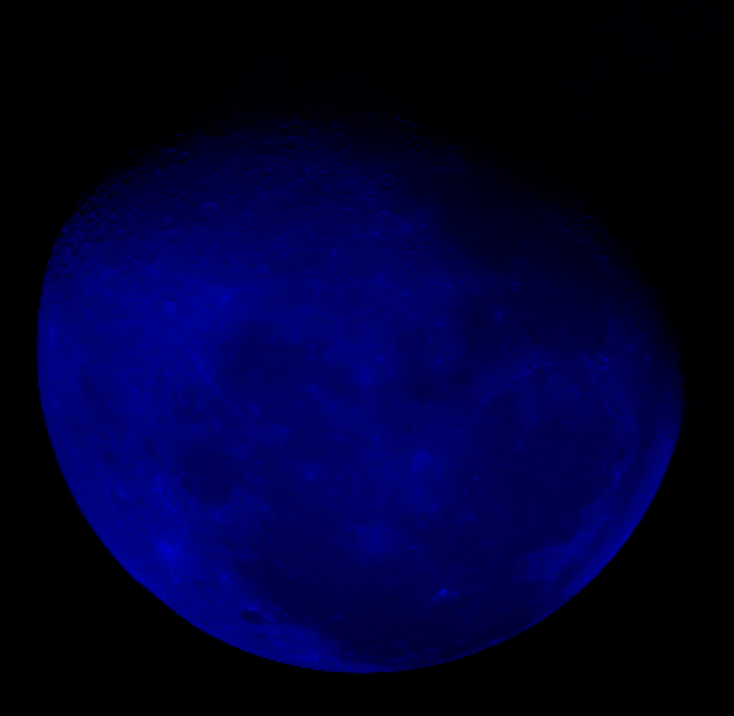
As previously mentioned, the next step after aligning the images is to stack the H-alpha, OIII, and U mosaics. First up, in continuing the process of this creation on the same site, I selected the H-alpha images and made sure to select the equalizations of ‘Multiplicative,’ ‘Additive,’ and ‘Global’ to attempt to align the images evenly. Prior to submitting these images to be configured, I made sure to put the ‘Equalization Order’ to 1 due to the issue of PROMPT-6 images discoloration around their seams. After this filter was submitted, I proceeded by repeating the same process with the images from OIII and U. Once all three stacks were completed, I configured the three mosaics into a group file (which automatically stacked the mosaics). Next, I followed the step of trying to color correct the lunar images presented through the filter. In this step, we changed H-alpha images to the color red, OIII to green, and U to blue. With these three mosaics aligned, the close-to-finished product of the Moon mosaic was inching closer and closer.
After playing around with the color correction on the website Afterglow—which entailed filtering the image to ‘Stretch Mode,’ changing the ‘Background Level Percentile’ to 40, and the ‘Midtone Level Percentile’ to 96—I was left with a well configured mosaic of the moon with a slight discolor to one of the many maria regions. Despite my fond attachment to the wonderful site I had completed most of my configuration on, I decided to turn to my trusty MacBook Air’s ‘Tools’ tab. It was here that I was able to increase the exposure, contrast, and sharpness, while decreasing the saturation—enabling me to steer away from a yellow, yet electric blue, tinted moon.

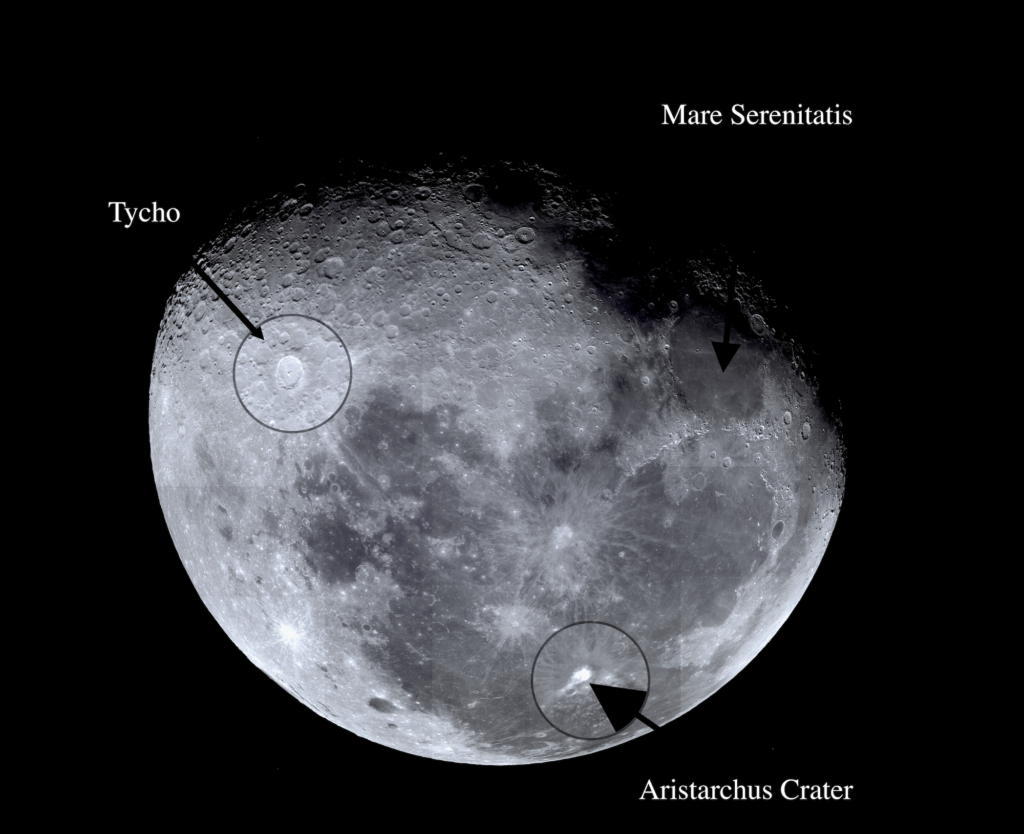
So… after reading that lengthy process which detailed how I achieved my final product, you might be wondering what exactly is going on in this image. In this lunar mosaic, we are presented with varying dark regions that are randomly scattered across the Moon’s surface. These gray areas are known as ‘marias’ and are vast regions of flat terrain as a result of the lava that once flowed there. Although you cannot see what I am about to talk about in Figure 1, I’ll just mention these pretty cool facts. Many marias, like Serenitatis (seen above) have a higher metal composition than the lunar rock that surrounds the maria—giving it a blue tint. This high metal composition is very rich in titanium which primarily causes the blue color. Also, the lunar surface (primarily where the lava rocks are) may appear to have a reddish color—which is the result of the iron-rich minerals composition.
In Figure 1, an example of one of the many lunar maria that can be seen is the Mare Serenitatis. This maria was formed roughly four billion years old and is known as the ‘Sea of Serenity’. Other characteristics that can be easily depicted are the semi-circular indentations around the surface—which are known as craters. For example, as shown in Figure 1, you can see the Aristarchus Crater. This crater is bright and distinguishable as it is, comparatively, a young formation (created about 450 million years ago). Another relatively young crater that can be seen in Figure 1 is Tycho, which is one of the most noticeable craters on the Moon. Tycho is roughly 108 million years old. These craters were, for the most part, formed by meteorites that crashed into the Moon’s surface.
Honorable mention: I would like to give credit and thanks to Nathan Flinchum for allowing me to use his exposures captured with the PROMPT-6 telescope.


