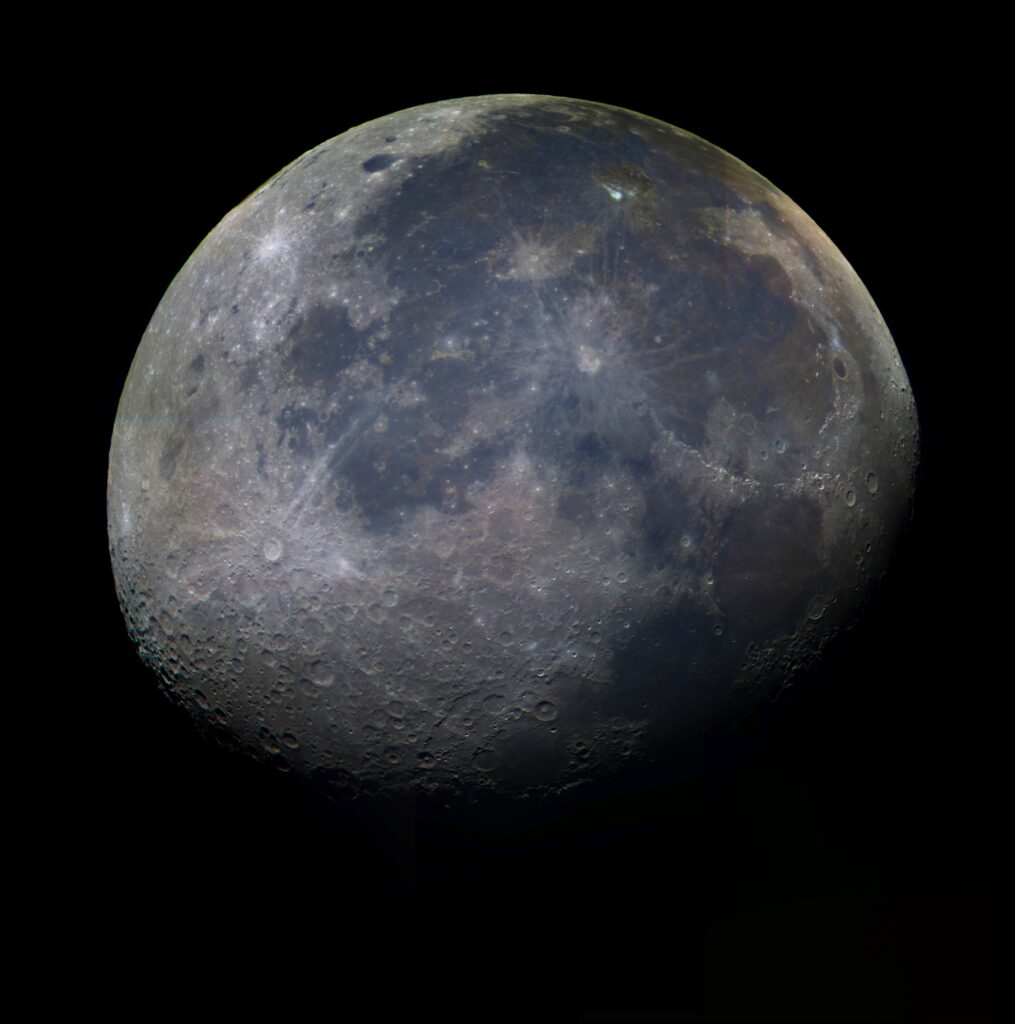
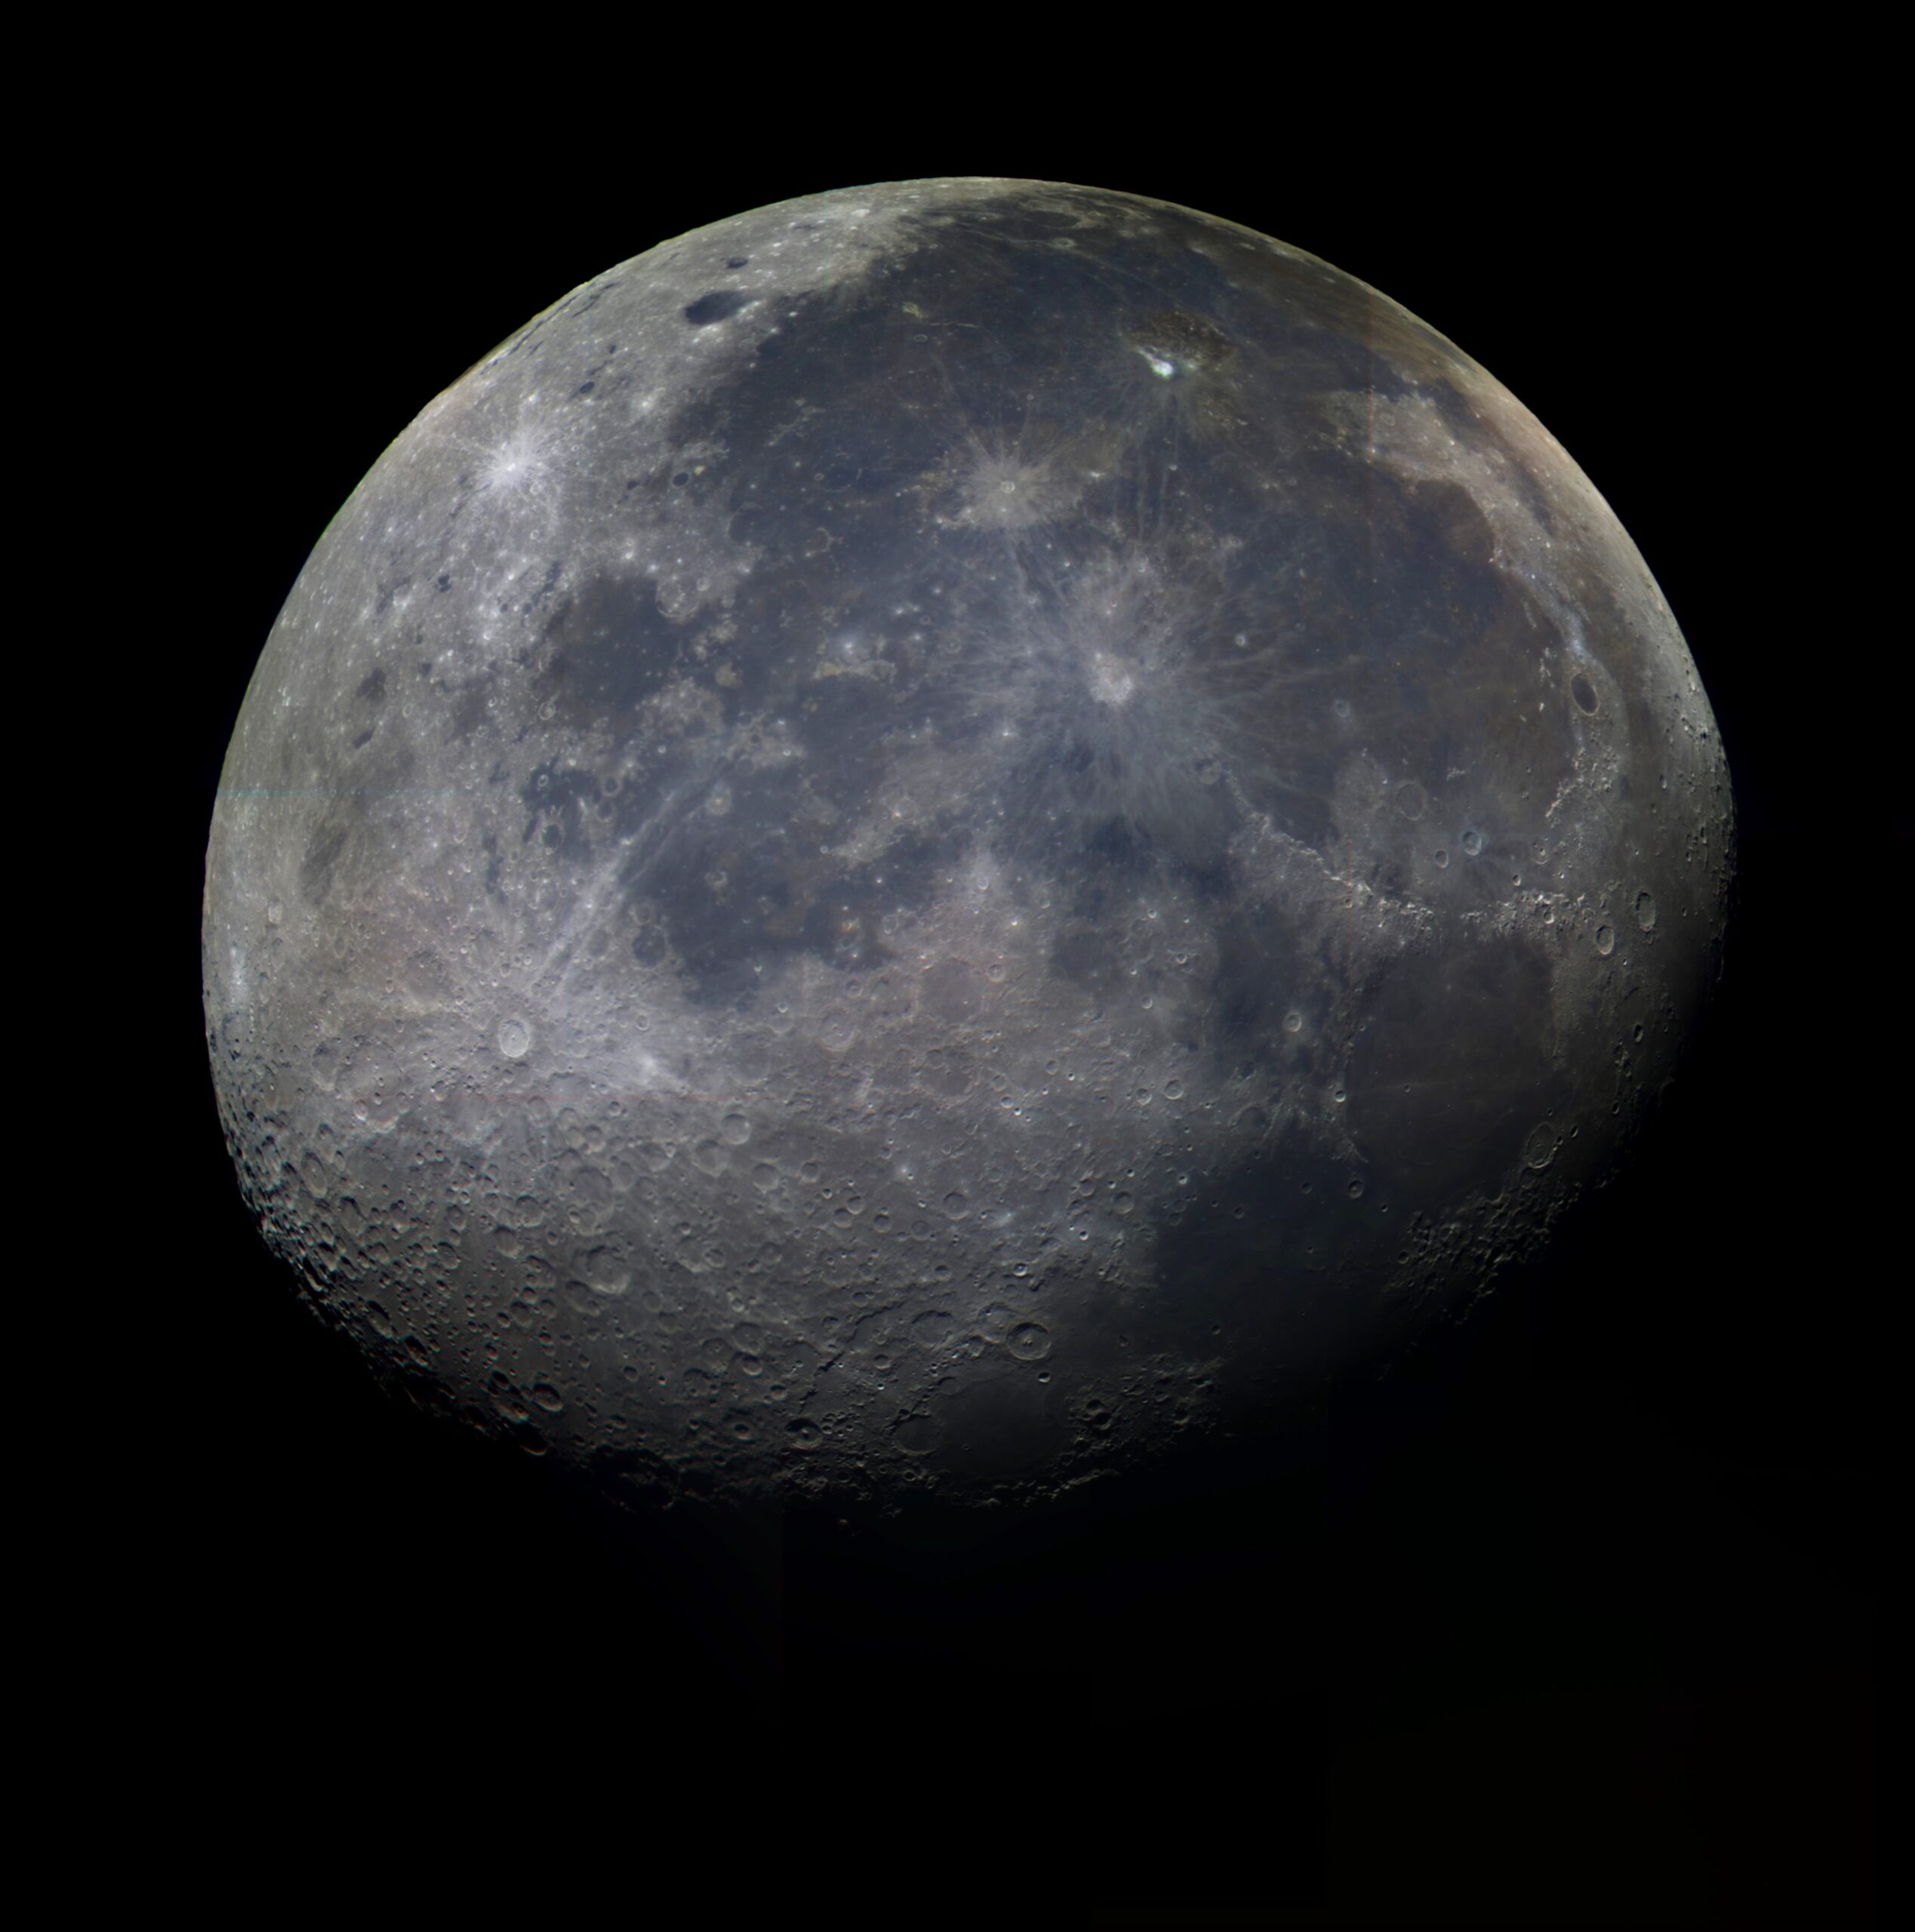
Optical Imaging of our Moon
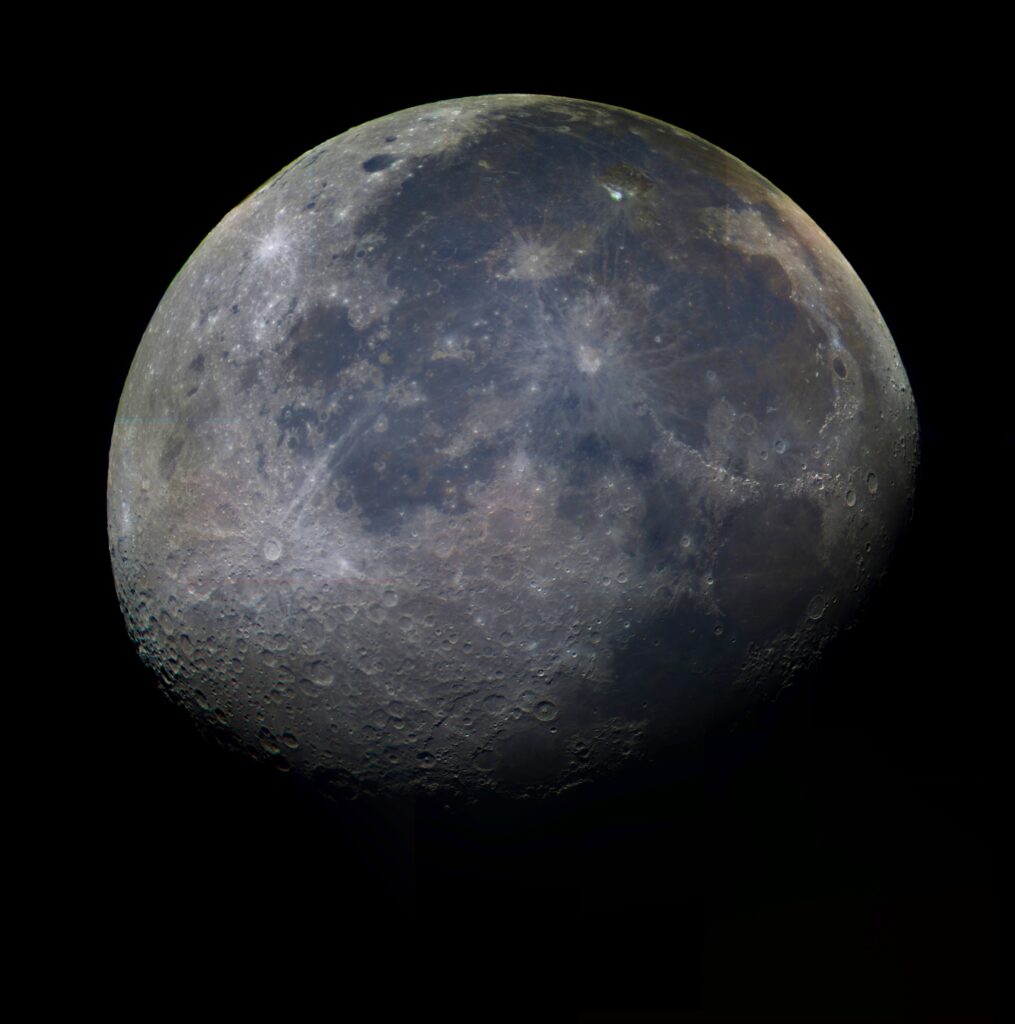
Although it seems to us that it’s just black, white, and grey, the moon is actually many different colors. Each of these colors tells the story of how different parts of the moon were shaped and what they are made of. Large craters with a small blueish tint and long streaks indicate that material (mainly titanium) was ejected long distances after meteor impacts, while large blue and brown “lakes” of rock suggest that large asteroids stuck the surface, melting the rock and leaving yellow-brown glass-like remnants, which mixed with the large titanium-rich deposits in the impact zone. These are the steps I used to take and process this image.
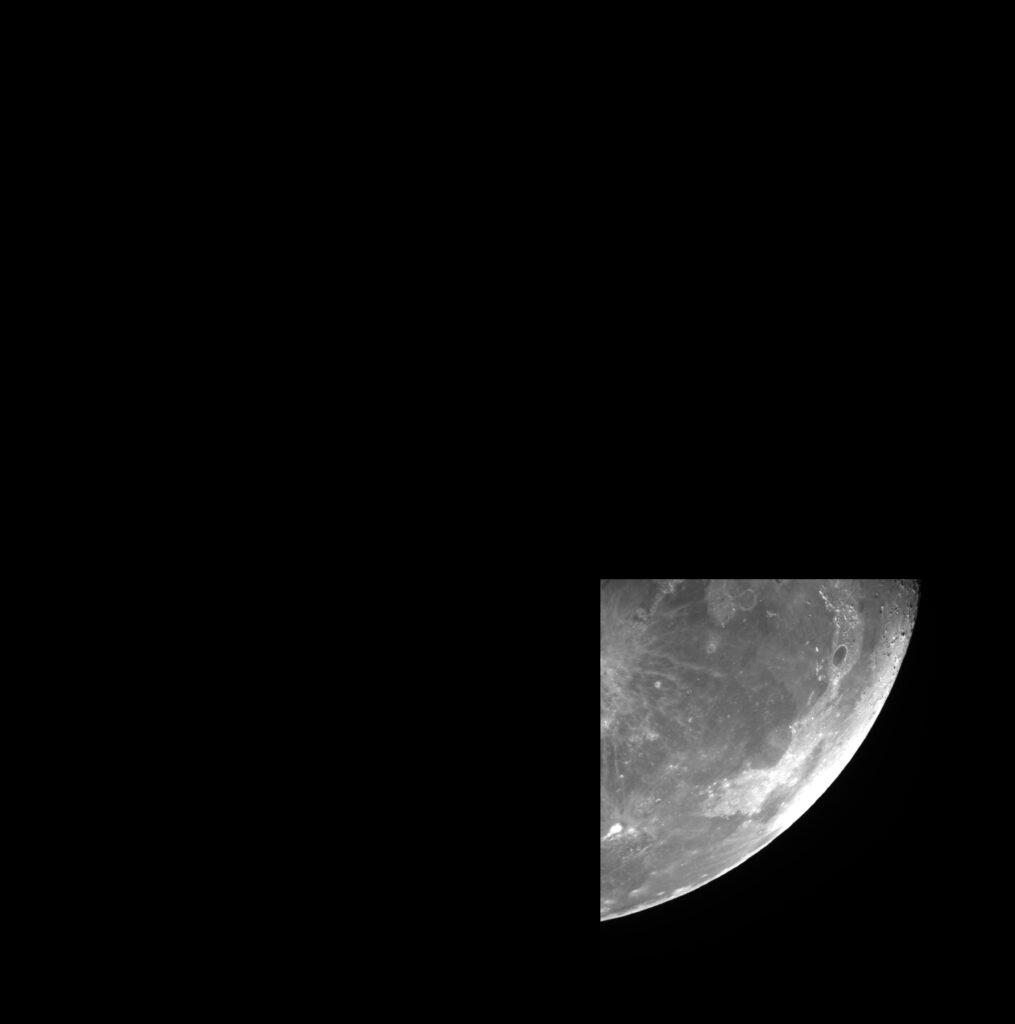
To create this image, I used the Prompt 6 telescope at Cerro Tololo to take a series of 27 images. 9 of these were in the “Halpha” filter, 9 were in the “OIII” filter, and 9 in the “U” filter. I used a 3×3 dithering technique to capture the full scale of the moon, with each exposure being 0.2 seconds long. One the images returned, I noticed I had a duplicate image in the “U” filter. Luckily, Dr. Reichart sent out a patch of the missing image, which I used. In the final product, this is still partially visible as the strangely orange section in the top right of the image. When the images were returned, I brought them into Afterglow for processing. After removing the image defects specific to Prompt 6, I aligned each image so that each portion of the moon that was visible was in the correct part of the 3×3 that was captured (shown below).

After this, the next step was to gather all the aligned images of each filter and stack them. This essentially takes each of the images and flattens them onto one. The transparent portions of the images (the back portions in the images above) stack on top of each other and remain transparent, while the colored images’ details line up — hence why we needed them aligned before. This algorithm as a side effect of trying to remove the shutter effect of the images (where the outside edges of each image before alignment is slightly darker than the rest of the image) also creates blocks of color in the background that are must also be removed (pictured below). To do this, I once again used afterglow’s editing capabilities to darken the background and brighten the moon itself.
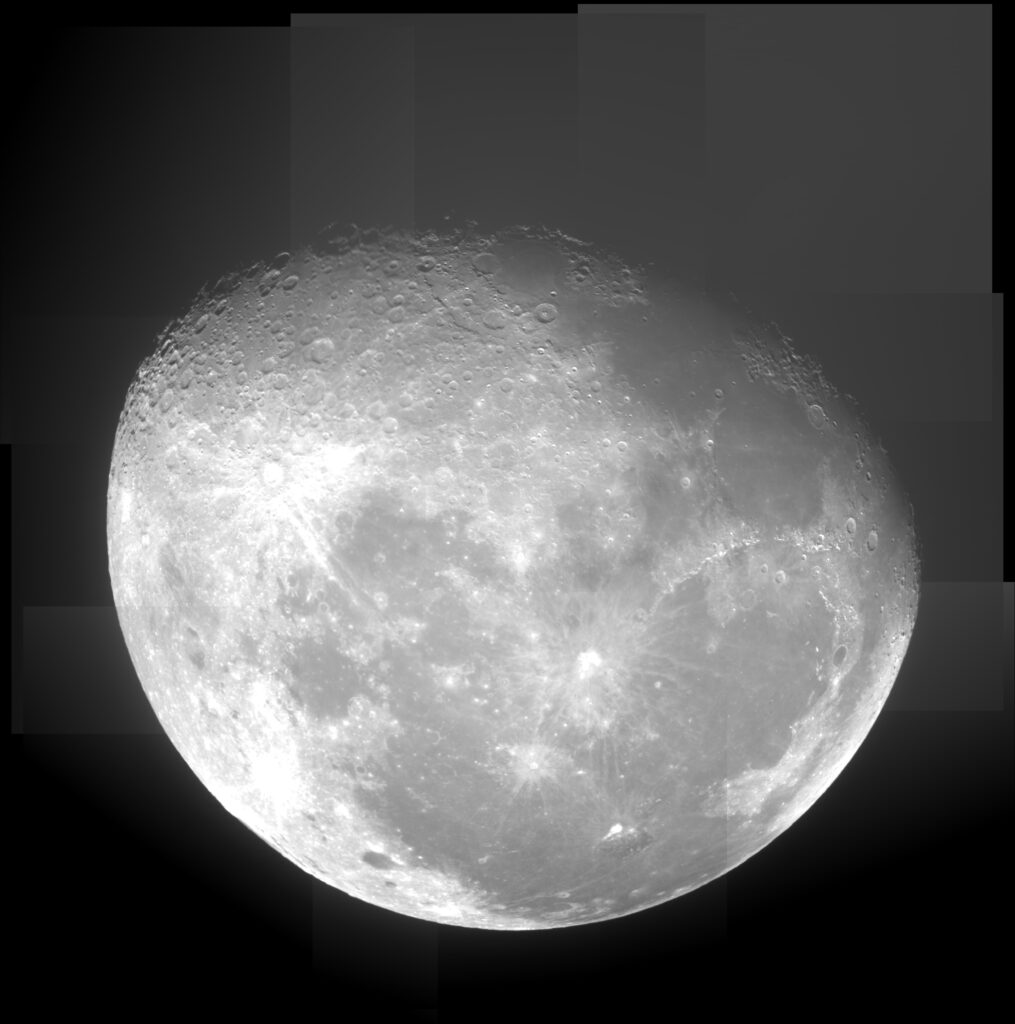
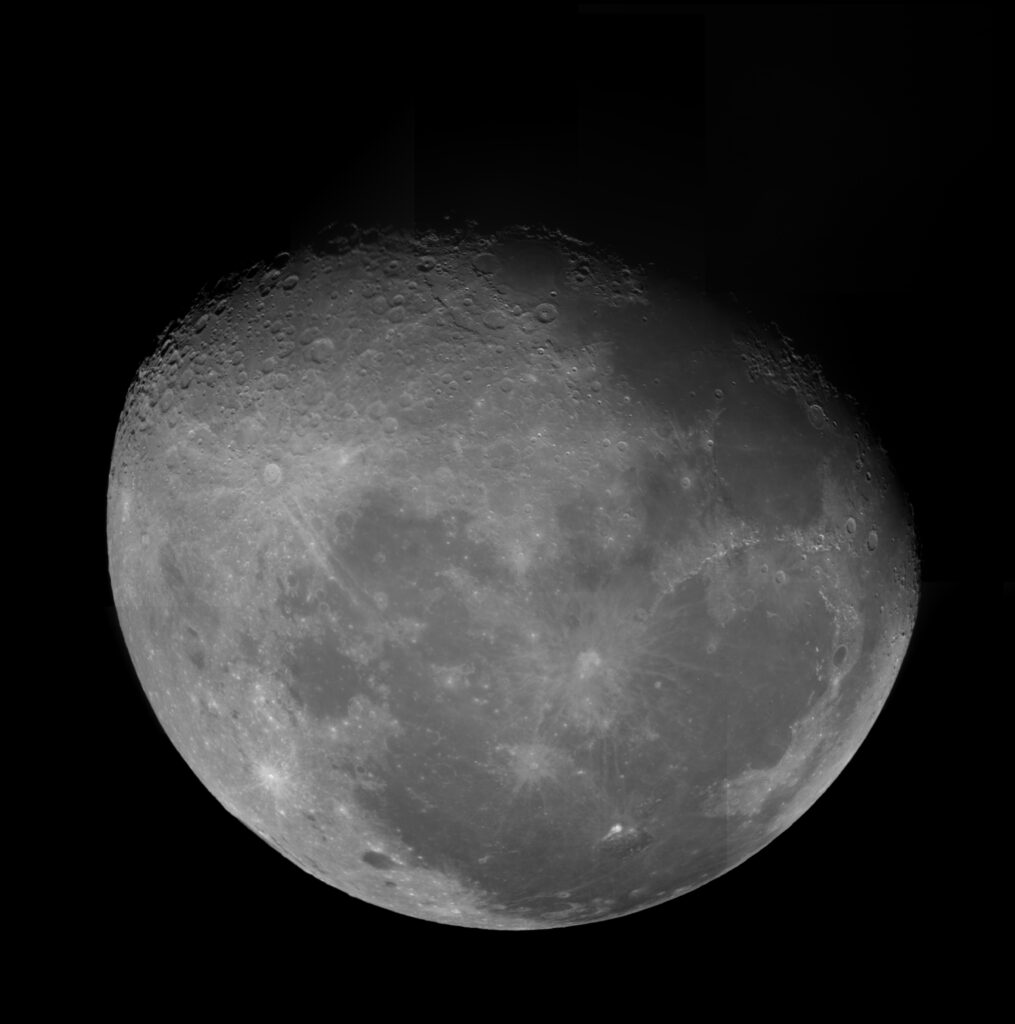
Stacking and cleaning up each set of images, the final step is to add a filter onto each image. The “Halpha” filter captures red light, so it’s corresponding stack image is colored red. For the same reasons, the “OIII” stack image is colored green and “U” is colored blue. The final step in Afterglow is to group all the images together, which has a similar effect to stacking them, but doesn’t remove the shutter effect.
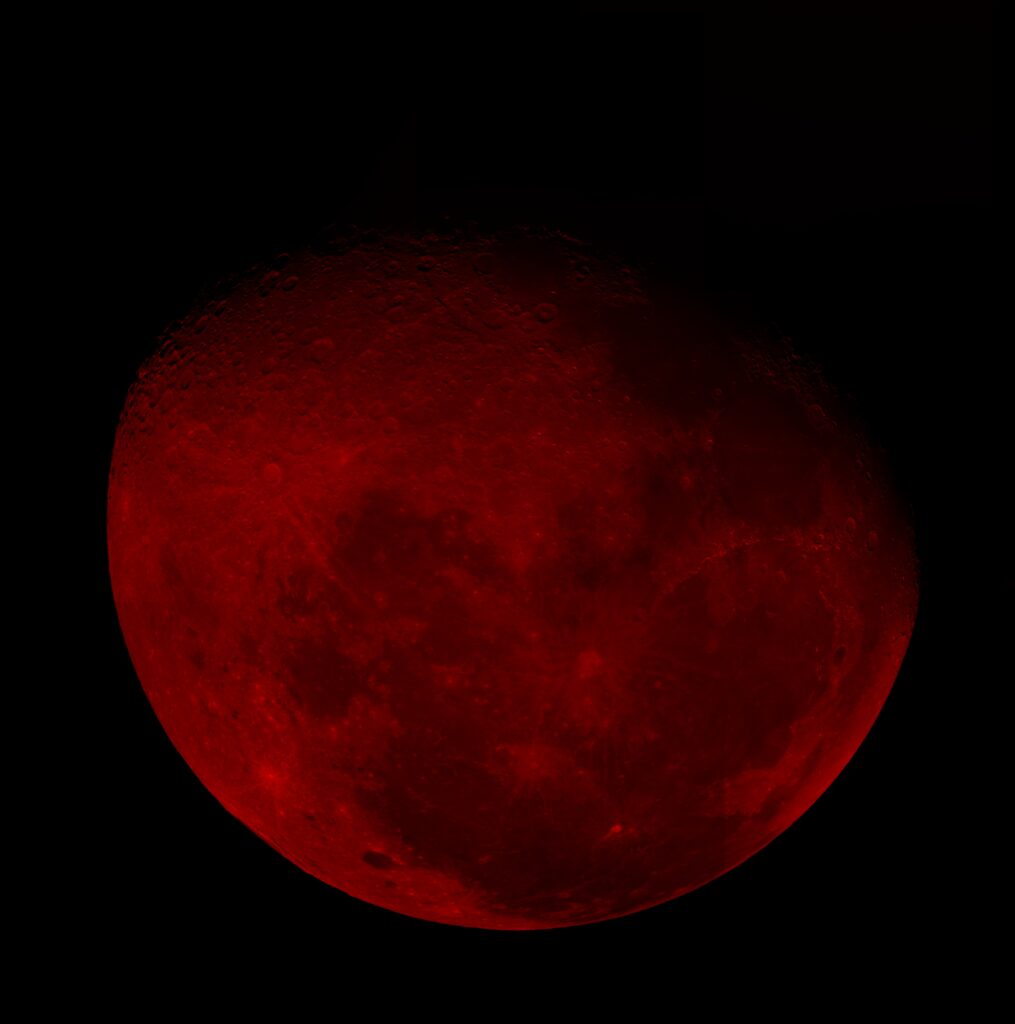
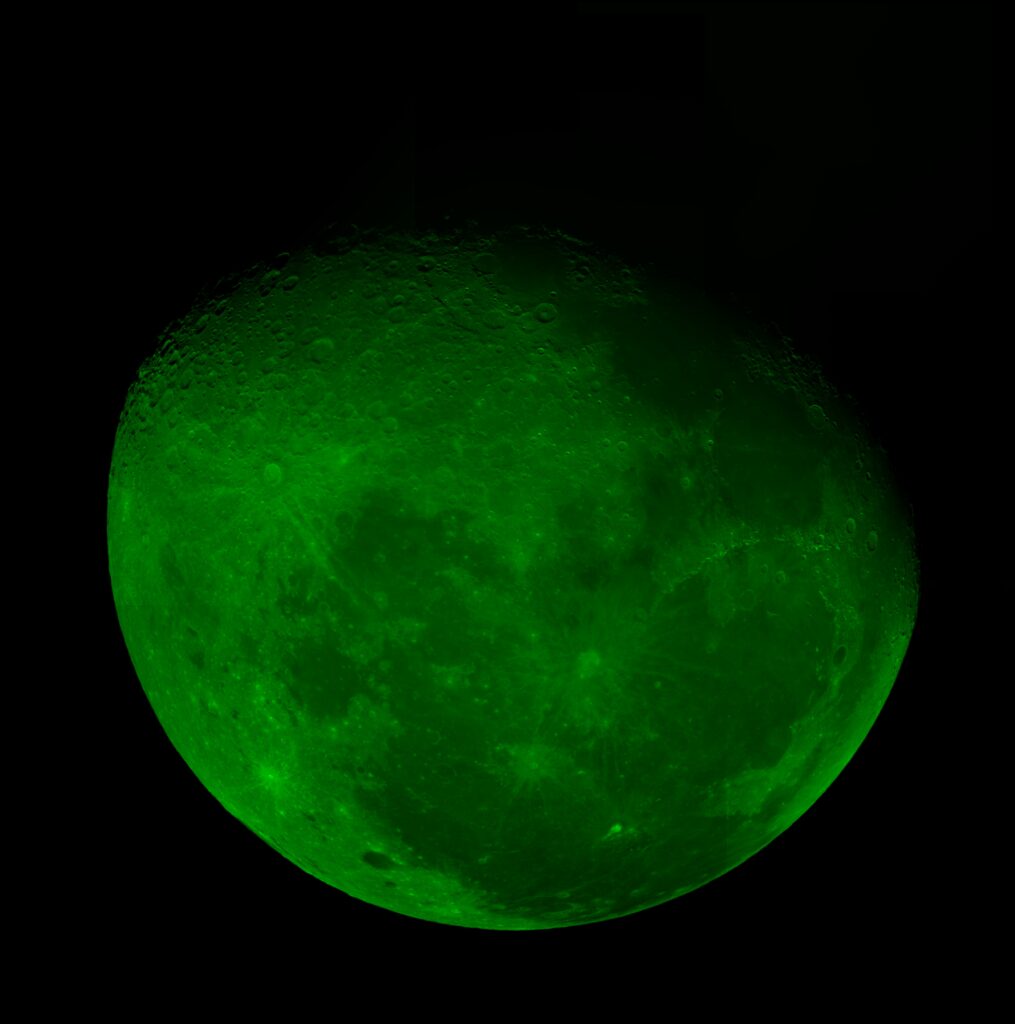
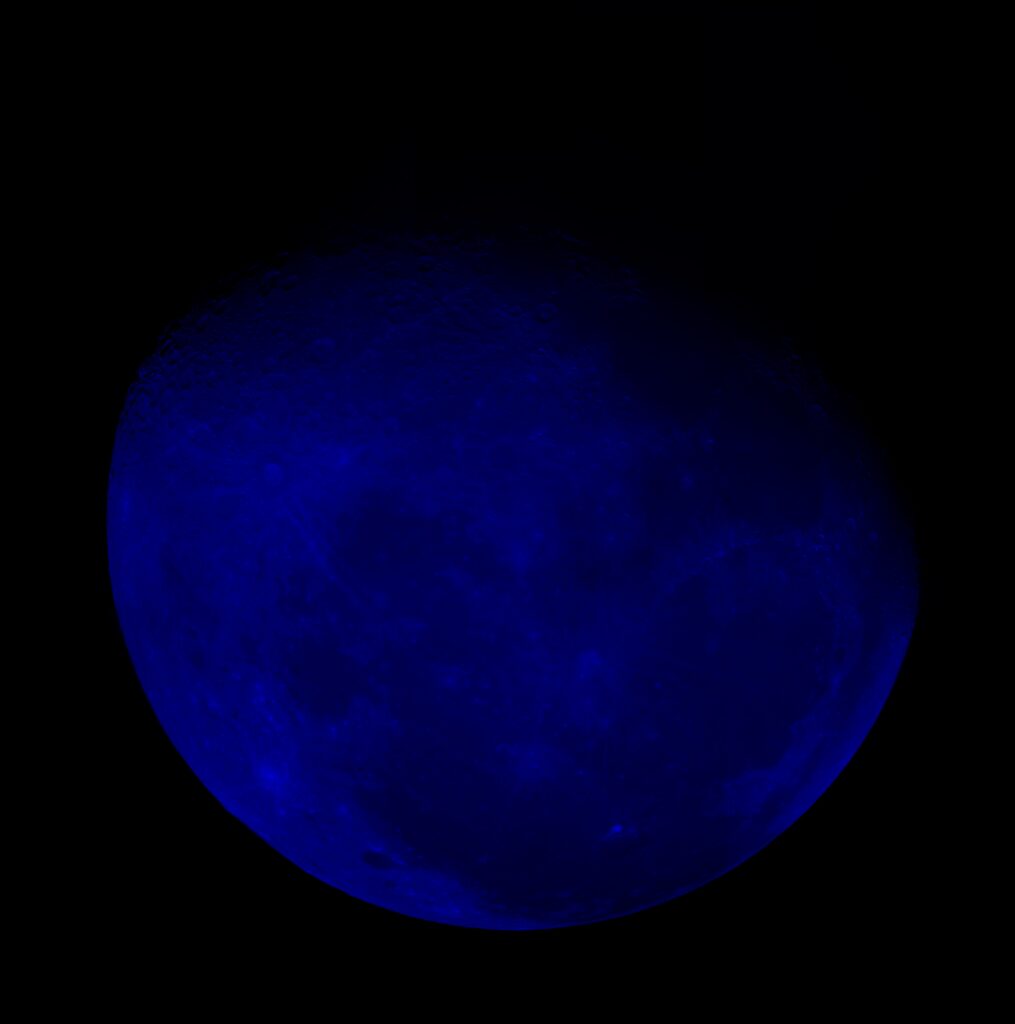
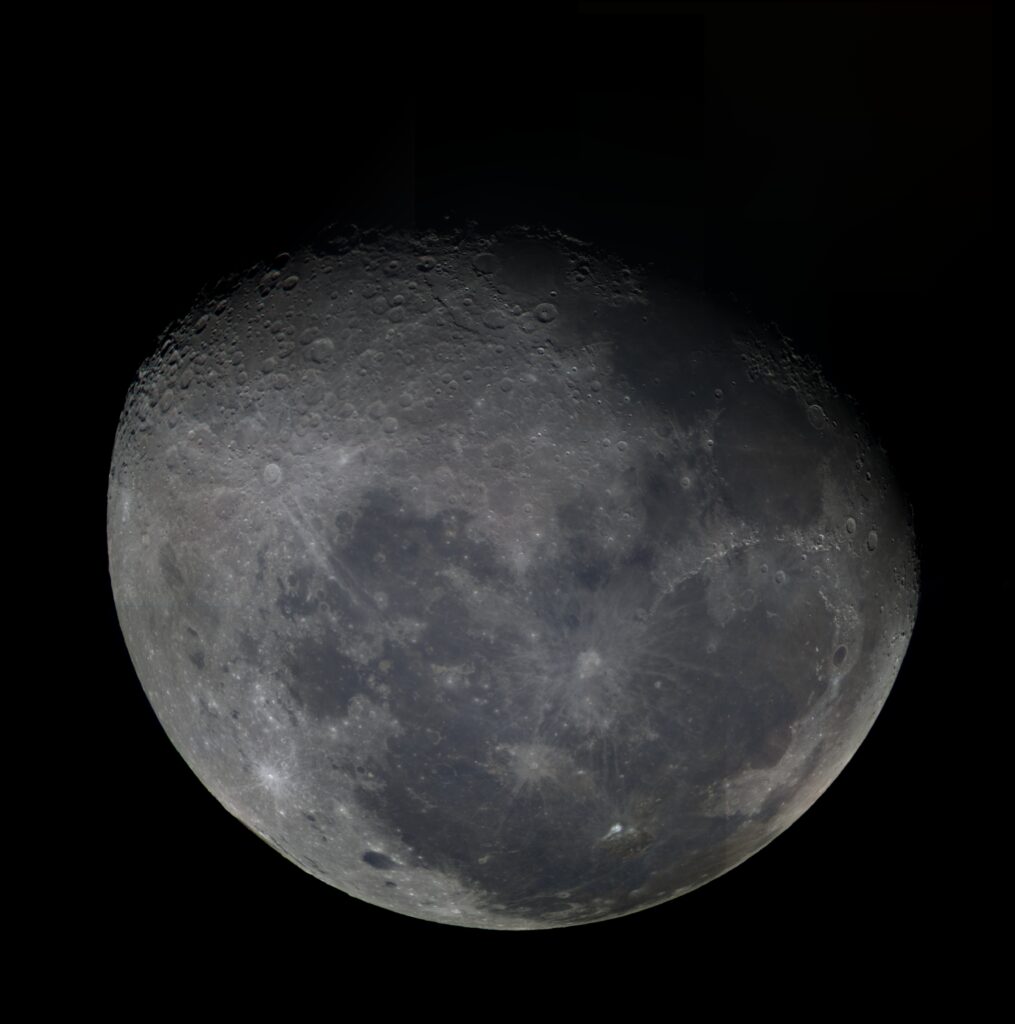
Just in this image alone you can already see the blue and brown colors popping out from the maria. To get the colors to pop enough to study them, I simply used the image adjustment tools built into my image viewer. After doing this though, the remnant background issues that weren’t able to be fully removed after the stacking step became brighter and clearly visible. I then took the image into another program called Krita. This program isn’t designed as an image processing software, but it has the same capabilities for my purposes and is something I’m comfortable using. I carefully painted over all the background noise that showed up with a black brush as to not disturb the image itself. After all this I finally had a fully processed image ready to study!
