27 images taken on January 11, 2023 from 05:24:41 to 05:37:06 UTC by PROMPT6 optical telescope in Cerro Tololo Inter-American Observatory, Chile.
About the Image
Overview
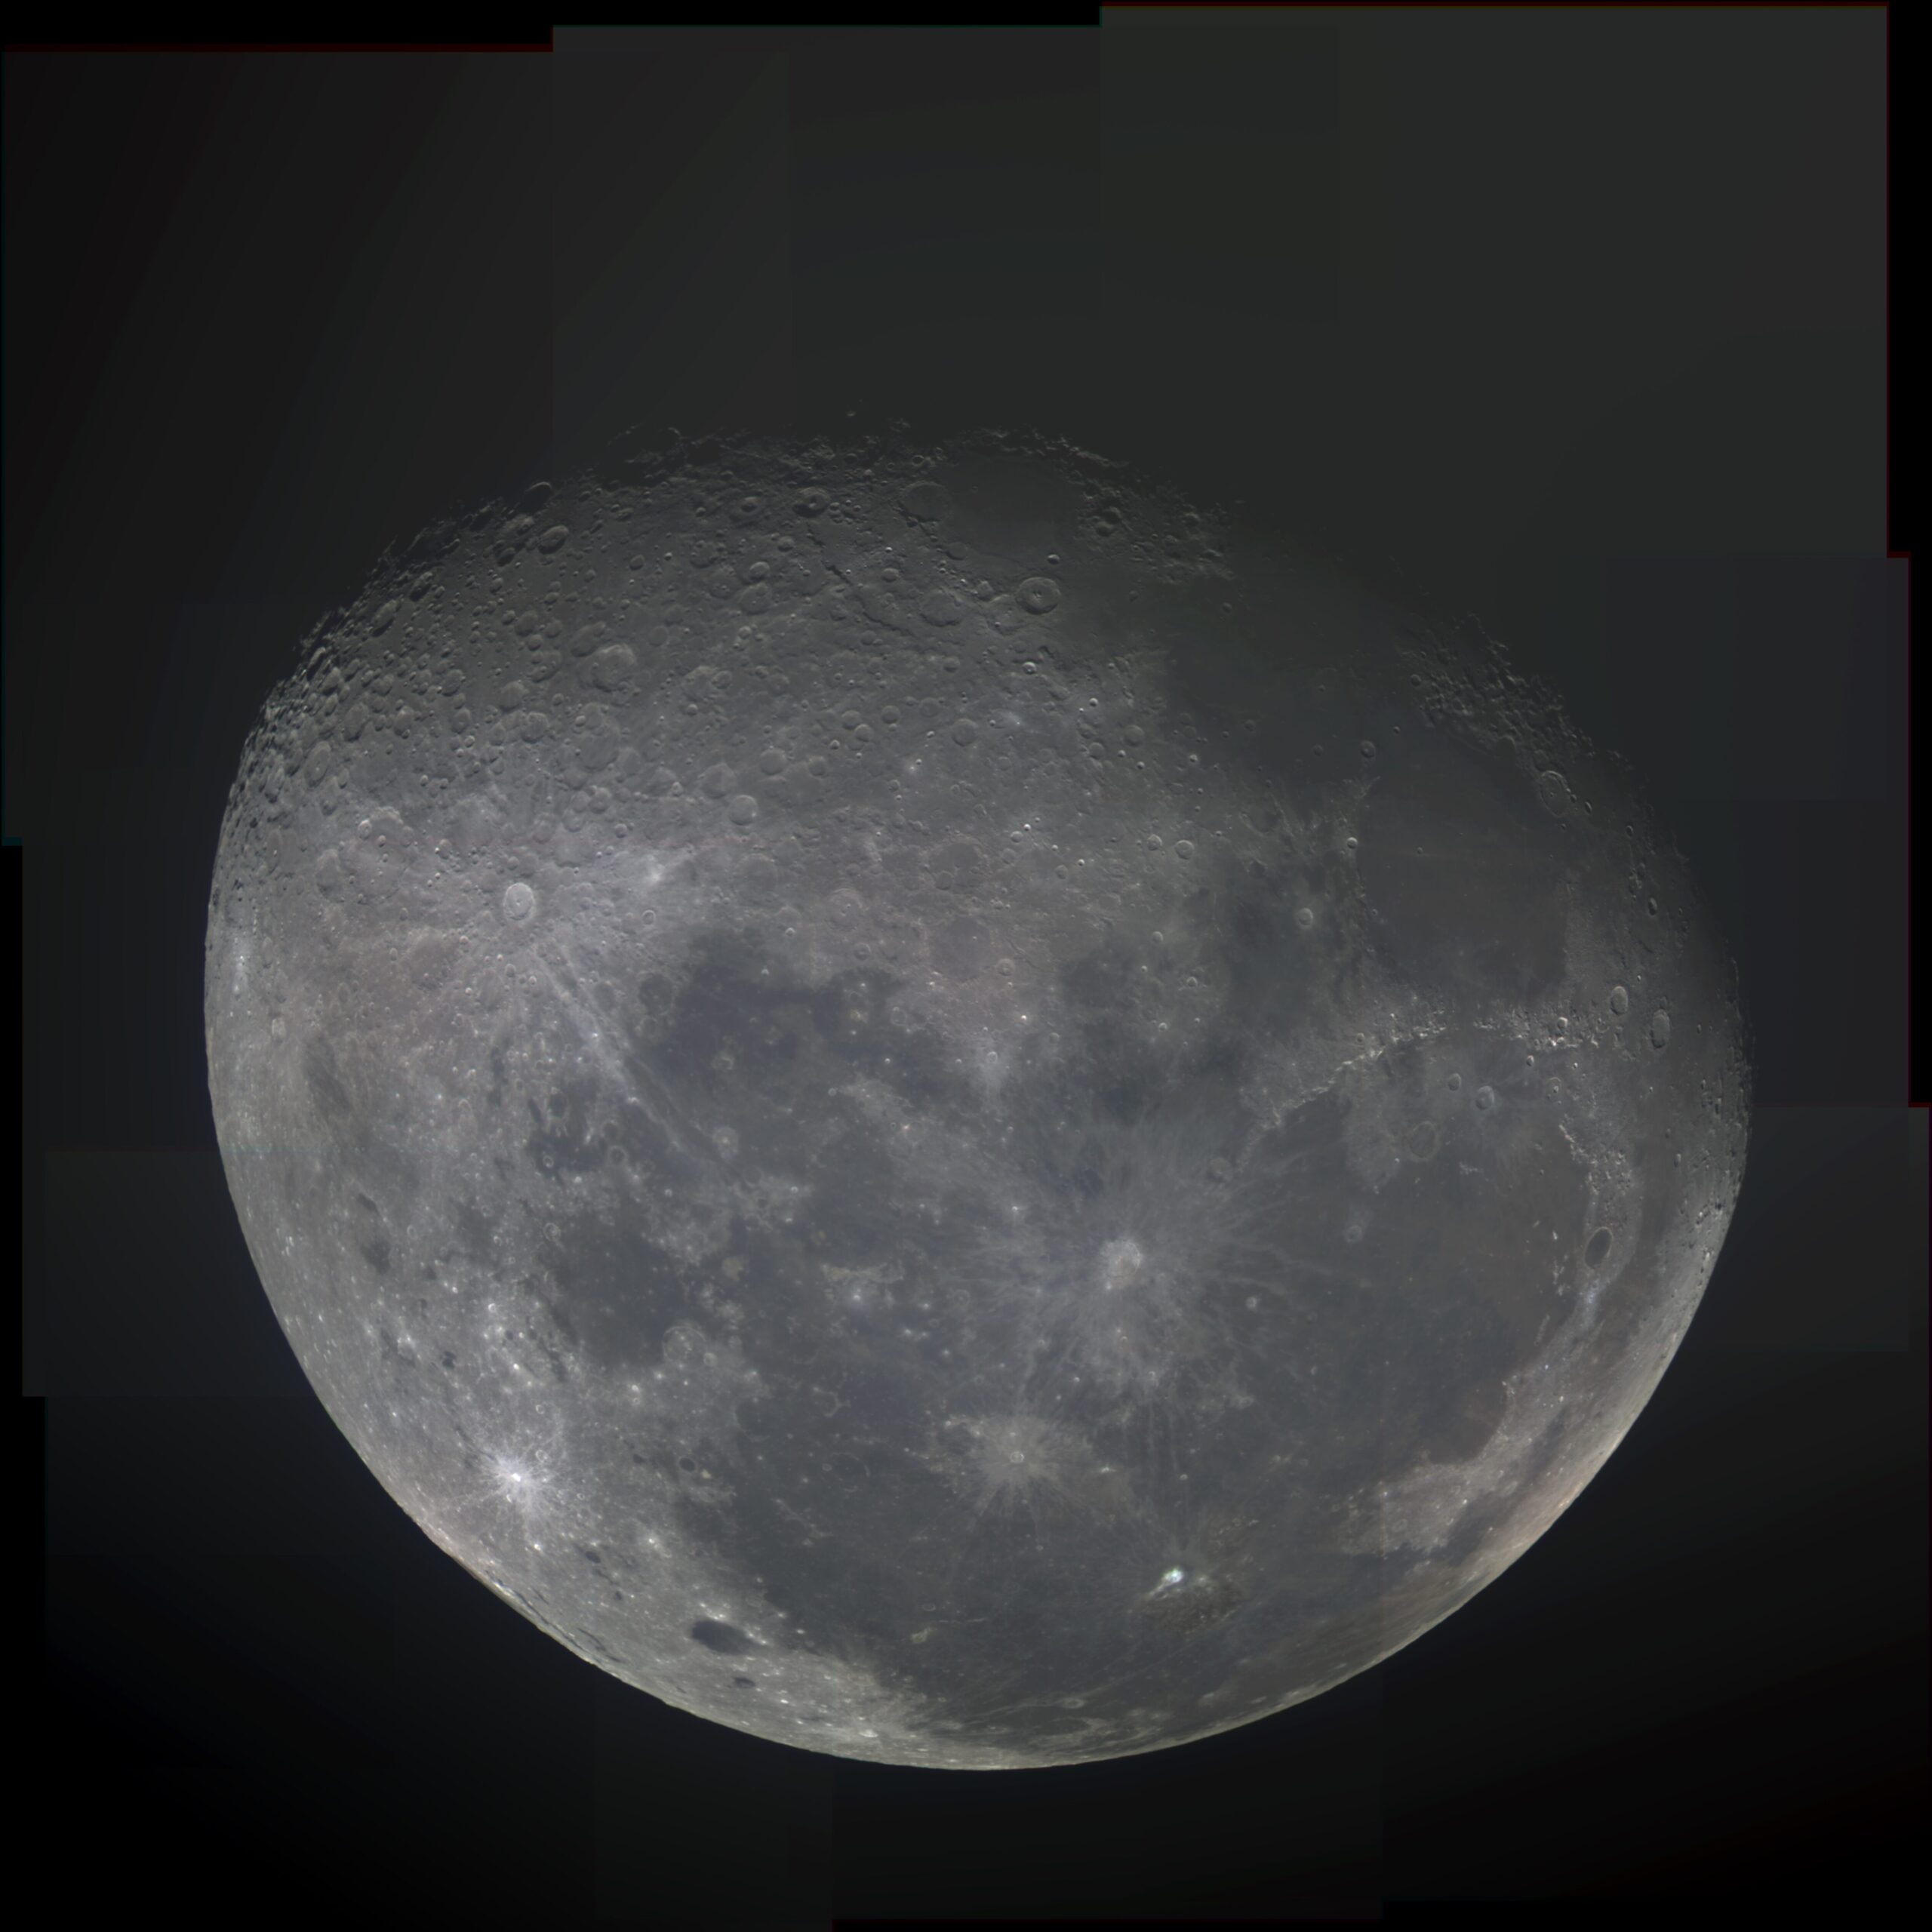
This image is a stack of 27 individual images computationally tiled and aligned in the software Afterglow. Three sets of nine images were taken by the optical telescope PROMPT6 in the red, green, and blue spectra; these sets were then combined to form a complete color image like the one above. The final composite image was taken from Afterglow to the photo editing software Photopea for digital enhancement. The primary goal of all edits made was to unobtrusively improve brightness and contrast as well as saturate important areas of color and remove artifacts of the aligning and stacking processes.
Prompting PROMPT6
Because the moon is really big in the telescope’s field of view, it was necessary to image the moon in sections the could be aligned later: a three-by-three grid of nine images each was sufficient to capture the whole moon, and with three color filters, there would 27 exposure in total. To ensure the image would not be overexposed due to additional light from the sun, the telescope was instructed to only begin taking exposures when the moon was at least thirty degrees above the horizon, would remain so for half of an hour, and the sun was at least twelve degrees below the horizon. Despite these precautions, initial images returned some improperly exposed areas which will be discussed later.
Better in Color
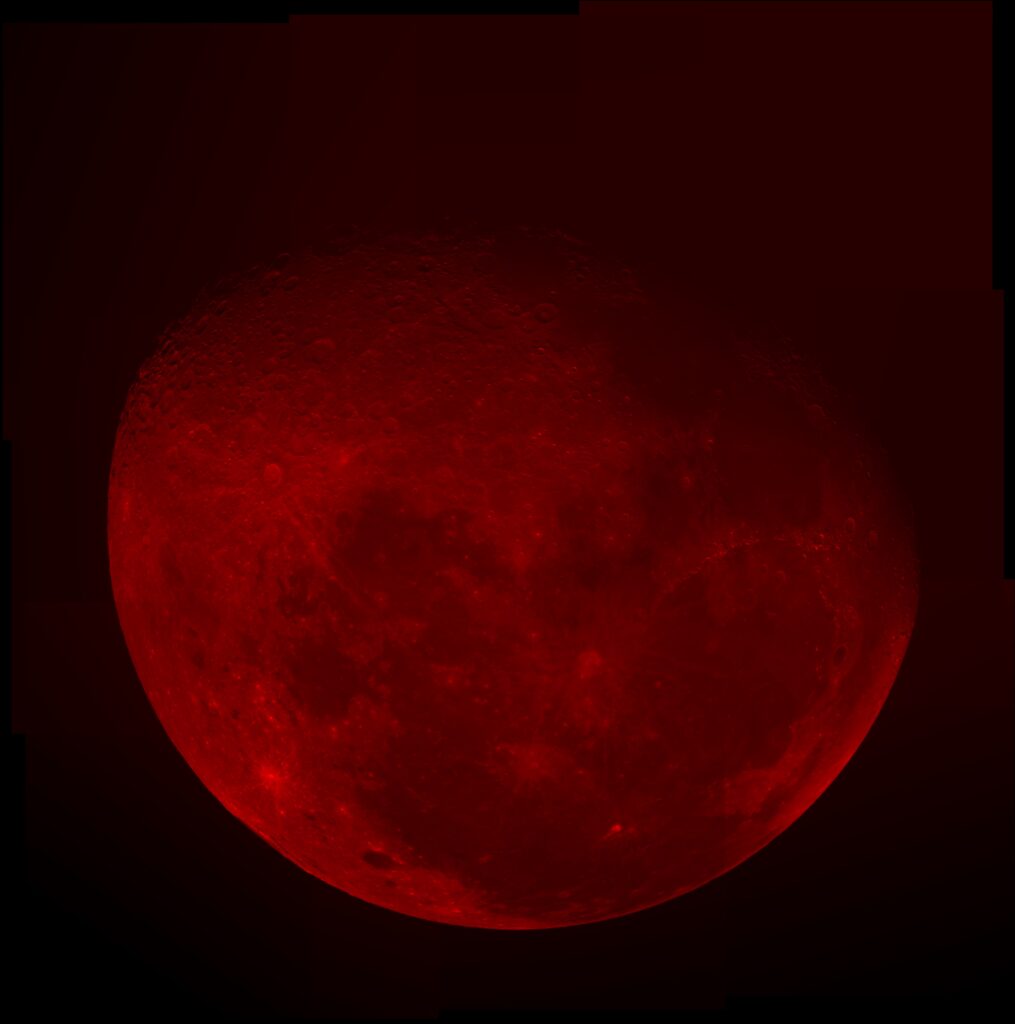
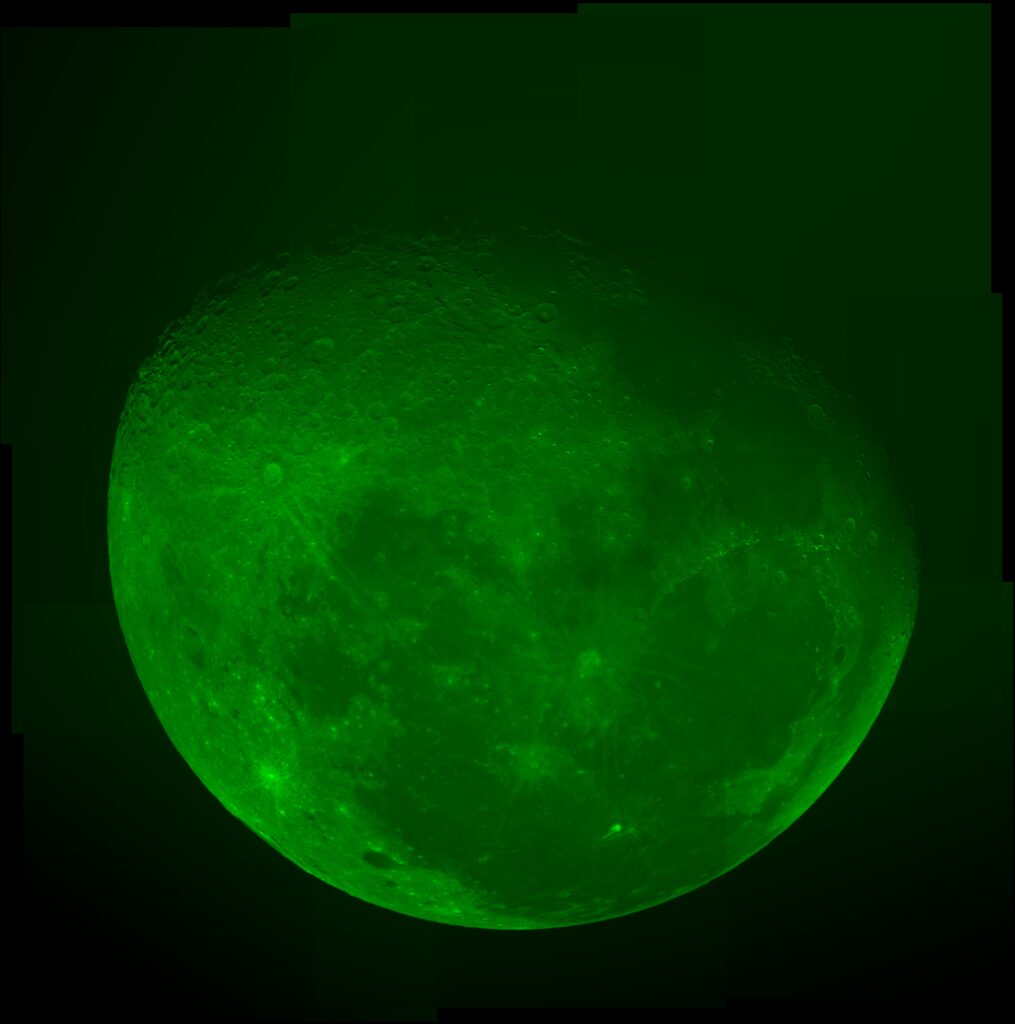
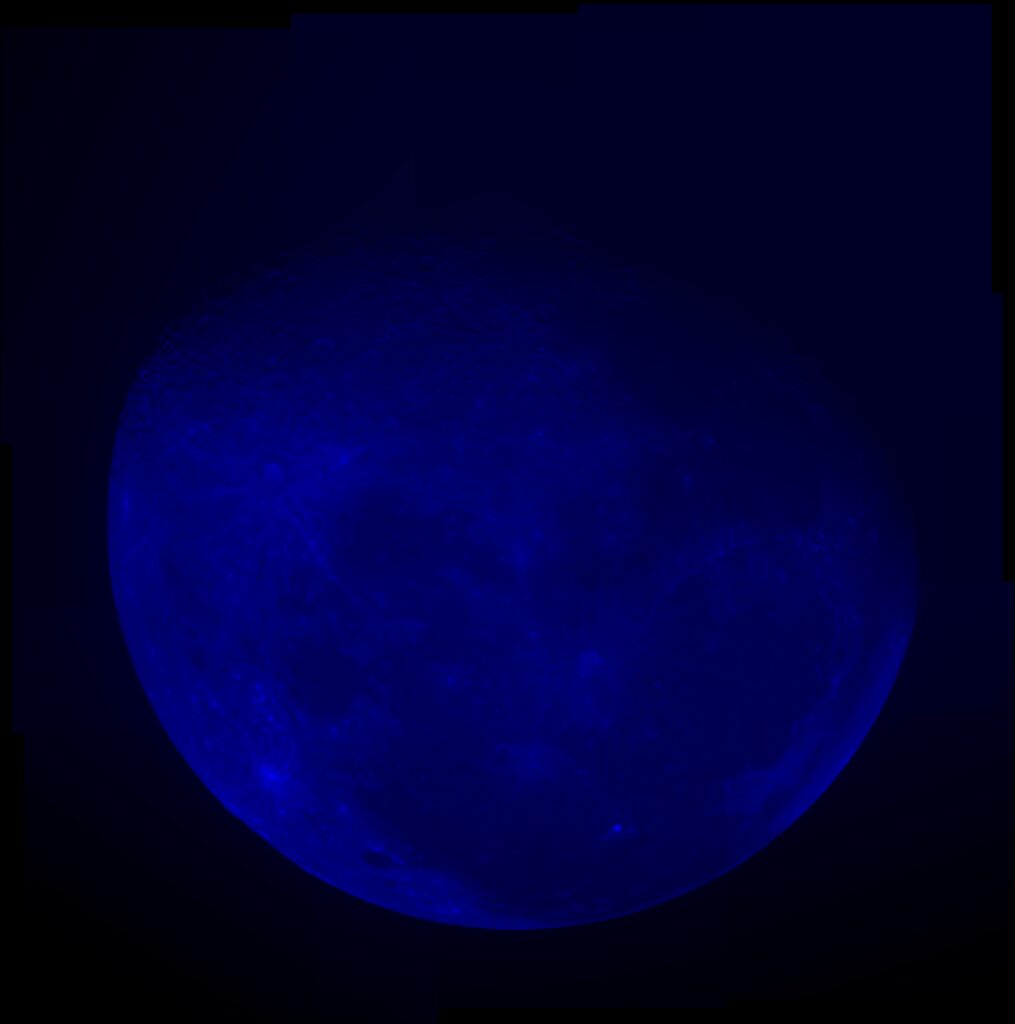
For an accurate color image, it was important to choose filters that would reliably combine the colors in the stacking process. For this reason, two distinct narrowband filters and one regular filter were chosen as approximate red, green, and blue values (RGB). Narrowband filters are designed to only let a very select band of frequencies pass through them. For example, the H Alpha filter used to approximate red in the image only allows the specific frequency of light that is produced when a hydrogen atom’s electron loses a small bit of energy to pass through. The electron emits this energy as a photon with a frequency comfortably in the visible red spectrum. Likewise for the filter used to approximate green, the OIII filter only allows specific frequency of light that is produced when the electrons in a doubly ionized oxygen atom lose small amounts of energy to pass through, ie. the photon emissions of OIII electrons fall in the frequencies of the green spectrum. These filters are useful because they ensure the resulting single-color image will be uniform in hue so that the stacked image won’t have inaccurately saturated areas. The only filter left undiscussed is the U filter: this filter is made for ultraviolet light with a shorter wavelength than the light in the visible spectrum. Here it was used to approximate blue, because the longest wavelengths that could pass through the filter were still detectable to an optical telescope that could only observe the visible light spectrum.
Below are the three digitally tinted single-color images returned by PROMPT6 after alignment in the astrophotography software Afterglow; all nine sections of each image is a 0.2 second exposure through the filter indicated below each. To be clear, each image below was tinted these colors in Afterglow, as the telescope cannot return the images in color; this was done by matching the intensity of the colored light coming into the telescope to the intensity of the respective RGB values. Additionally, if you look in the top right corner of the images– particularly the green one– you may see the signs of the exposure problems mentioned above.
Initial edits
The three color images were able to be stacked into one composite image without issues, but the resulting image need manual adjustments to be deemed acceptable. First, some of the returned 27 images that make up the three color images which in turn make the composite image on the left did not cover all areas of the moon, so patches covering these areas were provided courtesy of Dr. Dan Reichart and re-stacked into images. Next was addressing the problem of the background: if you notice in the top right corner of the left image, the background is not pure black.
To address this, Afterglow has a Background Level Percentile parameter that algorithmically assigns an input percent of pixels as the background and adjusts their exposure digitally to be pure black. For this image 40% of pixels dedicated to background seemed appropriate, as any higher, the details of the lunar surface would be lost, and any lower, the seams of the aligned images would still appear. Using the corresponding Saturation Level Percentile parameter, the image was brightened and saturated to look like the above image on the right. As a final edit before exporting to Photopea, the image was flipped and rotated to match the moon’s appearance in the northern hemisphere rather than its appearance thirty degrees below the equator in Cerro Tololo. This final step was a purely cosmetic decision to reflect the editor’s preferences of the moon’s appearance.
Crater Cosmetics
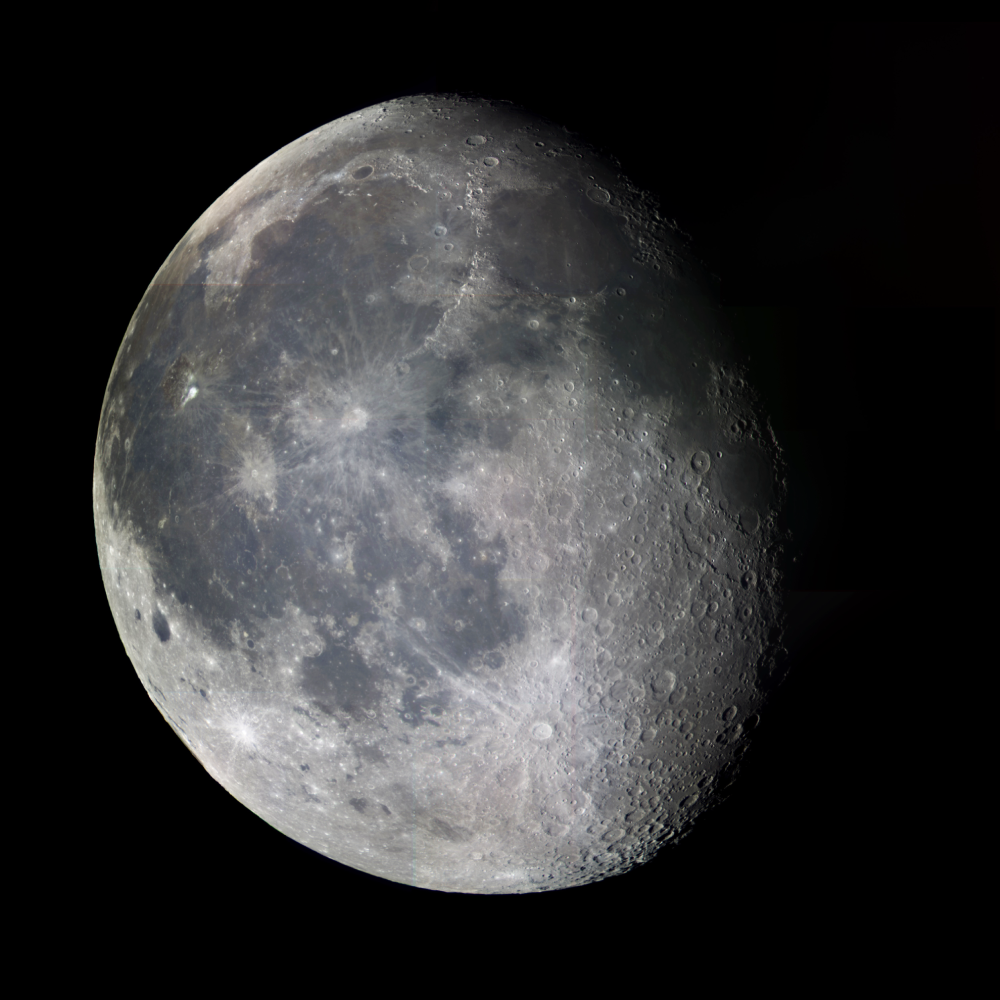
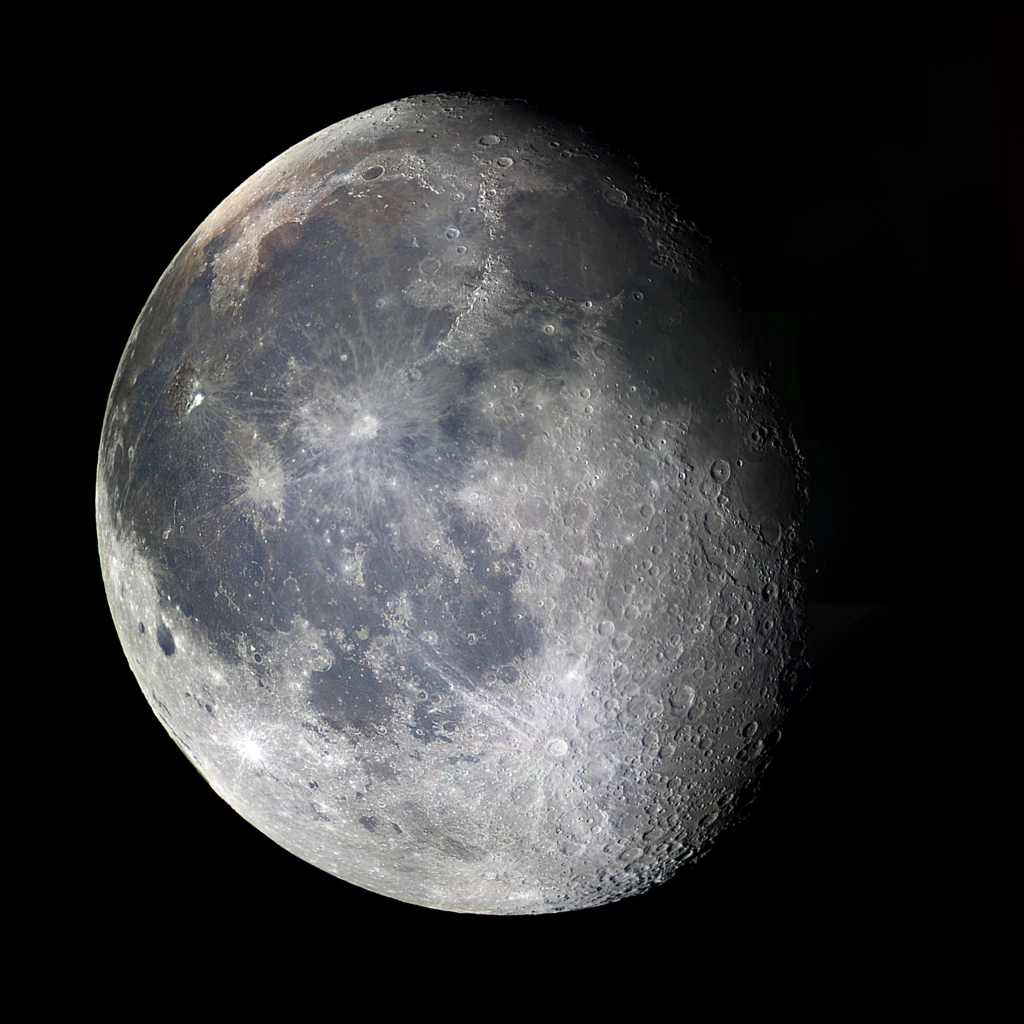
Photopea is a browser-based photo editing software similar to other powerful photo editing softwares like Photoshop or Affinity Photo; the editor’s decision to use this particular software over others was primarily driven by its accessibility and the fact he uninstalled Photoshop last week while cleaning out his computer’s hard drive. The first edits were made to further saturate the colors of the image independent of its brightness, which left the image with lines of single colors on the edges of the aligned grid images. Presumably, there was slight drift between the grid images of each color exposure leading to these lines. Isolated saturation adjustments effectively concealed these lines, except for one edge visible in the upper left half of the left image below; here the brightness on both sides of the line was blended with an brightness adjusting brush to conceal the most noticeable sections of the line without disturbing the saturation of the colors on a large area. The final edit was to conservatively sharpen the image to draw out definition and highlights.
Below are the images before and after final edits. The editor’s preference for minimal changes to the original image led him to a less-is-more approach for this project, and he hopes you agree that the effectiveness of this philosophy and its results speak for themselves and the quality of the resources that went into making this incredible image.

Credits
Thank you to Andreas Buzan for allowing me to edit his images. Andreas maintains his own blog at tarheels.live/blogandreas/; check it out to see his interpretation of the same images.
As well, thank you to Dr. Dan Reichart who provided the patches used in the images. He also runs his own Afterglow astrophotography blog at www.danreichart.com/afterglow-astrophotography.